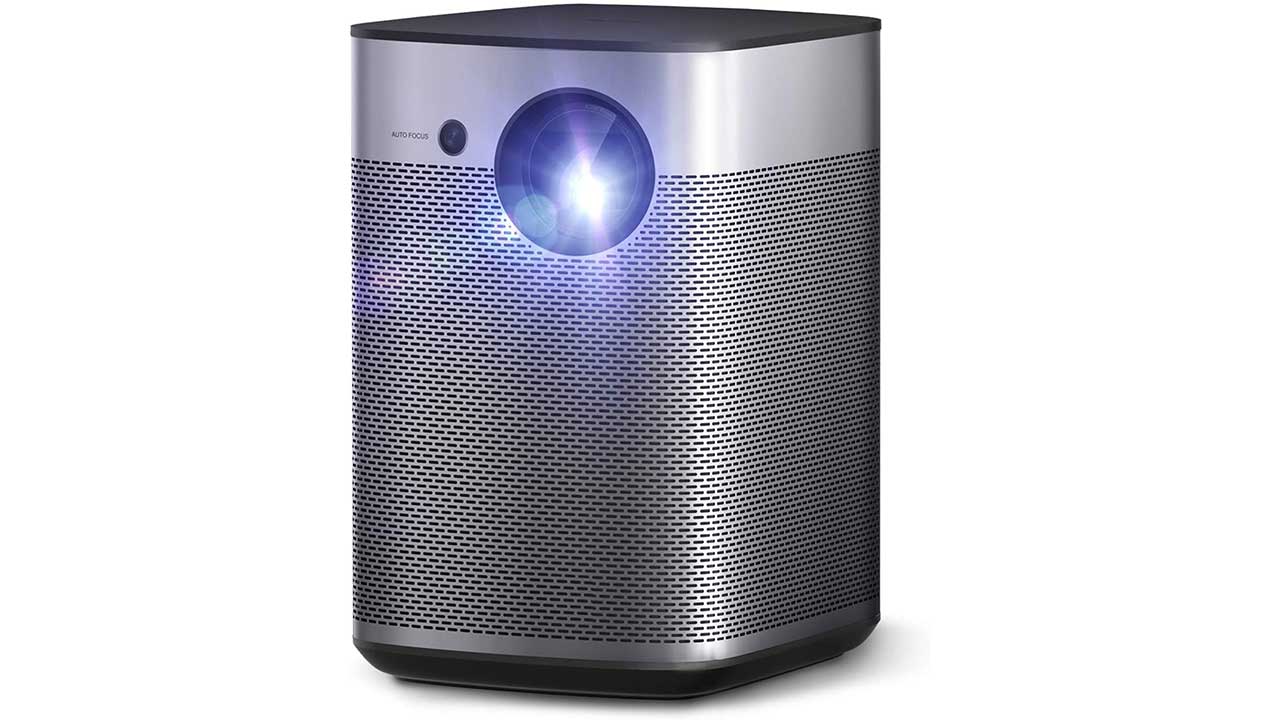
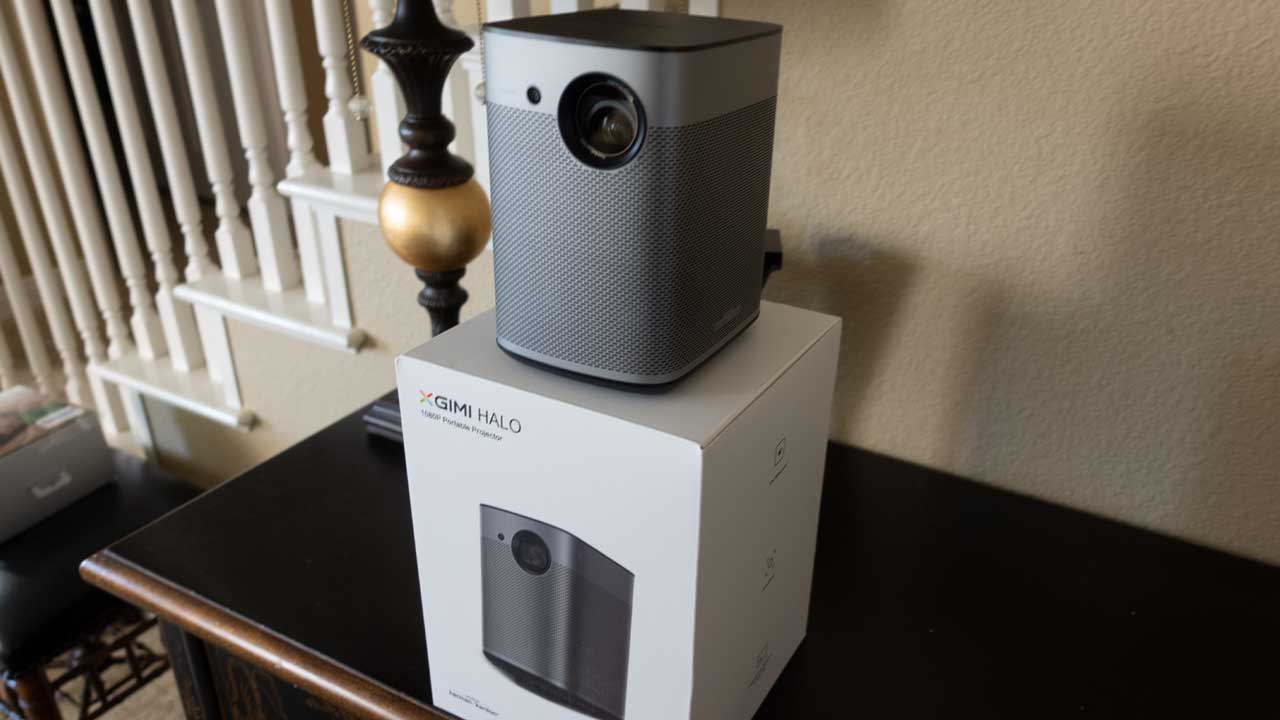
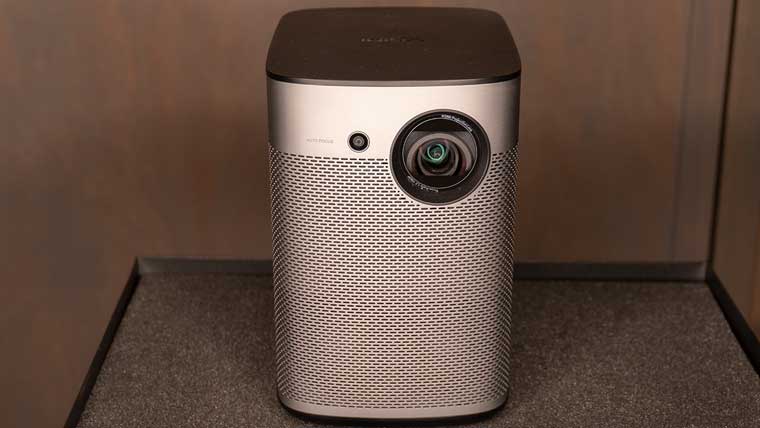
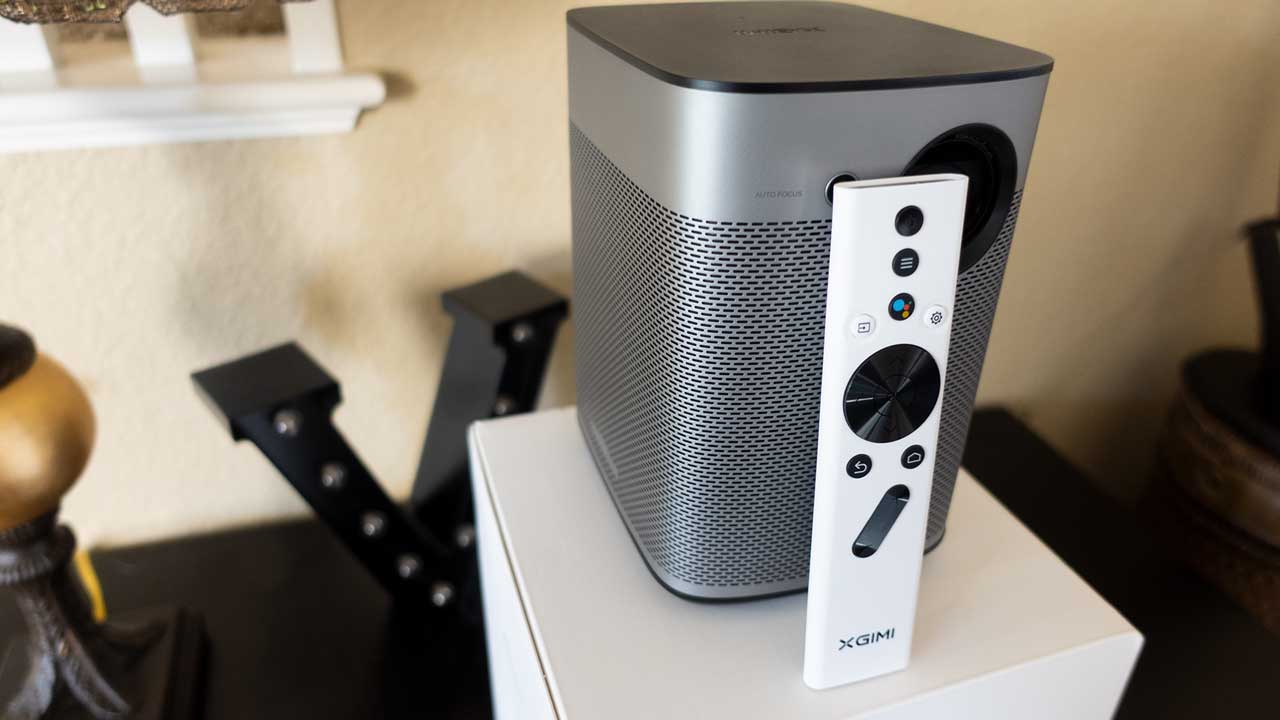
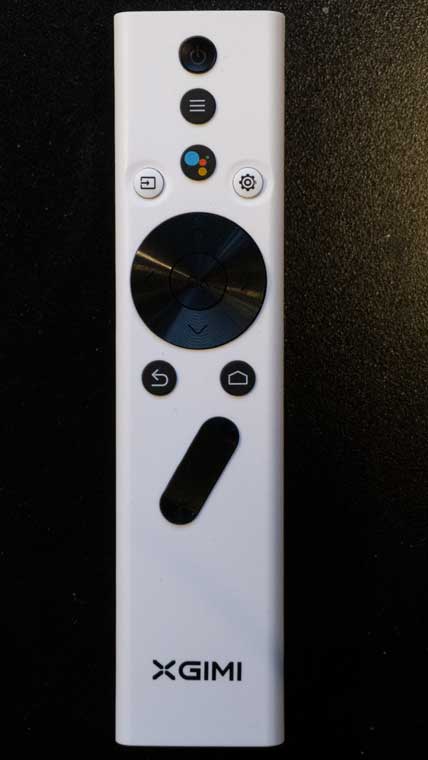
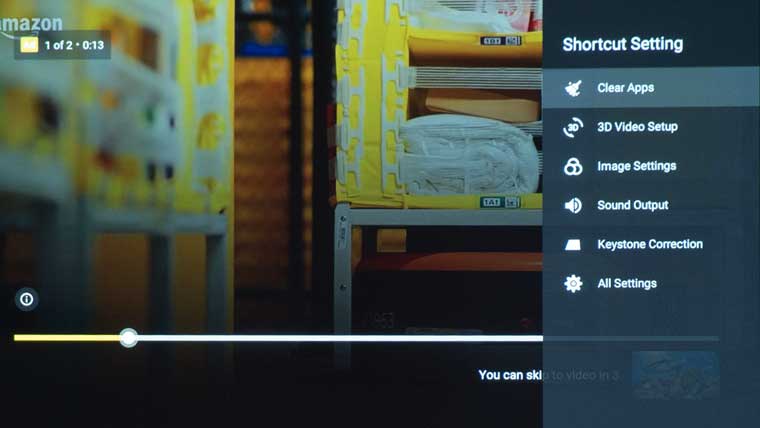
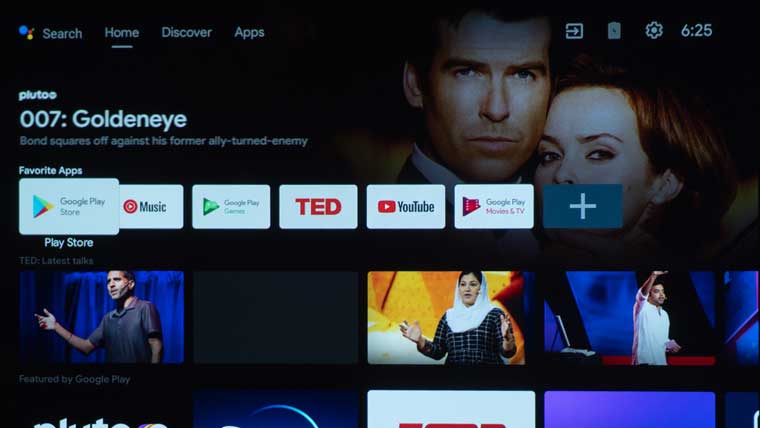
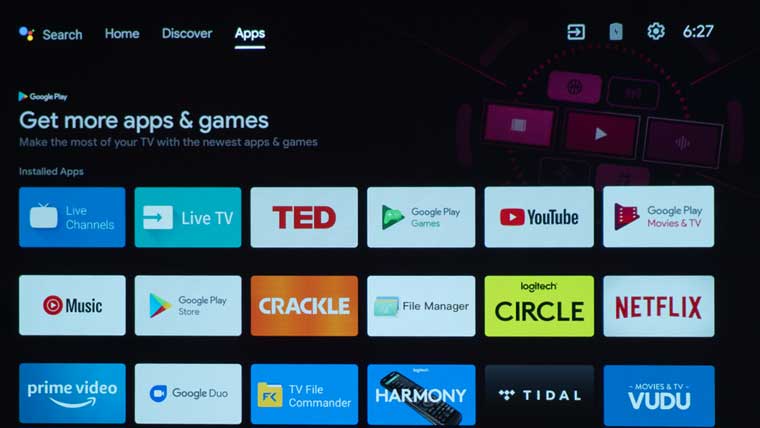
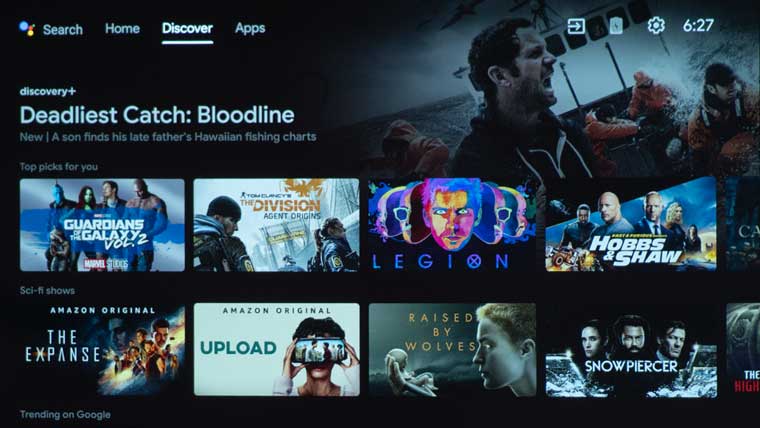
The Halo is a smart projector with a menu system that is well organized and easy to navigate. The push button that looks like a gear is the Shortcut Setting button, which takes you directly to the basic settings menu. You can scroll down and press the All Settings tab from the Shortcut Settings, to be taken to the projector’s more advanced settings. The Home push button, which looks like a house, allows you to access apps and other entertaining services. Once you are in the Halo app menu, you can select a specific input, streaming app, media player, or explore the Google Play Store.
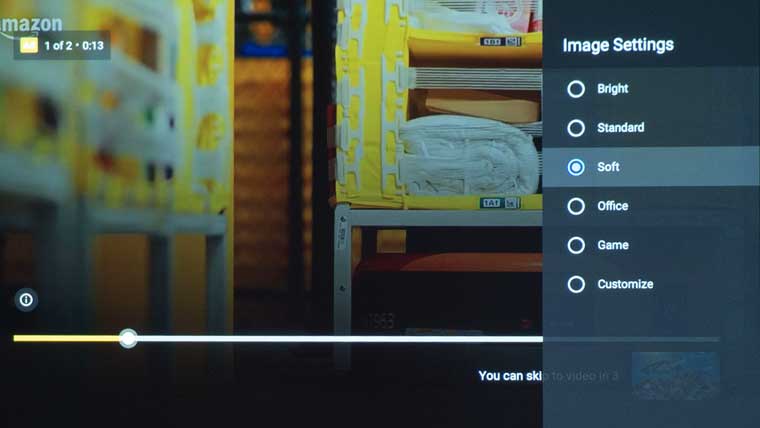
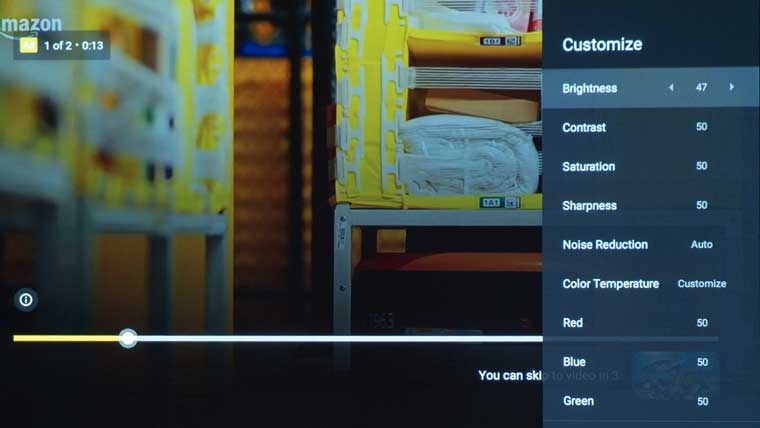
The projector settings can be adjusted from the Halo home screen. The brightness can be changed under the “Projector Settings” tab. The customized brightness is adjusted in 10% increments from 10% to 100% brightness. Customize setting 0, Customize setting 1, and Customize setting 2 have the out the box settings at 100%, Red 100%, Green 100%, Blue 100% on the home screen. Under Image Settings, I was able to adjust brightness in greater detail from 0 to 100, along with contrast, saturation, and sharpness. The adjustments come back around, so you don’t have to go all the way down and all the way up through the numbers again; at one press of the remote, you can go from 100 to 0 or 0 to 100.
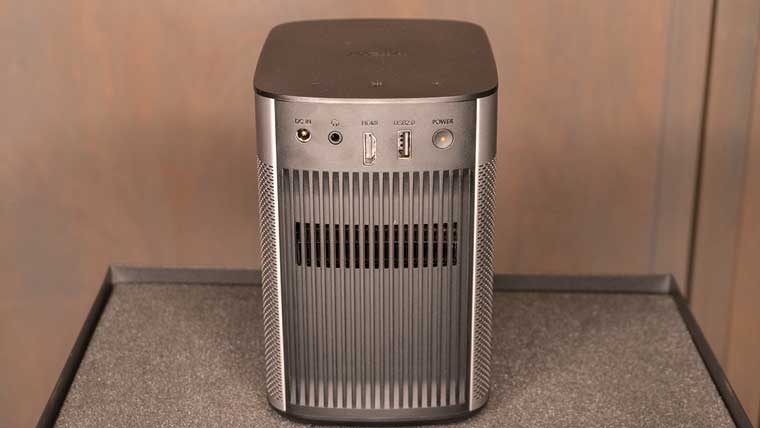
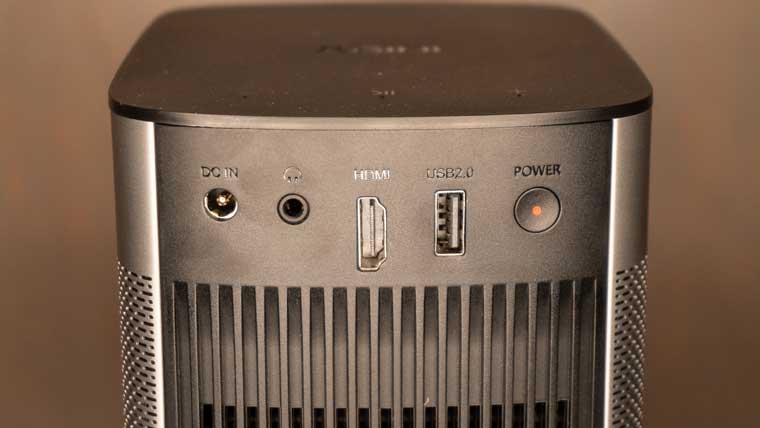
Under Shortcut Setting, there’s a tab called HDMI Version, where you can select either HDMI 1.4 or HDMI 2.0. I used HDMI 2.0 and connected a 4K Apple TV with a 1.6’ Bullet Train HDMI cable for my review. As an added perk, the XGIMI Halo remote can control the Apple 4K TV via HDMI CEC.

