Projector Reviews Images

Vivitek HK2288 4K UHD Home Theater Projector Review – Hardware 2

Posted on February 7, 2018 by Art Feierman

Vivitek HK2288 4K UHD Home Theater Projector Review – Hardware 2: Control Panel, Remote Control, Menus

Control Panel

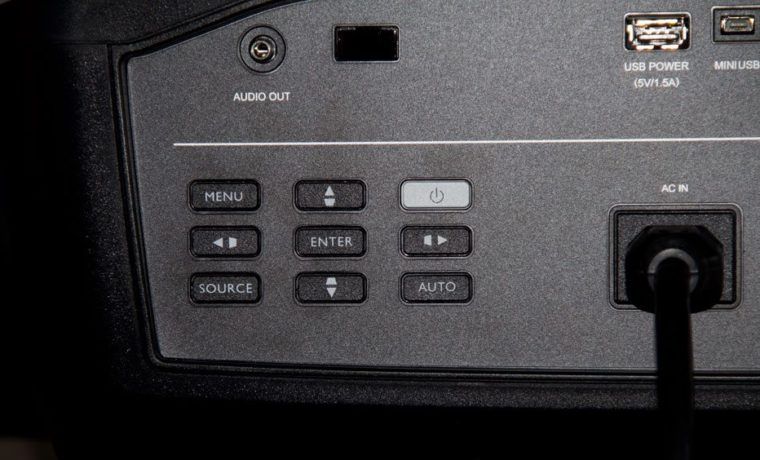
The HK2288’s control panel is a basic one consisting of nine buttons in a rather typical configuration of three rows of three. Nothing fancy, all buttons are the same size and shape.

control panel of HK2288
The control panel, with it's pretty standard feature set, is located on the back to the right of the inputs.

The top left button is for the Menu. The navigation – up/down/left/right buttons are in a typical diamond configuration, with the Power button on the upper right, across from the Menu button. The Enter button is in the middle (very typical).

That leaves the lower left – Source, which brings up a menu showing all the sources – that number three, all are HDMI inputs. And in the lower right is an Auto button, which I presume is for analog computer signals, but in this case, ones brought in over HDMI.

That’s it. The Vivitek has no standard HD15 analog computer input, no USB, etc. Just what most people need for a typical installation today.

I congratulate Vivitek in providing 3 HDMI inputs. I have long complained that two is not enough for pretty much anyone who isn’t using an AV receiver to do their switching. That is most who don’t need an external switch box, if they have 3 HDMI devices – which these days isn’t hard to accumulate (a game machine, a Blu-ray UHD player, an older Blu-ray player, a computer, a streaming stick, etc.). As you can see, having five HDMI inputs isn’t all that far-fetched. Three at least gives many of us a fighting chance to avoid needing a switch box, or, these days, an AV receiver upgrade.

Remote Control

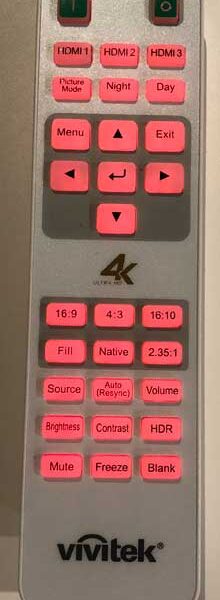
VivitekHK2288's remote control: Great backlight, good layout, but weak range

As mentioned, the range of the remote control's range could be a a good deal better, but it is unlikely to be a real issue in most installations.


I’d say that the remote’s range is barely acceptable. There’s no problem bouncing off my screen for a total distance of 20 feet, but at 25 feet, it’s getting inconsistent. Well, the remote runs on two AAA batteries. Remotes with two AAs typically do better, but any way I consider it, the range of the remote is a bit less than most, more in line with credit card remotes than the other remotes that come with $2000 projectors.  Too bad.  Fortunately, you "owners" don't spend near as much time as me with a remote, as I have to "play" with all the features.

On the plus side, the backlight is an orange-ish red, with good brightness. It isn’t so bright as to overwhelm in a fully darkened room, like some, nor is it too dim. It’s very easy to read the descriptions on all of the buttons. If the range were a bit better, I’d say this was a pretty great remote.

Two green square buttons at the top: Power On, and Power Off (press twice to power down). Next comes a row with three buttons – one each for HDMI 1, 2, and 3.

Then, the next row (three more buttons) provides quick access to the Picture Mode, Press it once to open, and press additional times to toggle through the multiple modes.

The next two buttons are for two specific modes: Day, and Night. Now typically, I would assume that they were ISF Day and ISF Night, but apparently not. ISF Day and Night are normally modes specific to calibrators, and require a password from the ISF folks (Imaging Science Foundation), which certifies most calibrators.

But if that was the case, then you and I would not be able to go into those modes in the menus and make changes without that password. No password, no problem, so basically Day and Night are just two regular mode names, with, as you would expect, Day being a bit brighter than Night.

The next section of the remote control is the navigation area, with its four arrow keys in a diamond configuration, Menu in the upper left, and Exit in the upper right (which takes you back up a level in the menus). Enter is in the center. The next  section consists of six buttons – all for different aspect ratios.

The bottom section of the remote – three rows of three: Source, Auto (sync) for an analog computer, and a single Volume button (brings up a slider). Brightness, Contrast, and HDR are on the next row, and the very bottom row has buttons for Mute, Freeze, and Blank (blanking the screen, but passing the audio).

That’s about it. I like it, but for the range. In my setup, with about 25 – 27 feet from my seat to bounce off the screen to the front remote, results were intermittent, so I had to get into the habit of pointing back to the projector. Bummer, but, then, I use a remote (as a reviewer) drastically more than most folks will.

The Menus

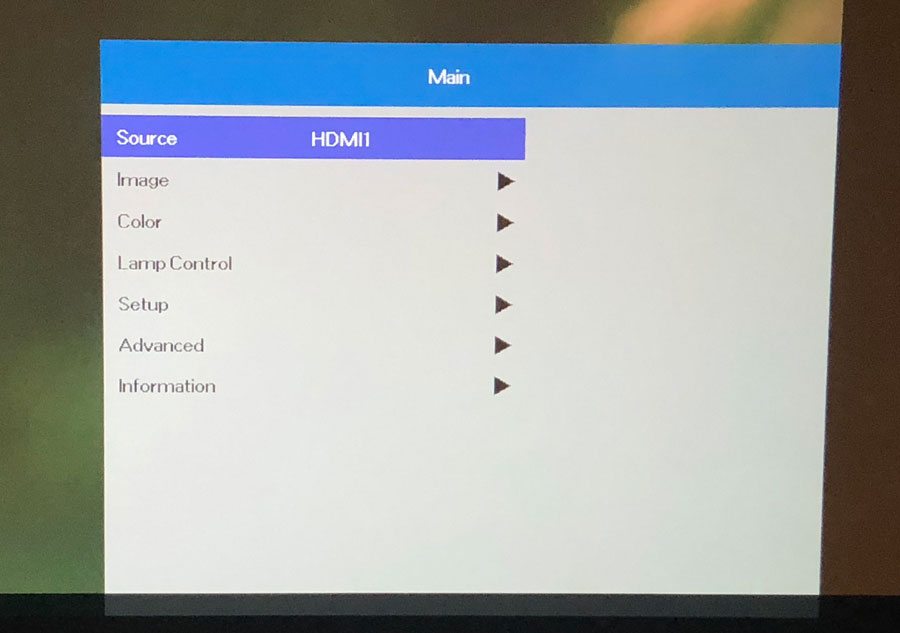
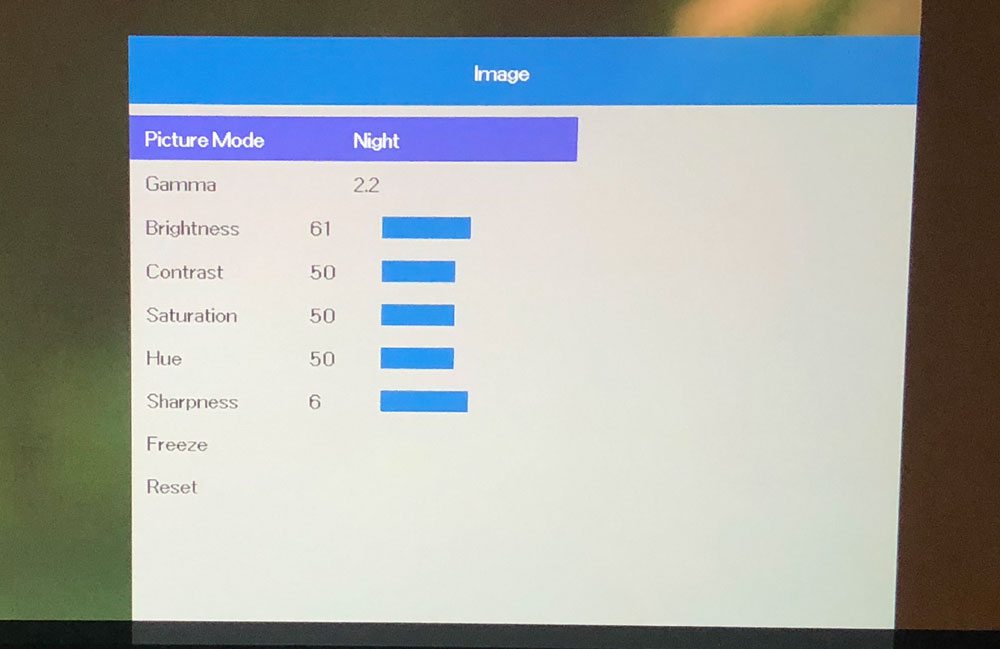
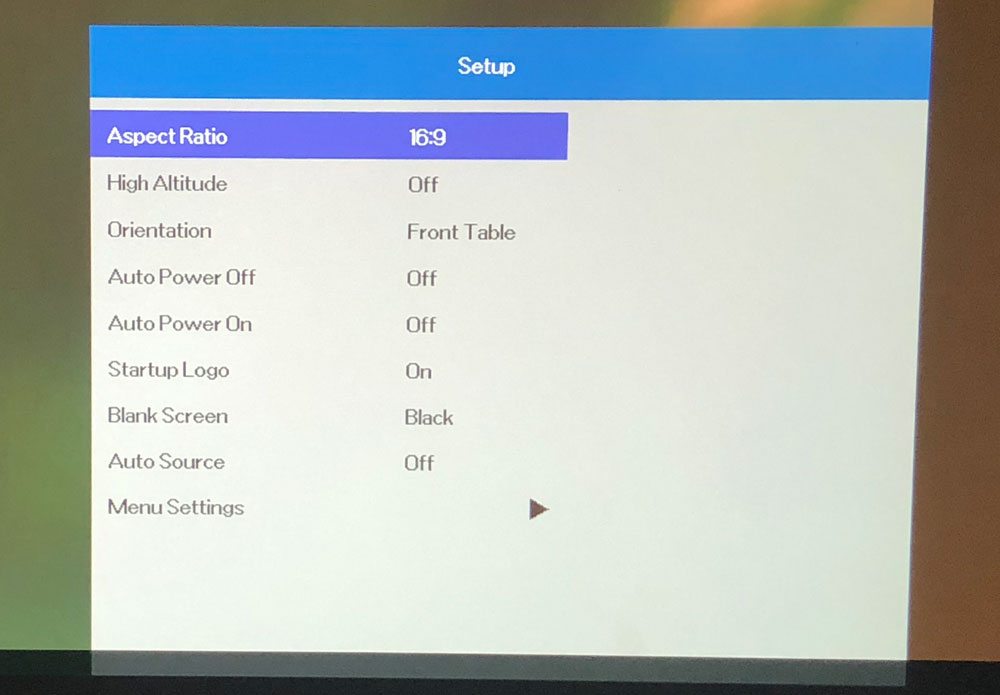
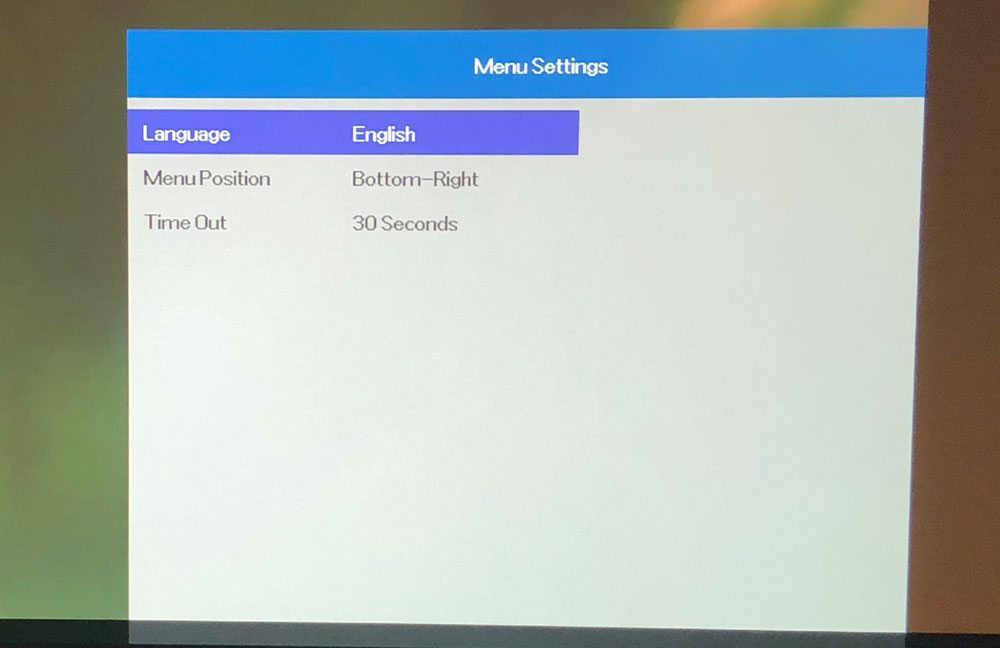
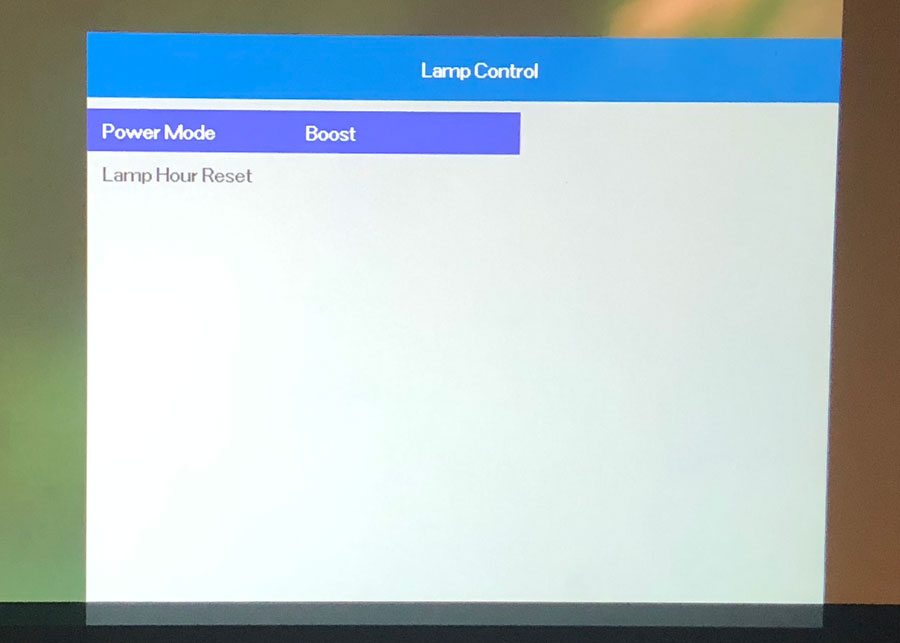
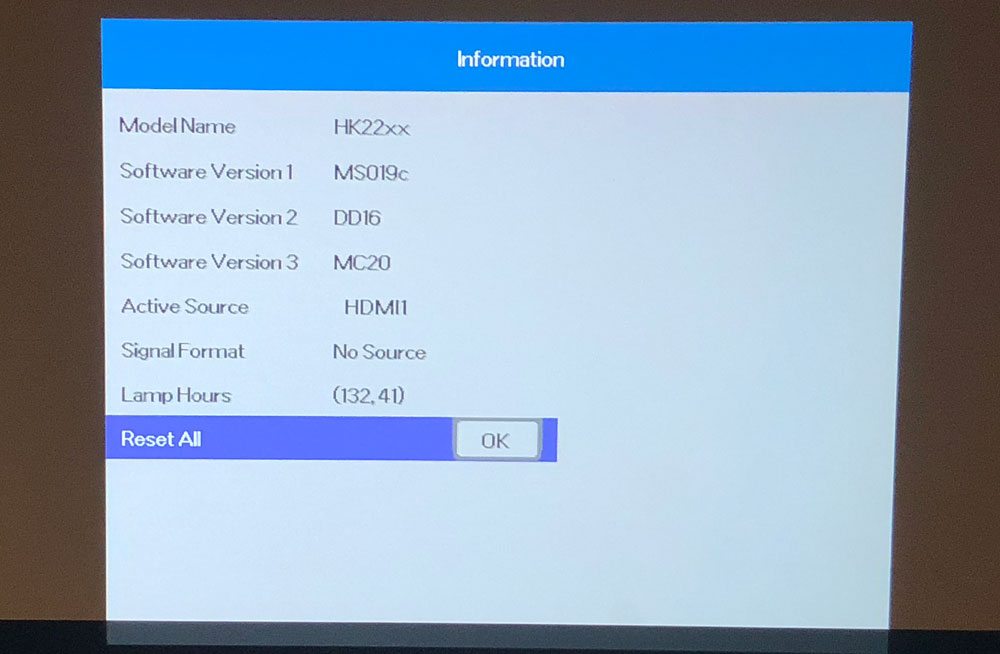
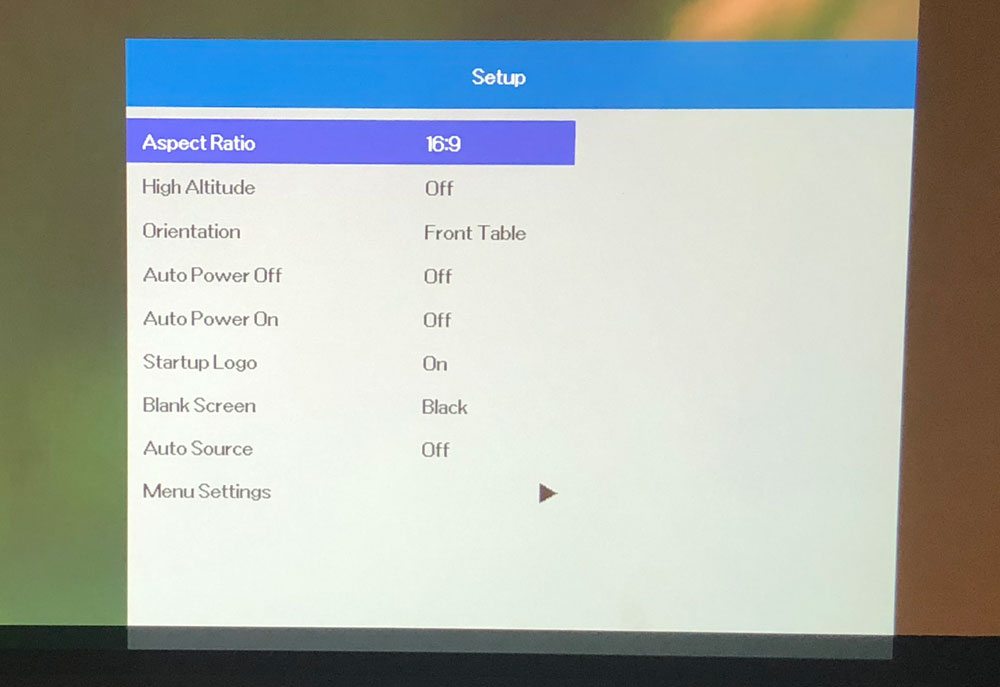
There aren't a whole lot of menus.  And for the most part, they are pretty self explanatory.  As I have mentioned, this is an especially "auto" aka, plug and play oriented projector.

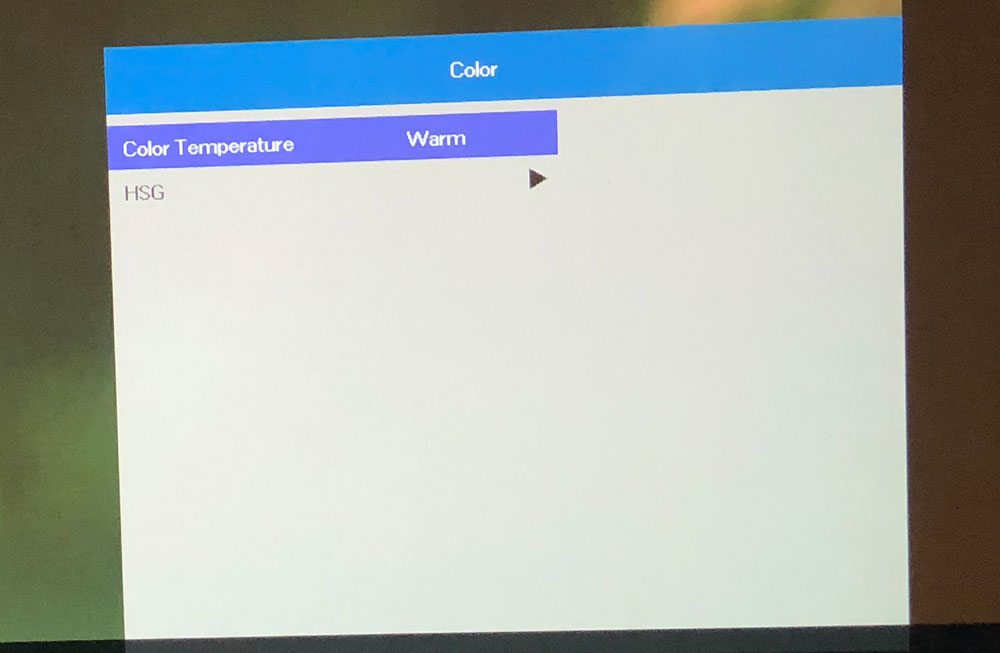
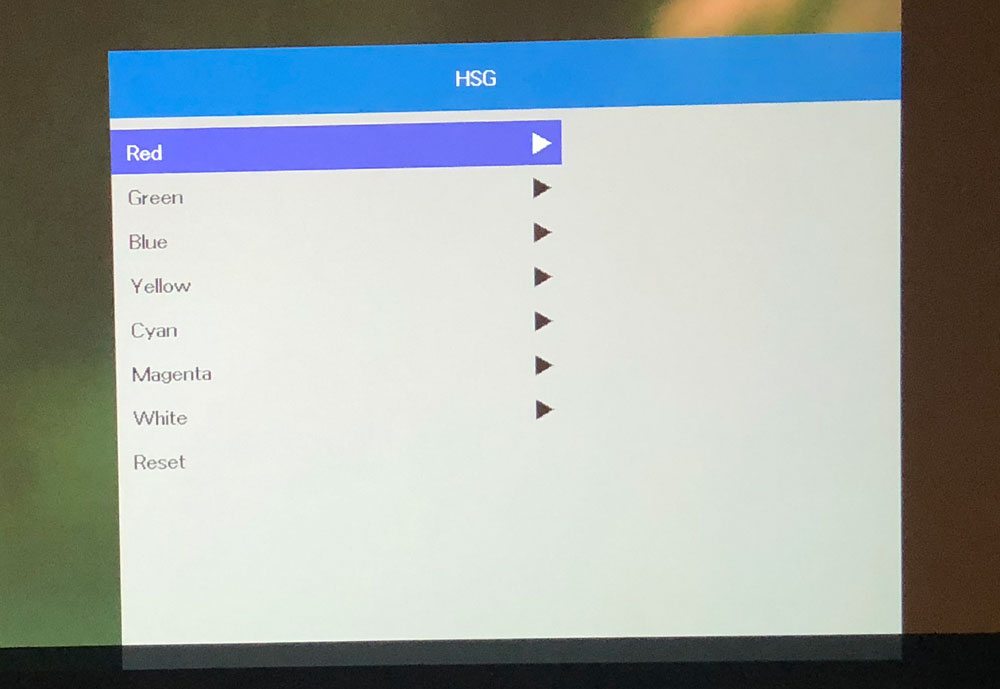
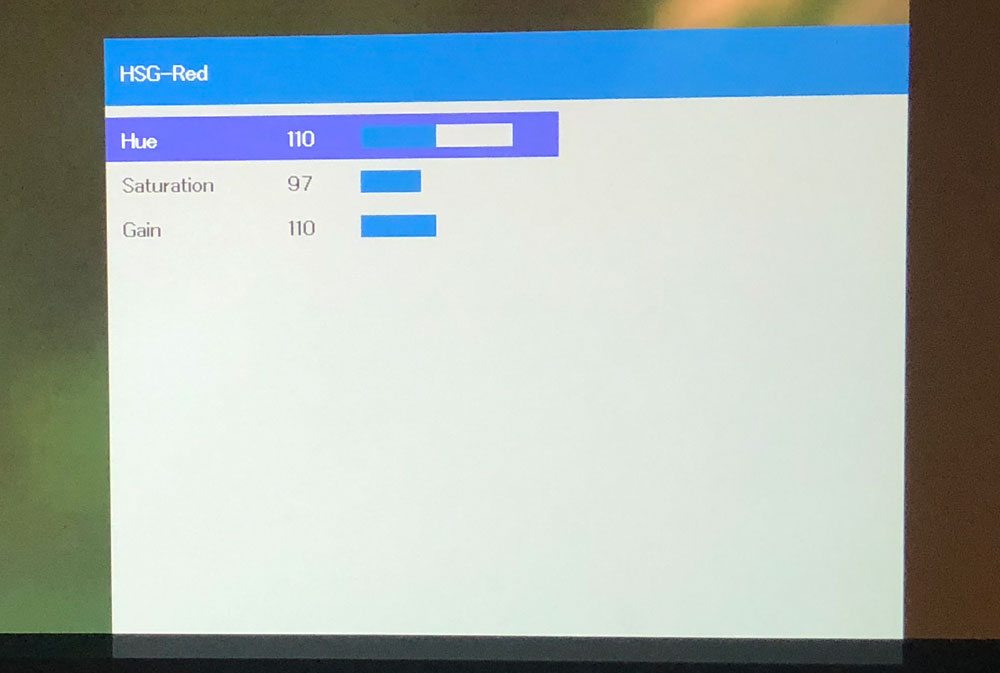
I would have liked to see a more complete set of color controls. There's a nice, full CMS for calibrating the individual primary and secondary colors, but when it comes to adjusting the greyscale to have the correct balance of red green and blue, Vivitek provides only a single gain control, rather than dividing up the range from 0 (black) to 100 IRE (white) over two controls for better results.  Still, the final results Eric came up with in his calibration look pretty darn good, even if the better controls would have, no doubt, slightly improved the overall color accuracy.

© 2024 Projector Reviews

crossmenu linkedin facebook pinterest youtube rss twitter instagram facebook-blank rss-blank linkedin-blank pinterest youtube twitter instagram