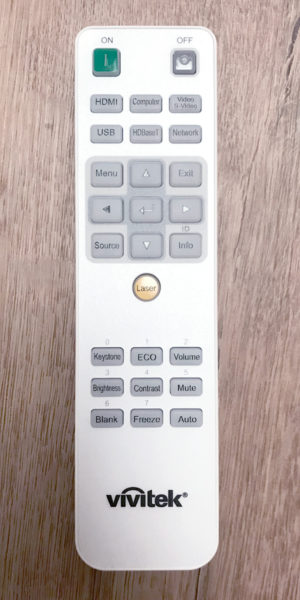
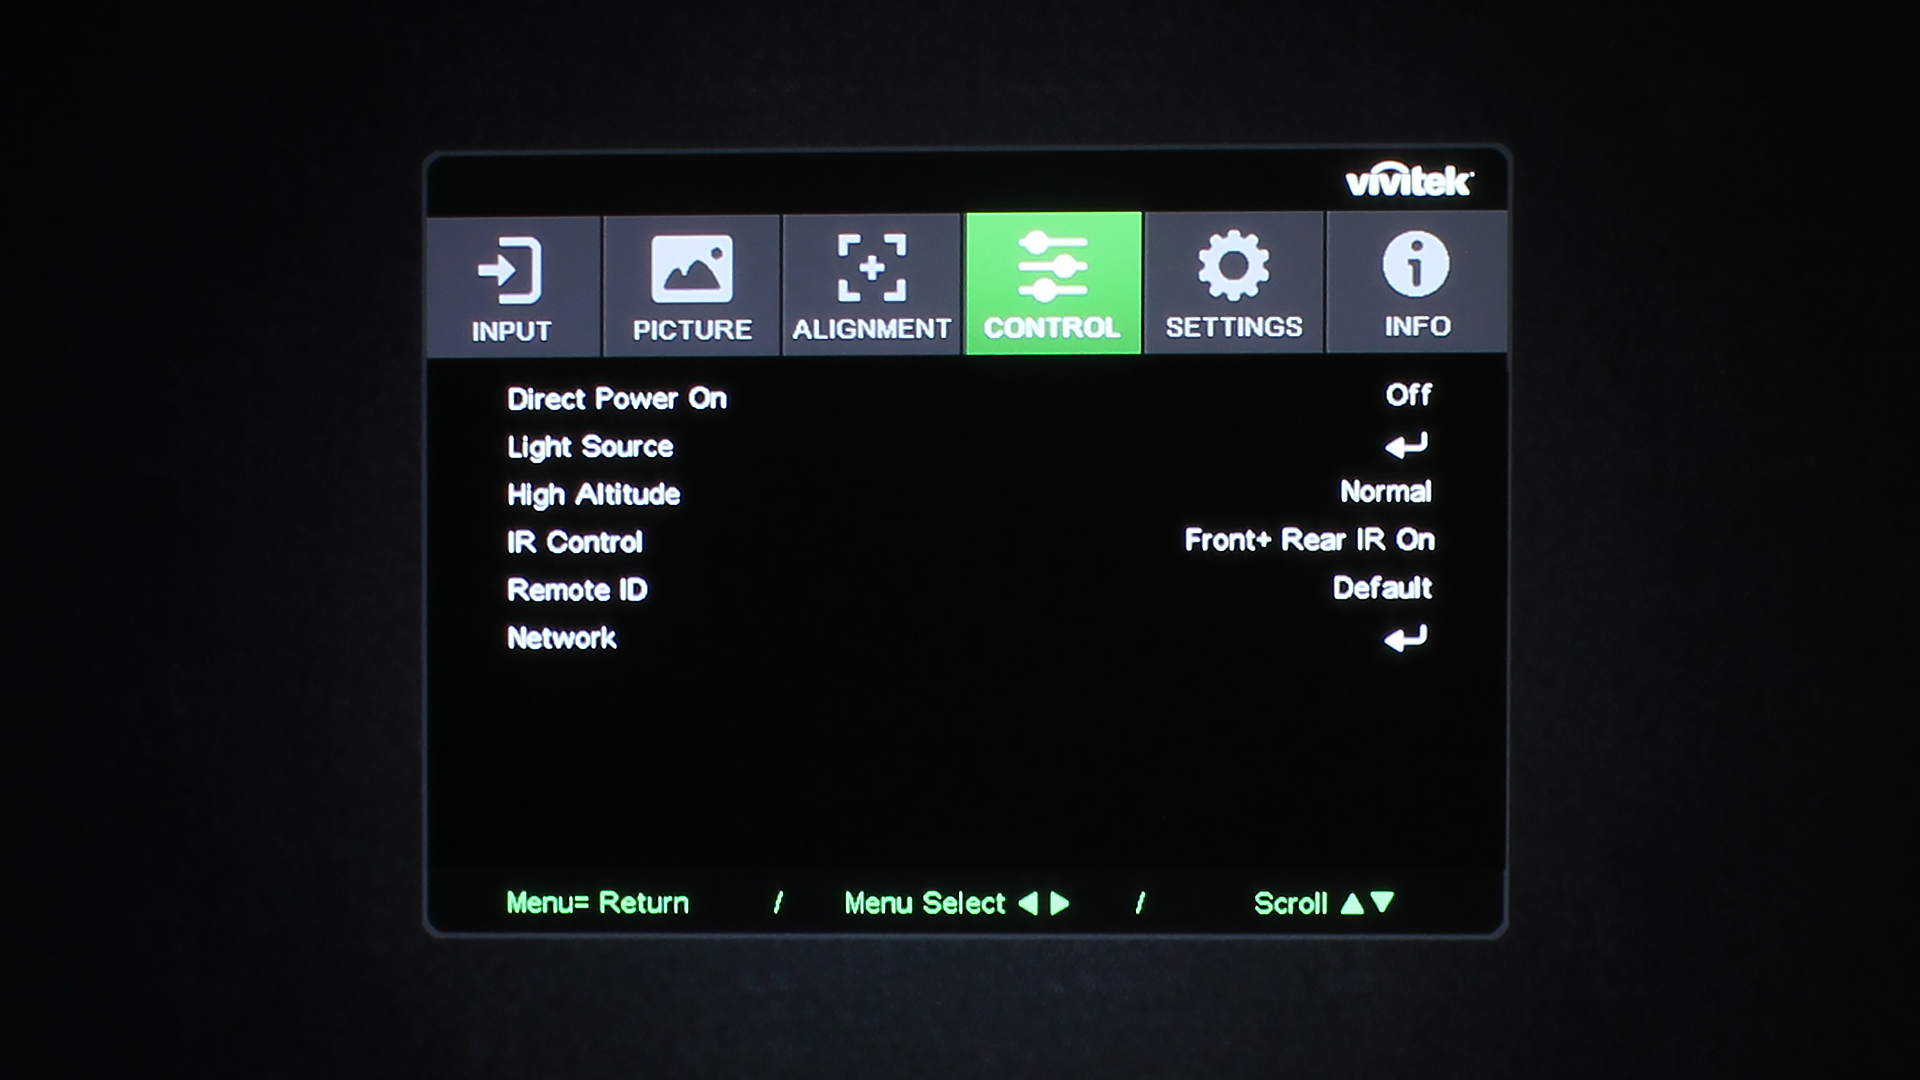
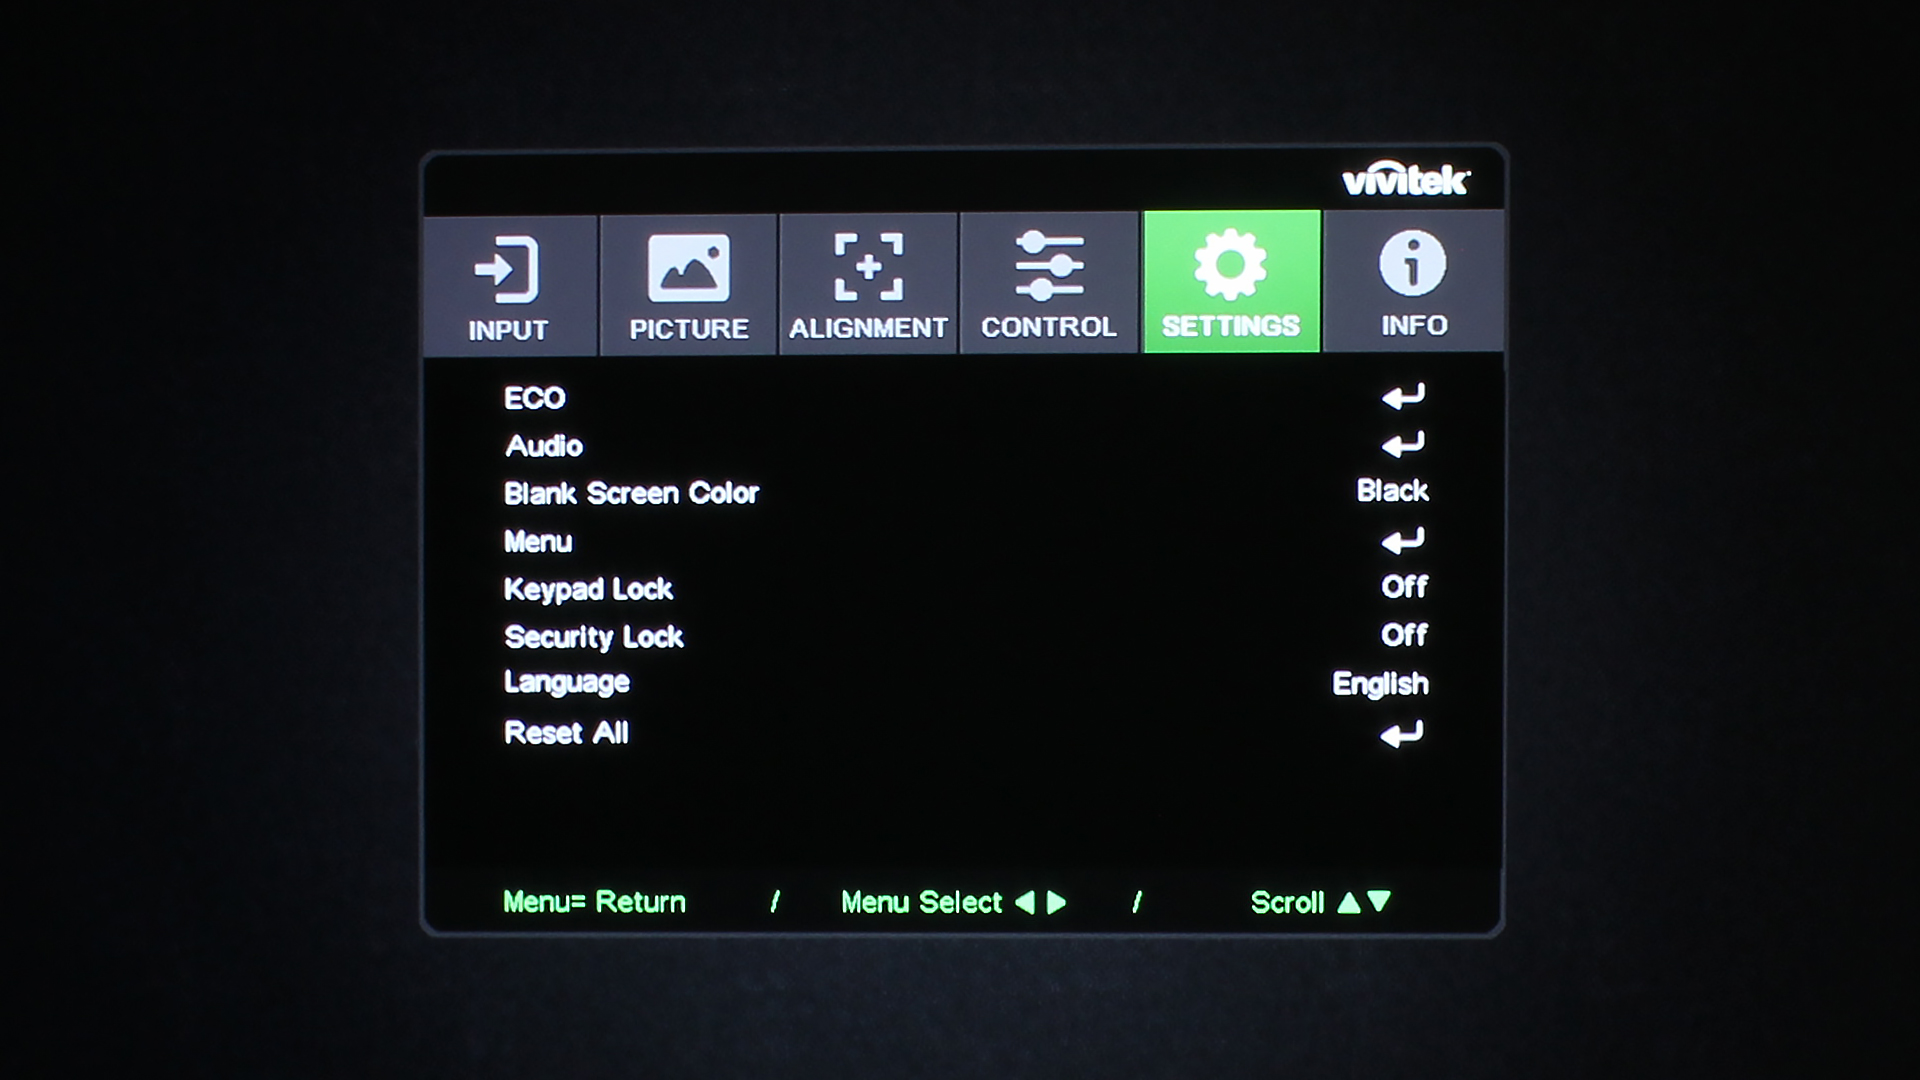
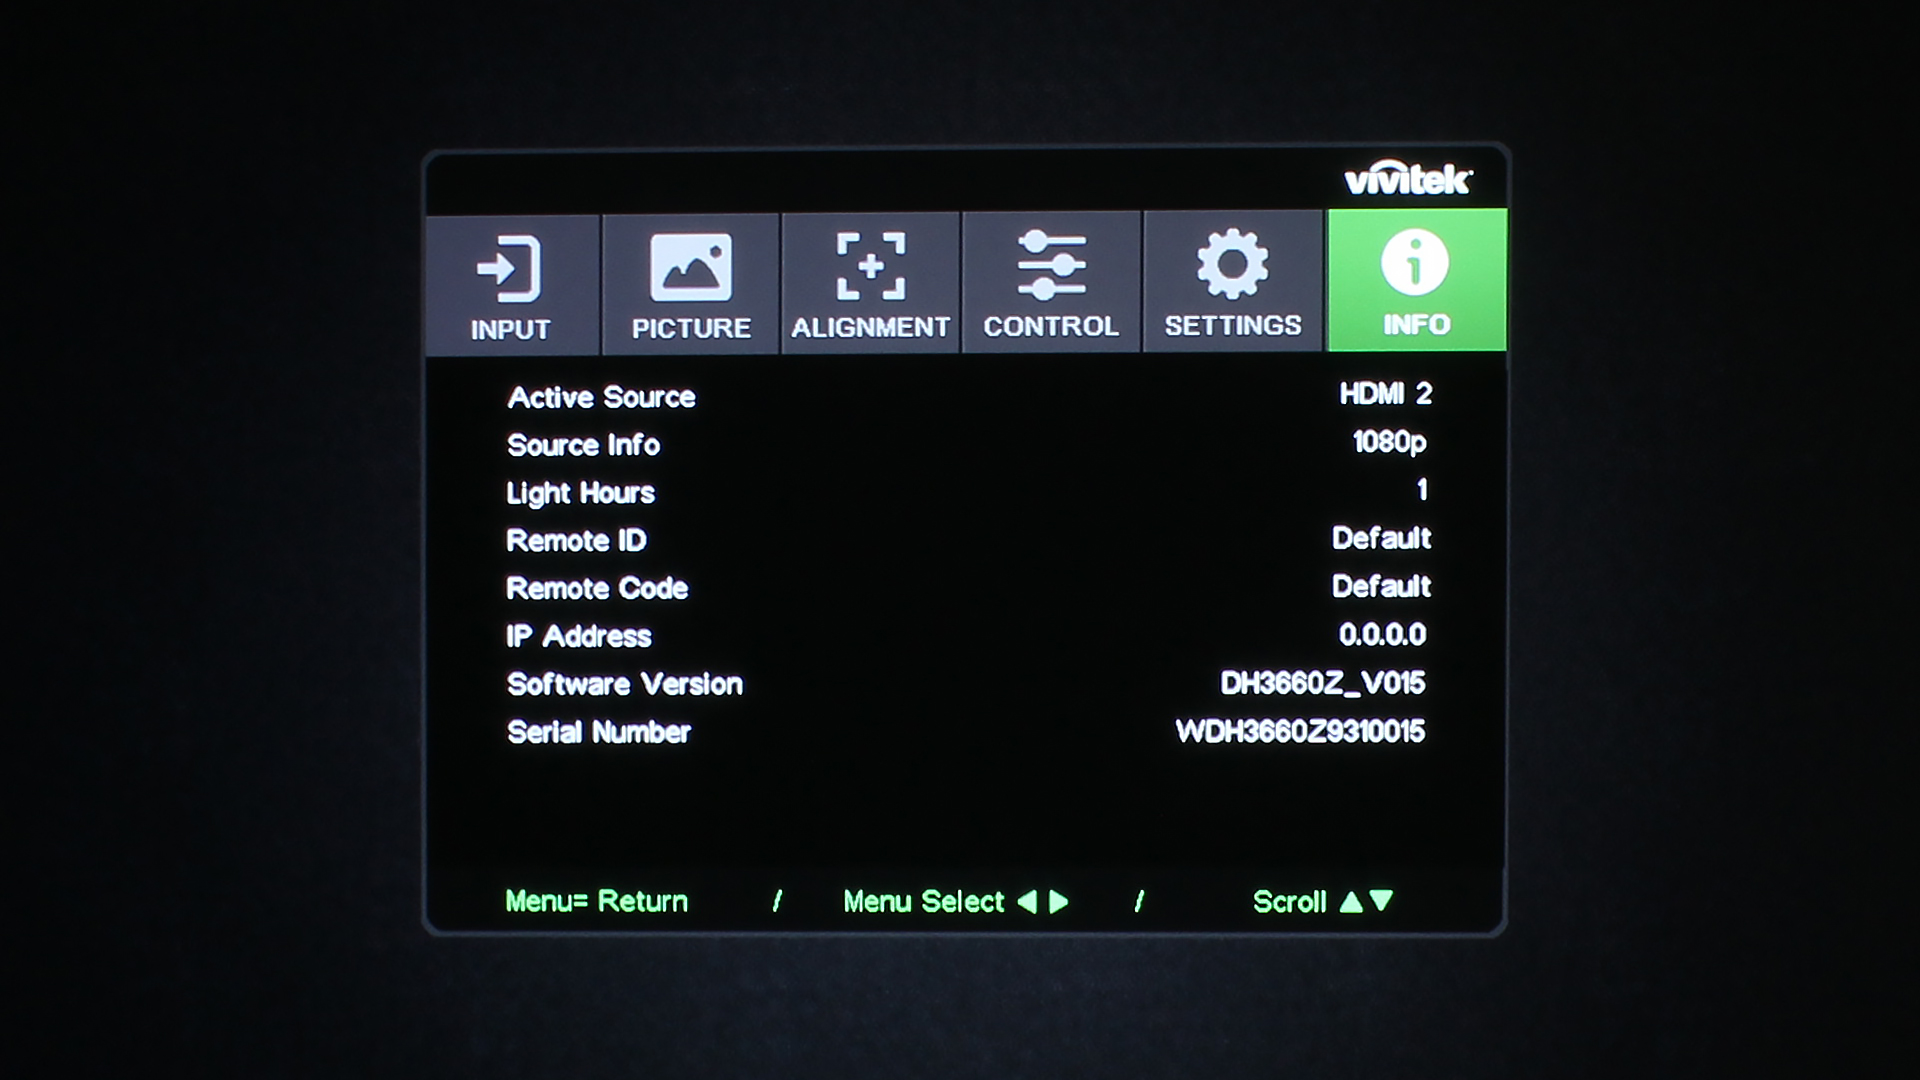
The remote control for the Vivitek DH3660Z is lightweight, and white in color. White is best for business and education projectors such as this, as it makes the remote easier to see in a darkened room. With the high lumen output of this projector, though, you don’t need to darken the room as much as you might with other projectors. Still, Vivitek gets a point for pairing this projector with a white remote, in my book.
This remote control is quite simplistic – a no-nonsense remote for a no-nonsense projector. The top section of the DH3660Z’s remote control consists of just two buttons – On and Off – simple enough. The section below consists of six buttons, each corresponding to a specific input. Those are: HDMI, Computer, Video/S-Video, USB, HDBaseT, and Network. This projector does not support HDBaseT – it is common for projector manufacturers to use the same remote for many of their projectors, and not all projectors have the same features, such as HDBaseT.
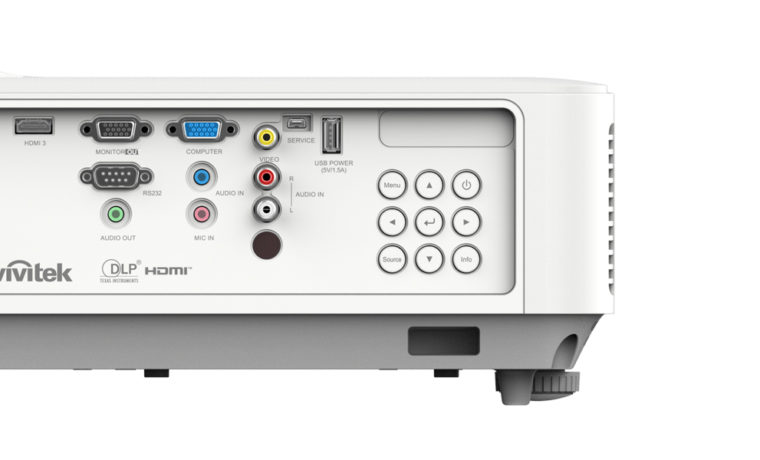
The next configuration of buttons is the navigational arrows, surrounding the Enter Button. This follows the same configuration as the control panel of this projector – each corner has its own button (starting from the top left, circling back to the bottom left): Menu, Power, Info, Source. The Right Arrow Button also serves the dual purpose of opening up the projector’s ID info.
Directly below this configuration is a single button: Laser. The Laser Button, when held, produces a laser pointer that can be used in presentations to point to specific parts of the screen. Highly useful for those who do not wish to stand directly in front of the screen and get an eyeful of light from the projector.
The final section of the remote control has nine buttons, each serving a particular function on the projector. The top row has the Keystone, ECO, and Volume Buttons. The middle row has the Brightness, Contrast, and Mute Buttons. The bottom row has the Blank, Freeze, and Auto Buttons. That does it for the remote control! Now, onto the menus.

