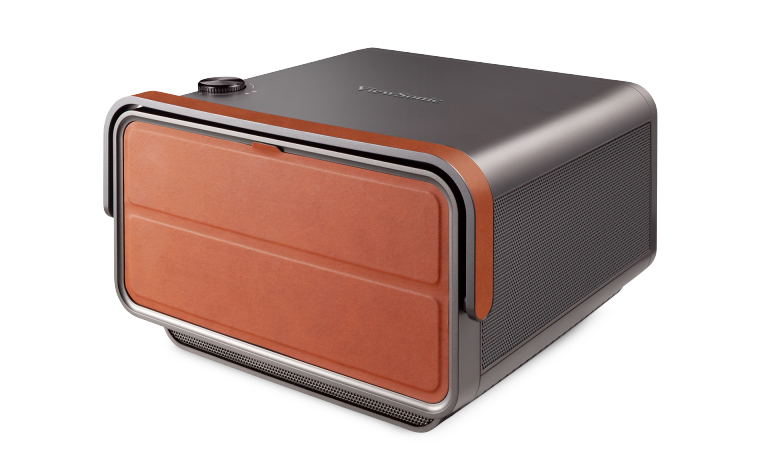
The Inputs and Connectors panel is hidden behind an attractive, brown leather door that flips down to reveal the projector’s ports. This door is magnetic – when you flip it down, the top half of the flap secures to the bottom half. You can also remove it completely if you’d like, but I think it looks great to leave it on, so I did.
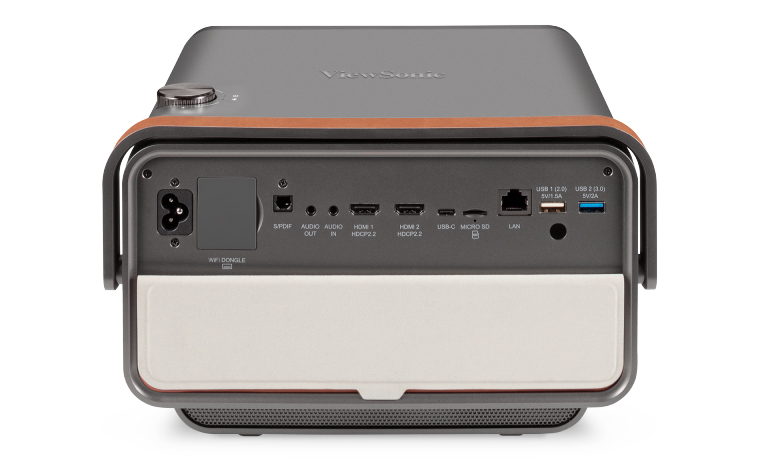
As for the inputs and connectors themselves, the panel is super simple. It has everything one needs for home entertainment purposes. Starting from the left, we have the AC power cord inlet next to a small door that, when opened, reveals the input for the Wi-Fi Dongle ($129.99 Retail), which is included with your purchase of this ViewSonic.
To the right of the Wi-Fi Dongle input is an S/PDIF signal output socket, followed by an Audio Out and Audio In port. Next to those are two HDMI inputs – both do HDCP 2.2 for accepting 4K content. The projector comes with one HDCP 2.2 HDMI. If you need another, make sure it is HDCP 2.2 so you can enjoy 4K content from your external source.
Following the two HDMIs is a USB-C port for connecting external devices like phones, tablets and computers to stream content directly from those devices to the projector. The ViewSonic X10-4KE comes with a USB-C cable as well, so no need to purchase one if you don’t already have one. To its right, there is an input for a Micro SD card to use with the onboard media player. That card is not included.
There is a LAN connector to hardwire your internet into the projector, should your Wi-Fi be spotty. I used this when I was experimenting with the projector’s built in Netflix app, trying to get it to be higher resolution than 480p. Alas, this is not possible, as the app doesn’t do better than DVD quality.
Next to the LAN connector are two USB Type-A ports. Also, on the back of the projector are a reset button and an IR sensor for the remote control. As you can see, you have plenty to work with in terms of inputs and connectors when it comes to the ViewSonic X10-4KE. Now, onto the lens!