Overview
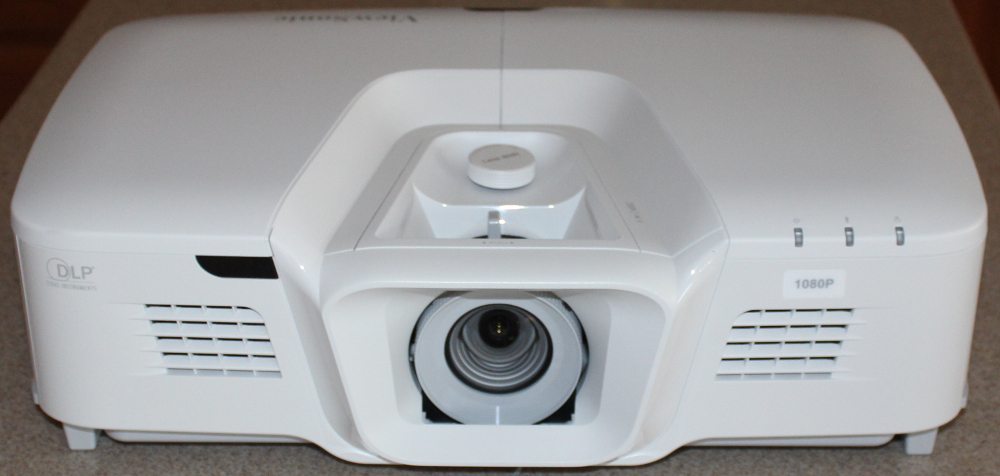
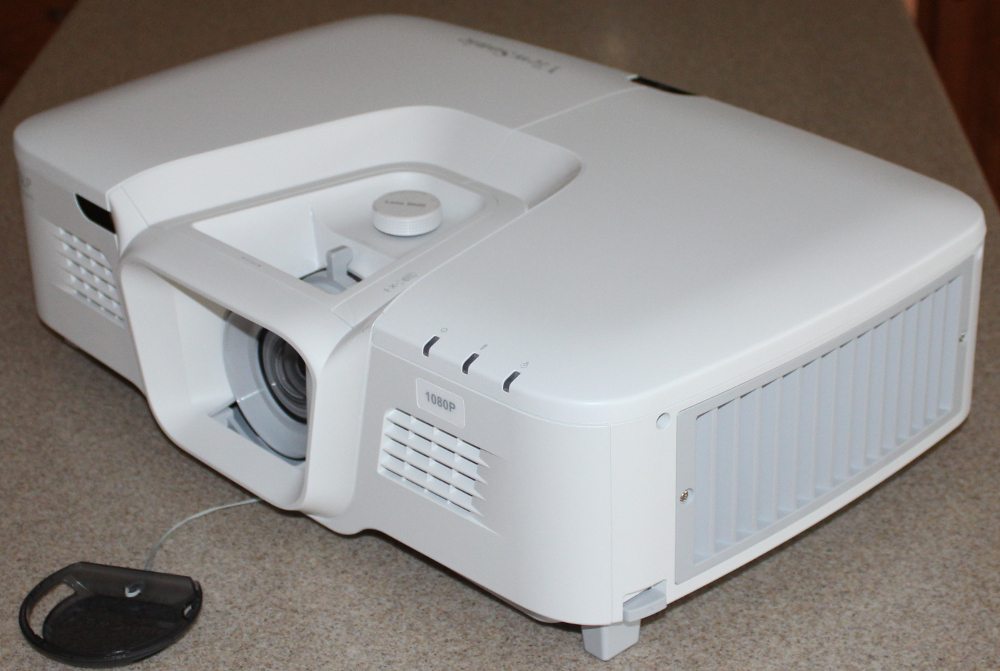
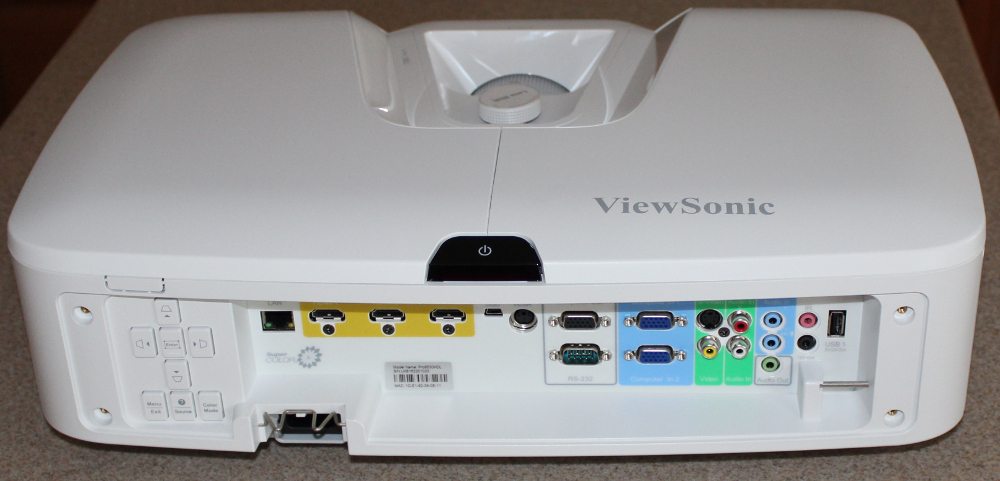
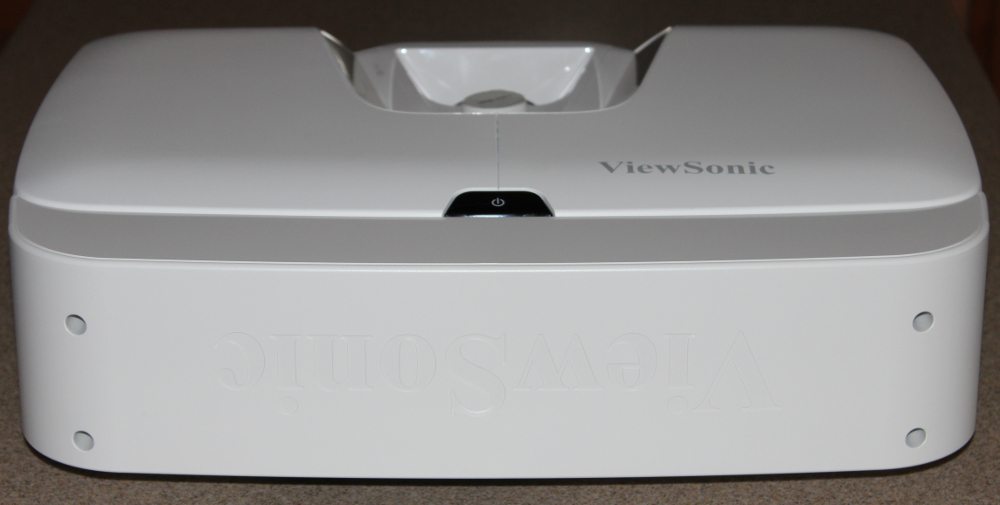
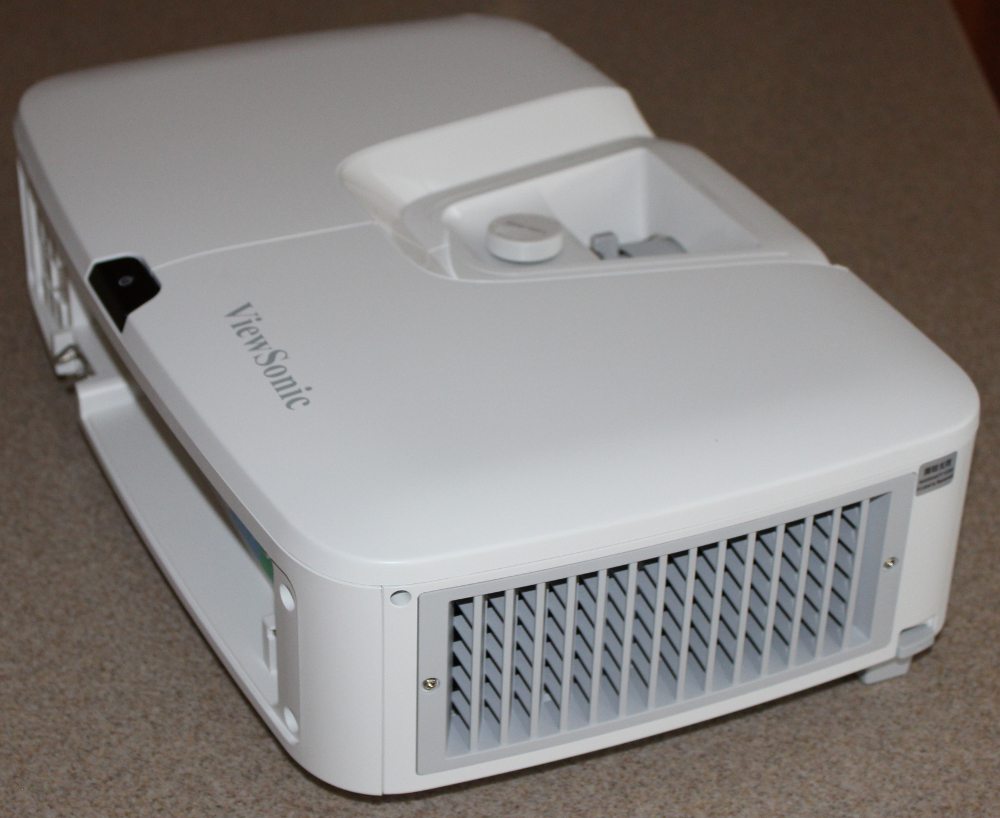
The PRO8530HDL is shown in the above photos. As seen in the 1st photo above, the front of the projector has the lens mounted at the center position. There are speaker grills both to the right and left of the lens, a window for the receiver for the remote control is to the left of the lens and 3 status lights are along the top-right edge of the front panel (and front edge of the top panel). The right side of the projector, as shown in the 2nd photo above has a large air inlet grill. The rear of the projector is shown in the 3rd photo above with the cable cover removed and in the 4th photo with the supplied cable cover installed. The 5th photo shows the left side of the projector with it's large air exhaust grill.
[sam_pro id=1_108 codes="true"]
Connector Panel

The PRO8530HDL's rear connector panel is shown in the above photo. From left to right are the LAN port, three HDMI inputs, mini-USB port, VESA 3D sync. port (for use with an external 3D emitter), computer VGA style analog output (top), RS232 serial port (bottom), VGA style analog inputs (X2), S-video (top) and composite (bottom) video outputs, stereo audio outputs, audio line level input (top), microphone input (middle) and audio output (bottom) connectors, IR (top), 12 volt trigger (bottom) connectors, and a USB connector.
Control Pad
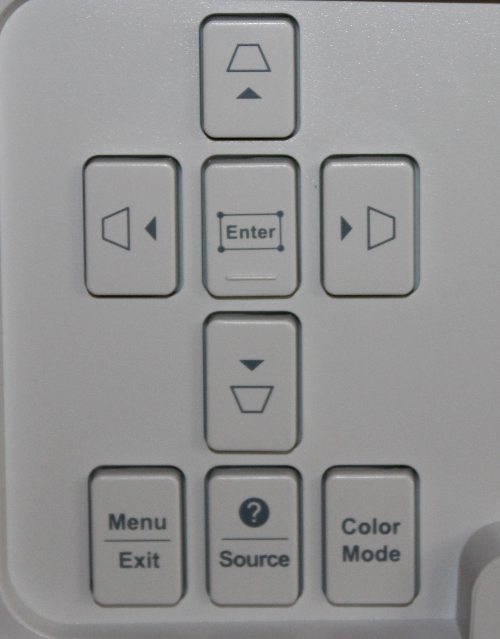
The PRO8530HDL's control pad is shown in the above photo. This control pad is located on the rear panel just to the left of the connector panel. There is also a power button located at the center-rear of the top panel of the projector. The buttons on the control pad allow the user to display the projector's menus and to navigate and make selections using the 4-way navigation buttons. These same buttons also do double duty by adjusting the projector's vertical and horizontal keystone. Also included are buttons for selecting the signal source and the projector's color mode.
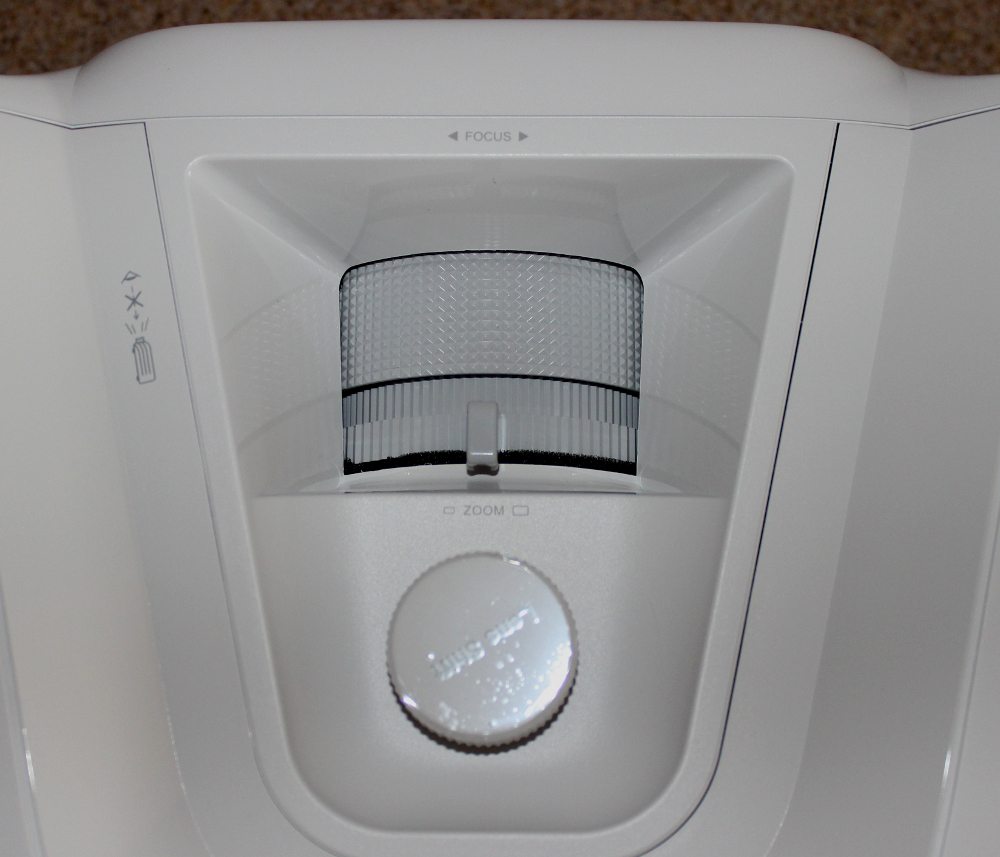
The focus ring, zoom ring w/tab and vertical lens shift knob are all mechanical and are located just above the lens at the front-center of the projector's top panel, as seen in the photo above. This is a 1.6X zoom that at maximum zoom offers a moderately short throw ratio of approx. 1.06. This means for a 100 diagonal screen, which is just over 87 inches wide, the projector can be placed as close at 93 inches from the screen (i.e., lens-to-screen throw distance).
Menus
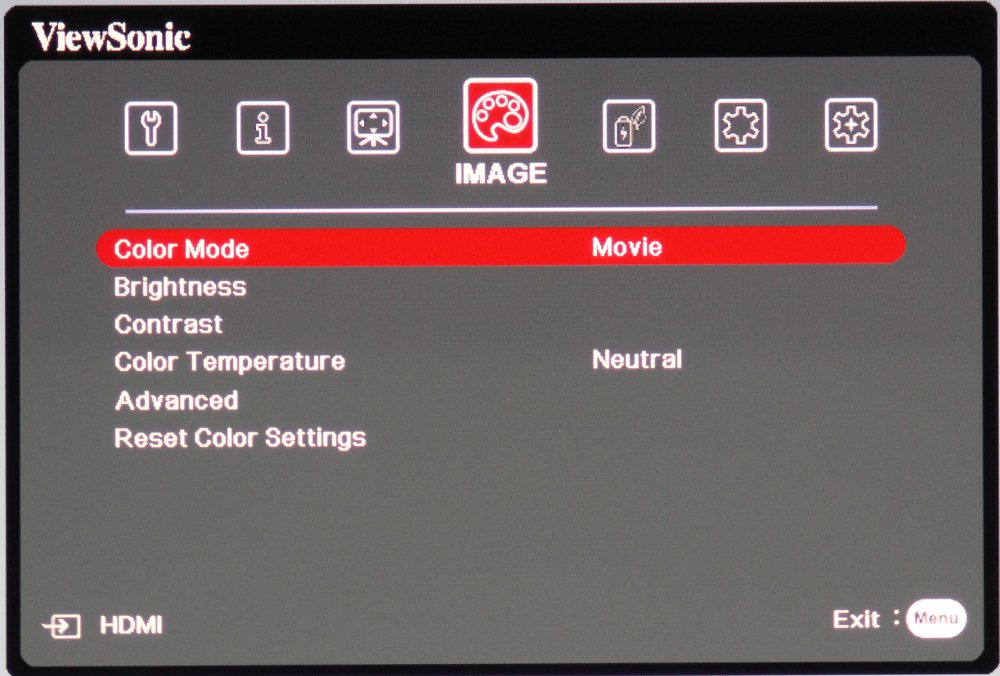
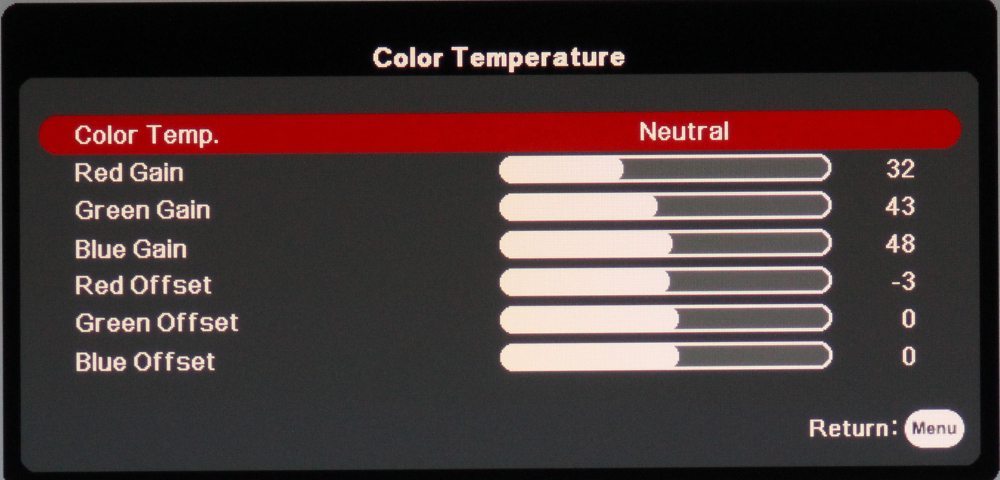
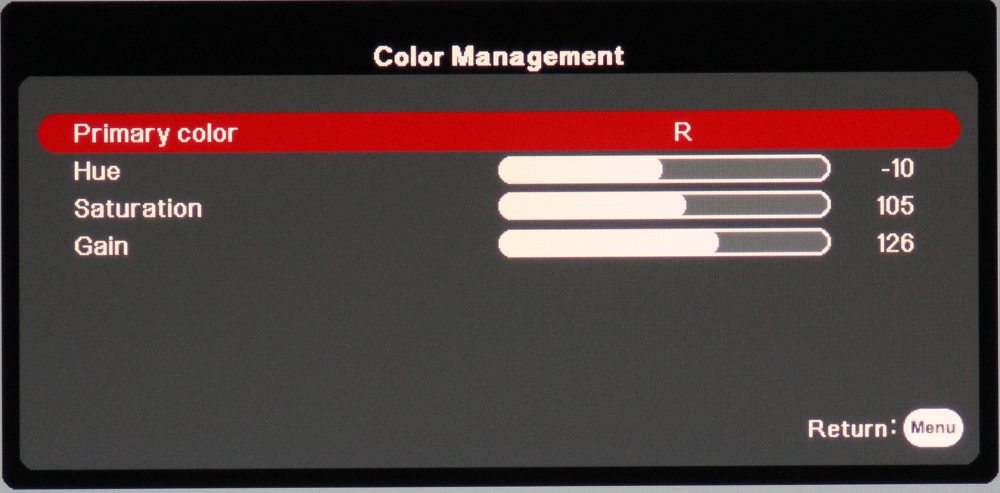
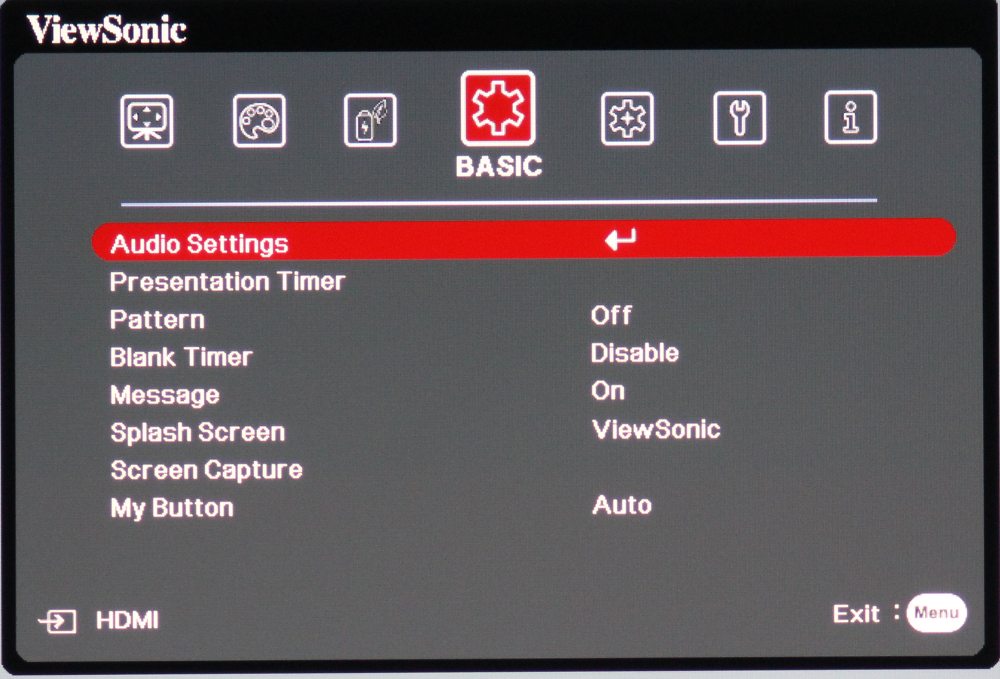
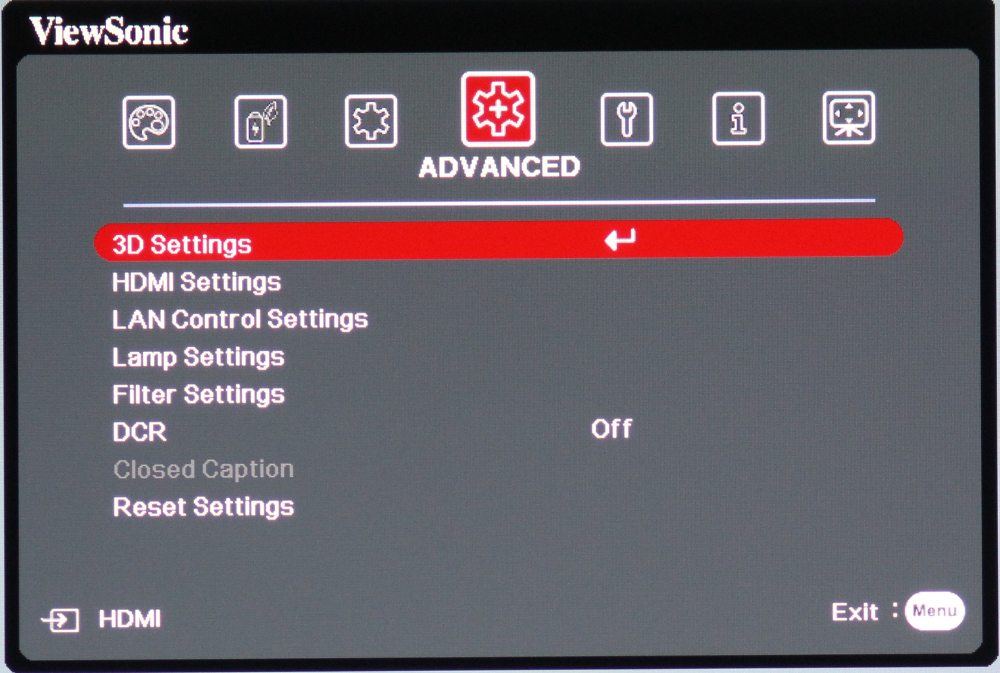
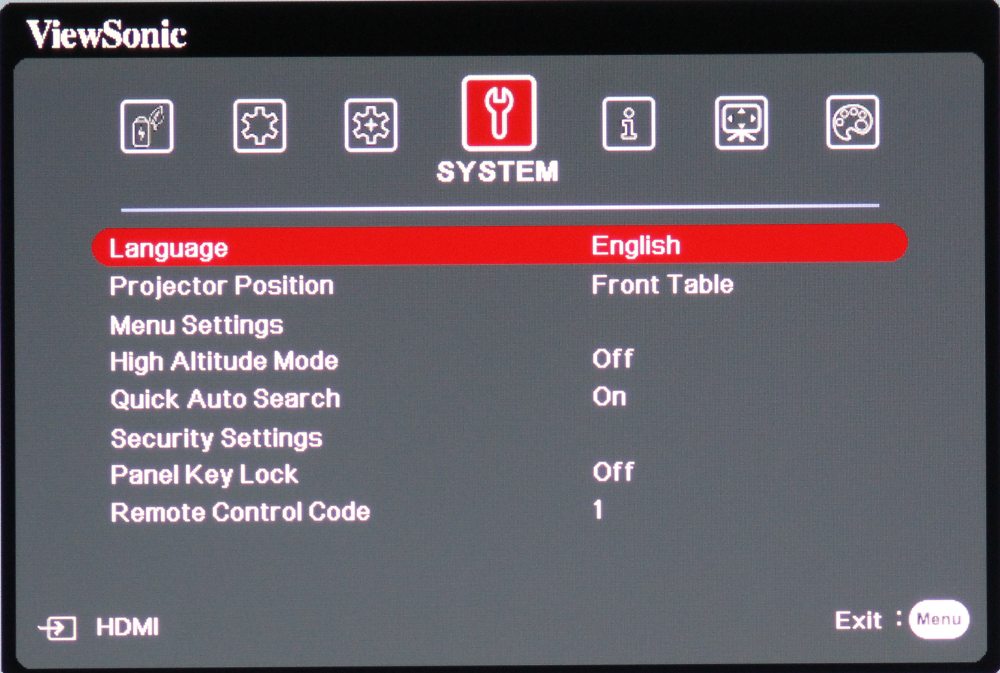
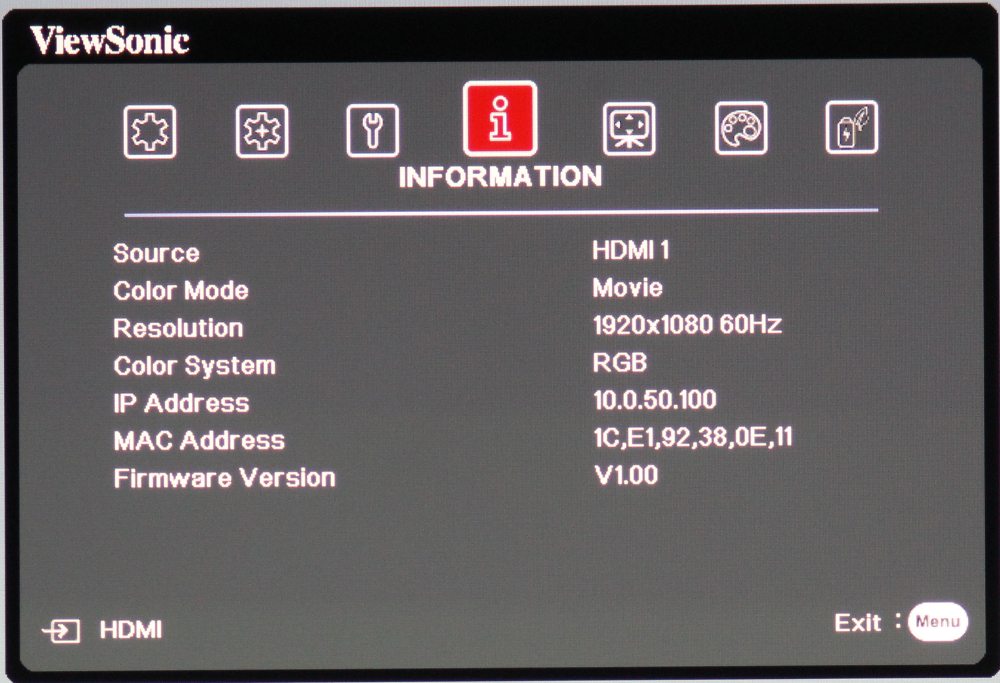
The PRO8530HDL has a rather straight forward menu structure. When you press the Menu button, on either the projector’s control panel or the remote control, a top-level menu is displayed as shown in the 1st gallery photo above. This photo gallery shows the top-level menu for each menu category, but only a sample of the available sub-menus are shown above.
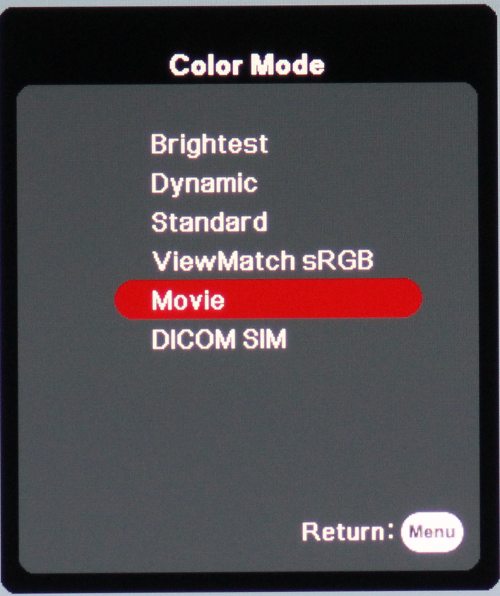
The desired menu category is elected via the row of icons displayed across the top of the menu (as seen in the 1st gallery photo above). The 1st gallery photo above shows the top-level "Image Menu" while the 2nd thru 5th photos show sub-menus that are accessed via the Image Menu.
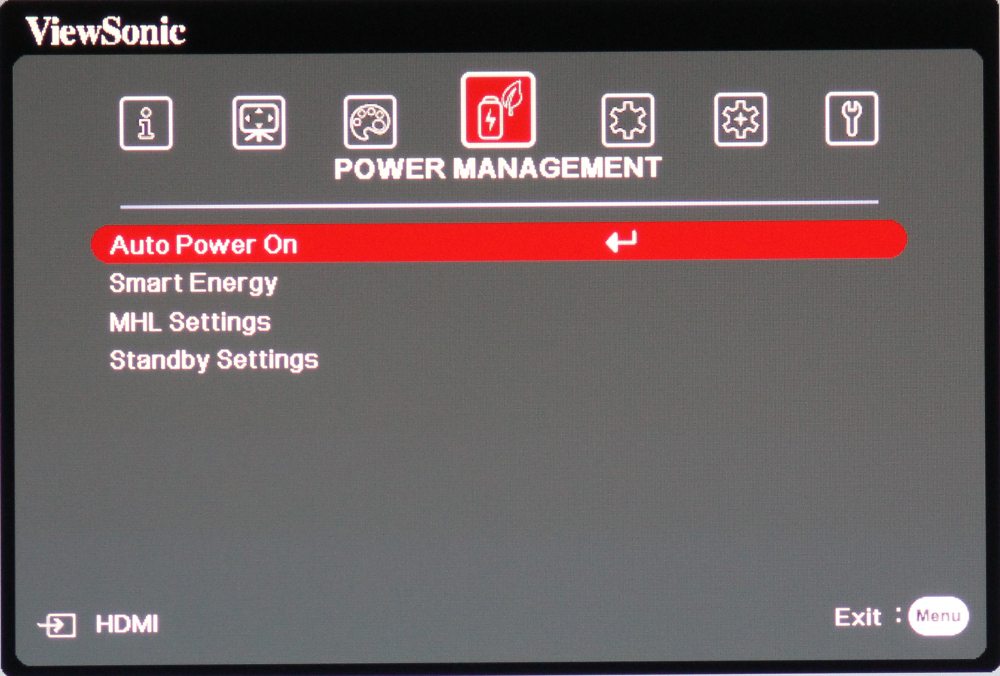
The 6th above photo shows the top-level "Power Management" menu while the 7th photo shows the top-level "Basic" menu.
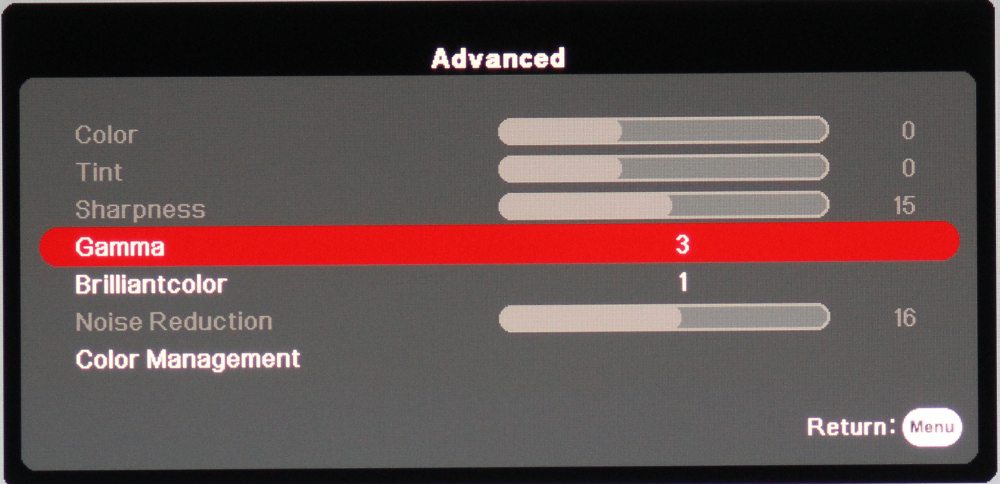
The 8th above photo shows the top-level "Advanced" menu and the 9th photo shows the top-level "System" menu.
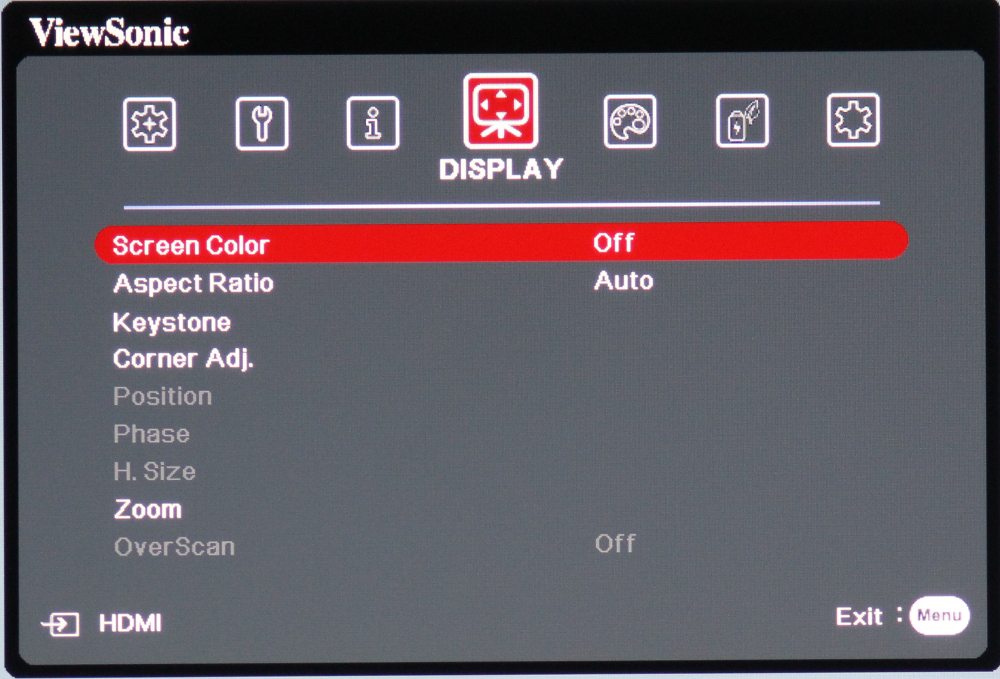
The 10th above photo shows the top-level "Information" menu and the 11th above photo shows the top-level "Display" menu.
Remote Control
The supplied remote is a rather small unit that lacks any backlight for the buttons. The power button is located at the top-left corner and below that are source input buttons. Next down are the 4-way navigation buttons that also due double duty for the projector's keystone adjustments. Below that are buttons to display the on-screen menu and to exit the menu. Below those are buttons for when the projector is connected to a computer and the remote is being used to control presentations. The lower group includes buttons to control the built-in speaker's volume, to select the picture color mode, to place the lamp in normal or eco mode, etc.
 Click Image to Enlarge
