Projector Reviews Images

Sony VPL-VW695ES Home Theater Projector Review- Hardware 2

Posted on March 23, 2020 by Art Feierman

VPL-VW695ES – Hardware 2:  Remote Control, Menus

VW695ES Remote Control

This Sony remote is very similar to other Sony remotes that have been provided with the many Sony home theater projectors we’ve reviewed.  Typically only a couple of the buttons are different from one remote to another. This remote control is the RM-PJ24.

VPL-VW695ES_remote-control_2

Sony makes an excellent remote. This one used by several Sonys with Lens Memory.  Backlight (pale blue) could be a touch brighter. I prefer orange backlights as the easiest to read.

On the Sony remote’s first row, three buttons:  Light (backlight). The backlight is a soft blue – easy on the eyes, in a fully darkened room, but perhaps a little dim for some folk.

Input – pressing it brings up a small menu showing all the source inputs.  Each time you press the same button it toggles you through the choices, which, in this case, are only two – HDMI 1 and HDM 2.

And of course the top row has a Power button (it’s green), with the common scheme:  “Press once to power up, press twice to power down.”

Next, there are three rows of three buttons each – these are for eight preset picture modes (such as Bright Cinema, Reference, Cinema Film 2, etc.)

There are buttons for each of the eight provided modes plus one labeled User, where the user can create a ninth, custom mode based on one of the provided modes.

Below that, we find the directional keypad – four arrow keys in a circular formation, with Enter in the center.  Clockwise around the directional keypad, there are three curved buttons at the 10, 2, and 6 o’clock positions.  The bottom button is Menu, the one at 2 o’clock is Reset, and at the 10 o’clock position is the Position button.

The Position button lets you toggle through three sub-menus:  Focus, Zoom, and Lens shift.

As noted previously, the VW995ES has Lens Memory (the only 4K Sony without, is the VW295ES - the entry level $5K.) If you choose to go with a widescreen such as a 2.35:1 or 2:40:1 “Cinemascope” type screen, you’ll set the zoom and lens shift for each aspect ratio and size you will be using. Once saved:

Input – pressing it brings up a small menu showing all the source inputs.  Each time you press the same button it toggles you through the choices, which, in this case, are only two – HDMI 1 and HDM 2.

And of course the top row has a Power button (it’s green), with the common scheme:  “Press once to power up, press twice to power down.”

Next, there are three rows of three buttons each – these are for eight preset picture modes (such as Bright Cinema, Reference, Cinema Film 2, etc.)

There are buttons for each of the eight provided modes plus one labeled User, where the user can create a ninth, custom mode based on one of the provided modes.

Below that, we find the directional keypad – four arrow keys in a circular formation, with Enter in the center.  Clockwise around the directional keypad, there are three curved buttons at the 10, 2, and 6 o’clock positions.  The bottom button is Menu, the one at 2 o’clock is Reset, and at the 10 o’clock position is the Position button.

The Position button lets you toggle through three sub-menus:  Focus, Zoom, and Lens shift.

You can then press the Position button on the menu, if you want to change aspect ratios – like when you go from most movies (widescreen such as 2.35:1 Cinemascope) to standard TV’s 16:9.  Lens Memory essentially makes it a one button operation to go back and forth.  By comparison, with power lens shift and zoom like the smaller VW295ES you can still accomplish the same, but you spend a minute or so each time you want to change, instead of just selecting the size/aspect ratio you want next.

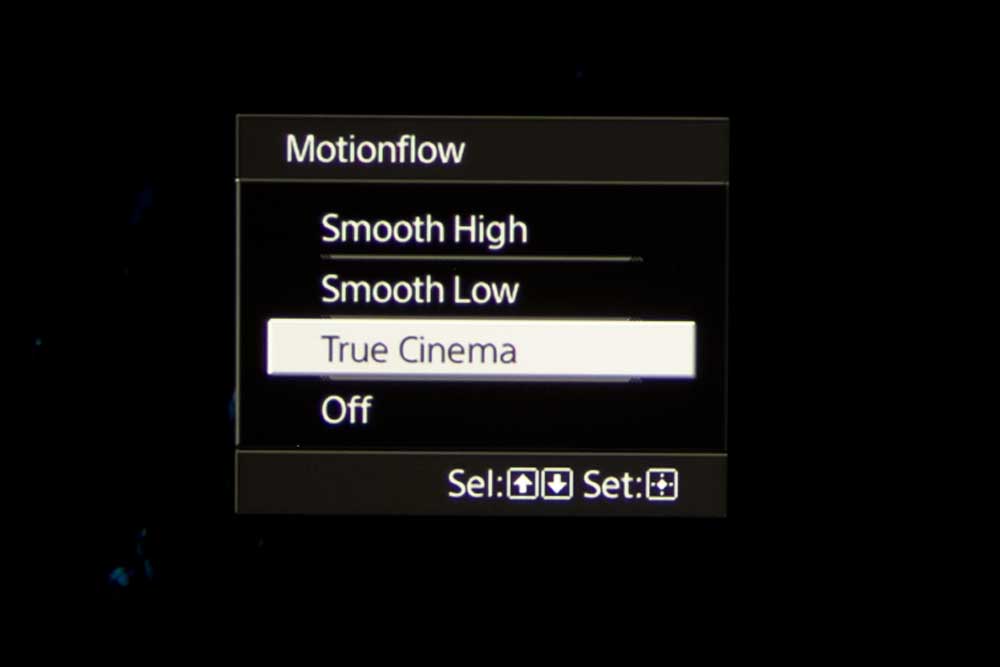
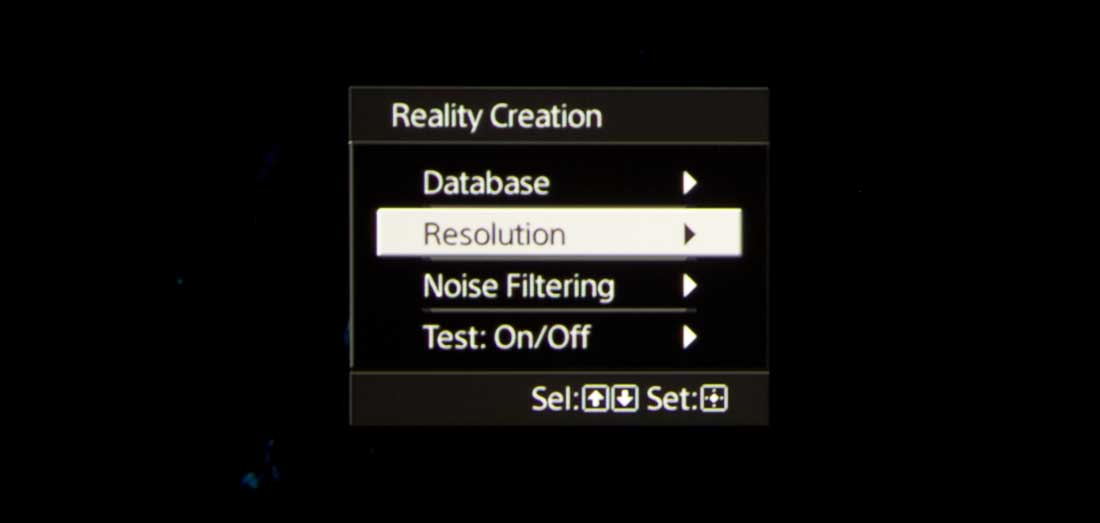
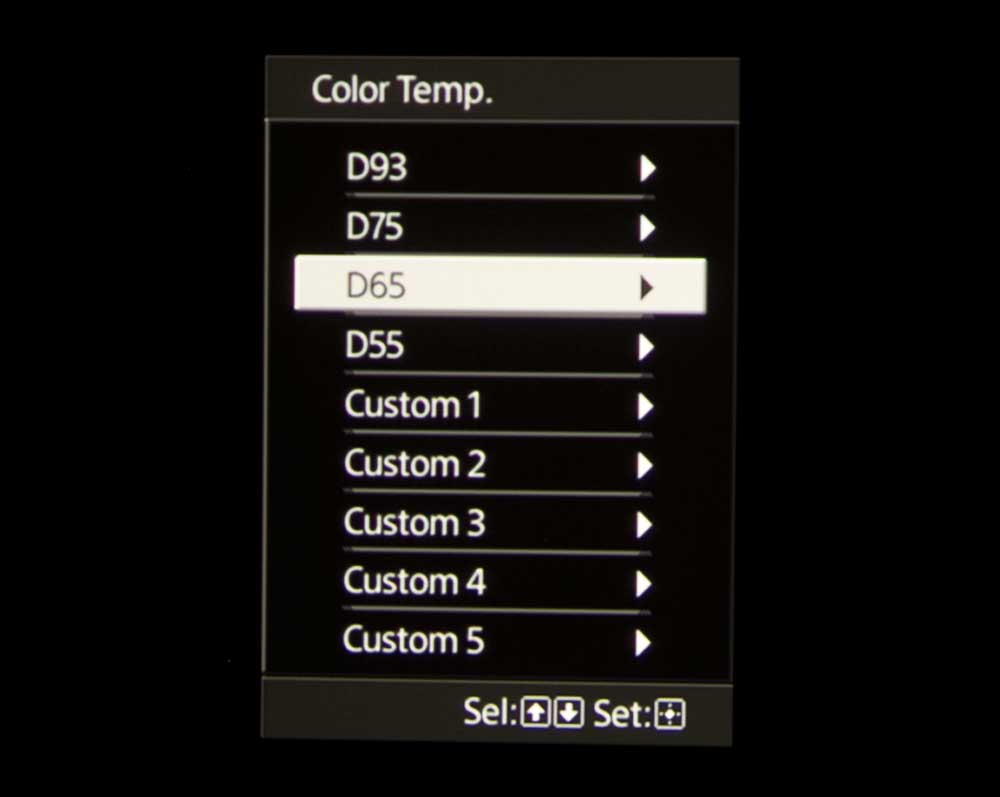
The next set of buttons – nine more to be precise, are shortcuts directly to the appropriate sub-menus.  These convenient buttons are: Aspect, MotionFlow (CFI), 3D, Color Space, Color Temp, Reality Creation (detail enhancement), Gamma Correction, Contrast Enhancer, and Advanced Iris.

There are three rocker switches toward the bottom, and those let you toggle Volume, Brightness, and Contrast.

The Menus

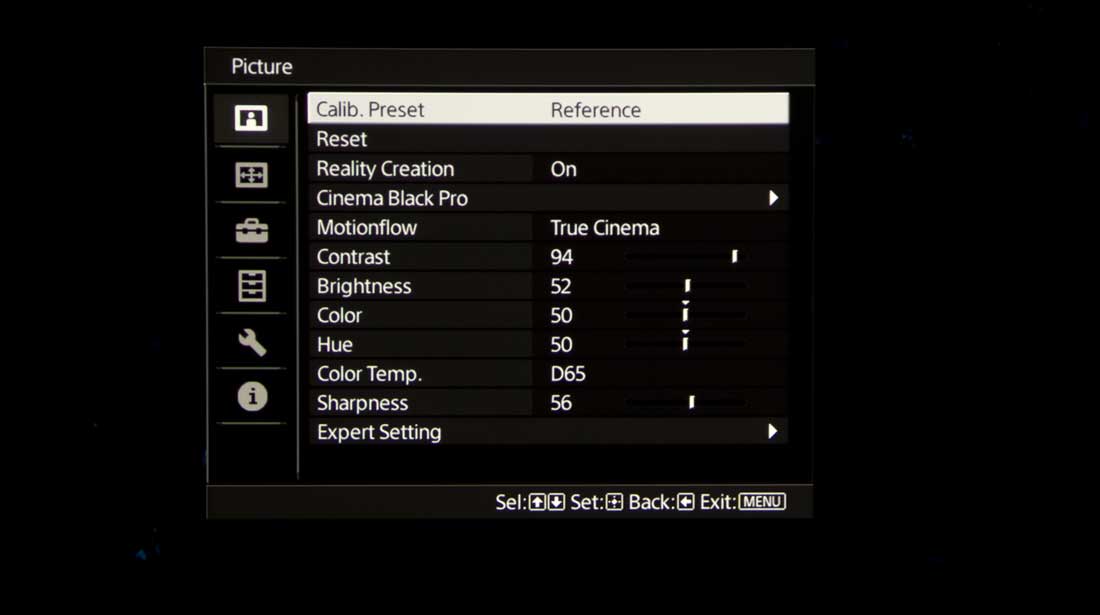
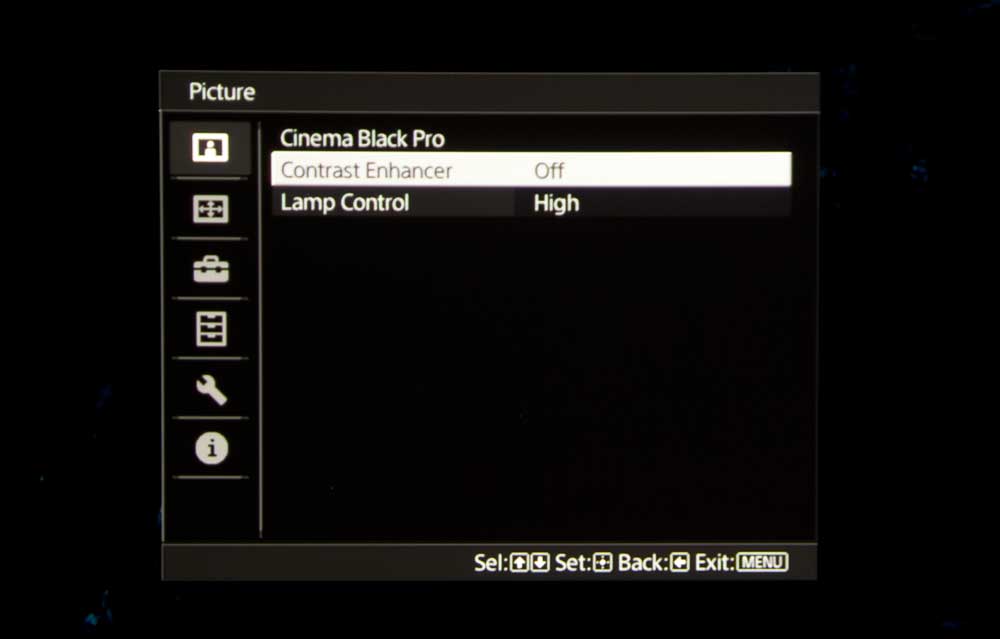
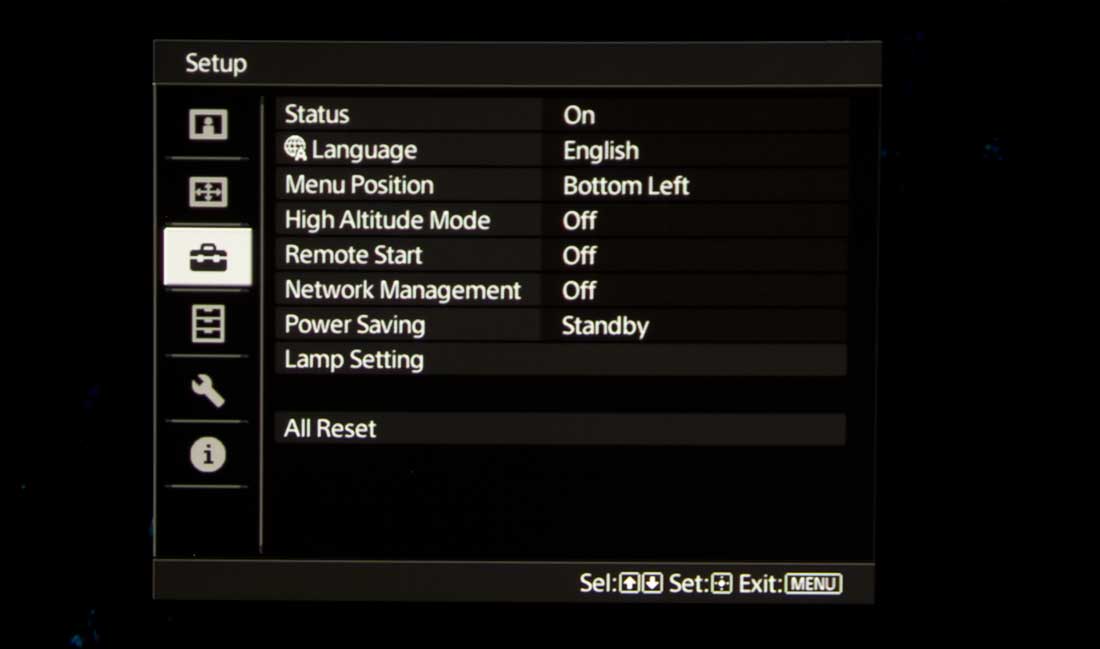
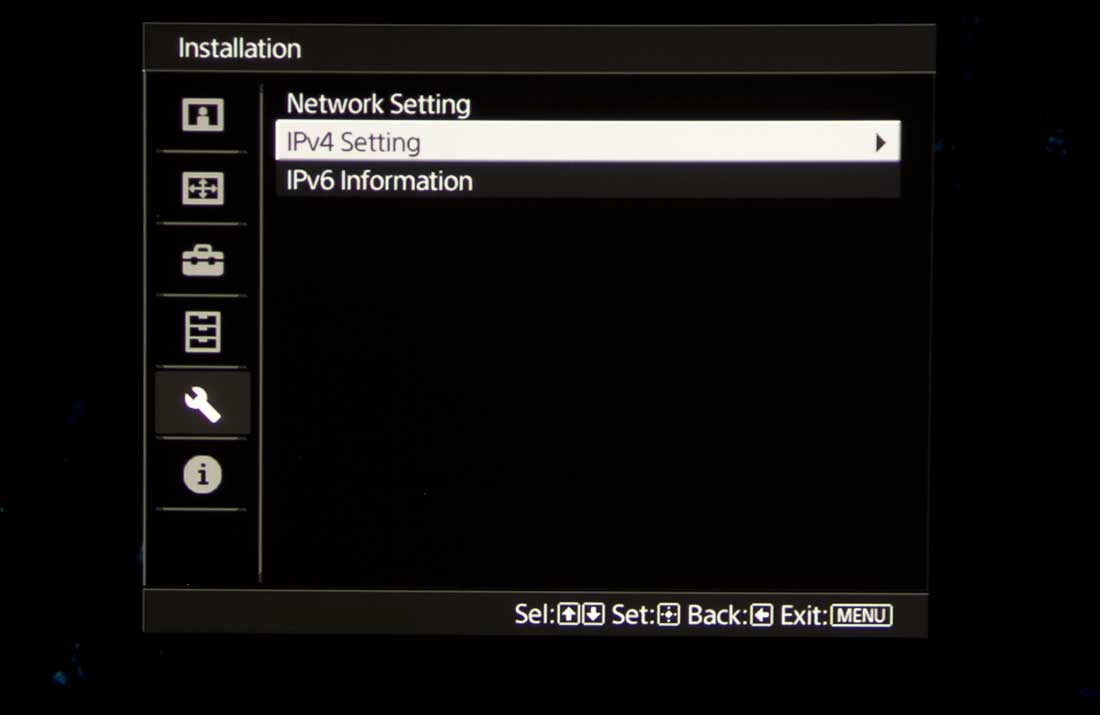
Sony hasn’t changed their menu system in many years – it works, works well, so why knock success. True, it’s a typical projector menu, not a smart TV type, but that’s typical although if you want smarts, (Netflix, other streaming, etc.) you can rely on an AV receiver or even a 4K UHD Blu-ray player. Those are all really smart.

When I say Sony hasn't changed their menus, I mean overall look and layout.  Over the years, new features and capabilities have been added to Sony projectors, and appropriate extra menu items appear to control them.

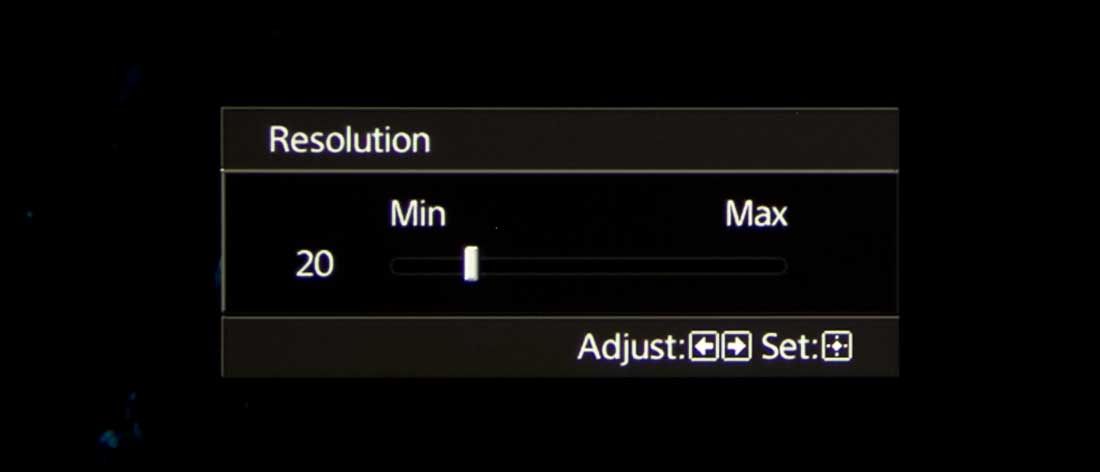
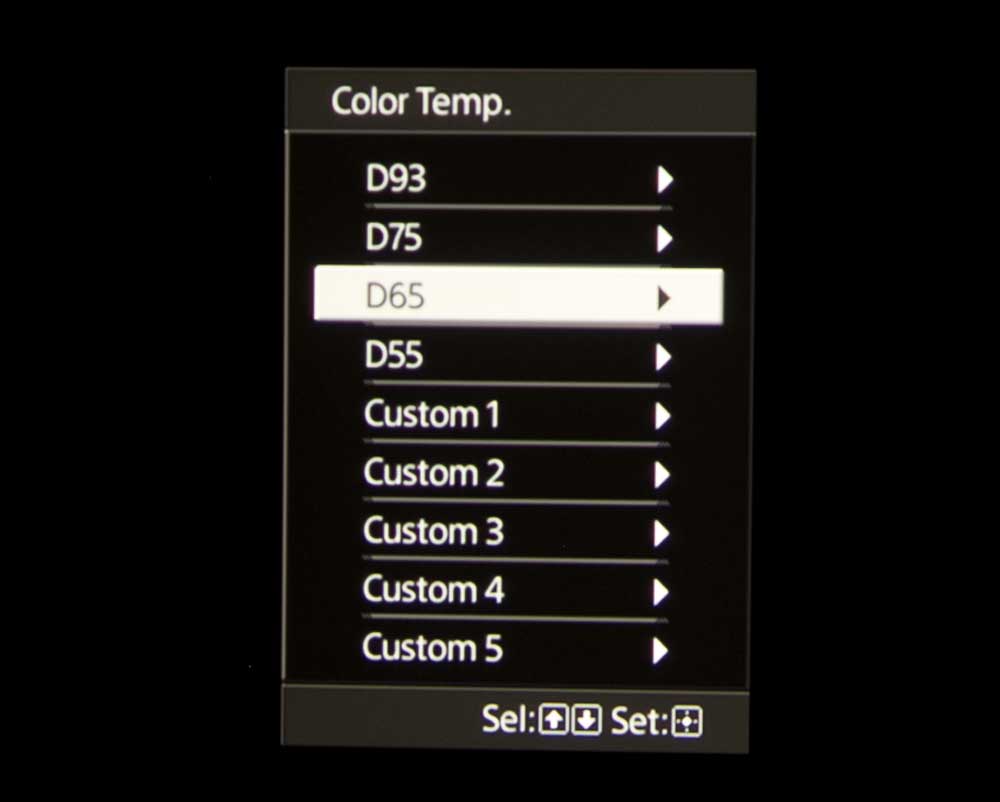
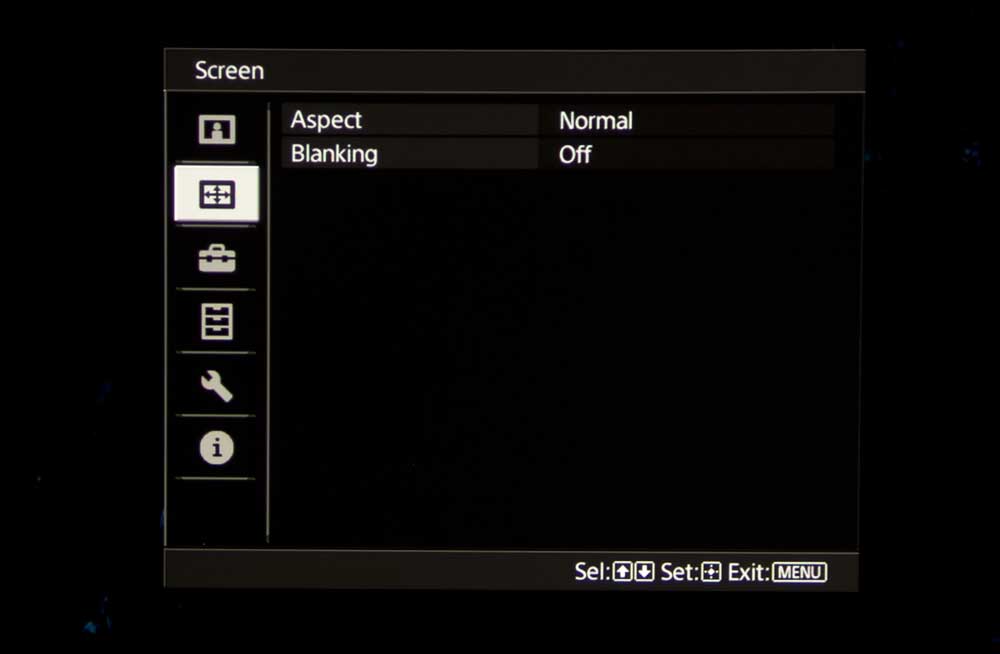
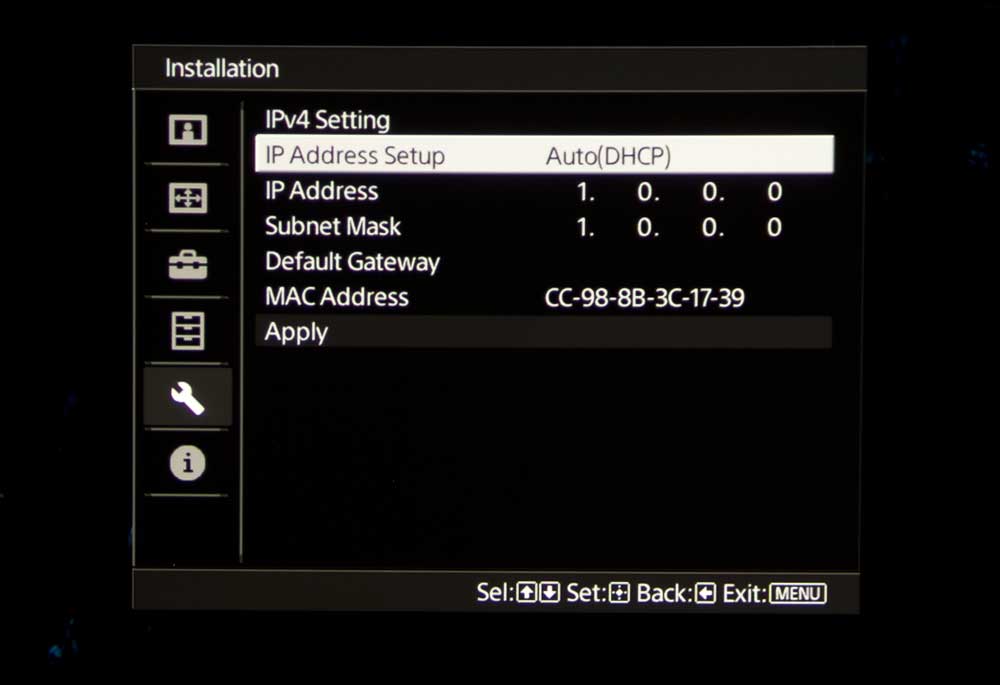
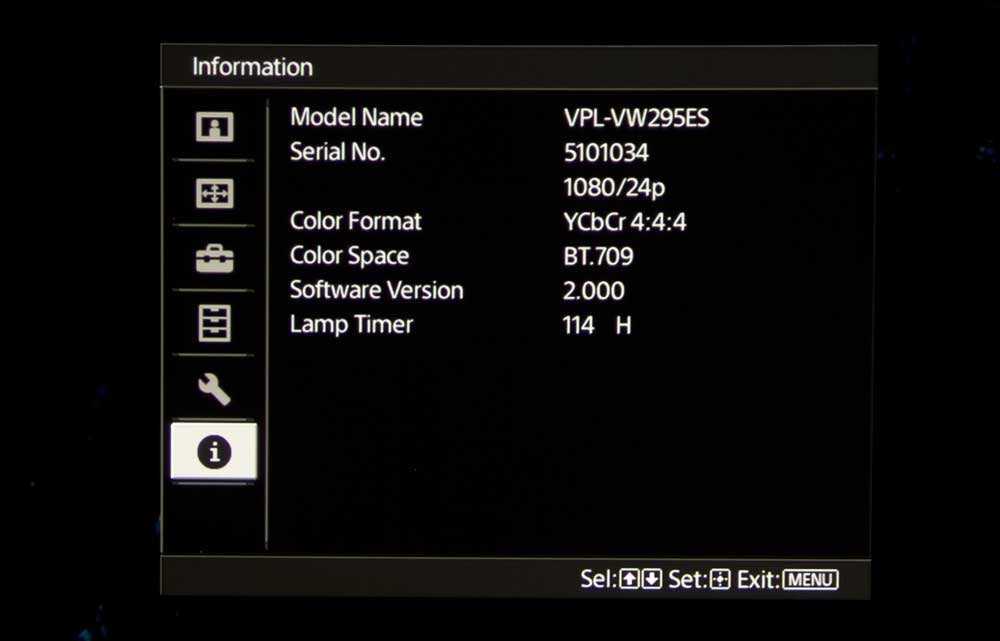
In the player above, I used menus from our VW295ES review. These are essentially identical.  Where the differences are, primarily, relate to the VW695ES supporting Lens Memory, which the VW295ES lacks. But even the VW295ES, has motorized lens features.  It would have been easy for Sony to add Lens Memory to the VW295ES, but by not including on their entry level 4K model, that further differentiates the two projectors.

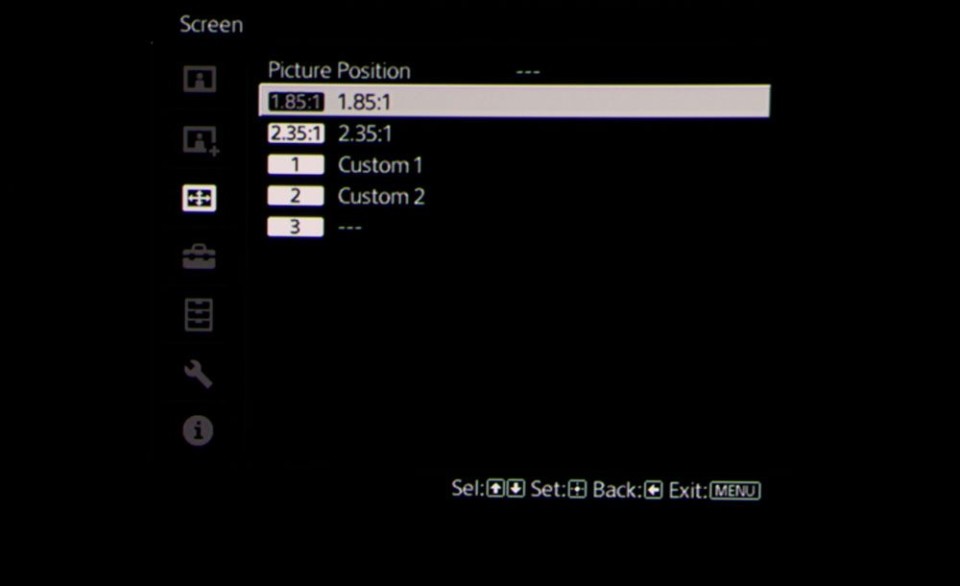
Changing the zoom and shift can be done from the menus or from the Position button the remote control.  This is the Lens Memory menu from one of the Sony projectors.

While you can control Lens Memory from the menu, the Position button on the remote is the quick and easy way to use Lens Memory once it is set up.  (Setting it up – Saving the setting – btw, does involve the menus.) You can quickly toggle, and you can have multiple settings.

Overall, the menus are well thought out/organized. Just about everything relating to the picture and color is on the primary Picture menu.

One complaint about the menus: Changing picture modes.  If you want to go from one mode, ie. Cinema Film 1, to another mode, let’s say Ref, or Bright Cinema, you navigate with the arrows, but each time you press, the projector switches to that mode, which can take a few seconds.  It can take more than a half minute, for example, to switch from Cinema Film 1 mode to Gaming mode.

The much better solution is to use the remote where there’s a discreet button for each of the nine modes, so just press the one you want next, and in 2-4 seconds you will be watching in that mode!

Bottom line:  Very well laid out menu system, if old school (not smart).  Menu positions are adjustable (best to move them out of dead center).  Type is slightly on the small side, but not enough to be a problem at any normal seating distance.  Nicely done menus (once again)!

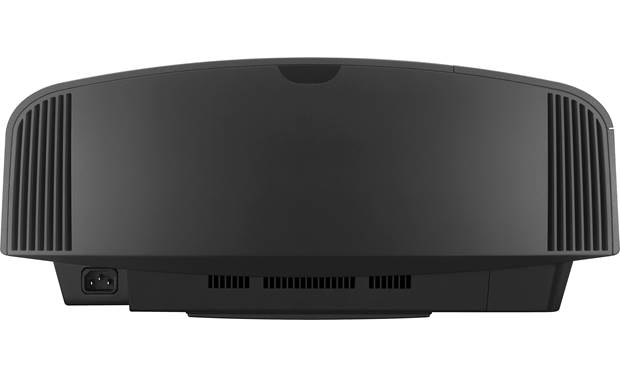
VW695ES back
Rear of Sony's VPL-VW695ES. Air intakes on the left and right, power receptacle, on the left, down low.

Next up:  Picture Quality 1 we’ll look at out of the box color (no changes), skin tone handling, black level performance and more.

© 2024 Projector Reviews

crossmenu linkedin facebook pinterest youtube rss twitter instagram facebook-blank rss-blank linkedin-blank pinterest youtube twitter instagram