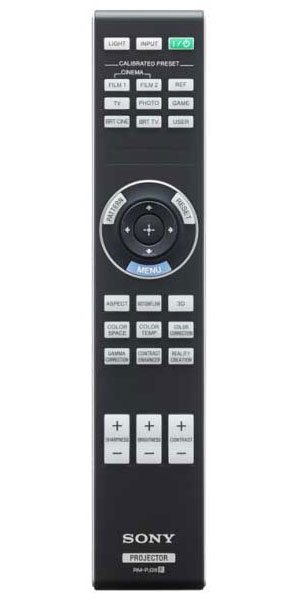
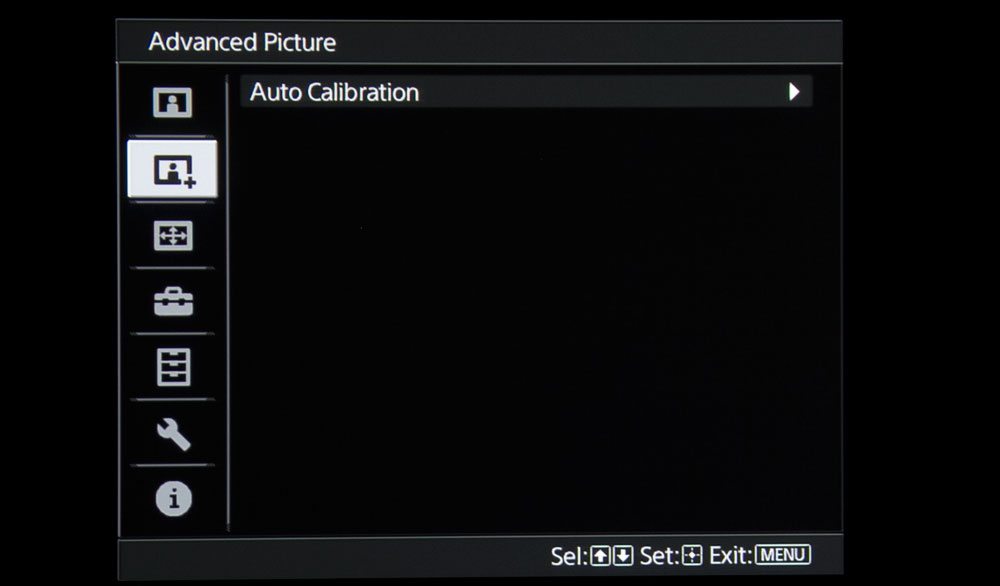
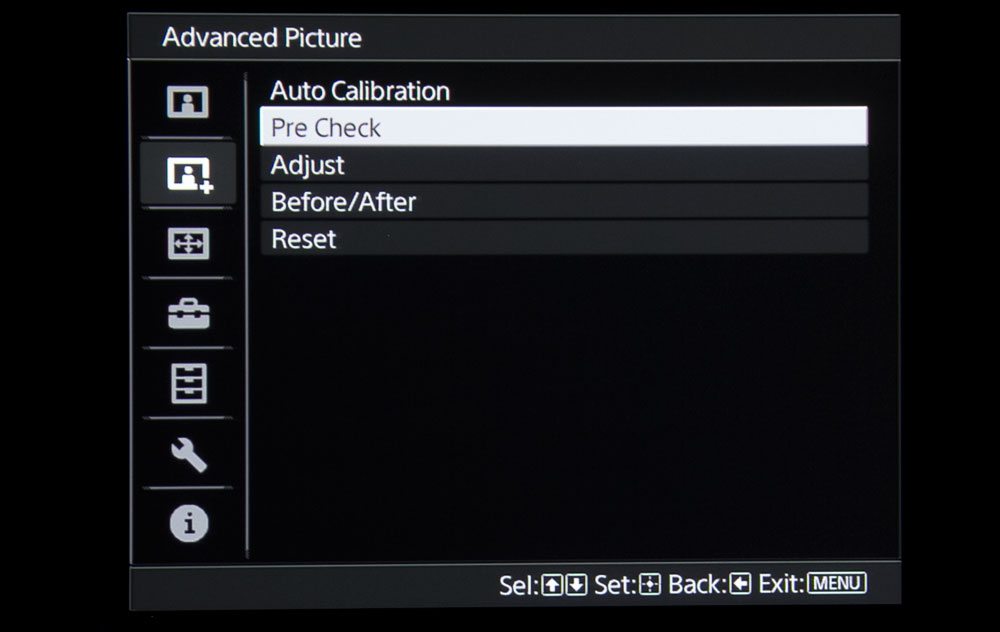
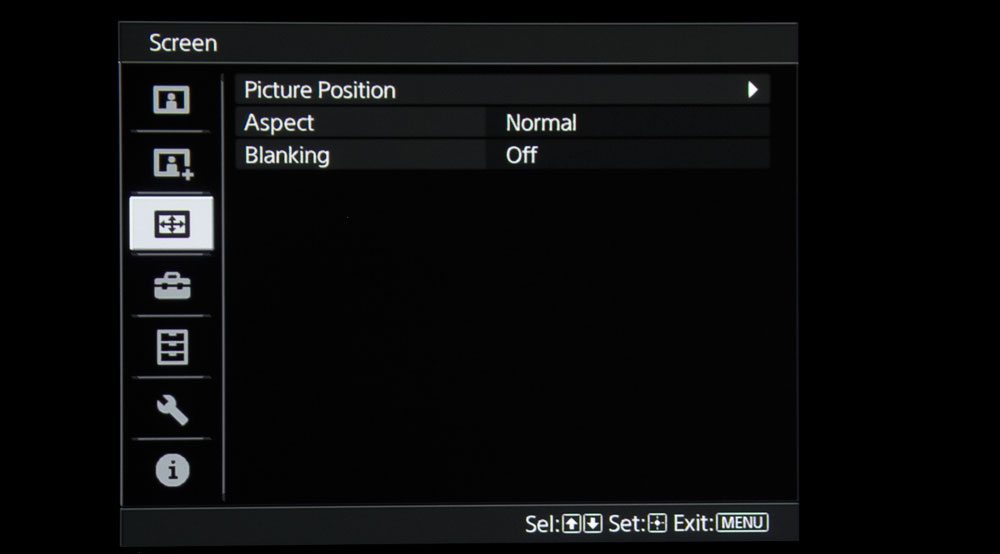
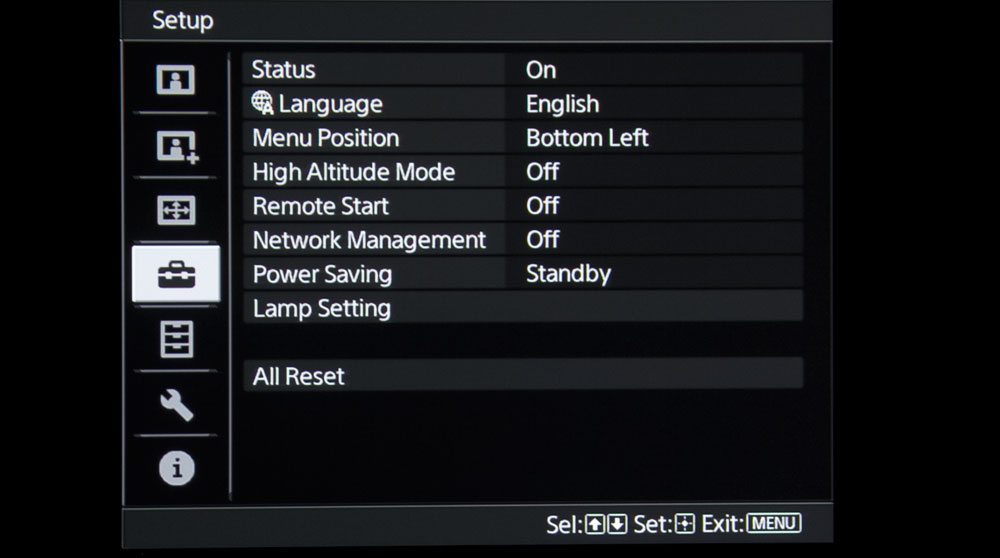
You guessed it, the Power switch (green) is on the top right. Press once to power up, twice to shut down.
Right below is a section with 3 rows of 3 buttons. These control the 8 preset color modes, and the 9th is for the User mode. Easy enough!
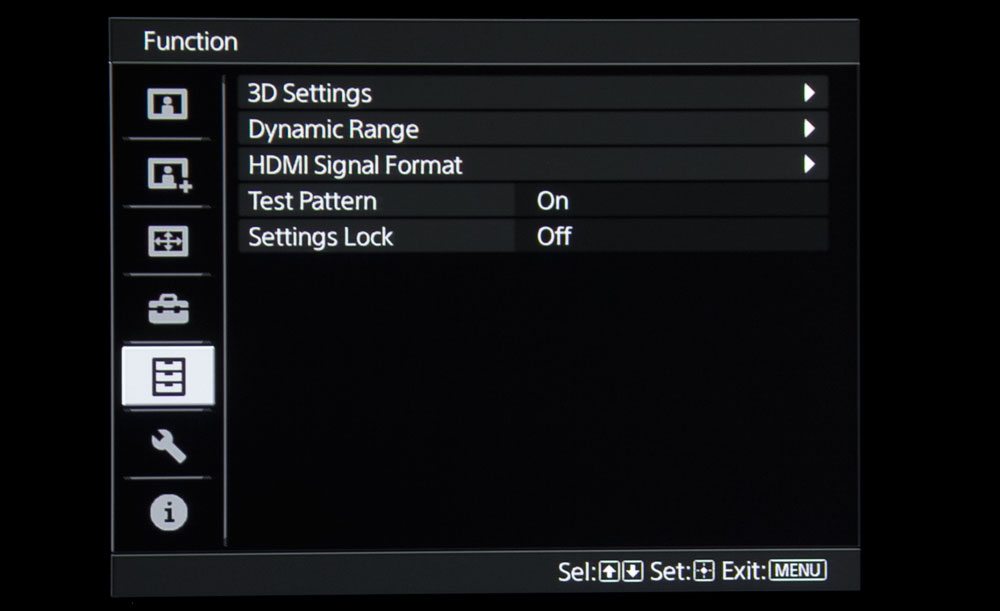
Navigation comes next with a round control for the up / down / left / right arrows. The Enter button is in the center. Around the ring are four curved buttons. The top left one is labeled Focus. Pressing it once brings up a black screen (test pattern) with fine green screen aspect ratio lines. It will say Lens Focus (you can turn off the test pattern in the menu system, in which case you can focus while viewing content). Use the navigation to focus. Next (in the middle) is Zoom, and (lens) Shift is on the right. I personally find focusing much easier with content, not test pattern. Thee is still small text and arrows that show on the screen in the middle which are great for focusing on.
I better mention the bottom of the three buttons on the ring – that’s the Menu button! The one on the upper right side is labeled Reset, which should, at least for a second, terrify you, having it so close to the navigation (pressing it by itself won't do anything - whew!). It will allow you to reset all the adjustments you made to a mode such as Cinema Film 1, or Bright TV. The good news is it will ask you to confirm before it does anything. You are more likely to use it when adjusting just one thing. For example, if you are in the gamma sub-menu reset would reset your gamma settings back to the factory default. Again, it will ask you to confirm first.
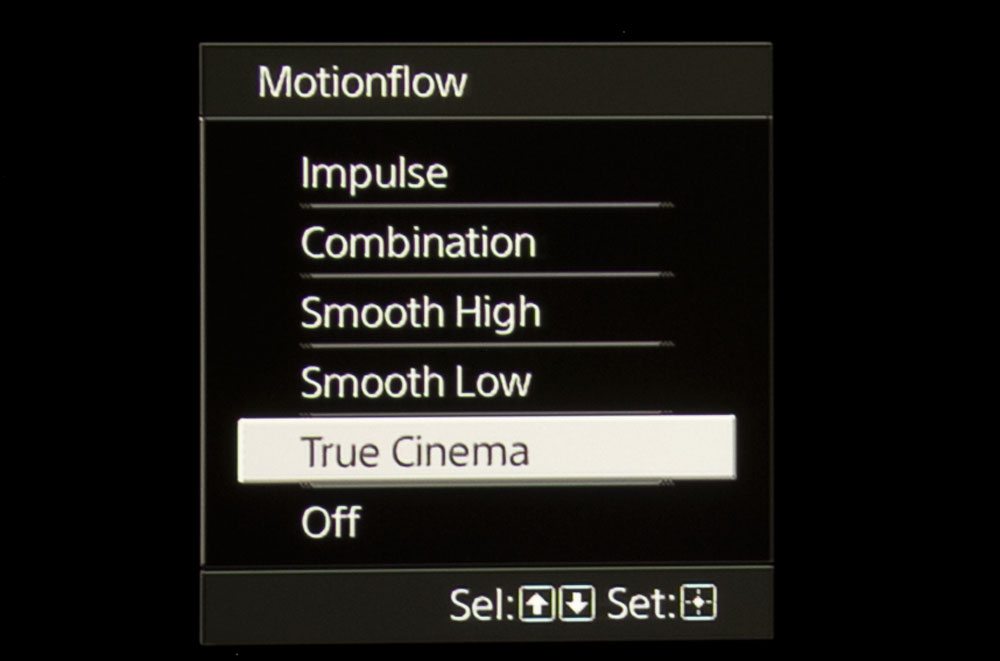
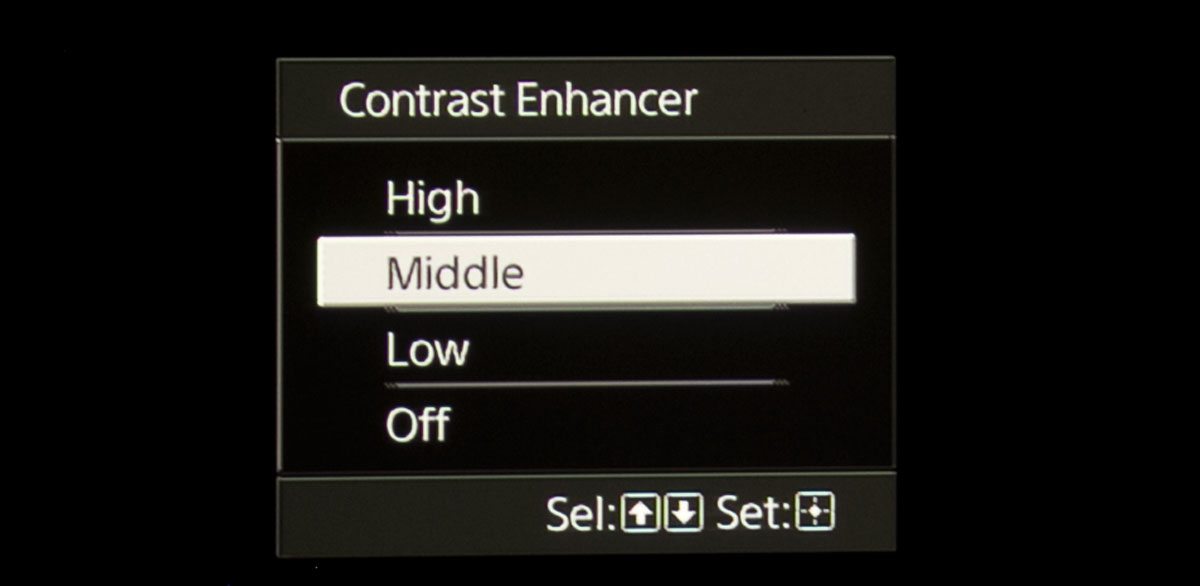
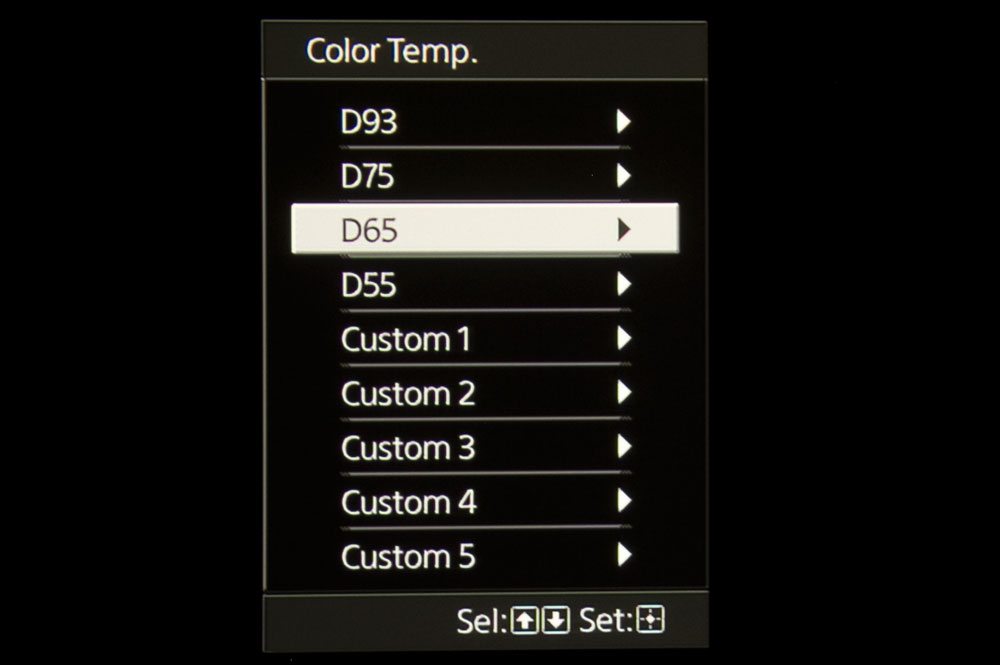
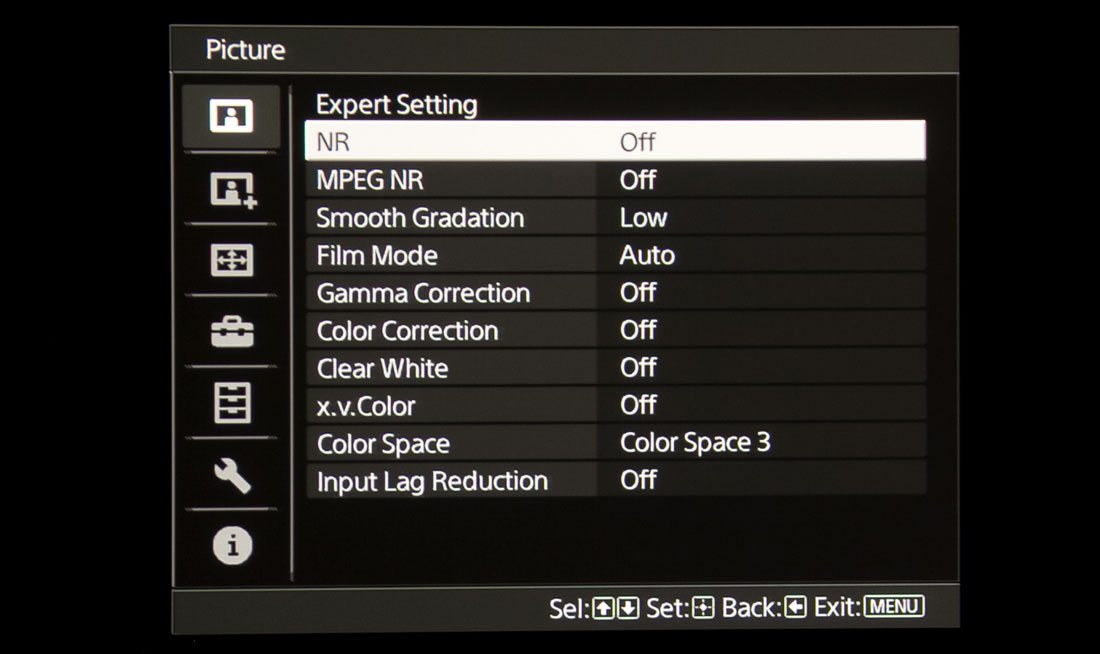
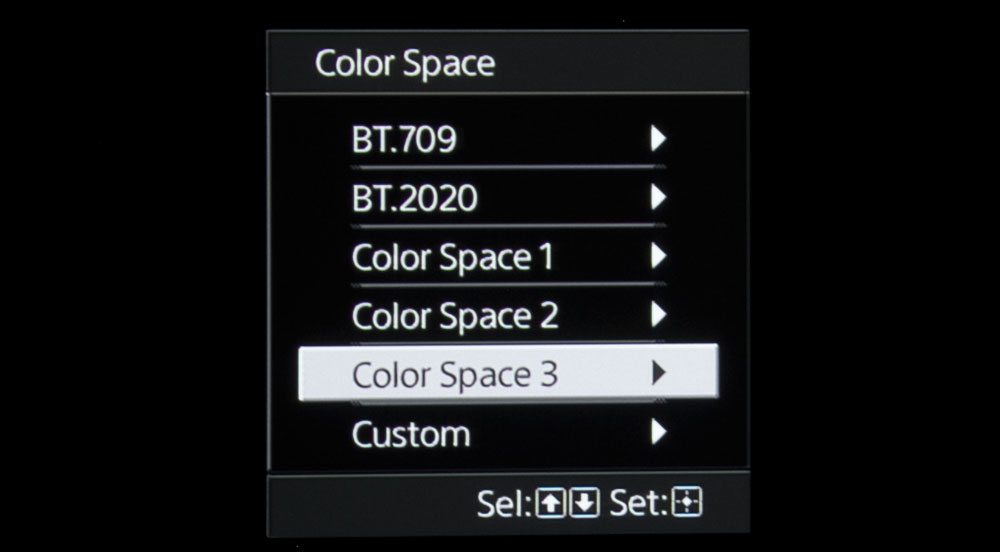
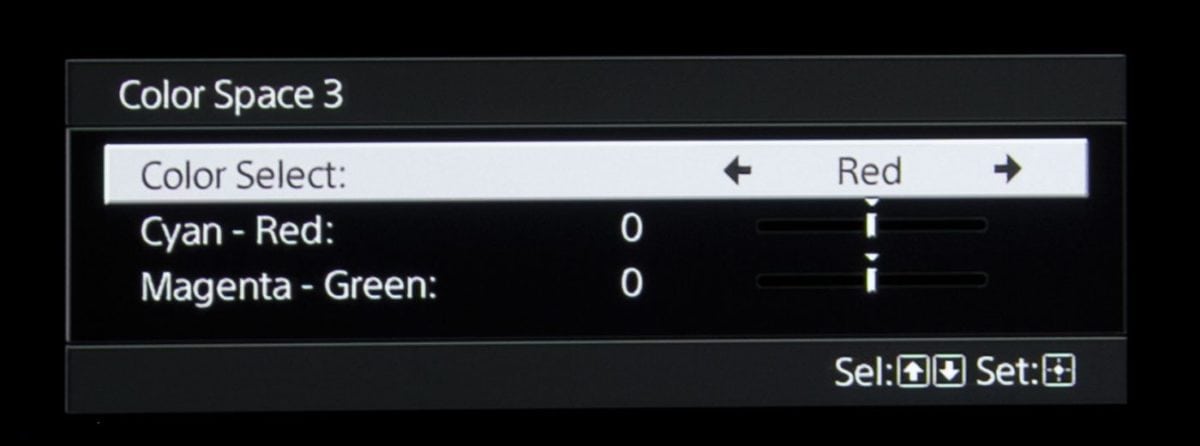
Below the Navigation Ring are nine more buttons 3 x 3. This time the buttons are shortcuts to submenus. The top left of those is Aspect Ratio. All the rest are picture controls. The rest of the top row is MotionFlow (CFI) and 3D, while the second row has Color Space, Color Temp, and Color Correction (CMS). The third row is Gamma Control (which brings up lots of presets), Contrast Enhancer, and Reality Creation (dynamic detail/sharpness enhancement).
Almost done! All that’s left are three rocker switches in a row just above the bottom of the remote. Sharpness, Brightness, and Contrast, with +/- for each. That’s the remote – from top to bottom.
All considered a well balanced remote control that works nicely, with only a couple of very minor things to complain about - mostly, though, the blue backlight is dim and makes it hard to read the buttons.

