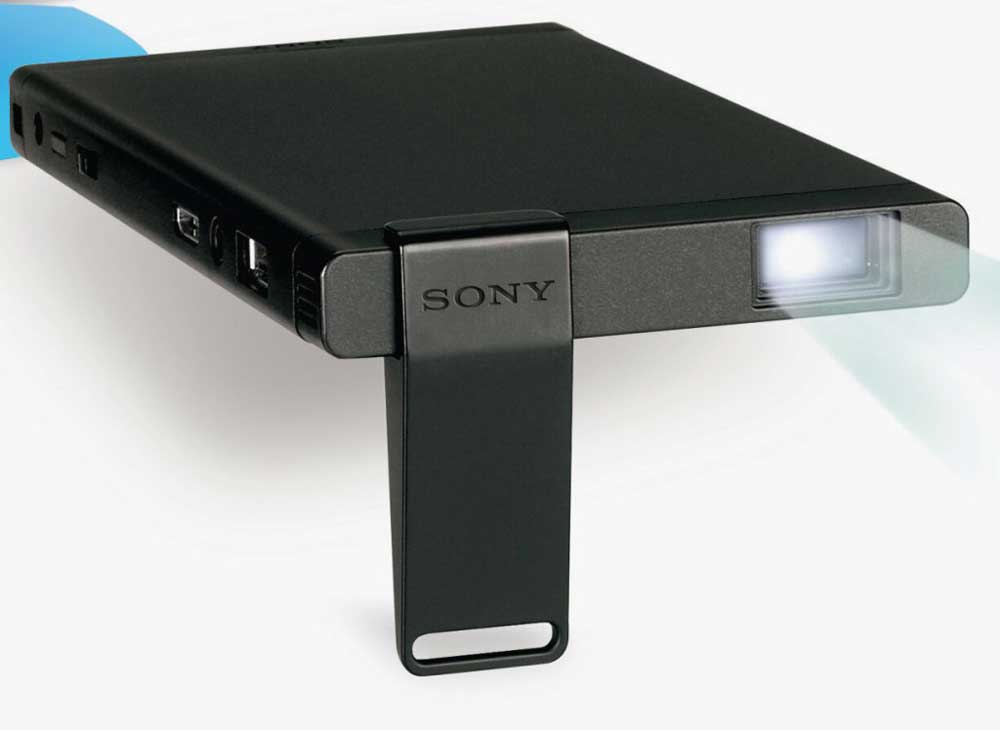
The MP-CL1 Lens
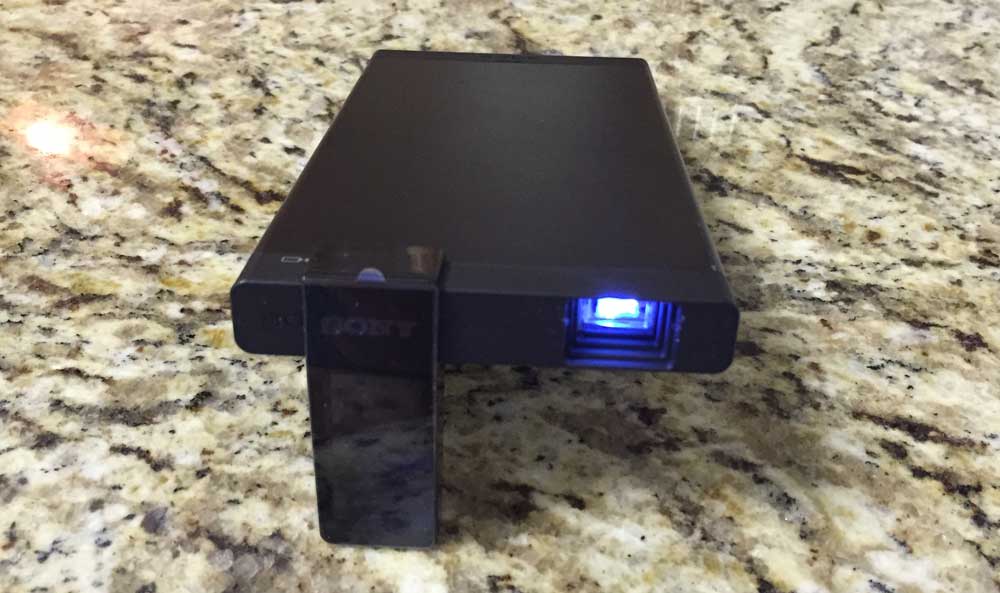
This is your basic fixed lens - that is - no zoom capability. But even normal fixed lenses have some sort of focus ring. Not this projector 's lens however, thanks to the laser source. Place the projector 1 foot from the screen or wall, or 5+ feet, it just doesn't matter, the laser based image is always in focus, one of the unique benefits of a pure laser system.
If, as is true in the case of large commercial projectors, lasers are used to hit phosphors to create a white light source, then you still have the usual need to focus, but not with this little guy. FYI, lens throw distances and keystone correction info is further down this page.
Sony MP-CL1 Input and Connector Panel
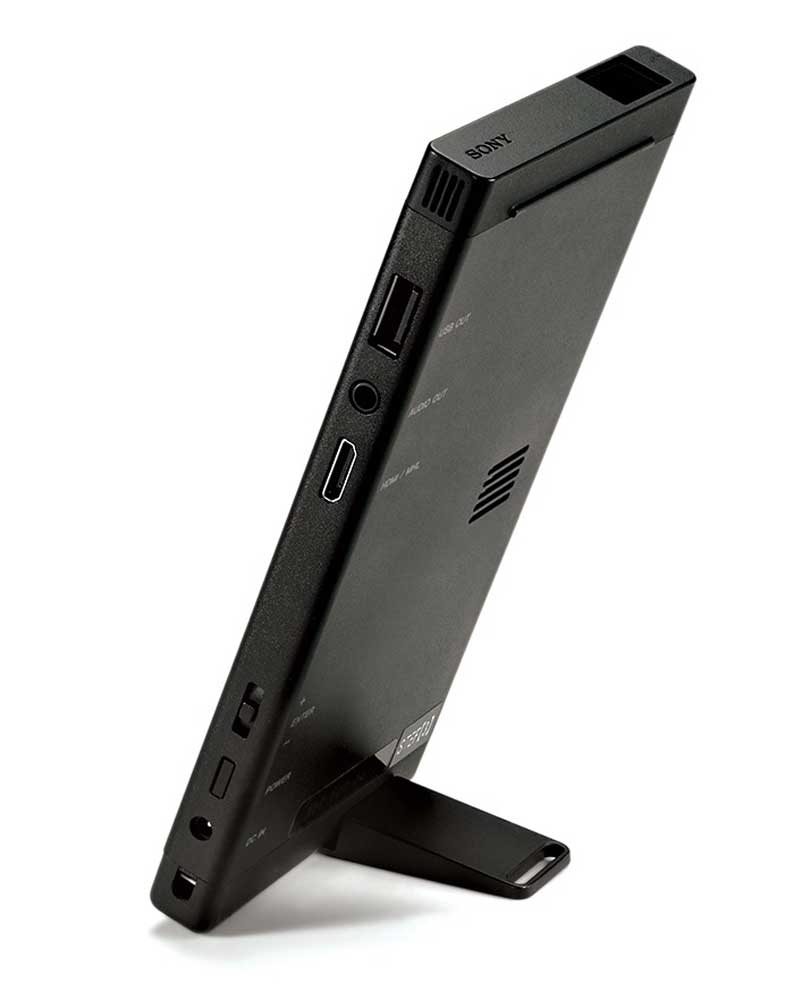
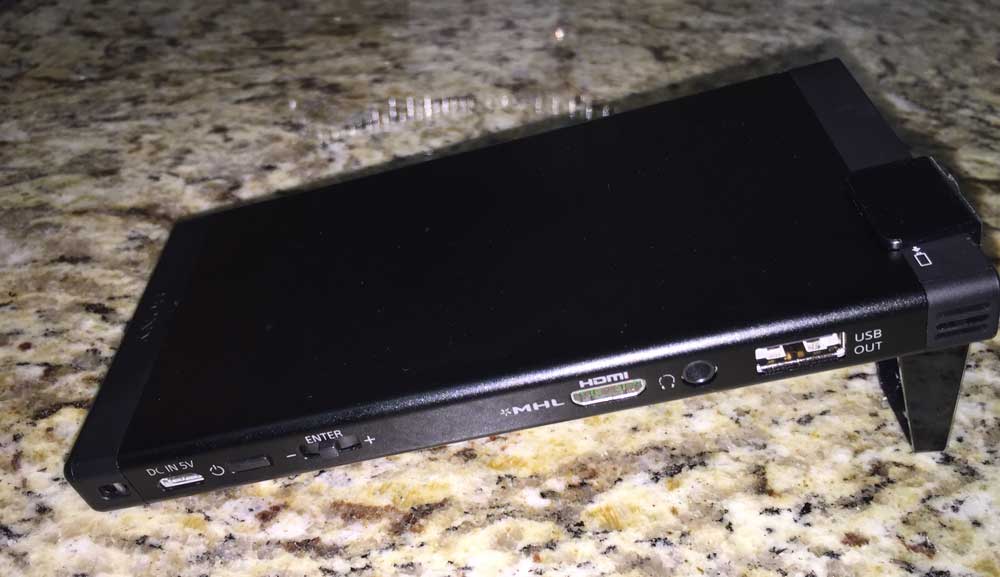
From the front of the right side (right side when viewed from the back) first are some small ventilation holes. (There are more underneath.)
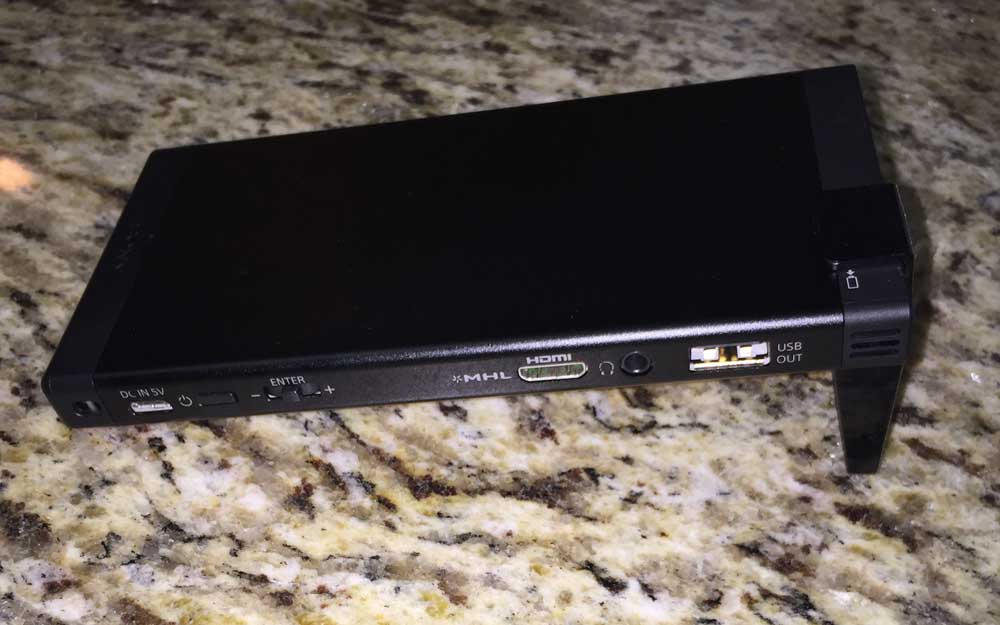
Side view of Sony MP-CL1 showing inputs and control panel features
Next comes the USB out, followed by a stereo mini jack with audio output.
That's followed by the mini-HDMI input (with MHL). Ah, please don't worry, as Sony provides a nice little HDMI to HDMI-mini connector with the projector, so you can use your normal HDMI cable.
Then comes Sony's mini - or maybe I should say "micro" joystick. It works pretty well, move it up/down/left/right for menu selections etc., and just press straight in for Enter (or to launch the menus).
Further to the back is Power button (once for on, twice to power down.
Then there's a micro-USB jack. This one serves only one purpose, and that's to charge the MP-CL1. The projector comes with a USB to micro-USB short cable, so just plug it into your laptop, wall USB adapter, etc., to charge it up.
Finally, toward the very back is a small slot for the carry strap. That's a nice touch. Nicer would have been if the projector also came with a pouch or bag to hold it and the accessories. Instead the box it comes in works nicely for that purpose, but it's much larger than I would like.
You can also get an optional charger for AC based charging. The Sony will charge from a typical USB source in about 6.3 hours vs. 3.3 hours with AC.
Either way, since the projector will only play on batteries for about 2 hours maximum, the projector will slowly drain power when in use even while you are charging it. That's hardly unusual, though, for pico and pocket projectors.
Sony MP-CL1 Speaker
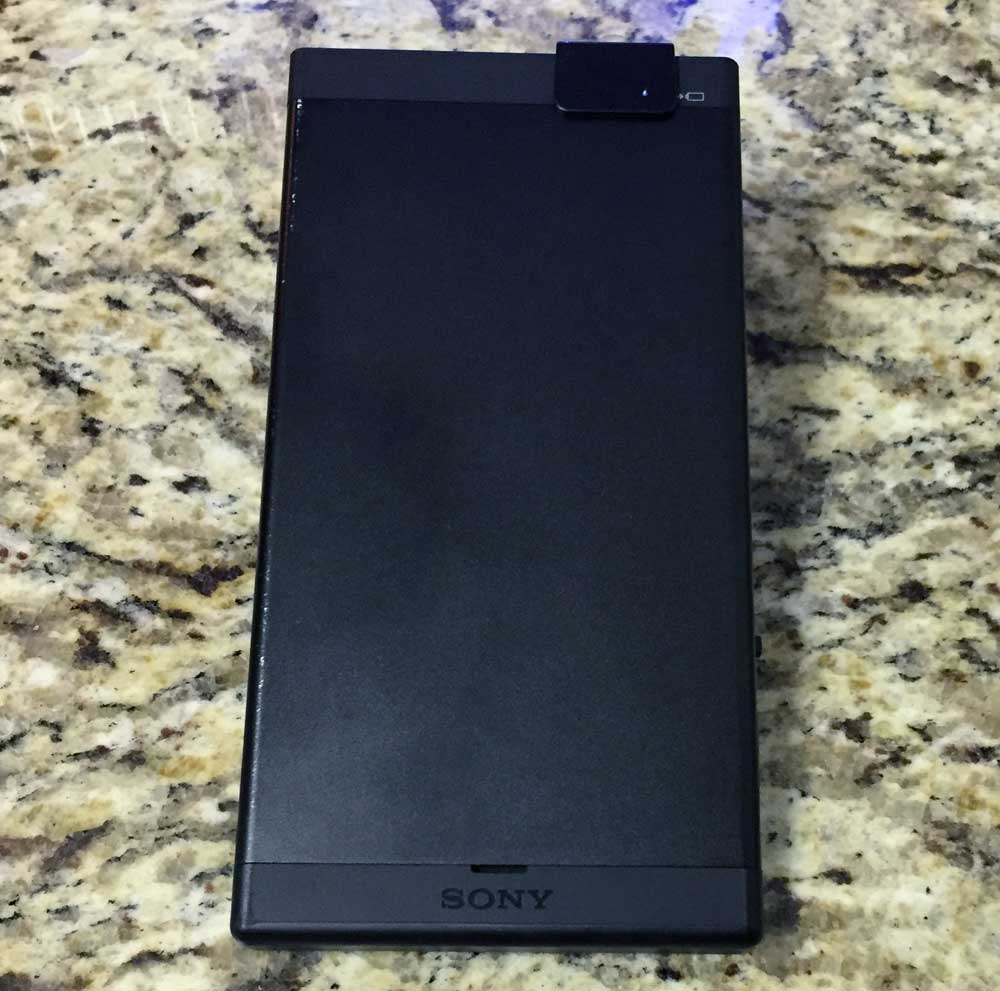
The only other distinguishing anomaly from the top of the flat smooth case, is that there's a back piece (that doesn't come off) that's about 1/2 inch in depth. At first glance you see a small slot about big enough for a normal flat screwdriver blade. It looks like you could remove that section using that screwdriver, but you don't want to be trying to do that!
In reality, that thin slot is where the projector outputs sound from it's small 1 watt speaker. 1 watt speakers are pretty common, even on far larger lamp based projectors, but don't expect much in the way of sound quality or volume to emanate from that tiny slot. Call the sound "adequate," but no more than that. My iPhone 6 easily offers superior sound. If you want more sound, or better sound, and your source is feeding sound directly to the projector (HDMI, etc.), try the audio out and an external powered speaker if you don't mind some extra bulk and weight.

