Picture Menu and Sub-Menus
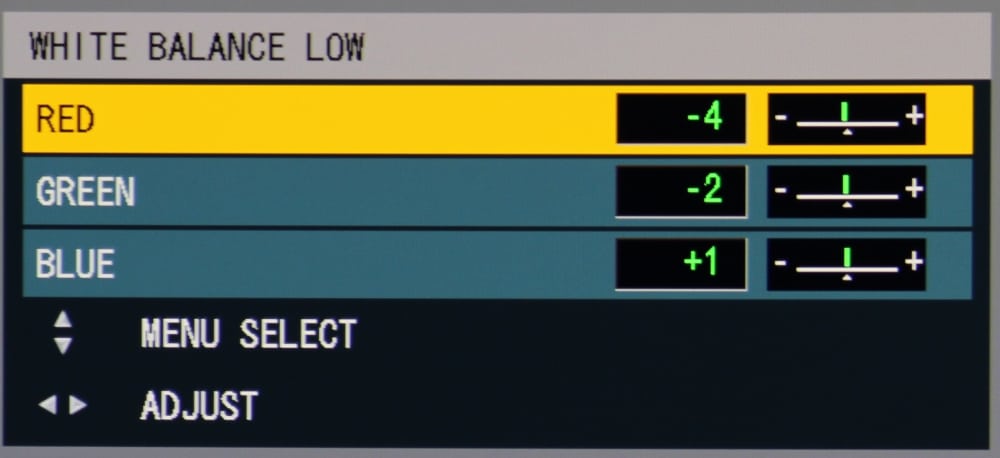
The first of the above gallery photos shows the Picture Menu. The top item on this menu is for Picture Mode and this is where you can selected from the seven available presets. In this case it has been set to the Rec709 mode. This is the mode I would have expected to give the most accurate colors for viewing HD video. The adjustment items below that include the typical Contrast, Brightness, Color and Tint controls. Below those is the setting for Color Temperature. When this is selected a submenu is displayed (2nd of the photos above) where you can access the White Balance Adjustments. Once that item is selected you can select (that submenu is not shown above) to either adjust White Balance at the high-end or low-end of the grey scale. When you then select to adjust the high-end white balance then the submenu in the 3rd photo above is displayed and if you select to adjust the low-end white balance the submenu shown in the 4th photo above is displayed.
The next item down in the Picture Menu is called White Gain and this is not a commonly found adjustment on projectors. The projector's manual describes this as adjusting the brightness of the white part of the image. Many single chip DLP business & classroom projectors use a color wheel with a clear segment that substantially increases the brightness of white, but the PT-RZ670BU does not have a clear segment. Instead it has yellow in addition to the traditional red, blue and green colors. It appears the White Gain adjustment may vary the some combination of levels of the yellow and the blue (yellow + blue produces white) to increase the white levels.
Continuing down the items in the Picture Menu we find a setting for Gamma which offers preset values for 1.8, 2.0, 2.2 and default.
Next down the Picture Menu's list is an item for System Daytime View which when turned on produces a more vivid image intended for viewing under bright lighting conditions.
Next are settings for Sharpness and Noise Reduction and below that is a setting for Dynamic Contrast that varies the image contrast depending on the image being displayed. This acts more-or-less like a dynamic iris.
Position Menu
The second item on the Main Menu is for "Position". When Position is selected the following submenu is displayed.
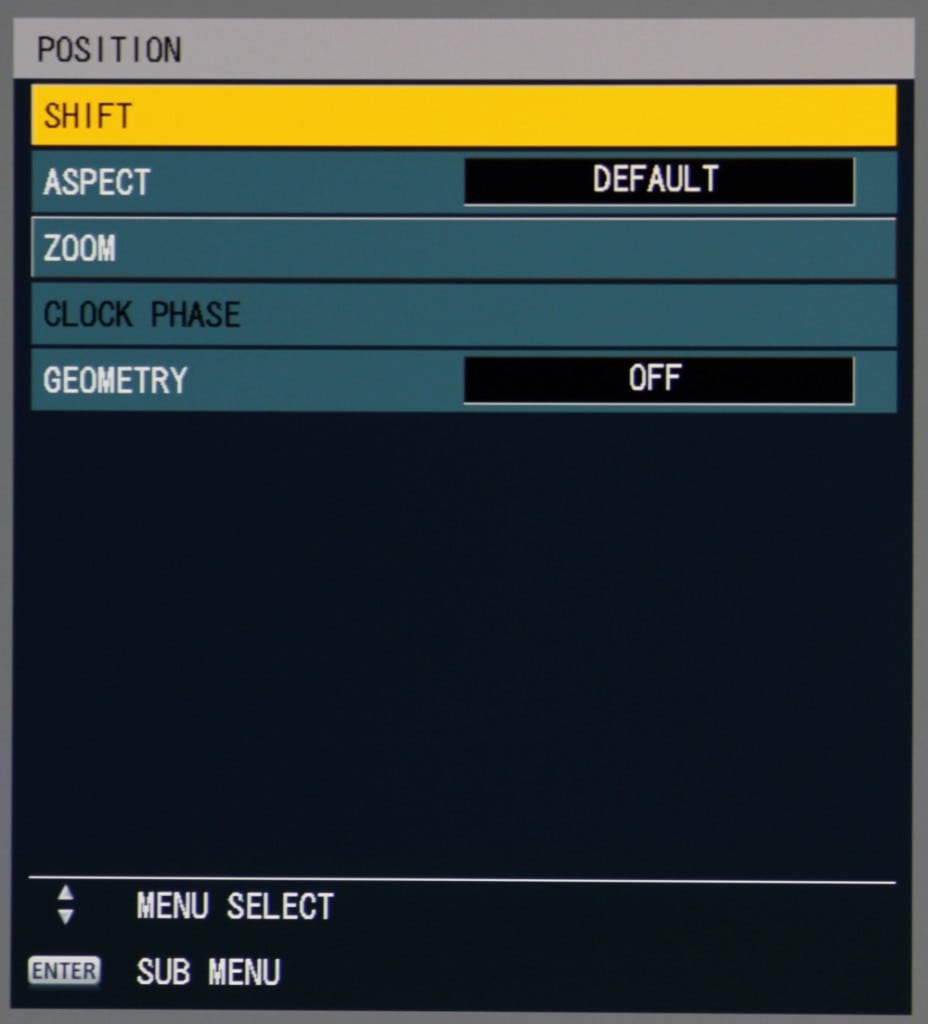
The Position submenu allow for adjustments to be selected for lens shift, aspect ratio and lens zoom. The Clock Phase setting is only applicable with analog signal inputs and the Geometry item allows the user to access settings to correct for various types of geometric distortions of the projected image, including a preset when using a curved screen. Also a submenu can be access to adjust the corners of the image for geometric corrections. A connected PC can also selected to control the geometric corrections.
Advanced Menu
The third item in the main menu is for Advanced settings. When this is selected the following Advanced Menu is displayed.
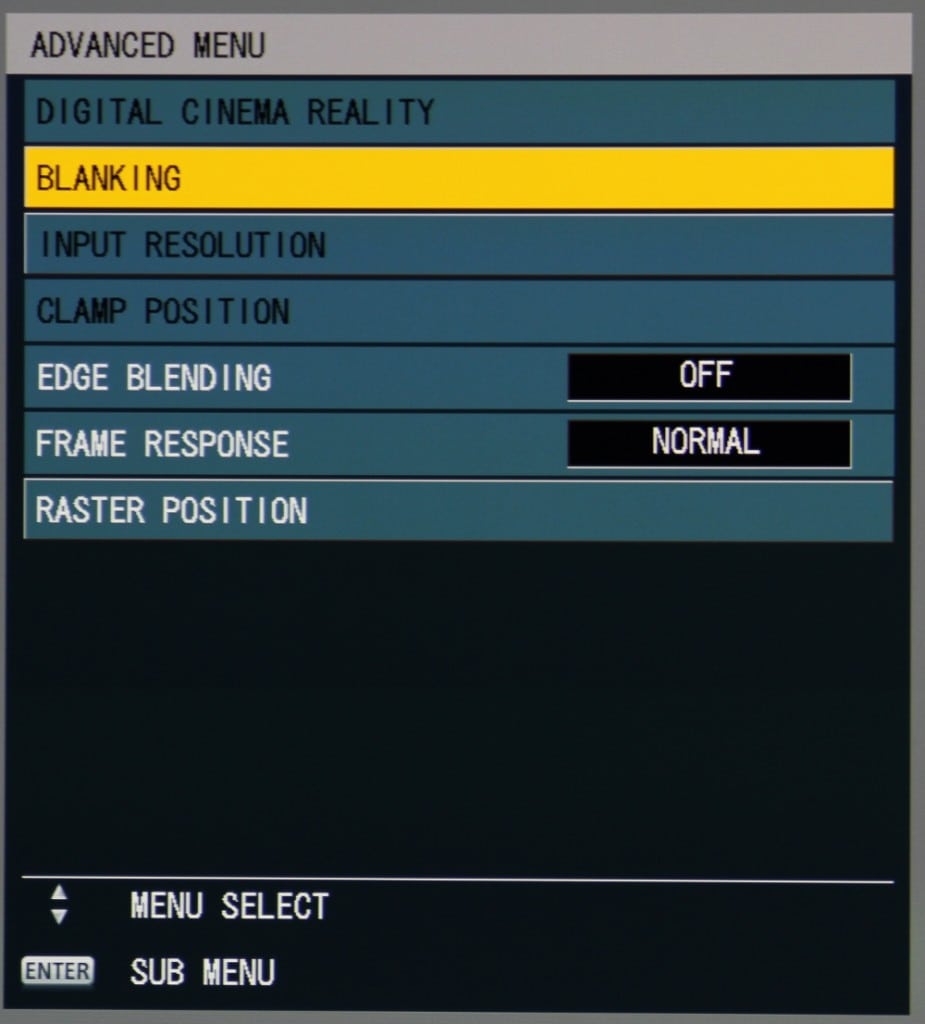
Digital Cinema Reality appears to be a de-interlacing functions intended for use when the input signal is interlaced, such as 480i or 1080i format.
The Blanking adjustment is used to blank out a portion of the displayed image that contains visible noise along the edge of the image. This function is usually not needed with digital inputs but may be useful with some poor quality analog signals.
The Input Resolution and Clamp Position adjustment may be useful for when you have RGB analog signal input.
The Edge Blending adjustment is used in multi-projector setups where the projected image from the PT-RZ670BU is being seamlessly merged (along one edge) with the image from another similar Panasonic projectors. Edge Blending is supported on all four sides of the projected image.
The Frame Response adjustment allows the lag time of the displayed video to be adjusted for certain specific input signal formats.
The Raster Position adjustment allows the displayed image to be moved within the displayed frame. For example, since this is a 16 x 10 projector, the position of a 16 x 9 image could be adjusted up or down a little within the taller 16 x 10 frame.
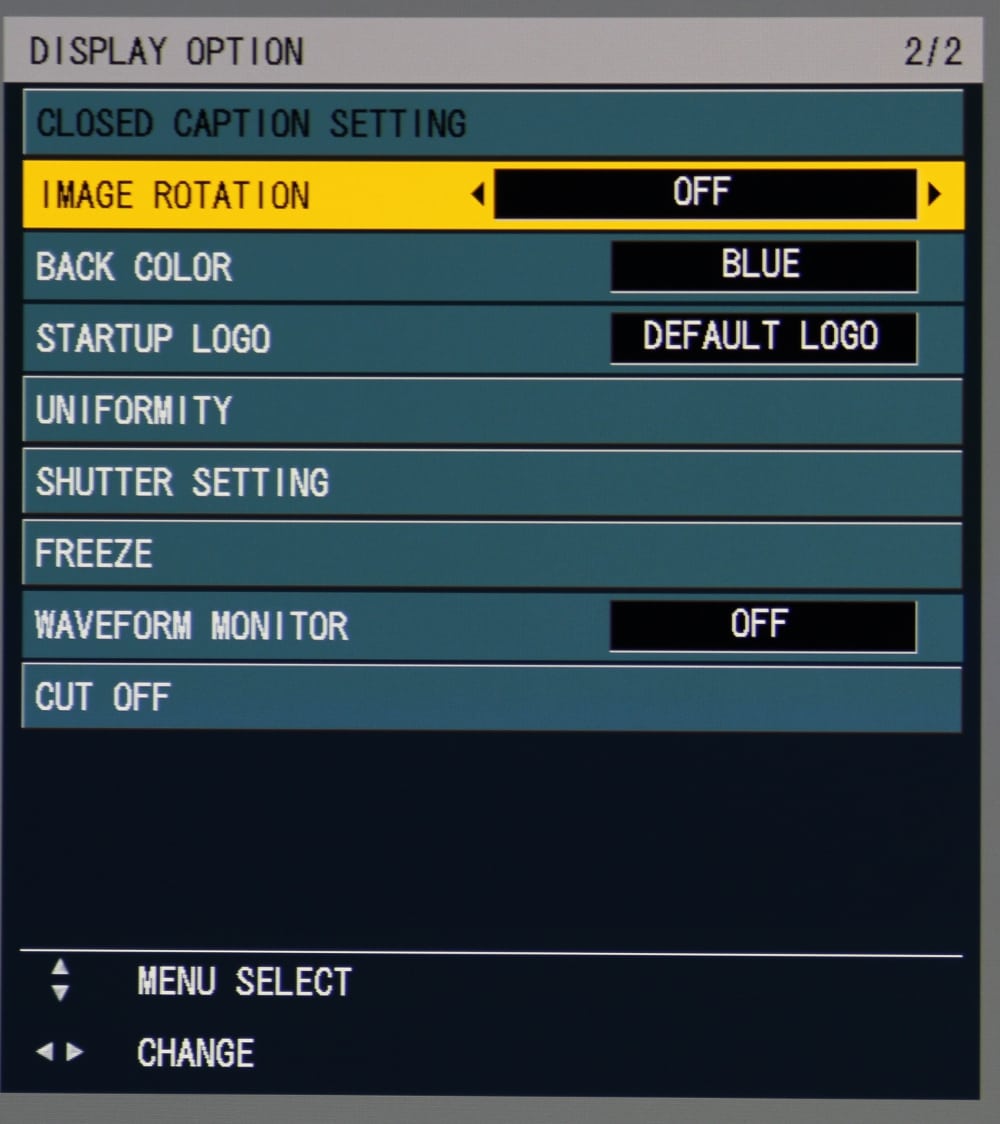
Selecting the Display Option item in the Main Menu brings up the two pages of Display Option submenus shown above.
The first two items on the first of these menus provides access to the submenus used to calibrate the projector. Color Matching is intended to match the colors in the projected image with other projectors used in a multi-projector setup. The Color Correction item allows the colors to be adjusted and the settings to be stored for each signal input.
The Screen Setting adjustment allows the user to set the aspect ratio of the projection screen being used with options for 3:4, 16:9 and 16:10.
The remaining settings, except for the final one, on this Display Option menu page relate to detecting the input signal type and format and for selecting the signal input.
That final setting on page 1 of the Display Option menus is used to alter the position and orientation of the On-Screen Display.
The page 2 of the Display Option menus is shown in the second photo above.
This second page offers settings to customize how information appears on the display and to turn on and setup closed captioning. There is also an item that allows the user to adjust the brightness uniformity of the displayed image.
Projector Setup Menu
The Projector Setup is another important item that is accessed from the Main Menu. The first page of the Setup Menu is shown below.
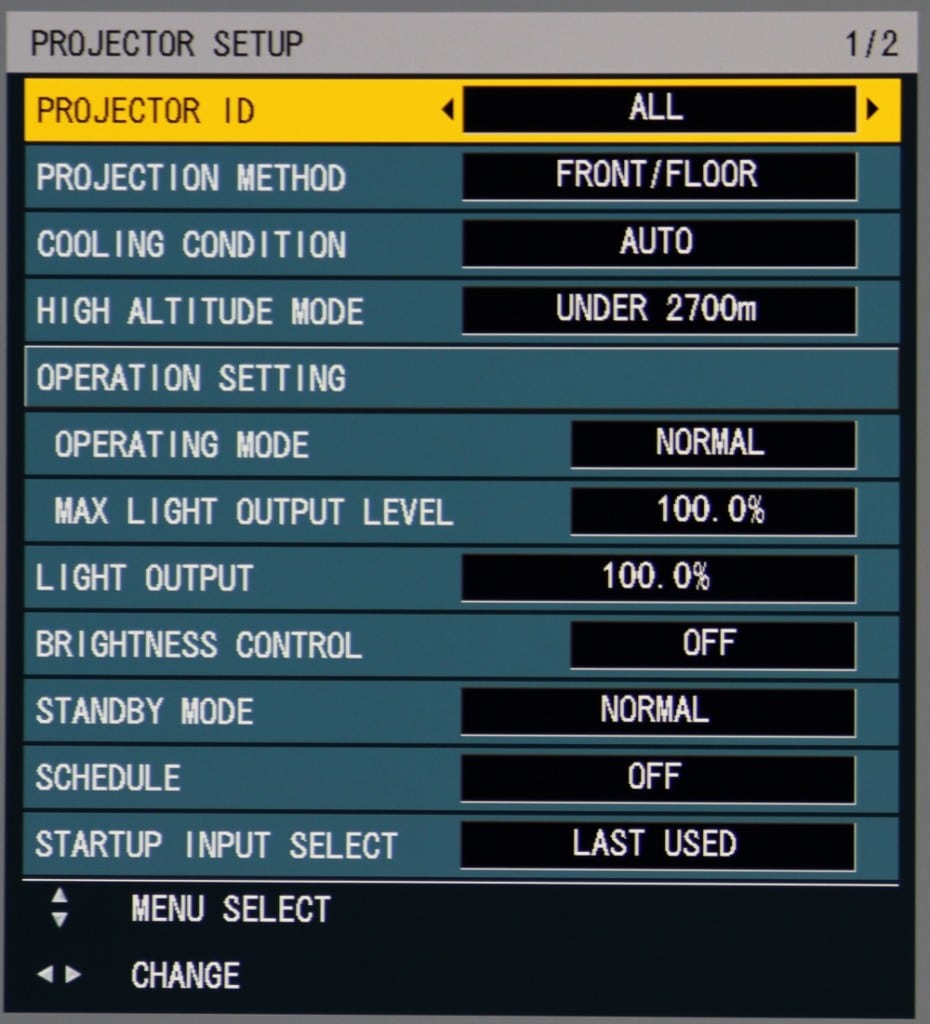
The menu has the usual setup options. Operating mode allows the user to set the light output mode to Eco (low) or to Normal (high) and also offers several other custom or preset values. Perhaps the most unusual settings found in this menu are the fine adjustments associated with light output. These can be used to correct for decreasing light output over time (as the lasers age) and for matching brightness with multi-projector setups.
The second page the Setup menu is shown below. Generally the function of the items on this menu should be obvious. Perhaps one less obvious setting is the Lens Calibration function, which resets the limits and center position of the powered lens shift to their default values.
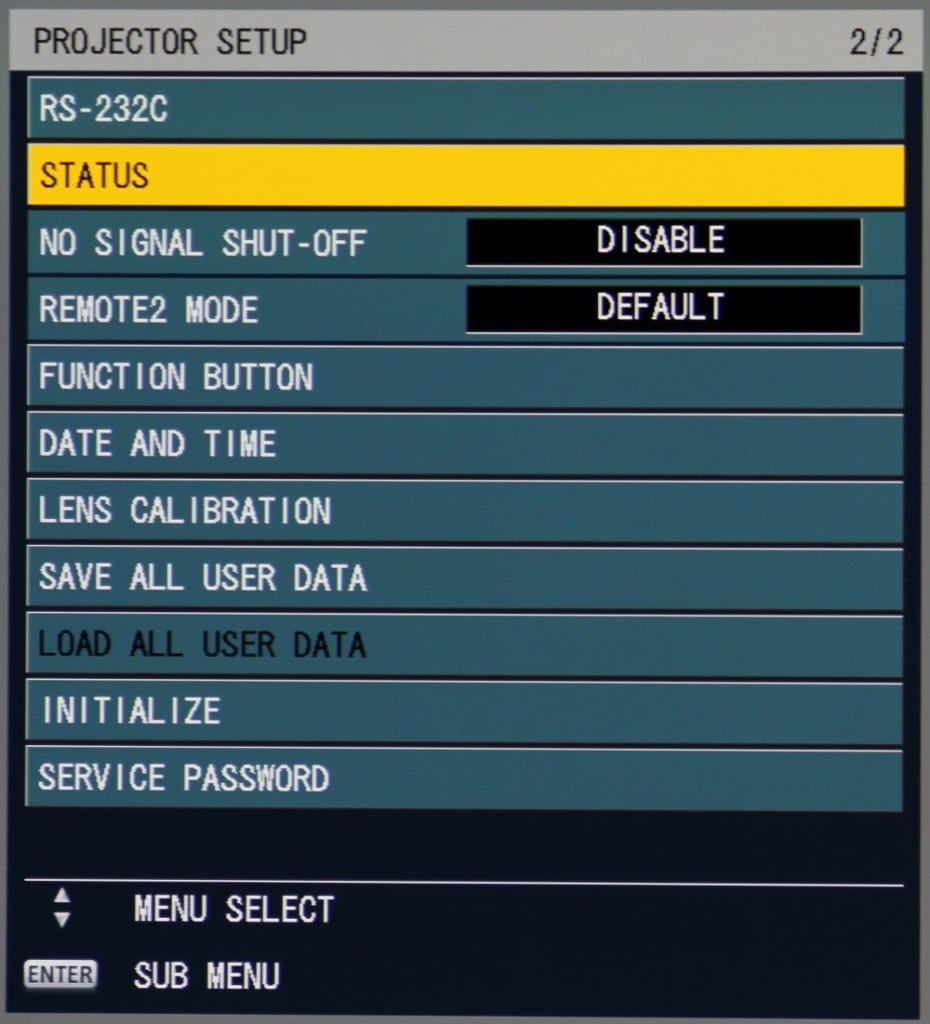
Many of items in the setup menus will bring up submenus (multiple levels in some cases) where the detailed options are displayed and the user choices can be entered.


