Projector Reviews Images

PANASONIC PT-FRZ60 LASER DLP INSTALLATION PROJECTOR REVIEW- HARDWARE

Posted on May 12, 2021 by Phil Jones

PANASONIC PT-FRZ60 Laser DLP Installation Projector Review- Hardware: Chassis, Lens, Menus and Remote Control

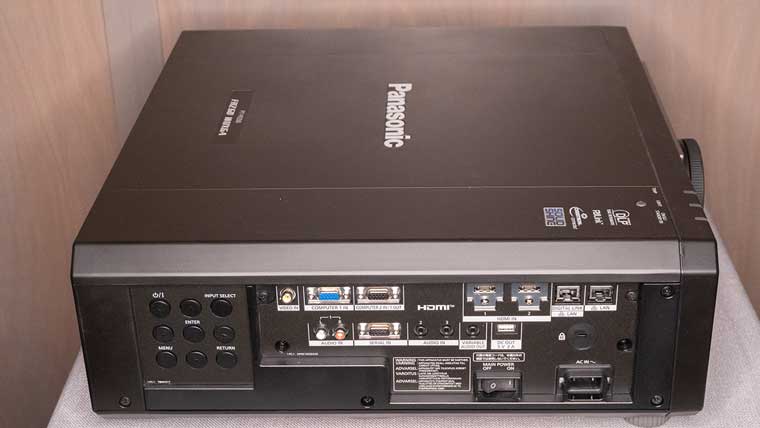
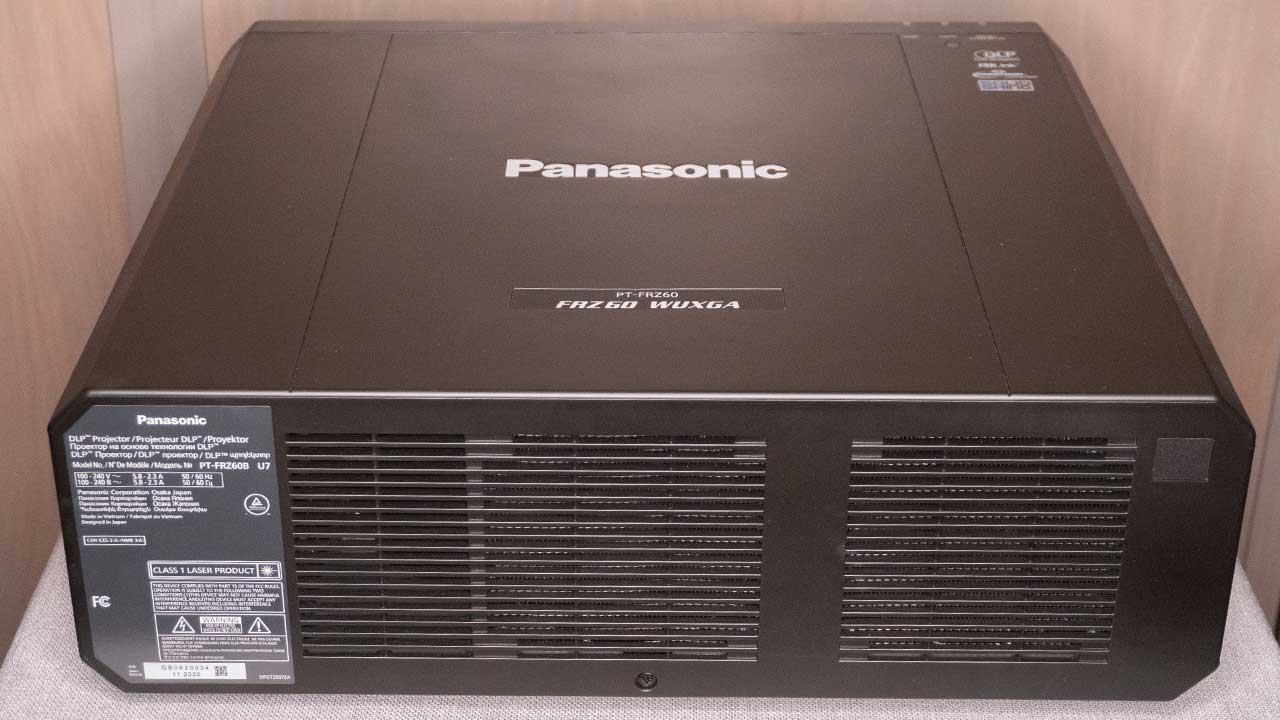
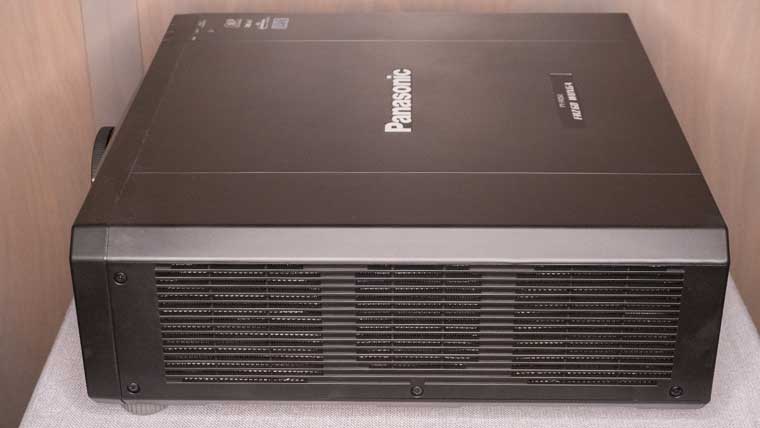
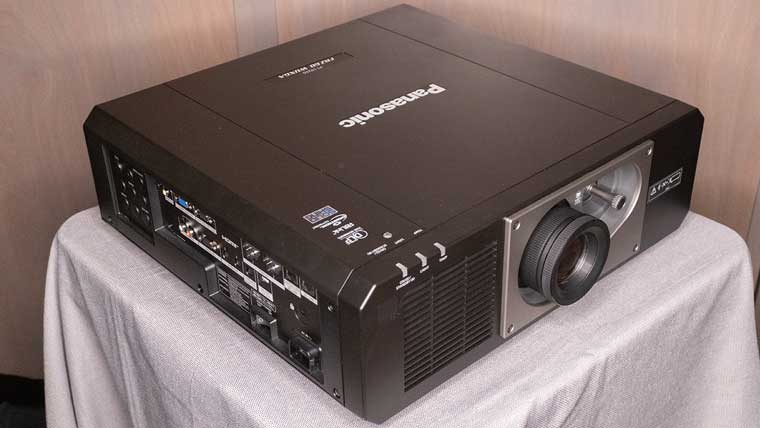
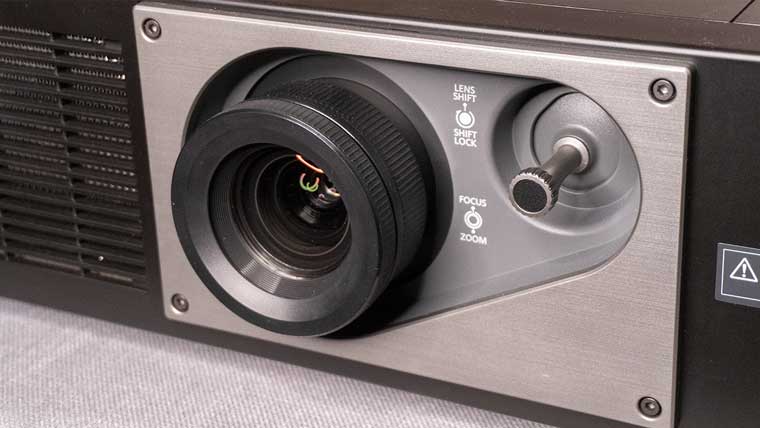
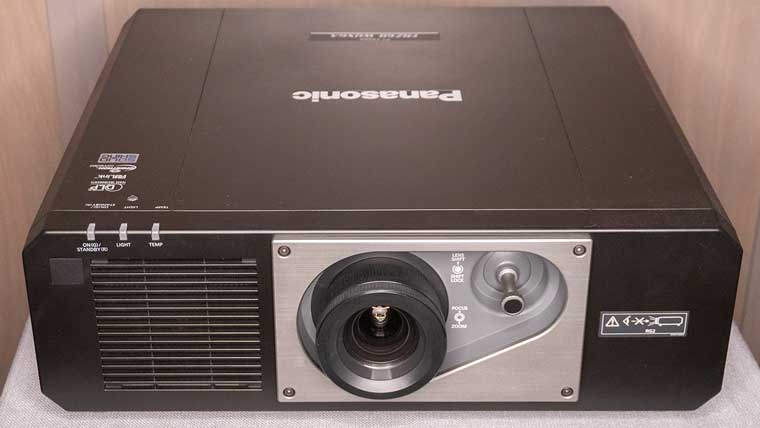
The projector’s lens is in the center front panel. The Horizontal/Vertical lens shift adjustment lever is located directly beside the lens. The window for the IR remote receiver is located toward the left side of the front panel along with indicator lights. Intake vents are located on the front and the right side of the chassis. Connections and the control panel are found on the left side of the PT-FRZ60 chassis.


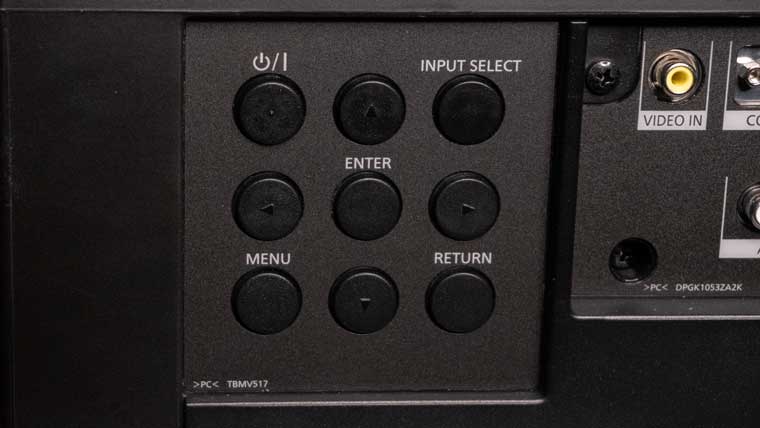
The control panel located has all the standard controls needed to power the unit ON/OFF, switch inputs, and navigate the projector’s menus.

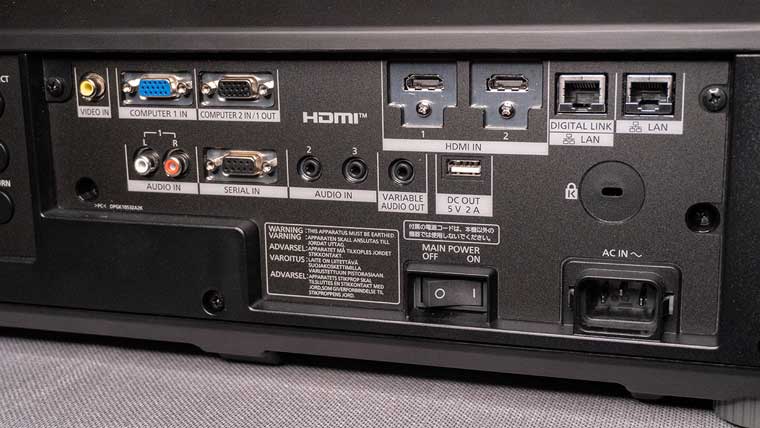
The PT-FRZ60 projector’s power and input connections are located on the left side next to the control panel. There are a wide variety of video and audio inputs.

HDMI2
Digital Link (HDBaseT)1
RGB (D-sub 15pin) In1
RGB (D-sub 15pin) In/Out1
Composite Video In1
Stereo RCA Audio Input1
Mini Jack Audio Input2
Mini Jack Audio Output1
LAN Port (RJ45 for Network)1
USB Type A (Power only 5V, 2.0A)1
Remote Serial Port In1

LENS

The PT-FRZ60 has a manual lens zoom and focus adjustments are made using a ring surrounding the lens. It has a zoom range of 2:1 and a throw ratio of 1.46 to 2.94:1. The throw distance can quickly be calculated using the width of the screen. For example, on a 100" wide image, the throw distance would be between 146" and 294".  

To make it easier for installer, Panasonic has a Throw Distance Calculator on their website can provide the throw distance easily.

Since diagonal screen size is usually listed to help eliminate the need for you to do the math, below is a basic chart for your reference.

Throw Distance for a 16:9 Screen

Screen Size (diagonal)Min Screen Distance (in)Max Screen Distance (in)
80”101 (2570mm)204.7 (5200 mm)
100”127.2 (3230 mm)256.3 (6510 mm)
120”153.2 (3890 mm)307.9 (7820 mm)
150192.1 (4880 mm)385.4 (9790 mm)
200”256.7 (6520 mm)539.4 (13700 mm)

Throw Distance for a 16:10 Screen

Screen Size (diagonal)Min Screen Distance (in)Max Screen Distance (in)
80”98.4 (2500mm)199.2 (5060 mm)
100”123.6 (3140 mm)249.6 (6340 mm)
120”148.9 (3780 mm)299.6 (7610 mm)
150186.6 (4740 mm)375.2 (9530 mm)
200”249.6 (6340 mm)500.8 (12720 mm)

The PT-FRZ60 has both horizontal and vertical optical lens shift which dramatically increases installation flexibility. It also makes the projector a great choice for someone trying to replace an existing projector.

Lens Shift (Horizontal -27%, +34% / Vertical -44%, +64%)

One of my favorite features on the PT-FRZ60 is the lens shift lever. While most projectors have wheels/knobs to manually adjust H/V lens shift, the Panasonic adjust lever looks like a little joystick. The lever makes it quick and easy to precisely align the projected image to the screen.

MENUS

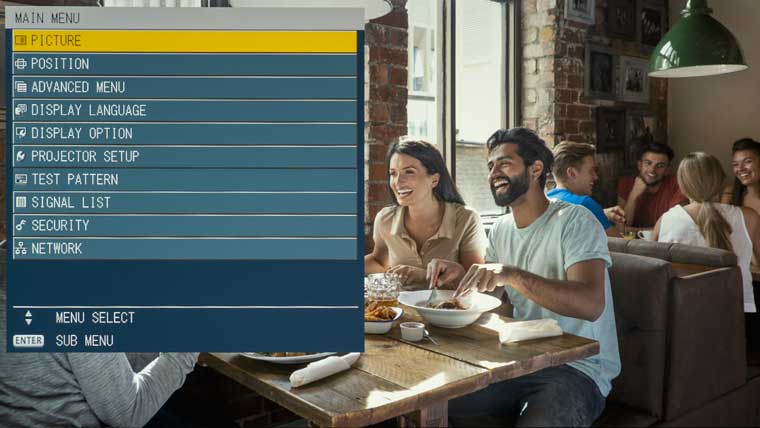
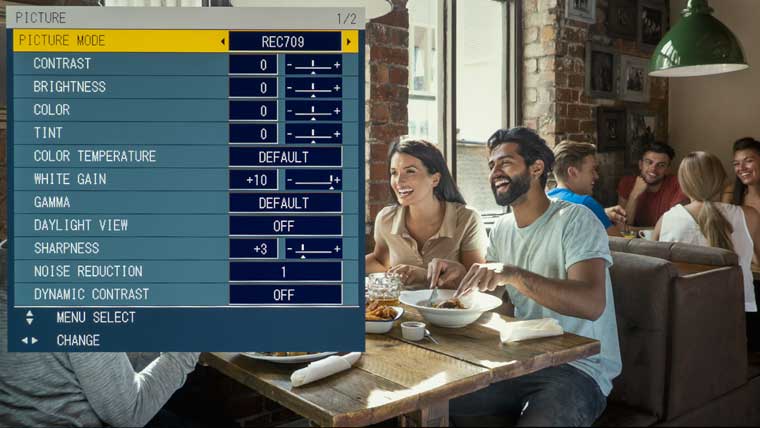
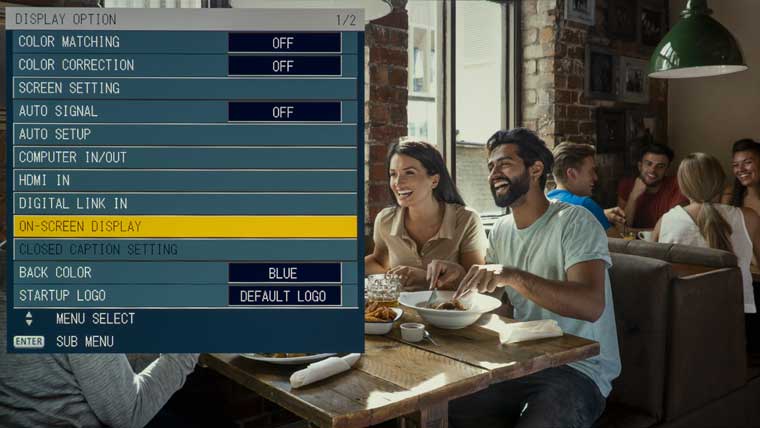
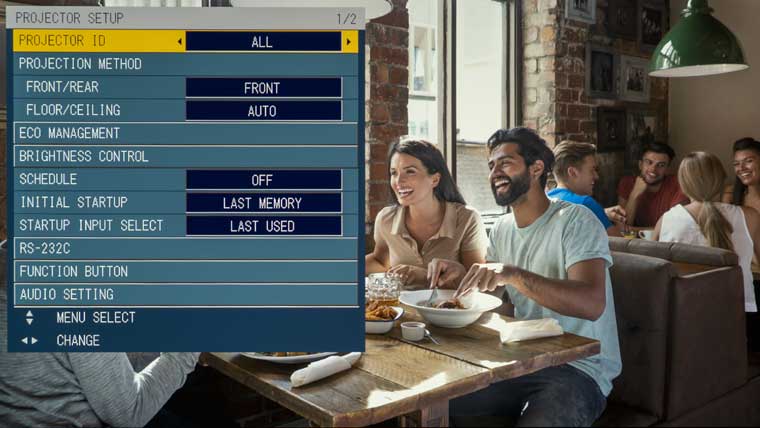
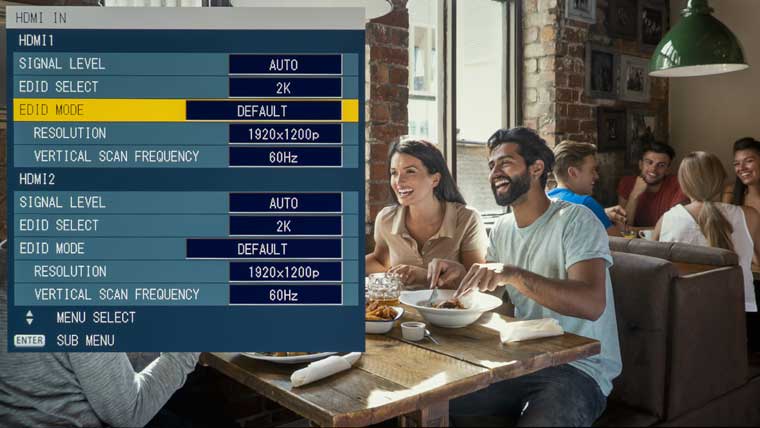
The PT-FRZ60 has an extensive but well laid out menu structure. The images of the menu included in this section represent only a small number of all the sub-menus available. I tried to show the submenus that contain frequently used adjustments (image, setting, and networking, etc.).

REMOTE CONTROL

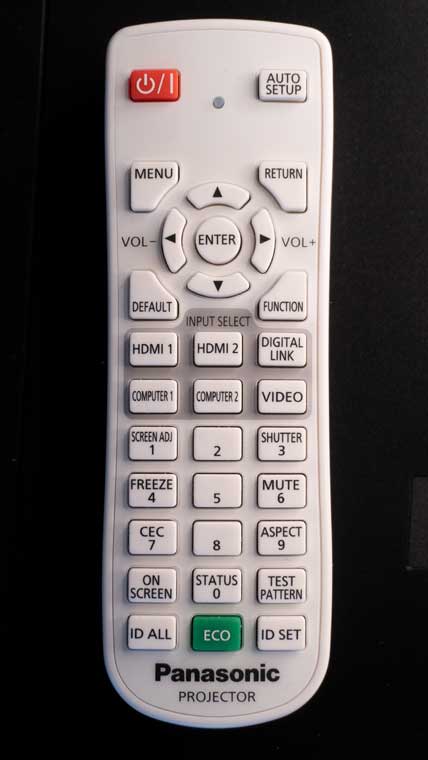
The supplied Panasonic remote control is a compact size with no back light. It has buttons for lens adjustments (Focus, Zoom, and Shift) along with the standard buttons found on most projector remote to navigate the unit’s menu. There are also discrete buttons to access the various sources.

The STATUS button can be used to access projector information and the ID SET button determines the ID number of the remote control when used in a multi-projector setup.

© 2024 Projector Reviews

crossmenu linkedin facebook pinterest youtube rss twitter instagram facebook-blank rss-blank linkedin-blank pinterest youtube twitter instagram