Projector Reviews Images

Optoma W460 Business and Education Projector Review – Hardware 2

Posted on April 11, 2018 by Nikki Zelinger

Epson BrightLink Interactive Projector Review – Hardware 2: Control Panel, Remote Control, Menus

Control Panel

Optoma W460 Control Panel

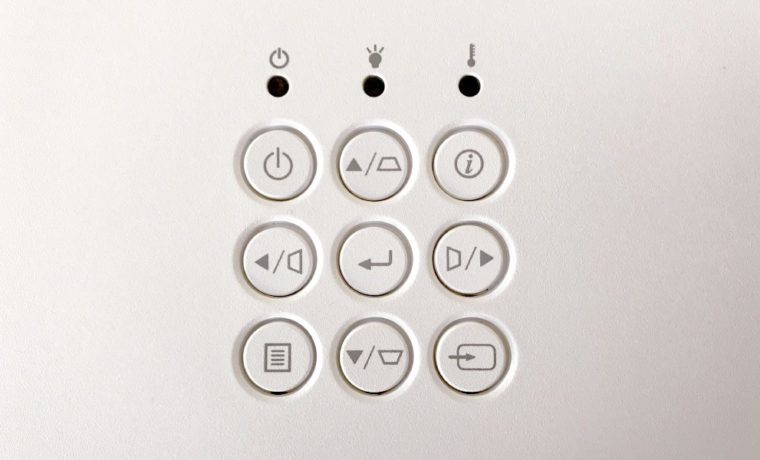
The Optoma W460 has a traditional nine button layout under three indicator lights for Power, Lamp, and Temp. The first button is appropriately positioned under the Power indicator light, in the top left of the formation. On the opposite corner, there is an Information button, while the bottom right corner has the Source button, and the Menu button is in the last corner.

It has the obligatory directional arrow keys surrounding an enter button in the center. Those arrow keys double as Keystone Correction – the top and bottom ruling vertical Keystone Correction, and the left and right horizontal Keystone Correction. This control panel will likely be used once, when installing the projector in your space.

Remote Control

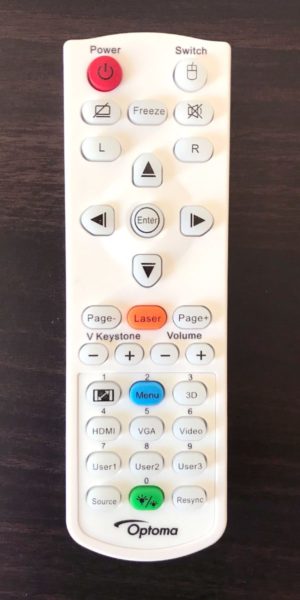
The remote control is a smallish white one that fits easily in the hand. I’m going to discuss the button layout in sections. The top section has nine buttons, with the first being the Power button in the top left. Opposite to the Power button is the Mouse Switch button, which activates/inactivates mouse mode to control your PC using the remote control. The next row of buttons has three: A/V Mute, Freeze, and Audio Mute. The next two buttons are labeled L and R, and are used as your left and right clicks when in mouse mode.

Optoma W460 Remote Control

Below that are the four directional arrow keys surrounding the Enter button. The section underneath has two rows of buttons, with the first row having a Page Down and Page Up button on either side of the Laser button. I love this button. I was setting up the projector and saw it, so I pressed it to see if I did what I was hoping – it did. My face split into a grin as I ran the little red dot along the floor in front of my cats, causing their pupils to dilate into back orbs as they pounced and proceeded to chase the thing all about the house. We had a lot of fun with that before I tired them out and it was time to get back to work.

Under the super fun section of the remote are two pairs of two buttons: +/- Vertical Keystone Correction, and +/- Volume. The final section of the remote has 12 buttons: Numbers 0-9, a button to bring up the Brightness Mode menu, a Source button, and a Resync button. Those 0-9 number buttons also double as various functions and input choices. 1 is the Aspect Ratio button, 2 opens up the menus, 3 is for 3D, and 4 through 9 select these inputs in the following order: HDMI, VGA, Video, User1, User2, User3.

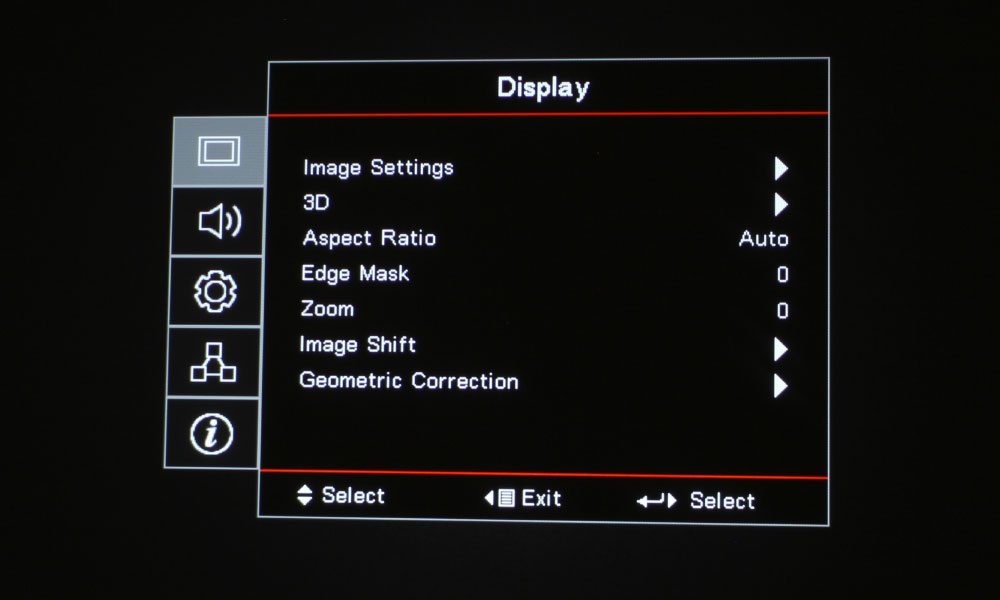
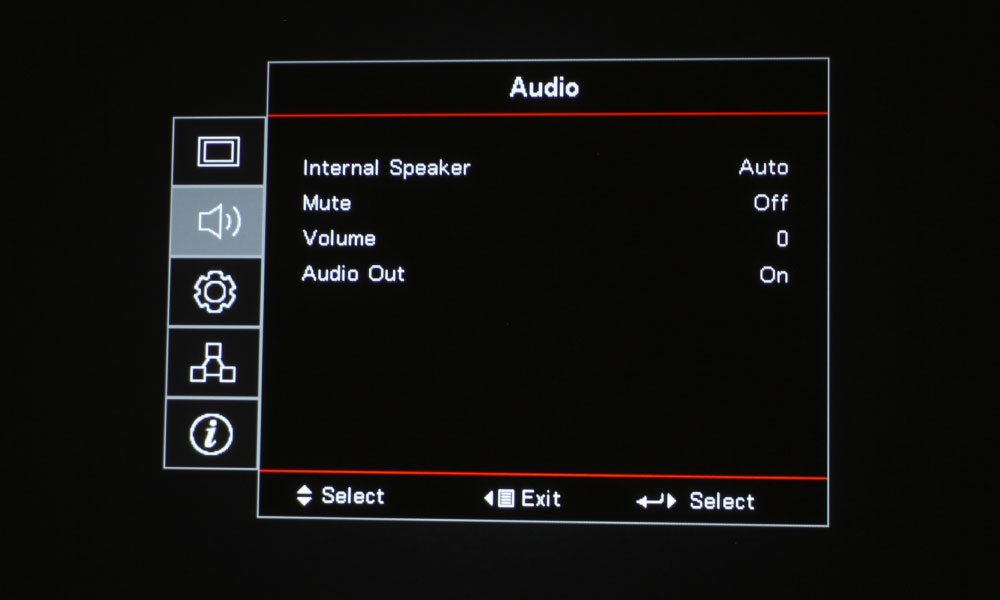
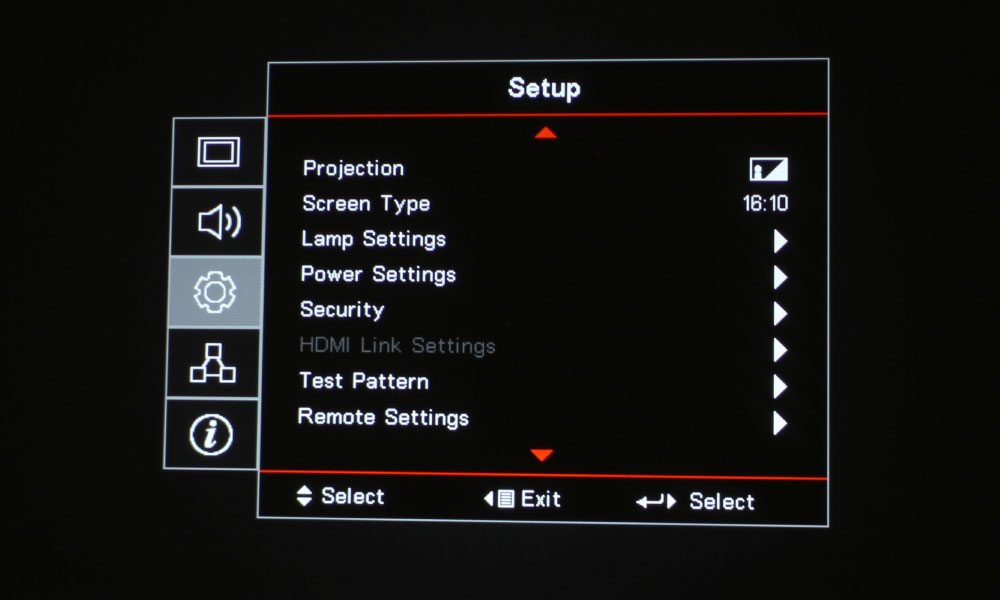
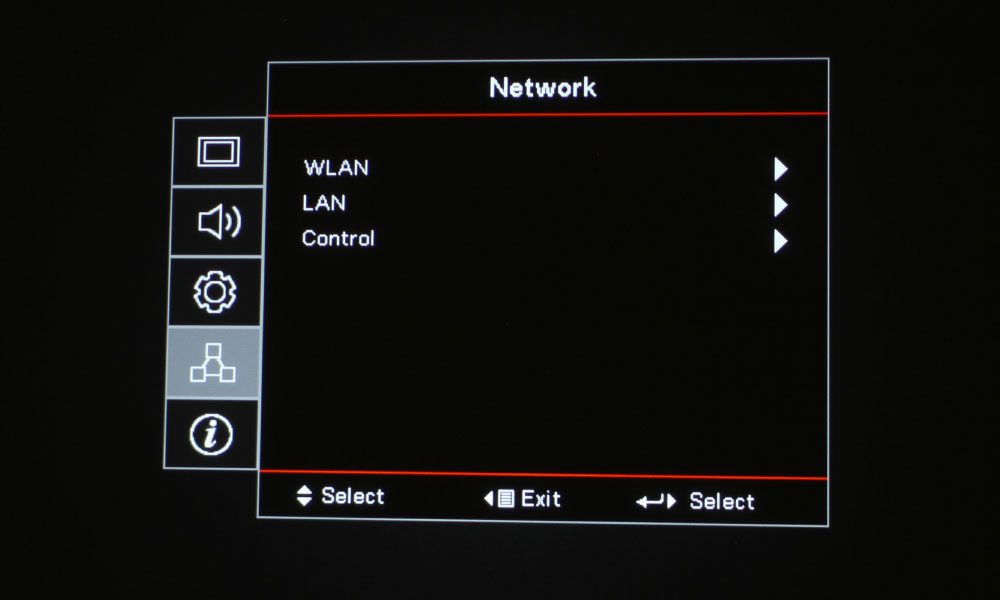
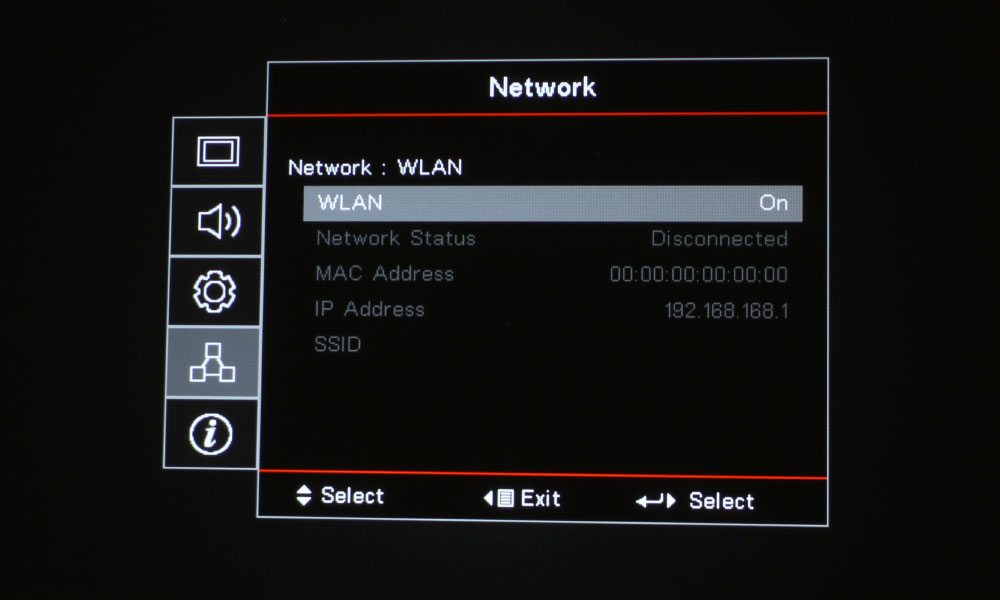
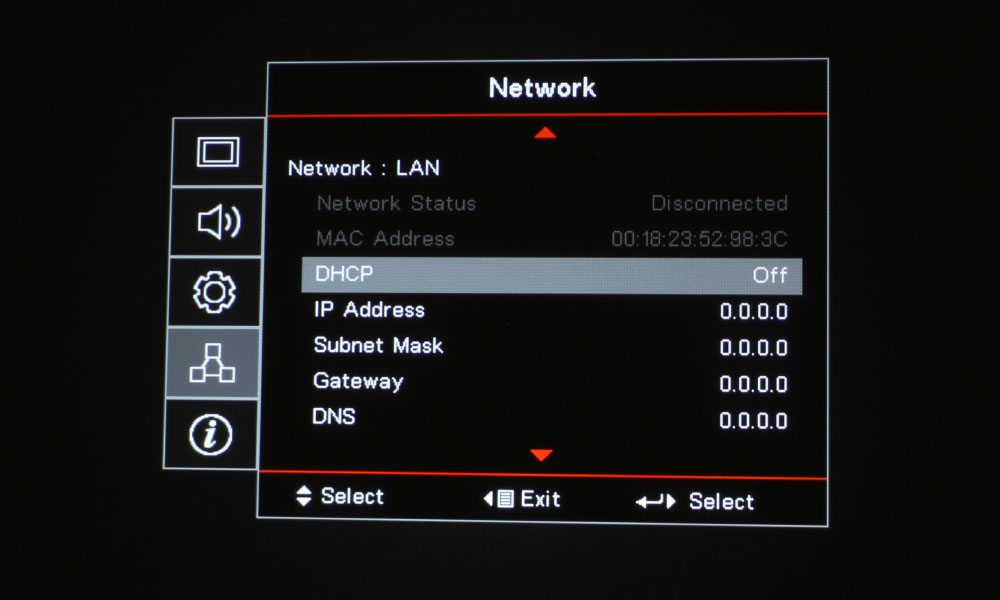
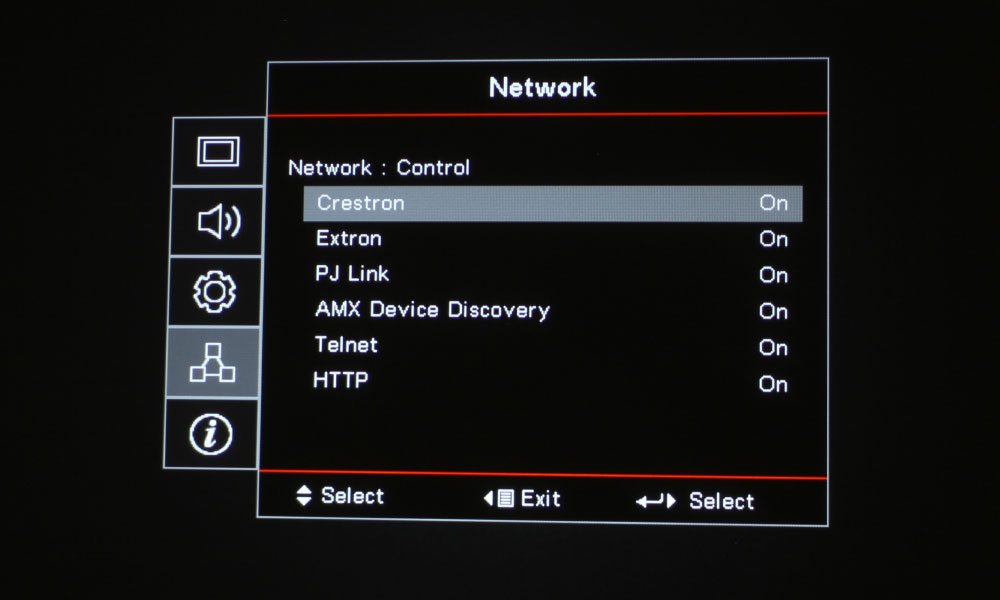
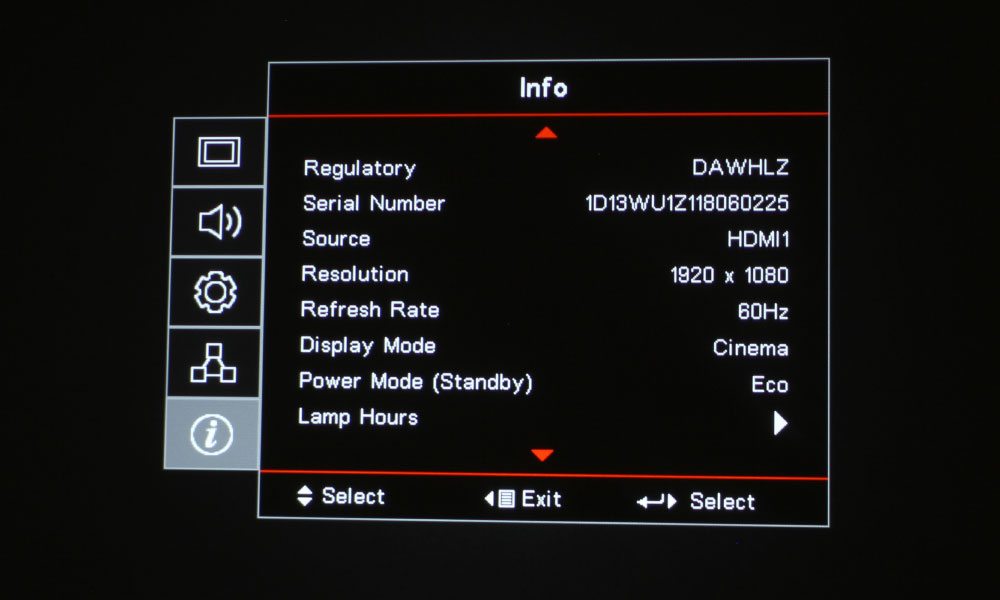
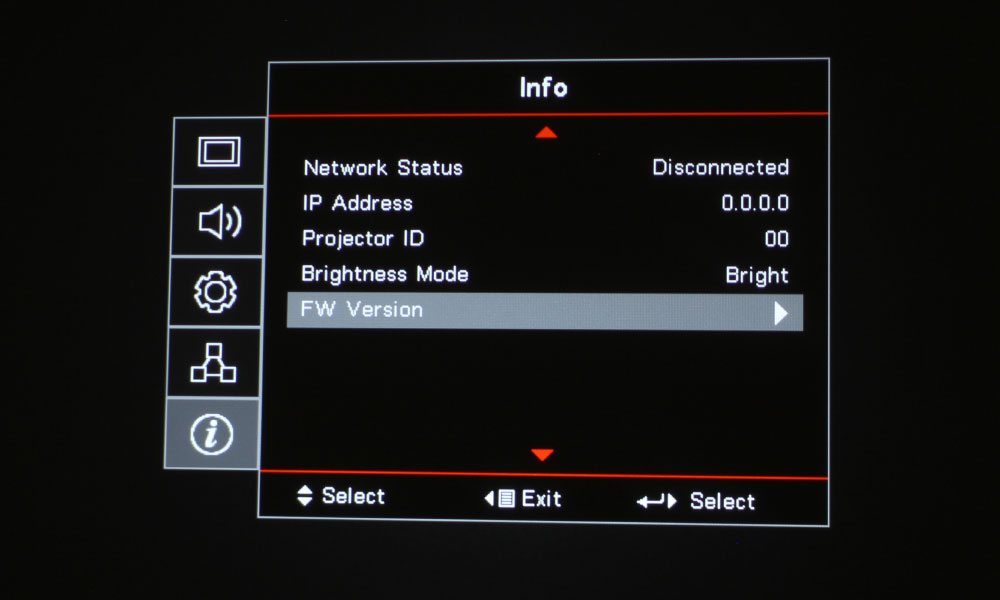
The Menus

That does it for our tour of the Optoma W460's hardware! Next up is our discussion of the projector's picture and sound quality.

Epson BrightLink Interactive Projector Review – Hardware 2: Control Panel, Remote Control, Menus

Control Panel

Optoma W460 Control Panel

The Optoma W460 has a traditional nine button layout under three indicator lights for Power, Lamp, and Temp. The first button is appropriately positioned under the Power indicator light, in the top left of the formation. On the opposite corner, there is an Information button, while the bottom right corner has the Source button, and the Menu button is in the last corner.

It has the obligatory directional arrow keys surrounding an enter button in the center. Those arrow keys double as Keystone Correction – the top and bottom ruling vertical Keystone Correction, and the left and right horizontal Keystone Correction. This control panel will likely be used once, when installing the projector in your space.

Remote Control

The remote control is a smallish white one that fits easily in the hand. I’m going to discuss the button layout in sections. The top section has nine buttons, with the first being the Power button in the top left. Opposite to the Power button is the Mouse Switch button, which activates/inactivates mouse mode to control your PC using the remote control. The next row of buttons has three: A/V Mute, Freeze, and Audio Mute. The next two buttons are labeled L and R, and are used as your left and right clicks when in mouse mode.

Optoma W460 Remote Control

Below that are the four directional arrow keys surrounding the Enter button. The section underneath has two rows of buttons, with the first row having a Page Down and Page Up button on either side of the Laser button. I love this button. I was setting up the projector and saw it, so I pressed it to see if I did what I was hoping – it did. My face split into a grin as I ran the little red dot along the floor in front of my cats, causing their pupils to dilate into back orbs as they pounced and proceeded to chase the thing all about the house. We had a lot of fun with that before I tired them out and it was time to get back to work.

Under the super fun section of the remote are two pairs of two buttons: +/- Vertical Keystone Correction, and +/- Volume. The final section of the remote has 12 buttons: Numbers 0-9, a button to bring up the Brightness Mode menu, a Source button, and a Resync button. Those 0-9 number buttons also double as various functions and input choices. 1 is the Aspect Ratio button, 2 opens up the menus, 3 is for 3D, and 4 through 9 select these inputs in the following order: HDMI, VGA, Video, User1, User2, User3.
The Menus

That does it for our tour of the Optoma W460's hardware! Next up is our discussion of the projector's picture and sound quality.

© 2024 Projector Reviews

crossmenu linkedin facebook pinterest youtube rss twitter instagram facebook-blank rss-blank linkedin-blank pinterest youtube twitter instagram