Projector Reviews Images

Optoma W460 Business and Education Projector Review – Hardware

Posted on April 11, 2018 by Nikki Zelinger

Optoma W460 Business and Education Projector Review – Hardware: Overview, Inputs and Connectors, The Lens

Overview

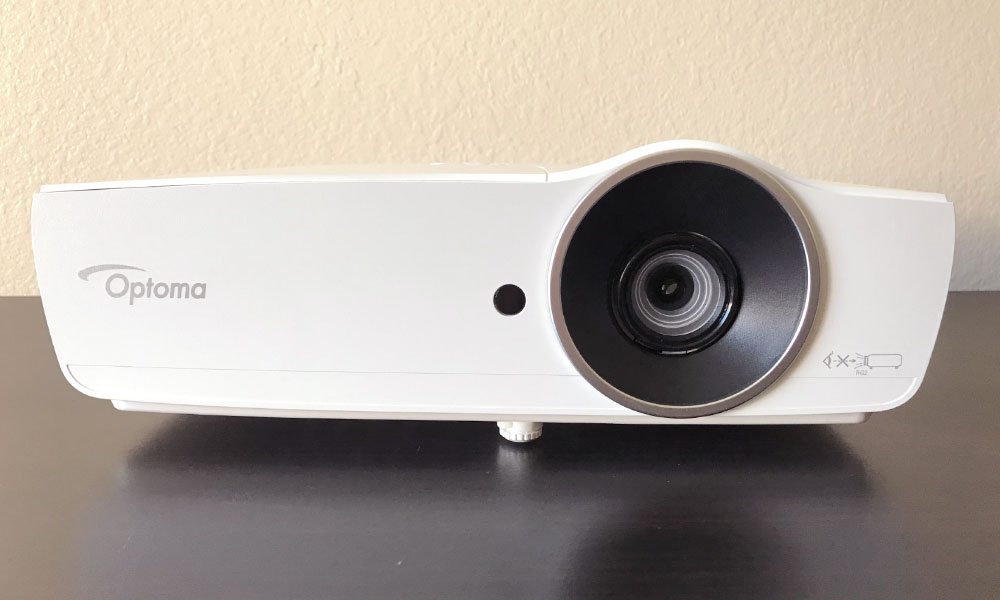
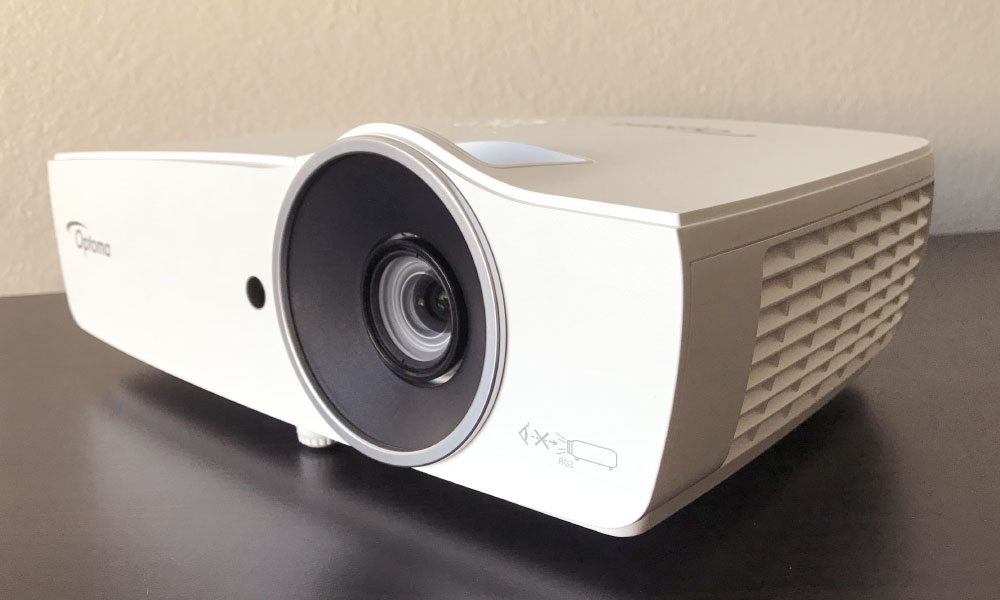
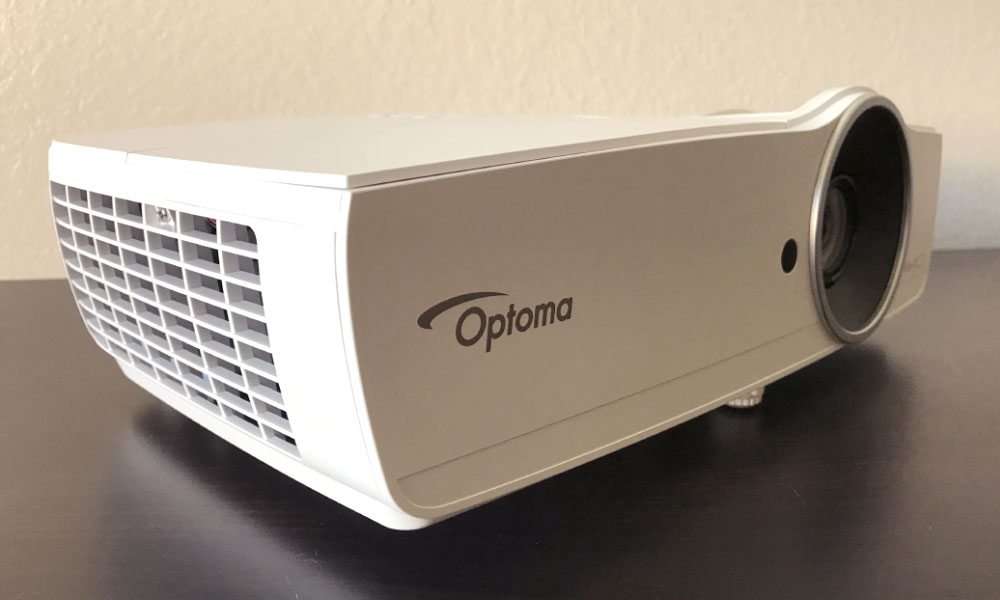
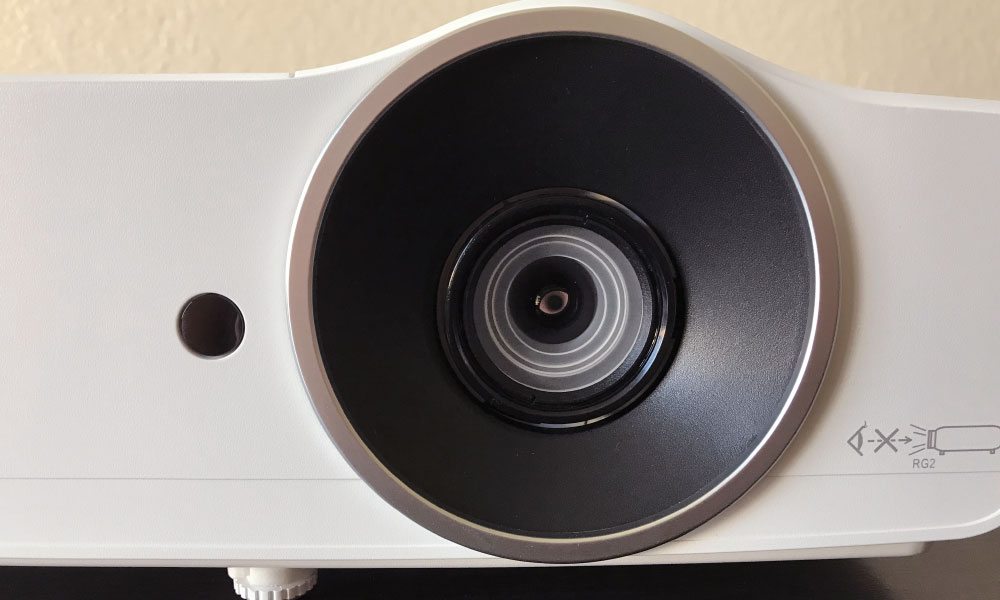
The Optoma W460 is a medium-small projector with white  casing and an enlarged lens area. Its lens is recessed and mounted on the far right, with the lens controls accessible from the top – also recessed. The control panel, also on the top, is toward the back of the projector and just a bit off-center to complement the position of the lamp door, which is just above it, next to the lens controls. That control panel has three indicator lights located above it, when looking at the control panel from the back of the projector.

The hot air exhaust vents are on the left side of the projector, while the cool air intake vents are on the right. There are some cool LEDs within the projector that light up these vents, which adds to the aesthetic. The inputs and connectors panel is located on the back, with several inputs and connectors for all your business and education applications. I’ll go into detail on that panel in the next section.

Inputs and Connectors

Optoma W460 Inputs and Connectors
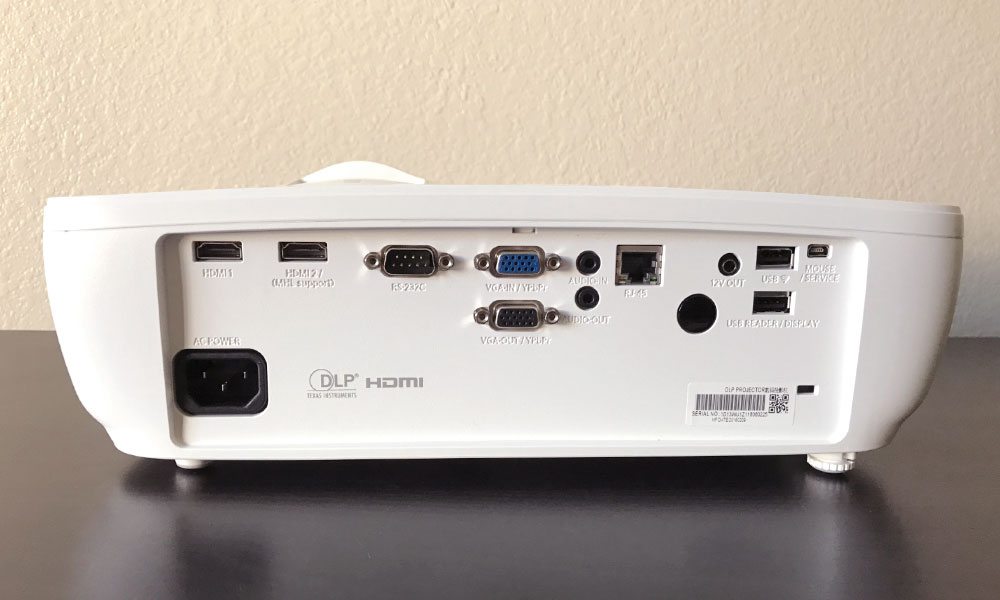
The Optoma W460 has all the inputs and connectors needed for presentations and other such business and education applications.

The inputs and connectors panel is rather simple, but has all the ports necessary for a K-12 classroom or conference room setup. Starting from the left, there are two HDMI inputs – one with MHL for streaming devices such as Roku, Amazon FireTV, and Chromecast, to name a few. Next to those is the obligatory RS-232C connector for old school command and control.

Two VGA inputs are stacked to the right, with the VGA-In for connecting a computer on the top, and a VGA-Out for connecting a monitor. Two Audio inputs, also stacked, are next to the VGAs. Those are the Audio In and Audio Out ports. The LAN port is next to that, then a 12V Out input next to two USBs.

The USBs are labeled differently – the top one is labeled “USB,” while the bottom is “USB Reader / Display.” There is a Micro USB next to that for connecting a Mouse, and the input also doubles as a Service Port. The power receptacle is on the far left at the bottom. That’s it! As you can see from the photo, the inputs and connectors are nicely laid out and should be easily accessible no matter your mounting style.

The Lens

The Optoma W460 has a manual 1.2:1 zoom lens. This doesn’t allow for a lot of placement flexibility, though it does have some – that is, you’ll want to set it up at the proper distance from your screen and not rely too much on zoom for installation. One of the things I noticed about this particular projector is that zooming in or out knocks to the projector out of focus. In most cases, this will be a non-issue, as the projector will be installed once and left alone. In cases where the projector will be moved from room to room, or for those road warrior presenters, this is a minor nuisance that is less of an issue and more of just something to be aware of.

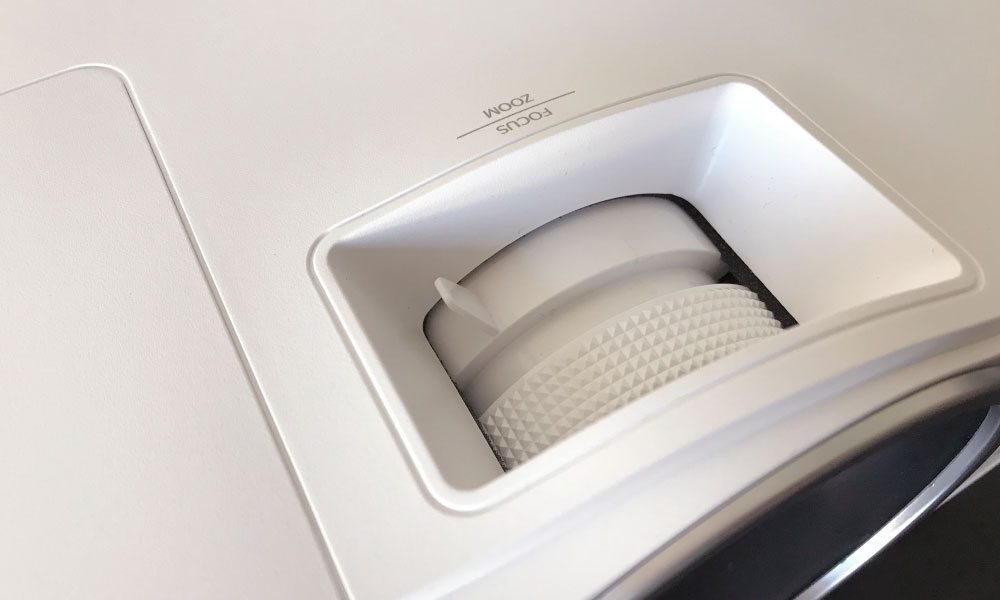
The lens controls are located on the top of the projector, just behind the lens. They are recessed like the lens. There is no lens shift on the Optoma W460, but that’s to be expected of a projector at this price point. I could’ve used it in my installation, as the height of my shelf was awkward with this projector, but I got by with a little bit of Image Shift (this is a digital function) and Keystone Correction. I don’t prefer using Keystone Correction, as it distorts the image a bit, but you’ve got to do what you’ve got to do!

Up next is our second page of the Hardware Tour where I will discuss the control panel, remote control, and the menus. Click the button below to navigate to the next page!

© 2024 Projector Reviews

crossmenu linkedin facebook pinterest youtube rss twitter instagram facebook-blank rss-blank linkedin-blank pinterest youtube twitter instagram