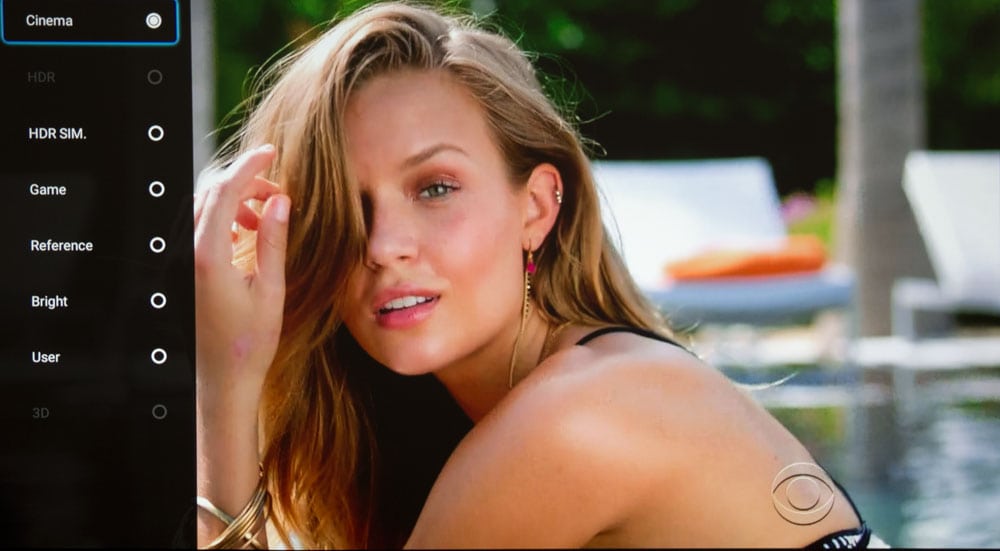
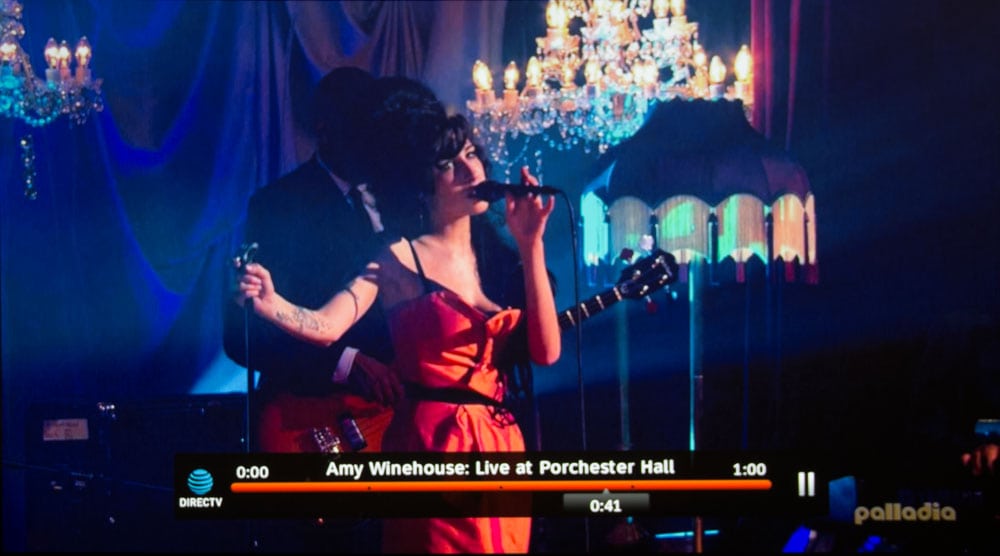
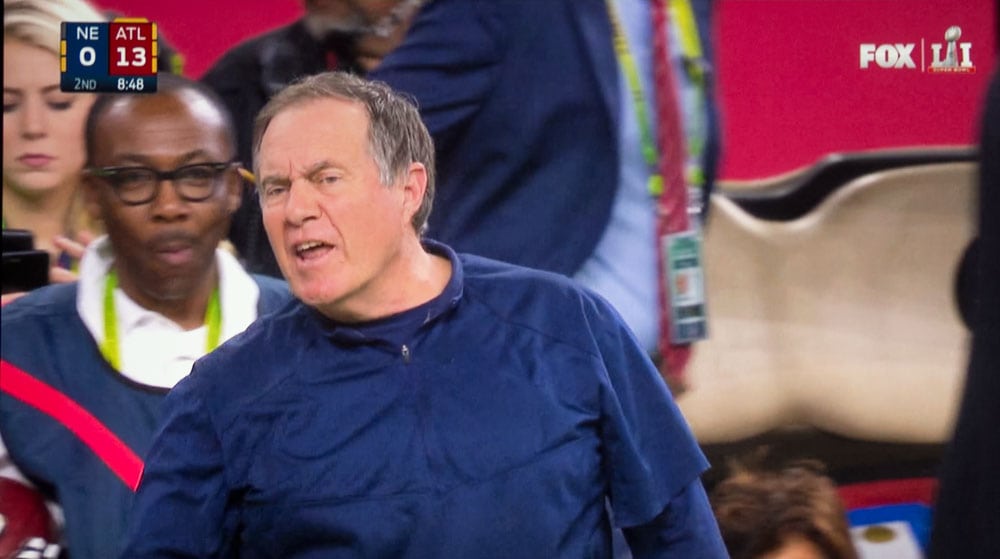
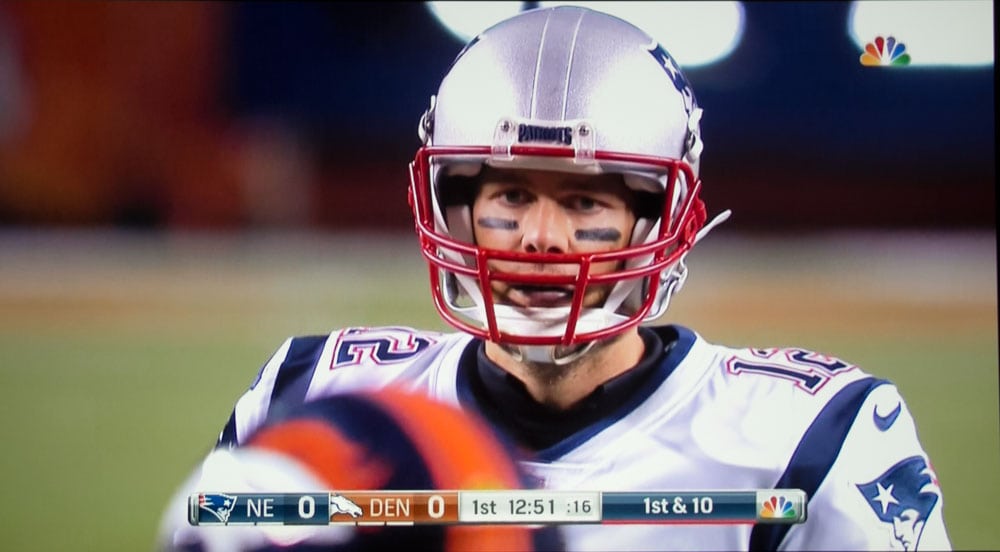
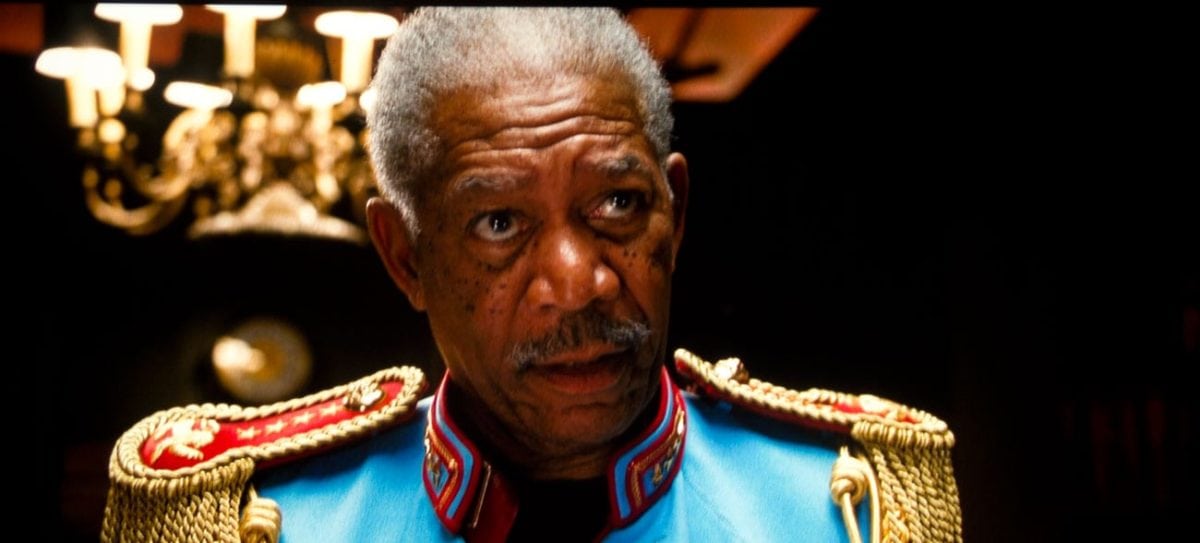
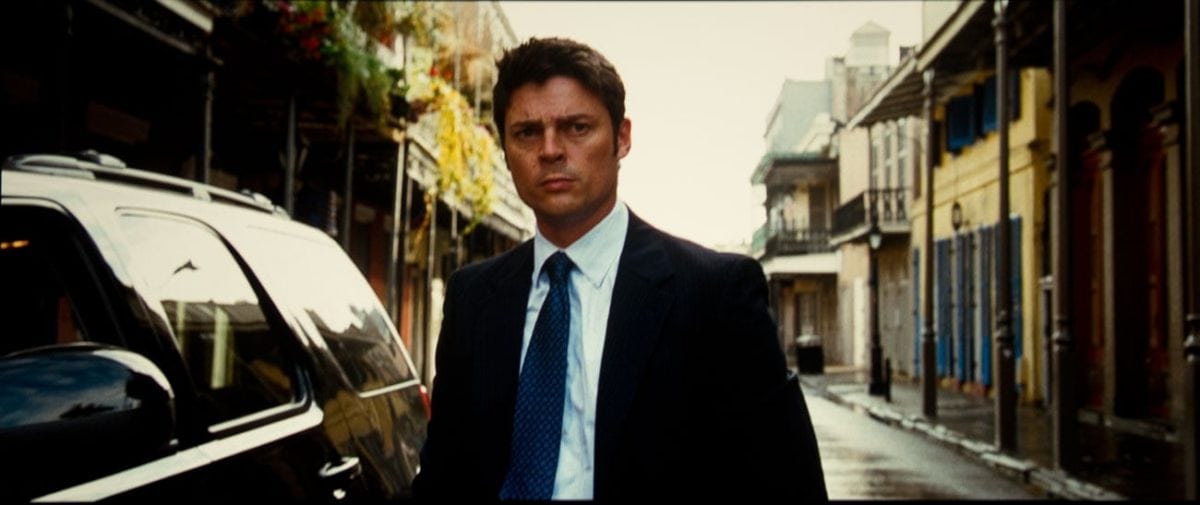
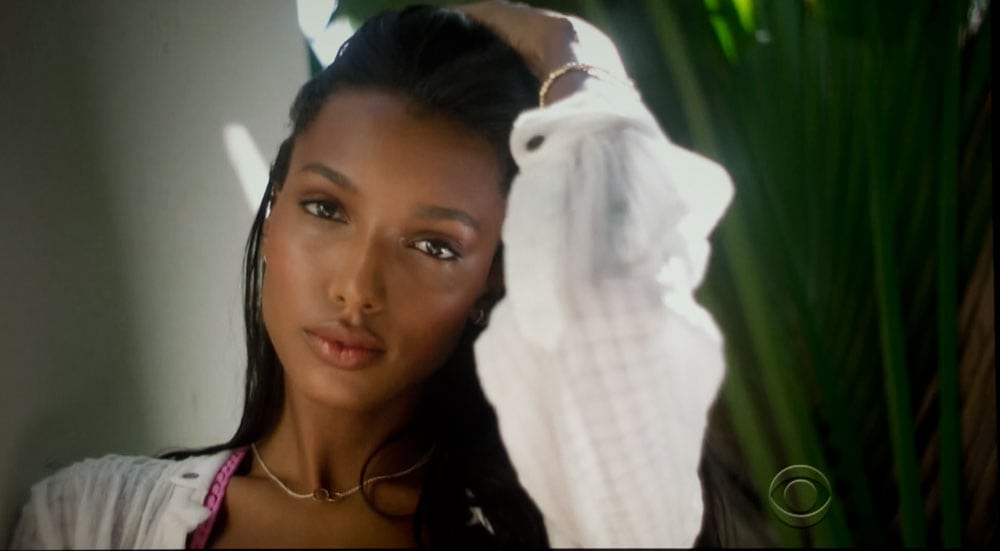
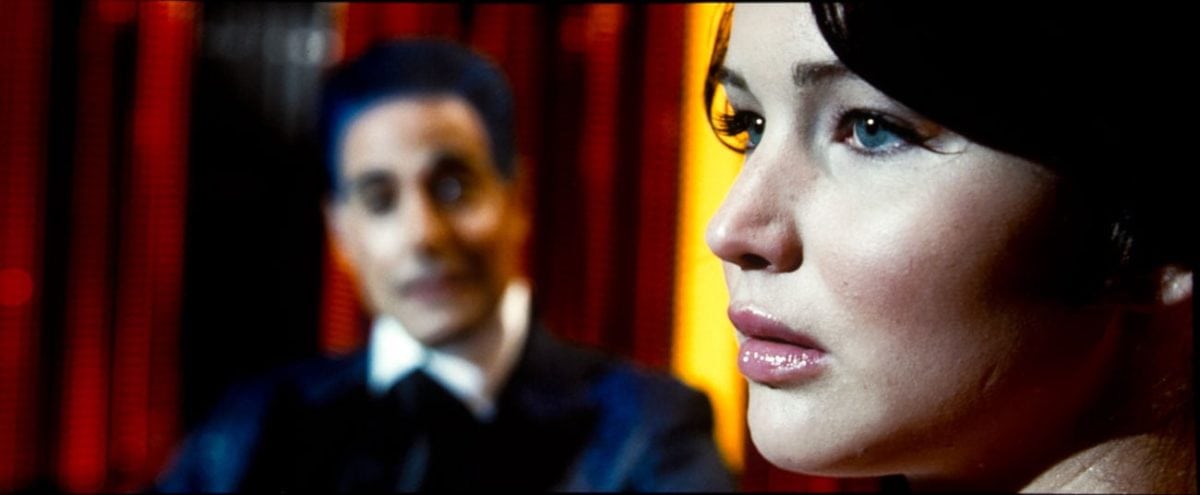
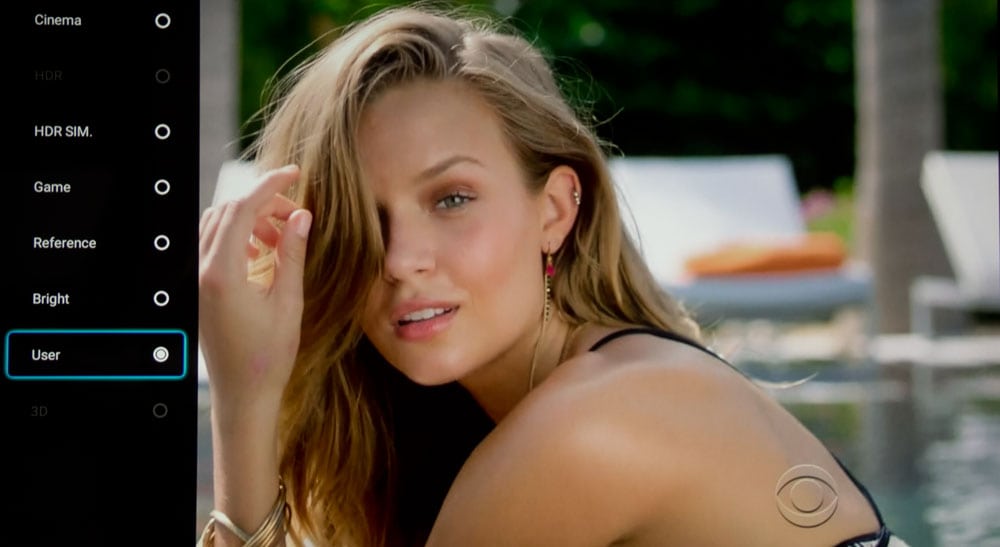
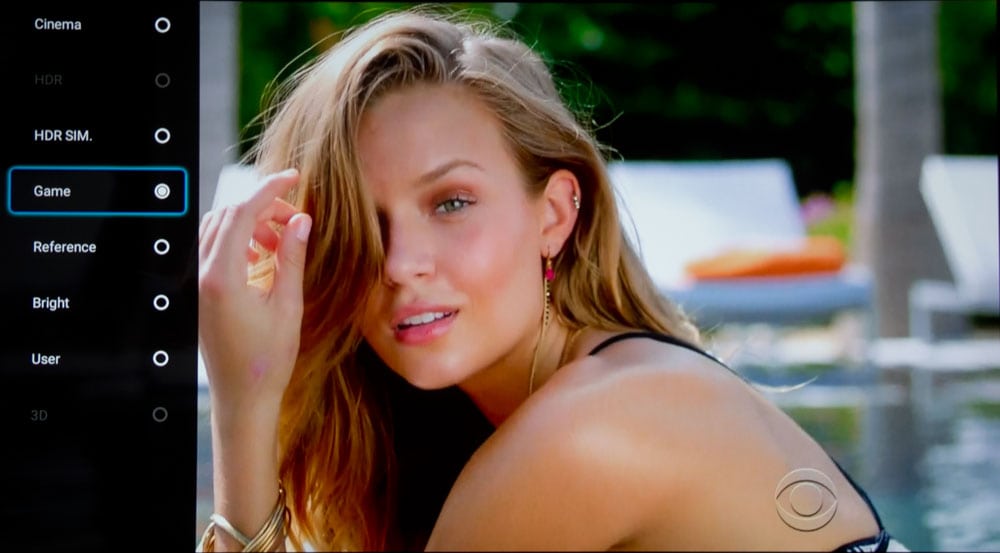
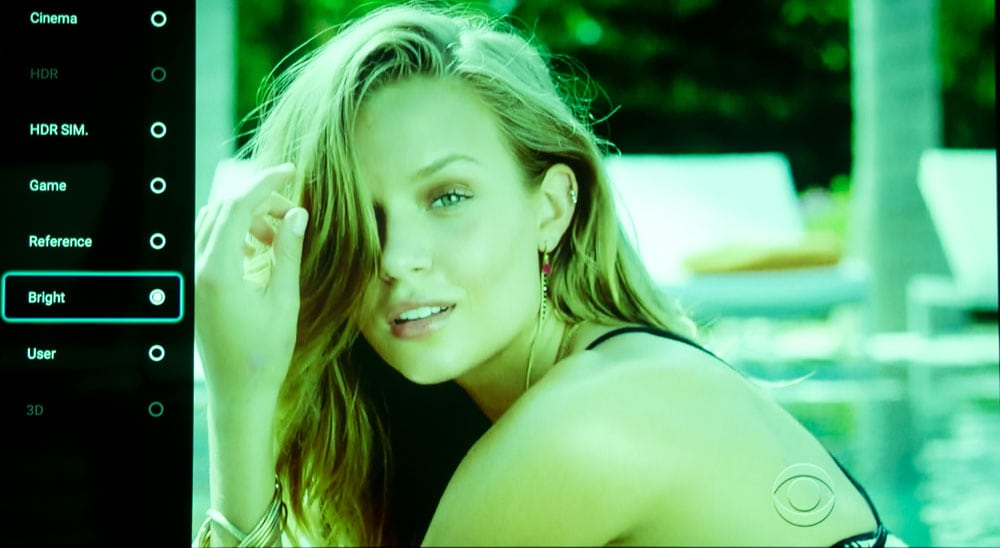
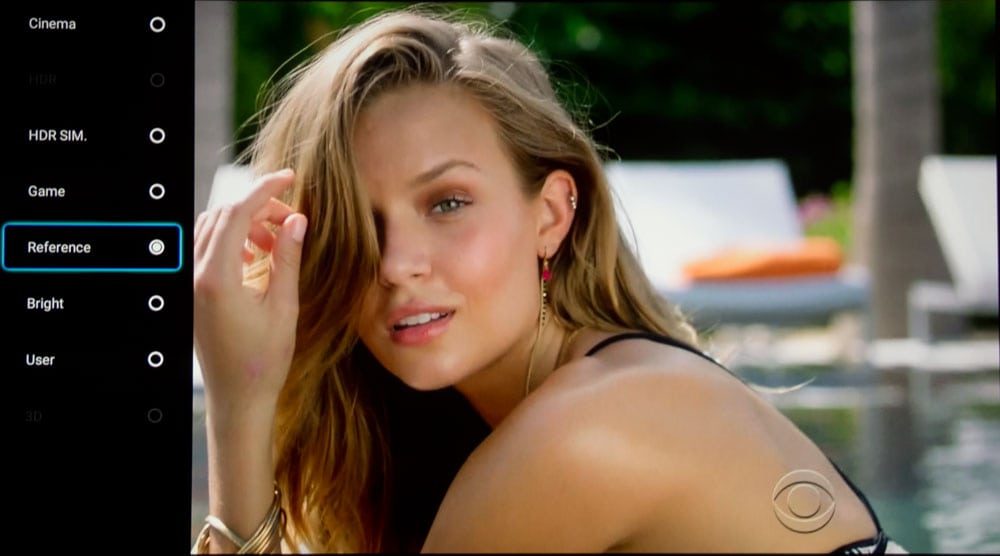
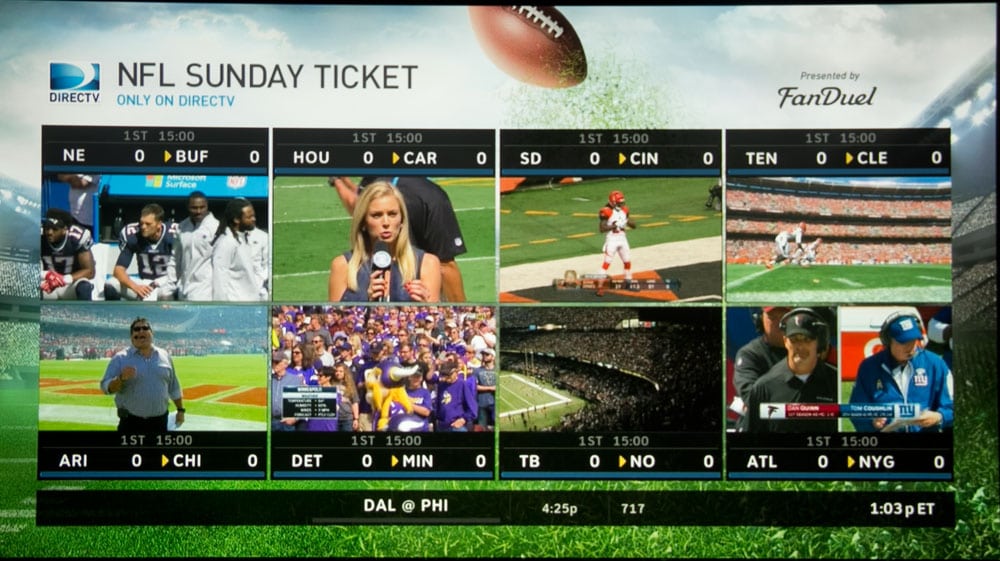
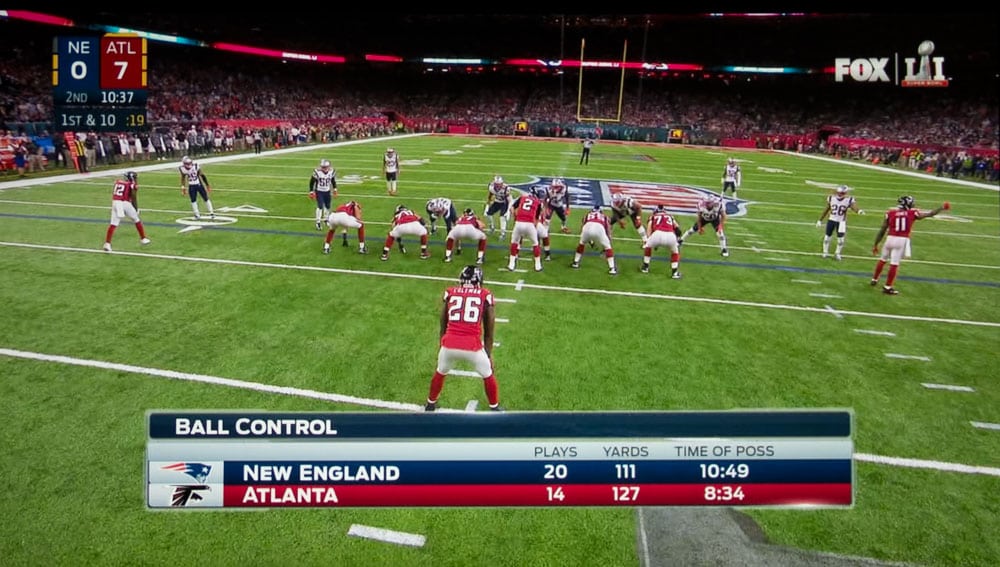
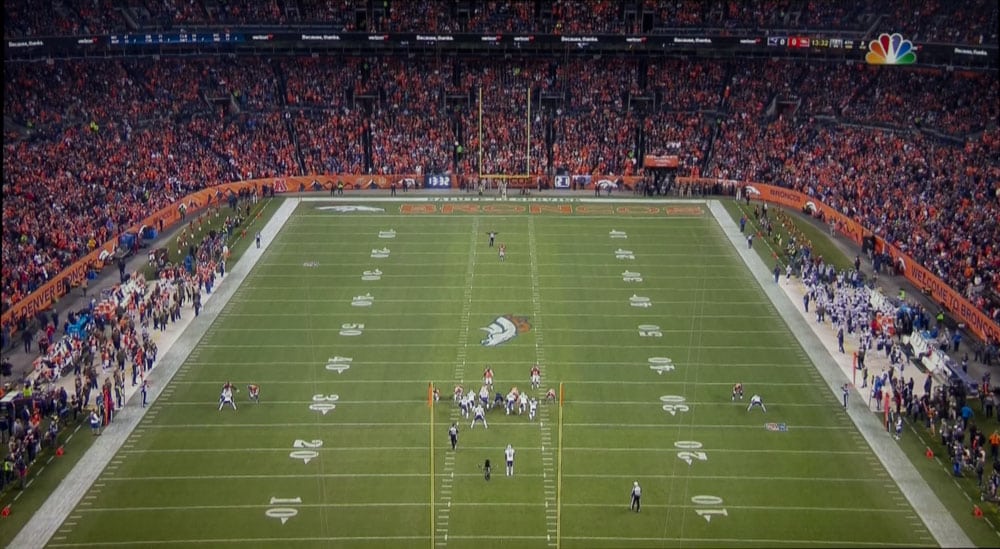
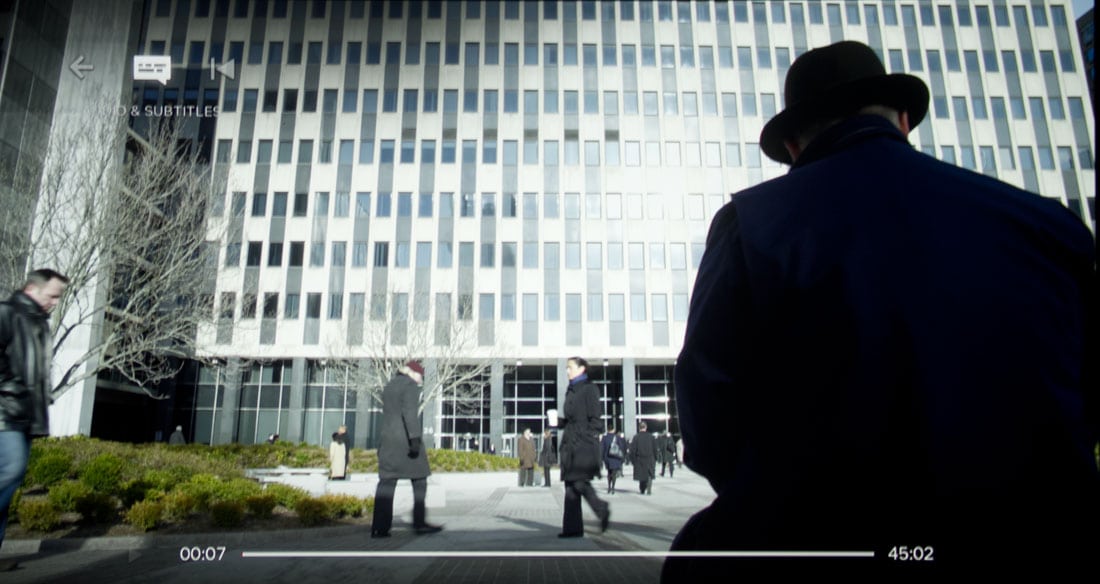
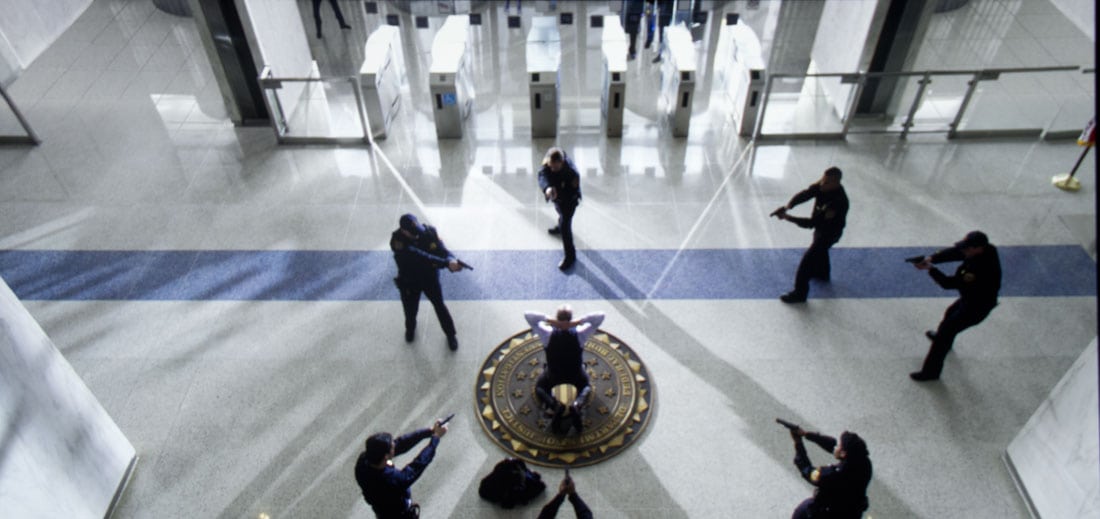
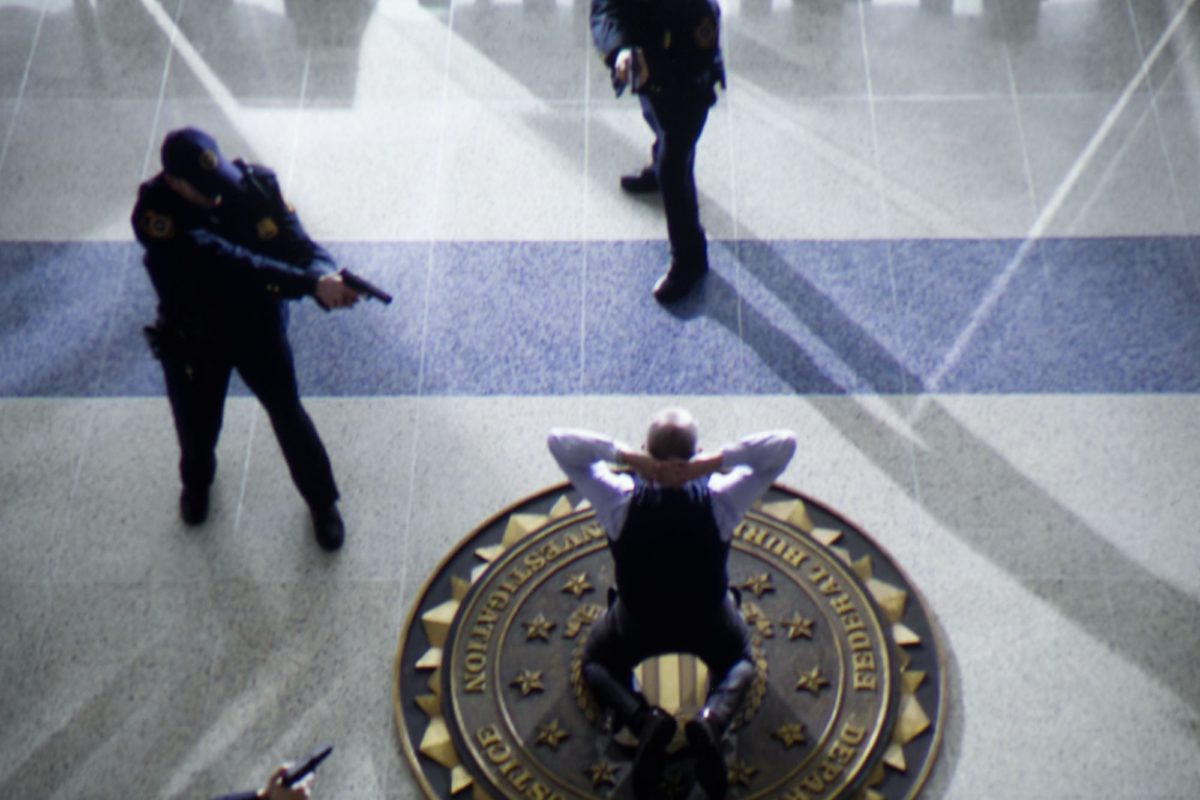
This Optoma projector offers half a dozen or so picture modes, including one for HDR and one for HDR Simulation. Overall, Cinema and Reference are the two modes with the best picture before any adjustment. That said, Eric, our ISF calibrator was less than thrilled with the default settings, complaining about crushed whites, and crushed dark shadow detail, reduced brightness, and more. All is covered in his calibration pages later in this review. I too immediately noticed the crushing of dark shadow detail, and some near whites too. Fortunately, just about anyone can follow simple instructions to adjust brightness and contrast settings to solve much of these problems, without having any calibration talent, or even test equipment.
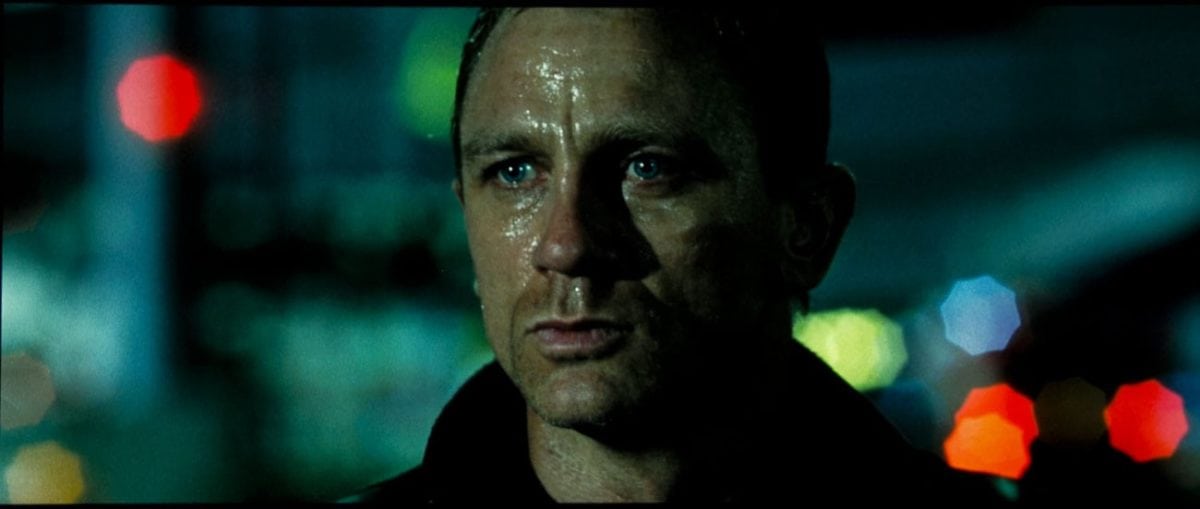
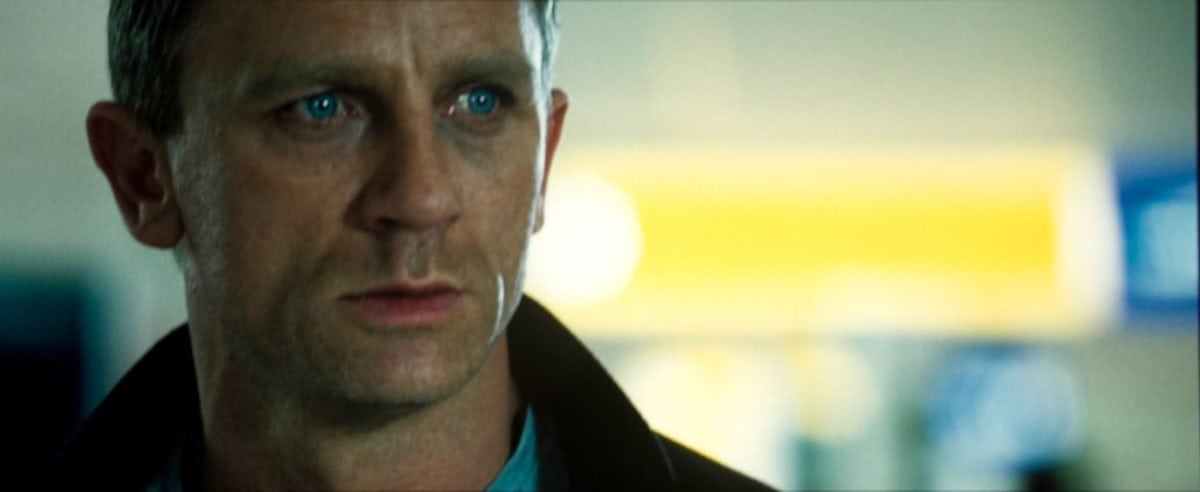
Editor’s Tip: If dark detail is being crushed, put on your projector a very very dark image, such as the Bond night train scene I use from Casino Royale (the Daniel Craig version not the Woody Allen one): Once you have a really dark image on the screen, pause it. Now adjust the Brightness to the lowest possible setting that does not make some of that dark detail disappear. Go back and forth between that setting and one number higher, and you can decide to have slightly lower blacks with minor crushing of detail, or no crushing and a slightly higher brightness black. Its that easy. Adjusting Contrast is the exact opposite – mostly very bright image, adjust until you when you adjust the number up by one, that you don’t lose any near white detail (turning to white).

