You will notice in the front, a large, dome lens. This lens provides the ability to mount the projector very close to the screen, and achieve a large image. This type of projector is considered a short throw projector due to this lens type. Next to the lens you will see an IR sensor to receive signals from your remote control and your PointBlank pen. On top of the projector you will find a fine focus lever, and the menu system for accessing all the projectors functions. Around most of the projector you will find intake vents and exhaust vents to dissipate heat build up.
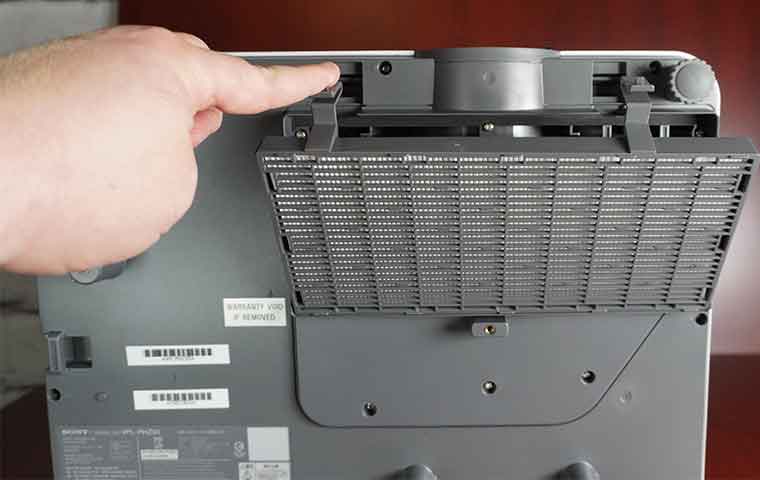
The bottom of the projector features 4 adjustable feet, and the door for replacing the lamp. This is a unit that if you ceiling mount the projector you will have to take the projector down to replace the lamp. Some mounting situations may allow access to the lamp, but assume that will have to take it down to access the lamp door. This does increase maintenance time, so consider that when if you are installing a large number of these.
Moving to the rear of the projector we can see the input panel. It is extensive, and you pretty much can hook up just about every signal available today. From the left you will see a input for the mini-usb that connects to your computer to make the PointBlank pen work with your laptop. To the right of that, we have a HDMI port for high definition signals. Then, moving right again, we have a VGA-Out port. Next, you will see a VGA port for taking in a signal from your laptop. A S-video input is to the right of that. If you are still using a composite video source, Optoma has provided a input for that as well. For RS-232 control, there is a input for that as well. For sound input, you have two options. You can input via 3.5mm mini dim, or a RCA L and R input. Audio out to a sound system is only available through a 3.5mm mini dim cable. I should mention, there is also a 12V screen trigger, and a microphone port.
4 other things to mention about the rear of the projector would be the regular sized AC power input. Personally, I prefer it when projectors have the standard AC power input, because the cables are so easy to get. For security, there is also a Kensington Lock, and a security bar. Last, but not least, there is a mesh like opening for the speaker. This projector has two 5 watt speakers, but one delivers sound through the rear of the projector.
Setup and Menus
Setup of the projector is actually easier than most, because of the 4 adjustable feet on the bottom of the projector. I should say, that most people will ceiling mount this projector, so the adjustable feet are not as important, but if you do plan to use this a portable projector that will move from room to room, then setting up will only a take a minute.
If you plan to ceiling mount the projector, then a mount can be easily purchased. Being that this is a short throw projector, you have the advantage of not having to mount the projector far from the screen. In many cases, you can purchase a mount that attaches to the wall right above the screen. This is ideal if you are going to be using the PointBlank pen for interactive lessons, since mounting overhead reduces any shadow the presenter might make while at the whiteboard.
I have no complaints about the menu system. There is nothing unique about it, but what I did like is the graphical nature of it. Not to worry though, all the features are labeled clearly. The menu system comes in 25 different languages. See images below, for a sense of how the menu system is laid out.
Setup and Menus Slideshow

