Projector Reviews Images

Optoma CinemaX P1 Laser TV Review - Hardware 2

Posted on May 29, 2020 by Art Feierman

Optoma P1 Laser TV Projector Review– Hardware 2: Throw Distances/UST Placement, Remote Control, Menus

CinemaX P1 Throw Distances/UST Placement

Optoma provides a chart to tell you how far below, and how far out from the bottom of your screen’s surface (assuming tabletop use). I’ve already, elsewhere mentioned much of this, as this is important. Optoma can’t tell you how far below the surface you must place a projector. They say there is enough variation in the optics to vary the distance for a 120” diagonal screen by up to 127mm – that’s an almost perfect 4 inches. It would be appropriately less for a smaller screen, so even a 100” has a lot of range.

Until you know how much distance you need, for your screen size, can’t mount your screen at the proper height. Or if you mount the screen you may need to adjust the table’s height. This should only be a hassle, if you aren’t aware of it, BUT… In my own room, as you have seen in photos my screen goes in a large cut out for an entertainment center. With this P1 and my low table, I can’t quite fill my 120” screen. But, another unit just might be able to, because it needs to sit closer (height-wise) for the same sized image. If you aren’t working in tight spaces, though, this should be a non-issue. If you use a motorized screen, it probably has the ability to set a stop, so you can tell it to open just short of all the way, if need be.

For a 100” diagonal 16:9 screen, measured from the bottom of the projector the closest to the screen surface bottom could be 351mm, aka 13.8”, or as far as 456.5mm, aka 18.0 inches.

The good news, is that while there is height variation, Optoma doesn’t indicate any distance of variation.

For a 100” screen it is 256 mm, aka 10.1 inches out to the closest part of the projector.

For a larger 120” screen that increases by 2.1” to 12.2”.

The projector itself is only 15 inches deep. Add that to the distance from the screen as you figure out what kind of table to put it on. Surprising to me, the Optoma manual indicates you cannot mount it above the screen.

Remote Control

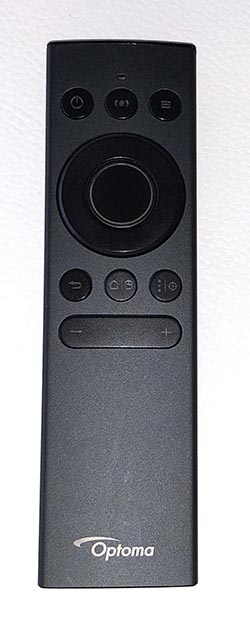
The P1 remote is small, light, and black finished. No backlighting. The worst thing about it is it can be hard to find! If I was keeping this projector I’d put a glow sticker on it.

There seems to be a huge variation in the styles of remotes that come with different laser TVs. Fortunately, none that I’ve seen yet, have one of those credit card-sized remotes.

Optoma opted for the smallest of what’s left – a fairly minimalistic remote that relies heavily on the P1’s smarts.

remote control
The P1's remote has a solid feel, but is very dark, labels are difficult to read even in a normally lit room.

Before I run through the button functions, this remote is particularly interesting:

  • Bluetooth and Infra-red
    • Pair the Bluetooth like other devices  
  • Internal rechargeable battery – takes standard micro-USB charging cable 
  • Doubles as an air mouse – for presenting, teaching, even basic gaming

The remote has a small red led that blinks at you when it needs a charge. I’ve recharged it once so far, over two-plus months, and 240 hours of use, and even then, I only plugged it in for a few hours.

To engage the Air Mouse, do a long hold of the home button which shows both a house and a mouse. Do the same to disengage.

Time to look at the remote control’s layout. It starts at the top left with the power button. Press once for On, Press twice for Off.

The top middle button is the Input, while on the right is the Menu button. The icons on the buttons are all hard to see.

Next up is the navigation area, consisting of a ring design, pressing the top for up…The large button in the center of the ring is the Enter button.

Below the navigation is another row of three buttons: Back is on the left, Home/Air Mouse, is in the center, and on the right is a button that brings up the Android apps.

If you do a long hold on that button it brings up the power focus!

It’s that simple.

Bottom Line P1 Remote: While I do like the feel of the remote in my hand, and also using the buttons, and I confess, that the range seems very good, I just don’t like its an all-black design and very hard to read icons!

Most people will want to use the projector in dark rooms at least sometimes. Of course, after a while we all learn which buttons are which, and, in the case of the P1, some functions can be programmed into voice control with Alexa or Google Assistant, for the DIY types, or those having their system professionally installed, having the integrator program with IFTTT...

P1 Menus

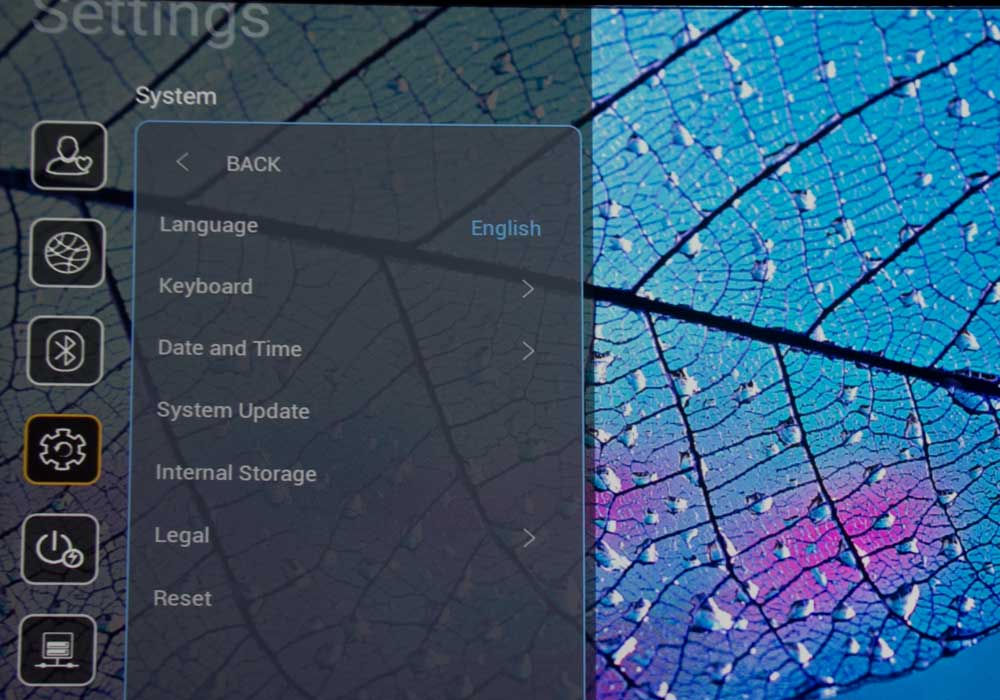
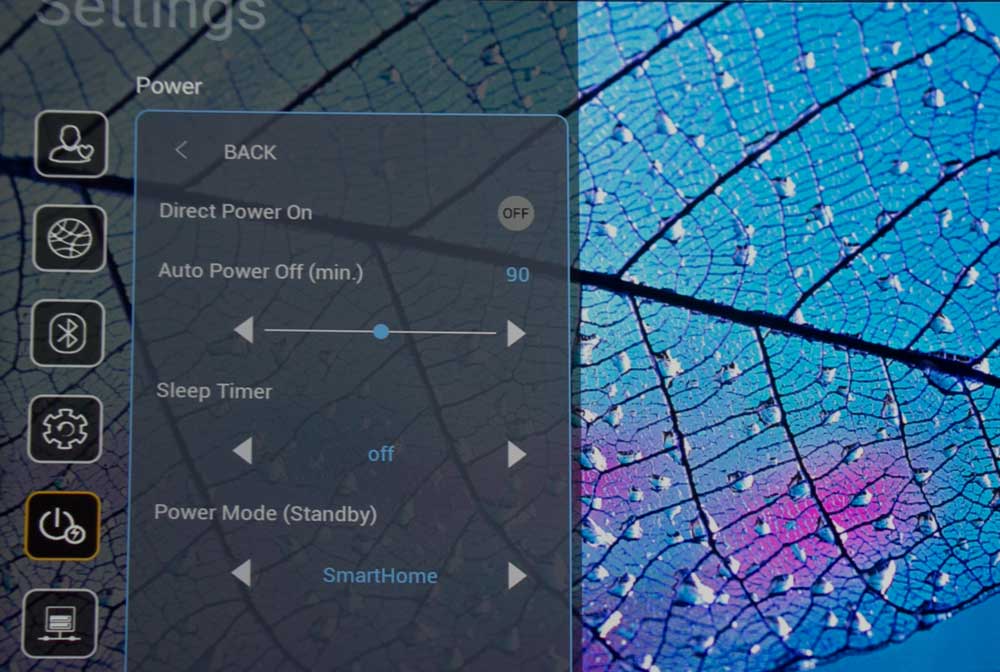
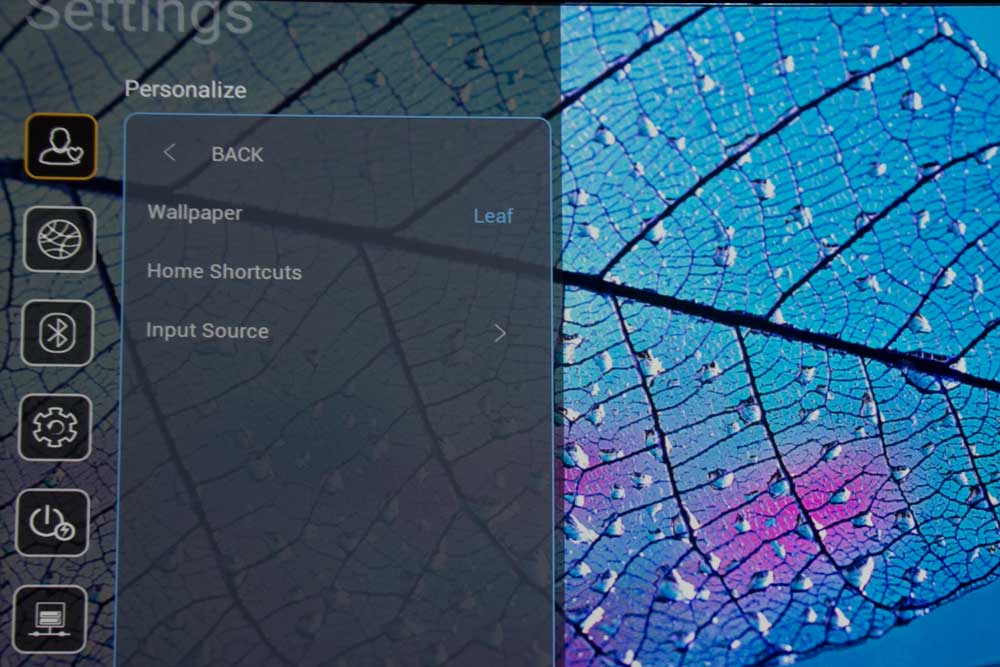
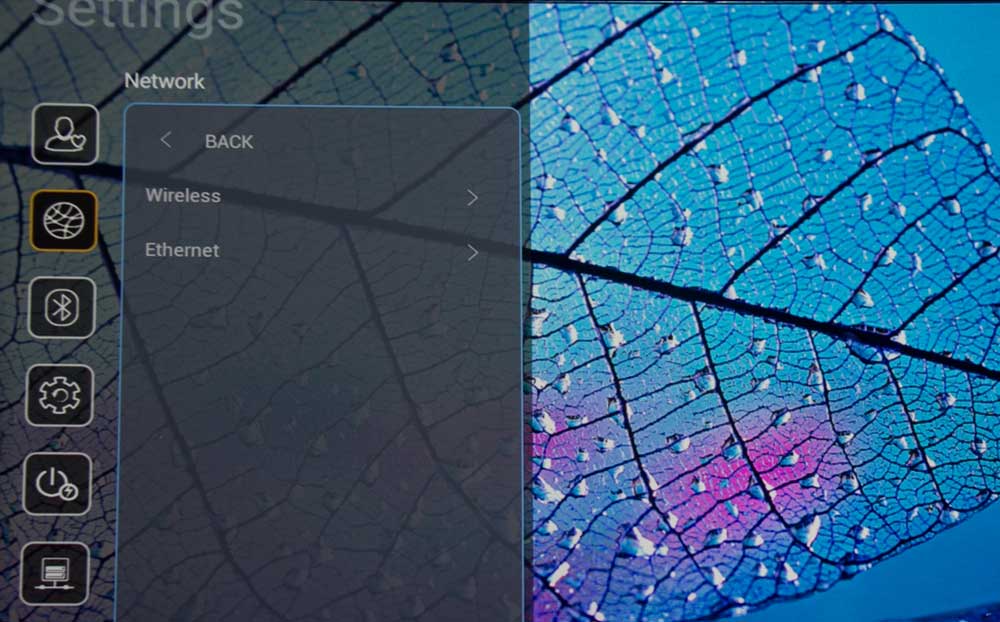
The P1 has lots of menus. When I say that, it’s because the P1 is a smart laser TV running the Android OS. Press the Home menu on the remote, and the Home screen looks very Android – all the Apps across the bottom, etc. (can be customized, of course). The P1 operates like most of the other laser TVs, as most use the Android system.

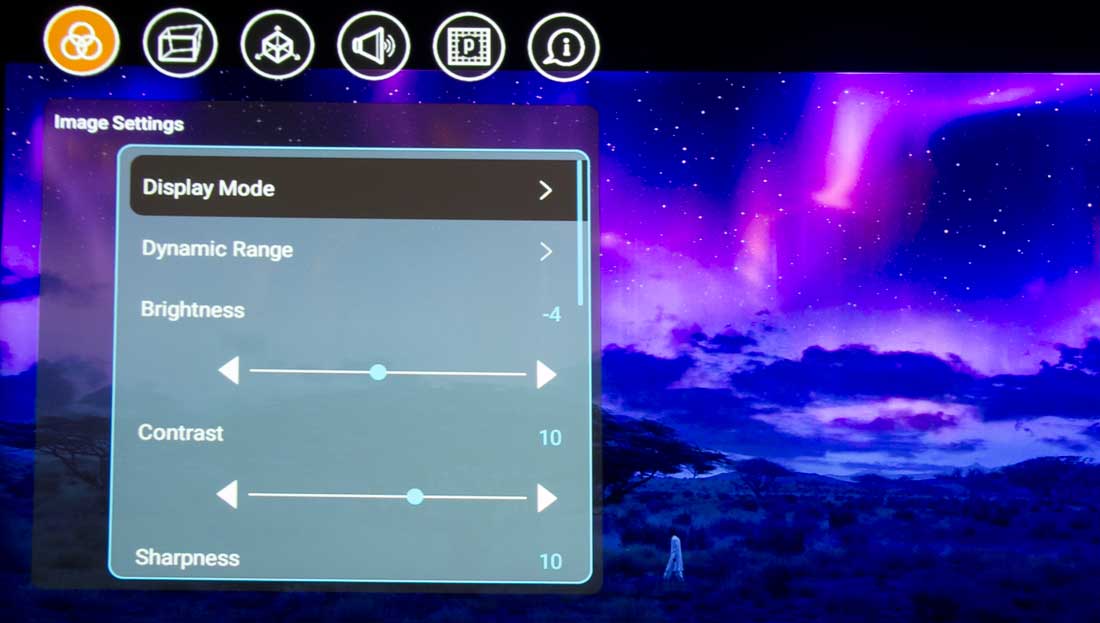
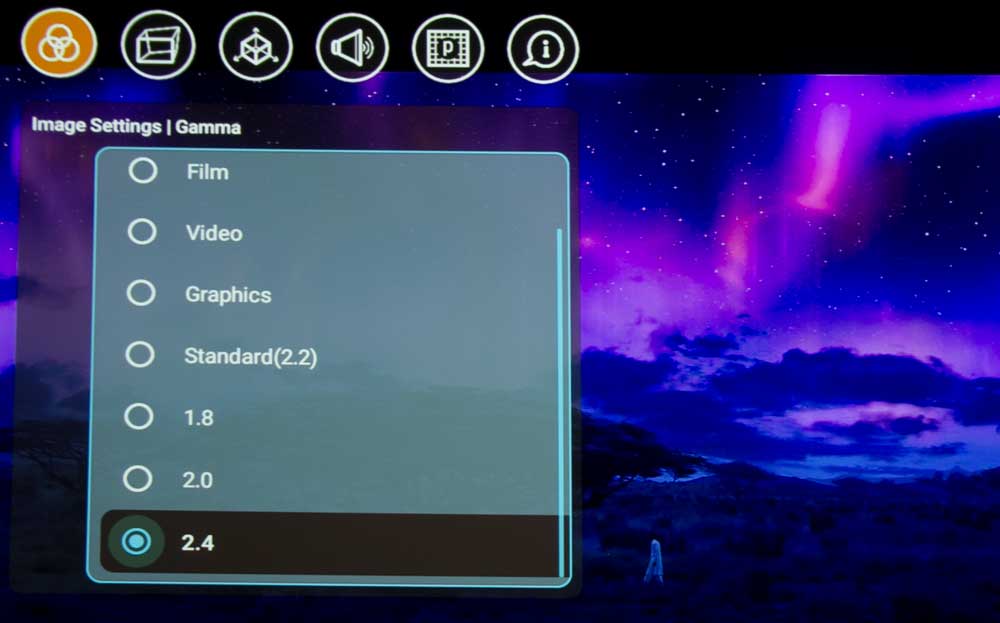
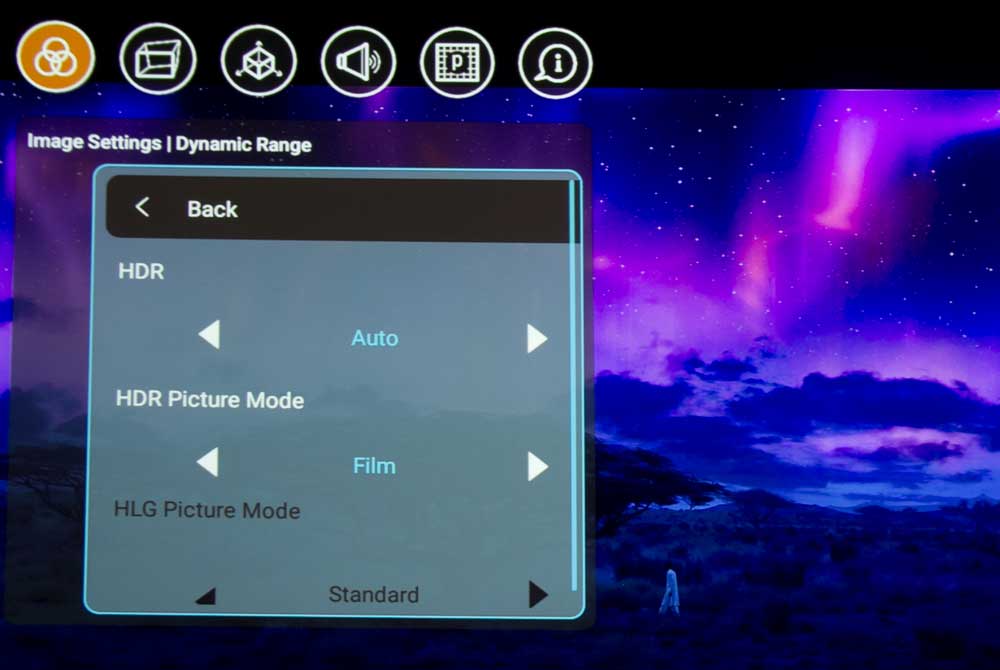
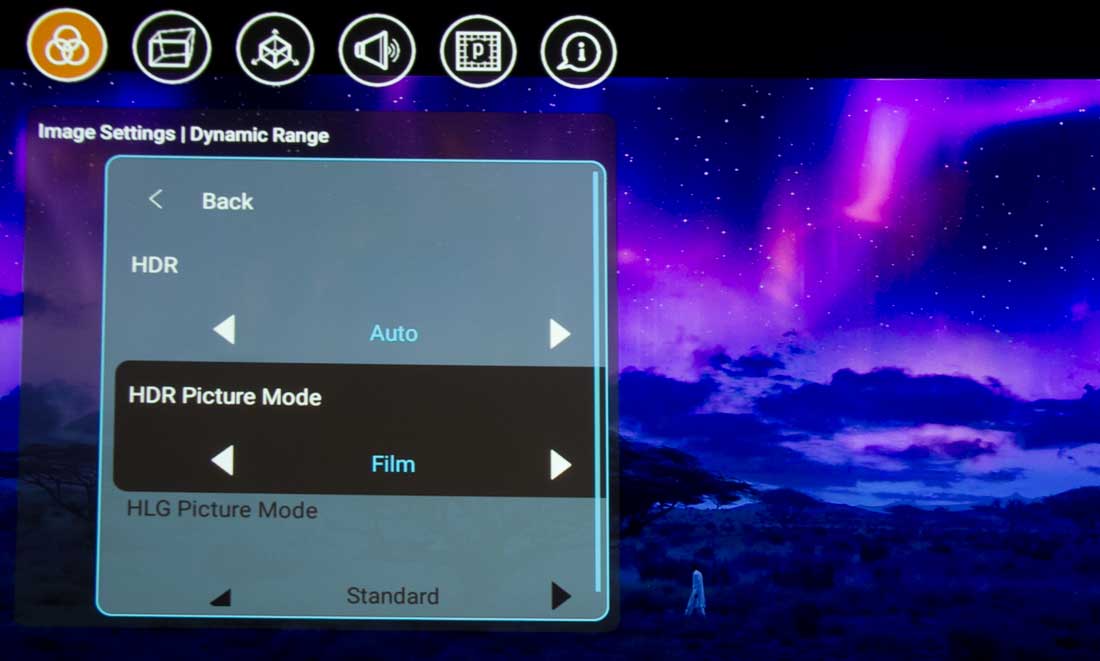
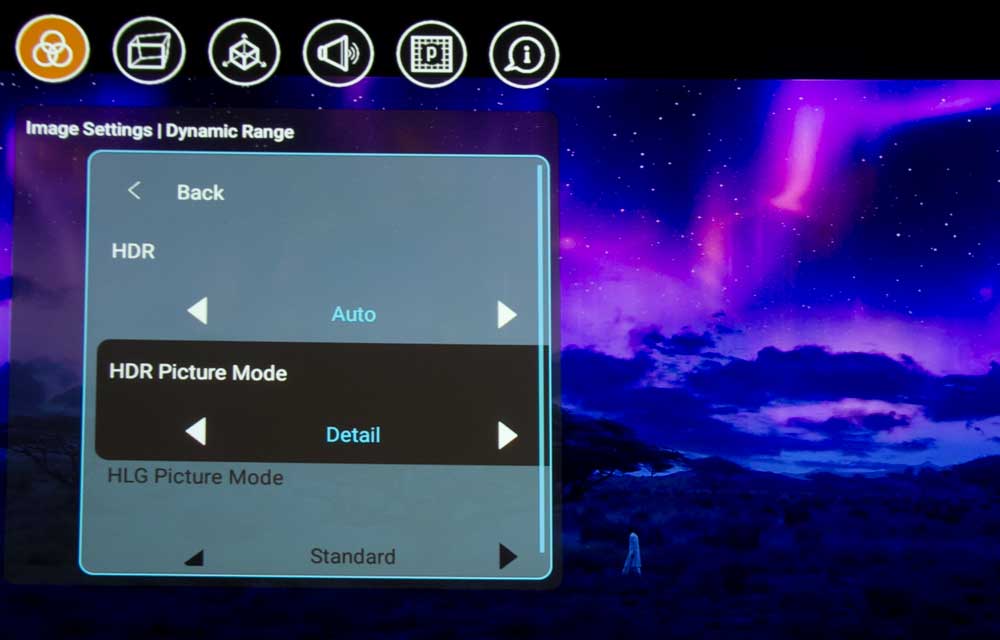
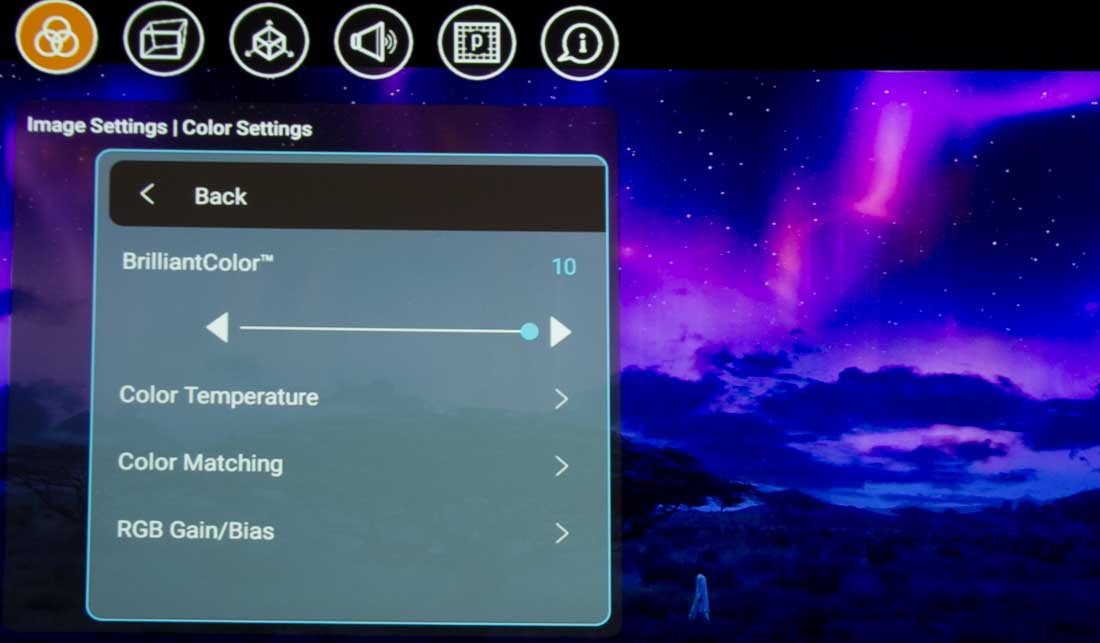
The projector has a Menu button on the remote control. That takes you to the projector’s controls. The default on the Main menu is Image Settings. On its Display sub-menu, you can choose picture modes such as Cinema or Game, or Bright, you can also make settings changes like contrast, sharpness, and all the color controls for a professional calibration.

One thing to note, Power and Dynamic Black hide way down at the bottom of that Display menu.

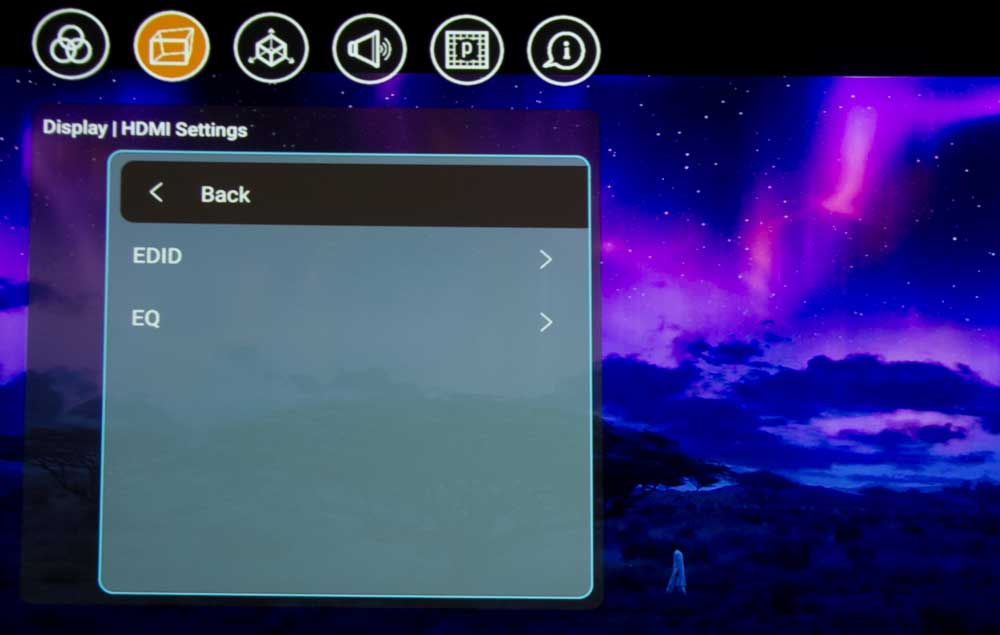
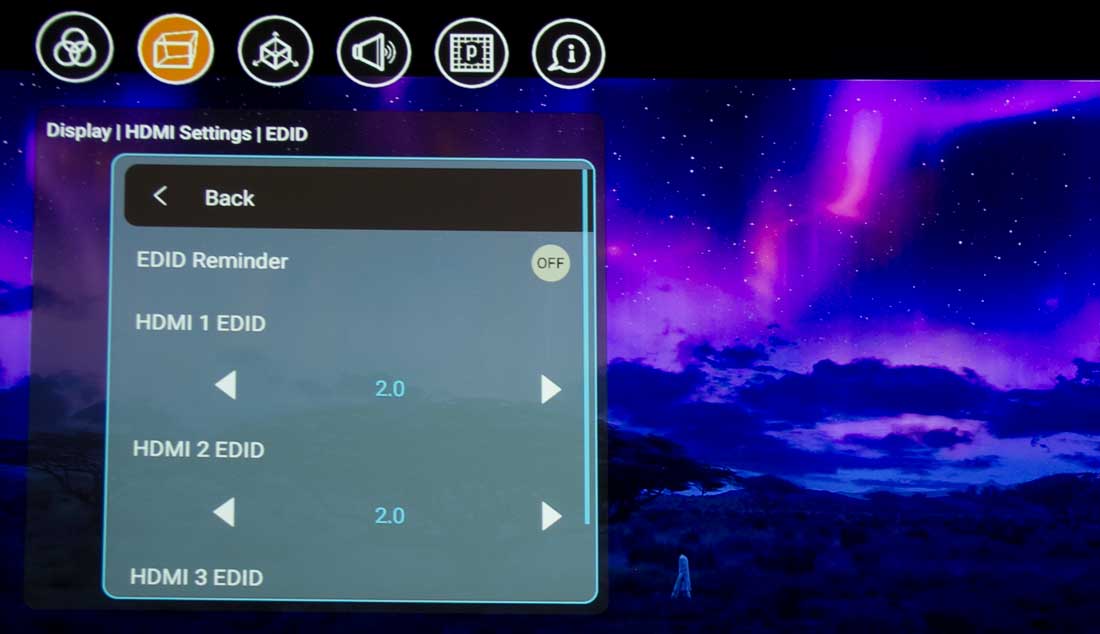
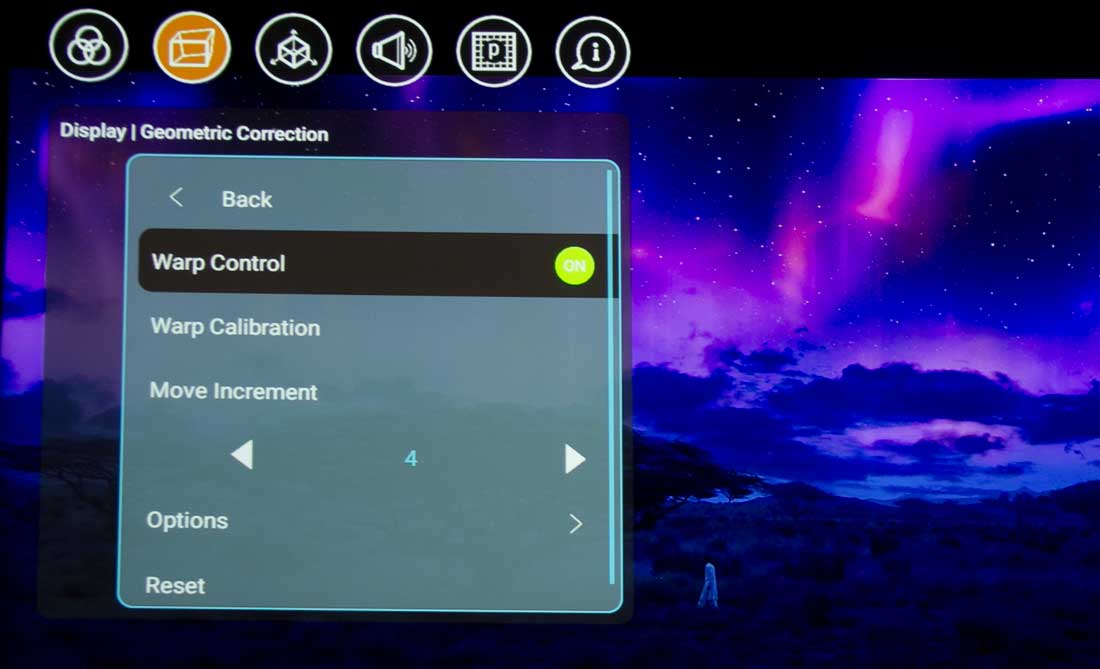
Other menus include Display (yes Optoma uses this term twice to confuse us) which offers Geometric correction for the image, as well as Aspect ratio, HDMI settings, and Menu settings (like where to place the menus on the screen).

A 3D Menu comes next. The P1 supports all the usual 1080 resolution 3D. The 3D, btw, was rather good with no real ghosting, or rather any was likely due to the content.

Audio is next, and as you have learned so far, there’s a lot of audio options on this P1 laser TV. Most of the audio options are standard stuff, like internal speaker off/on, Mute and Volume,

But others are more interesting such as equalizer choices such as Movie, Music, Sports…, also options for the Digital audio out.

The best though, are the controls for the audio delay. Two! One for the internal speakers, and one for the digital audio out!

Great job!

The next menu is the Setup menu, which has projection orientation (front/rear), a test pattern and its options, High Altitude mode and menu access to the focus control!

The last menu is the Info menu, which can tell you about your projector and firmware version, as well as info on what source is live, and the info on that source, such as resolution, HDR, type of audio…

The Media Player has its own menu layouts.
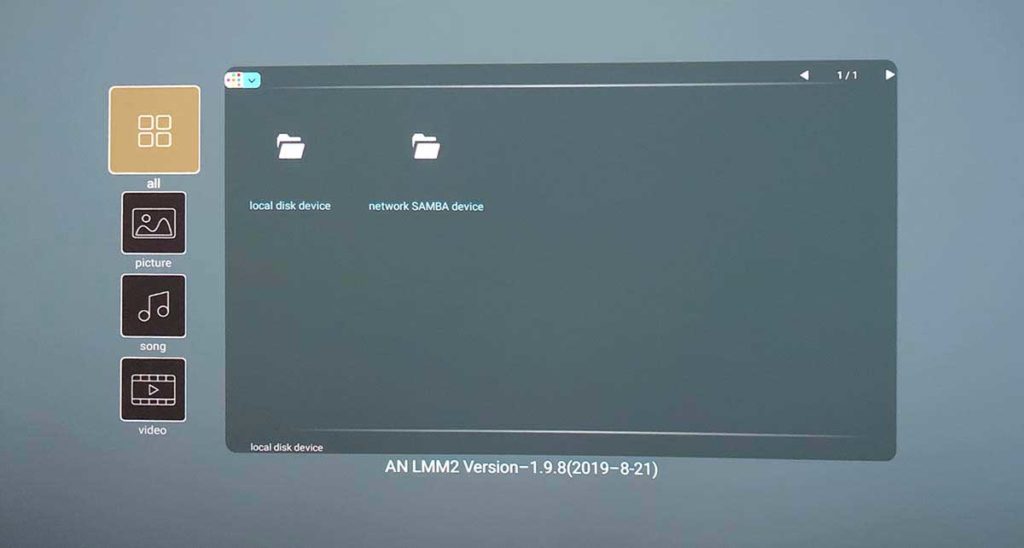


menu for media player

Media Player menu - pretty basic. Noteworthy is that the P1 supports Microsoft Office files, in addition to music, video, photos, and .pdfs


Very typical, very directory-based, here's one of the main menus.

As you would expect, the P1 supports a range of the most common photo, video, and audio formats with their media player. In addition, it supports .pdf documents, the Microsoft Office Suite, and more!

The bottom line on Menus: Welcome to smart projectors – loaded not just with menus to control the projector but the smarts inside the projector and the world outside the projector.

And, that’s really no different than these menus on LCD and OLED smart TVs for folks who don’t care about the big screen and how it immerses us with great content. It’s what’s out there today!

© 2024 Projector Reviews

crossmenu linkedin facebook pinterest youtube rss twitter instagram facebook-blank rss-blank linkedin-blank pinterest youtube twitter instagram