Appearance
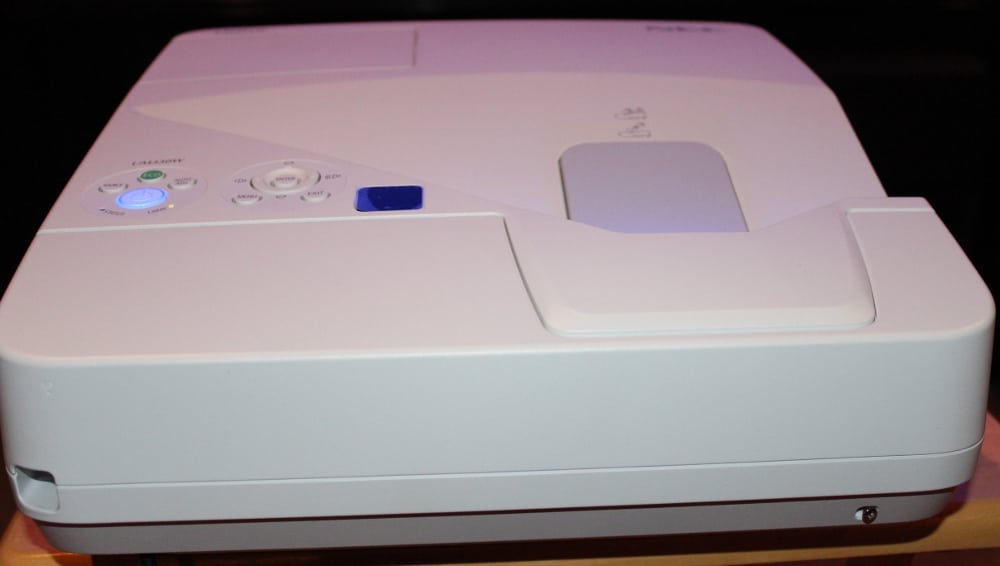
The NEC NP-UM330W is a moderate size classroom and business class projector packaged in an attractive white colored case. Although not a 'portable' projector, this model is still compact and light enough to be easily moved into a conference room or classroom when needed, if not permanently installed using a wall or ceiling mount. The projector's lens is located on the top, toward the left-rear (when placed on a table and viewed from the front). When placed in this table-top position the image is projected upward at a sharp angle, as necessary for its required placement just below and very near to the screen. A ceiling or wall mount, for placing the projector above the top of the screen, is the more ideal placement for this type of projector. When mounted in the inverted position above the top of the screen the image is projected sharply downward.

- Top of NP-UM330W (with Rear Cable Cover Removed)
The rear of the projector is where all of the signal and power connections are made. The connector panel includes:
- Three USB ports for the optional Wi-Fi adapter, memory drives, PC, etc.
- Network (Ethernet LAN) port
- Two HDMI ports (digital video/audio)
- Serial communications port (for PC control)
- Analog audio output
- Analog audio input
- Analog PC video (VGA) input and output
- S-video input (limited to 480i video)
- Composite video input (limited to 480i video)
- Stereo analog audio input
- Microphone input
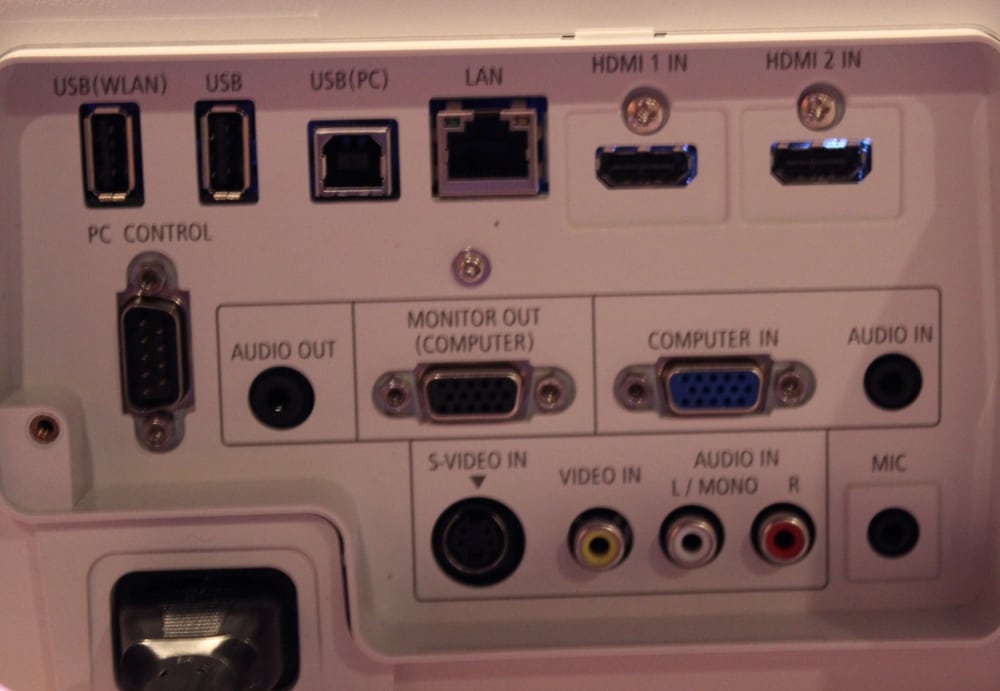
- NEC NP-UM330W Connector Panel
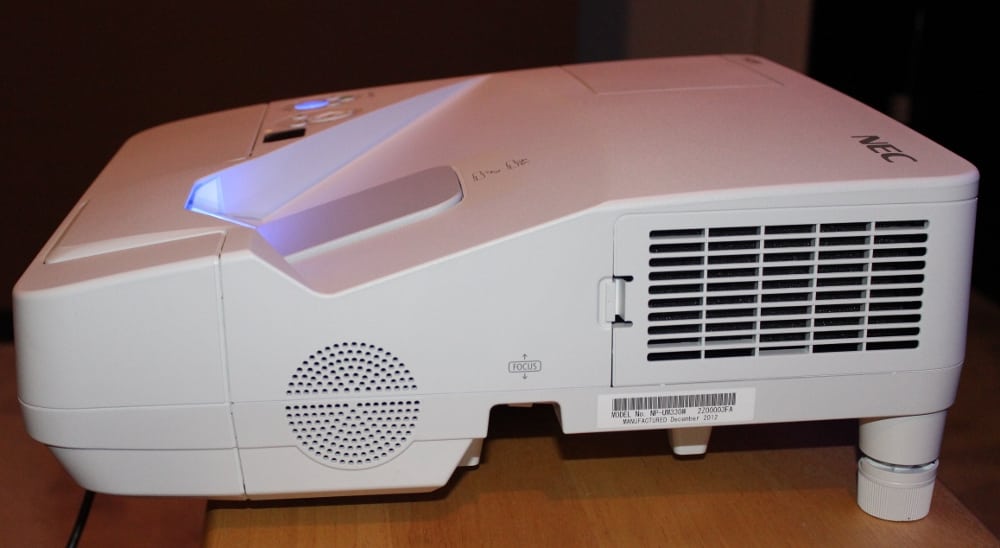
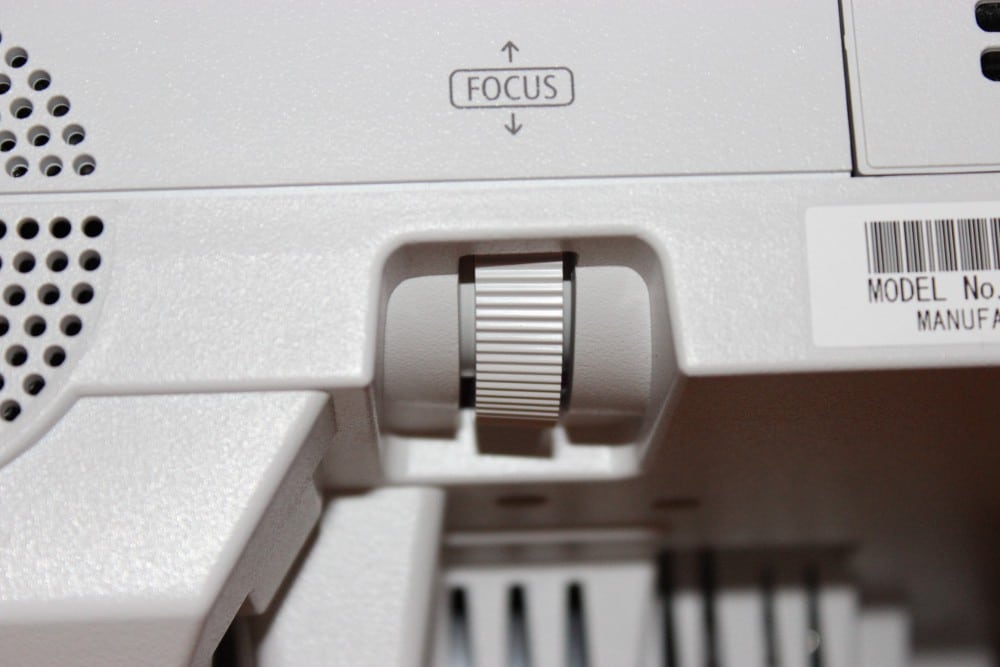
The left side of the projector (as viewed from the front) includes the audio speaker, a cooling vent with access to the projector's air filter, and the manual lens focus control, as shown in the photos above. Also seen in one of the photos above is the adjustable front feet used to control the tilt of the projector when placed on a table/shelf/stand.
The right side of the projector (not shown) just has additional cooling vents.
NEC offers an optional wall mount for use with the NP-UM330W (and their other similar ultra short throw models). The wall mount, model NP04WK1 shown in the photo below, attaches to the wall just above the horizontal center of the screen and offers an adjustment range for the projector-to-screen throw distance to accommodate different screen sizes. This wall mount is priced under $140 (street price).
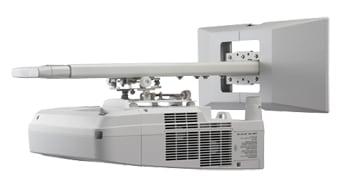
- NEC NP04WK1 Wall Mount
Setup and Menus
The NP-UM330W has a well organized menu structure with good on-screen graphics. When the menu button is pressed, the top level menu that is displayed is as shown below. There are 3 major levels to the menu structure. With the top level menus being for Source, Adjust, Setup, Info. and Reset. When you first press the Menu button on the remote the on-screen display will come up with the Source Menu displayed. When one of these top level functions is selected (indicated by the yellow color for the text) the available second level choices are shown on the 2nd line of the on-screen menu. In the case shown in the following photo the two choices under "Adjust" are "Picture" and "Image Options" and "Picture" has been selected (indicated by the yellow color). The 3rd level adjustments are then shown on the lower portion of the menu box. In this example, the projector has been set to "Movie" mode and the available picture adjustments (e.g., Contrast, Brightness, etc.) are as shown.
Note that if the HDMI input signal is in RGB mode, as from a PC, .the adjustments for Color and Hue would not be available.
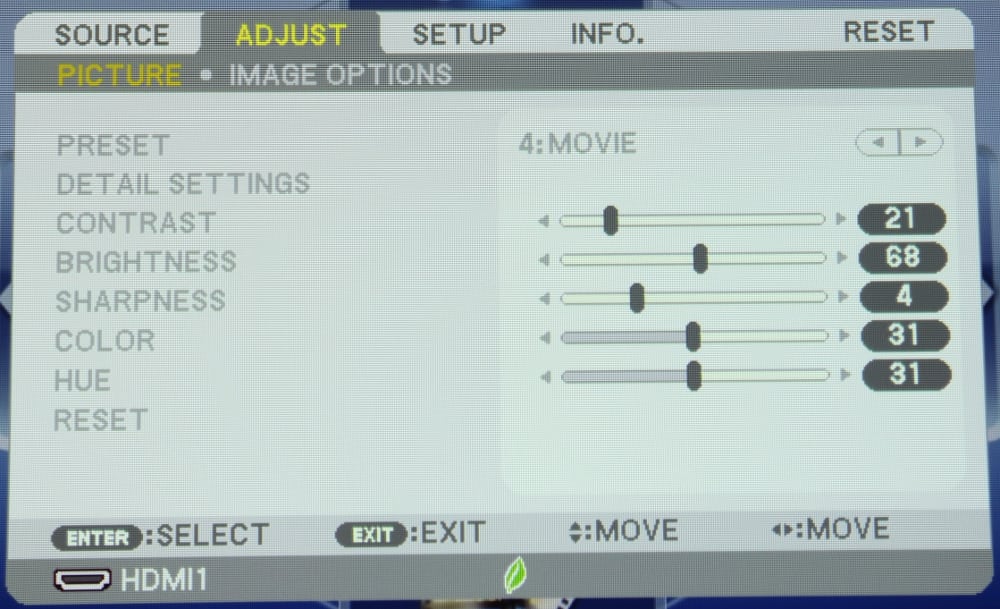
Adjust -> Picture Menu
When the "Detailed Settings" is selected from the "Adjust -> Picture" menu another menu for "Detail Settings" is displayed for the "General" settings (shown below). This menu allows for selecting from a group of pre-defined values that alter the projected image for such parameters as color temperature and gamma. Also a "White Balance" sub-menu can be selected (not shown) which allow the individual Red, Green and Blue color levels to be adjusted.
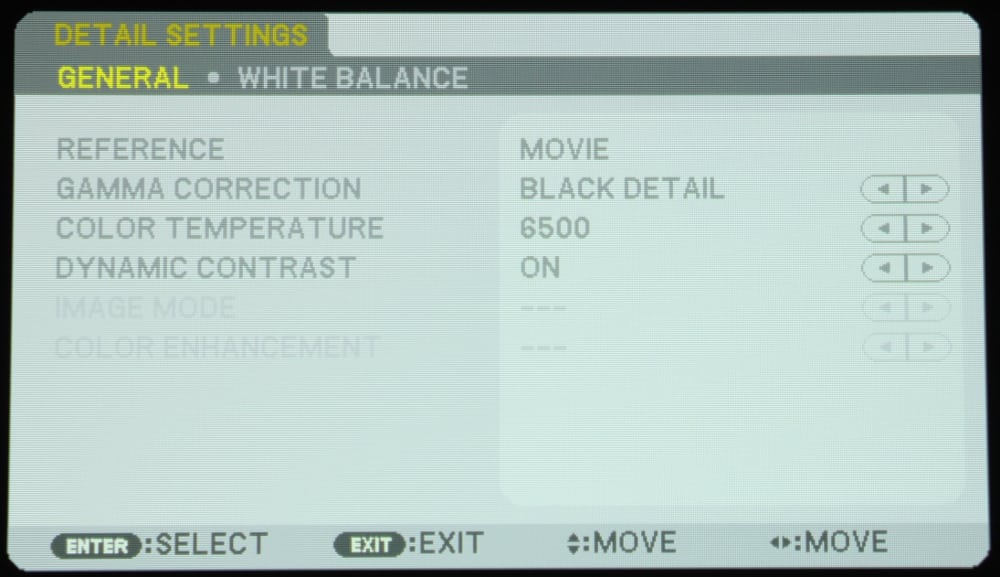
Detail Settings Menu
The Setup Menu has a several submenus with the submenu called "General" shown below:
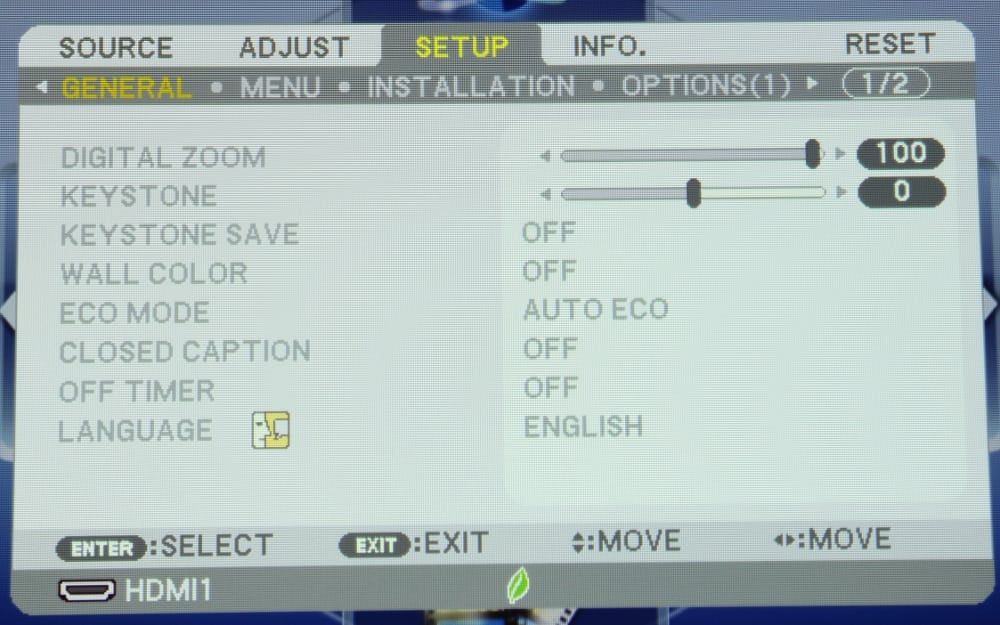
Setup -> General Menu
The two Setup submenus called 'Menu' and 'Installation' (shown below) may be needed when first setting up the projector.
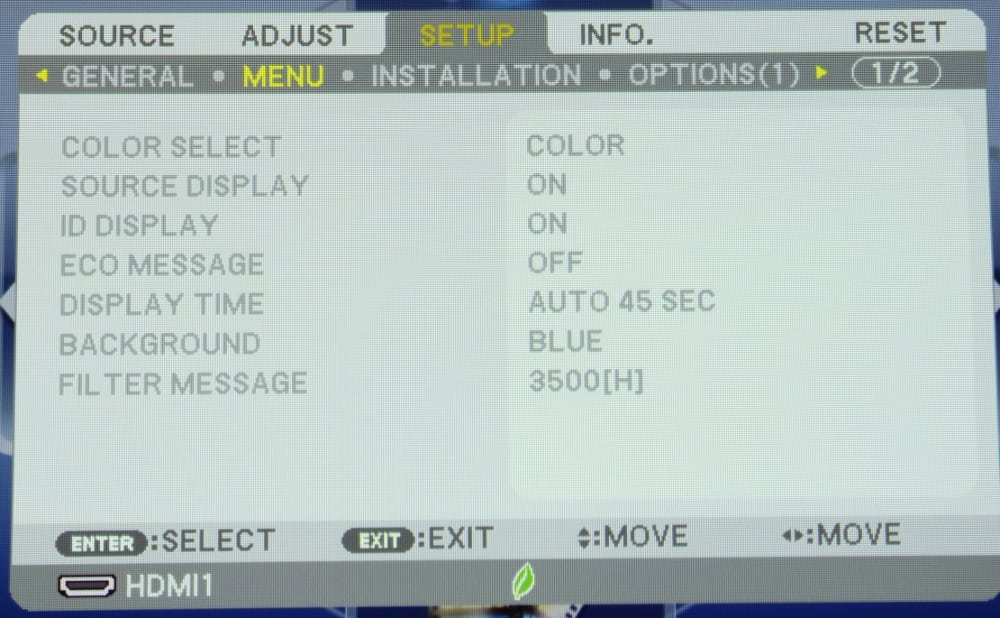
Setup -> Menu
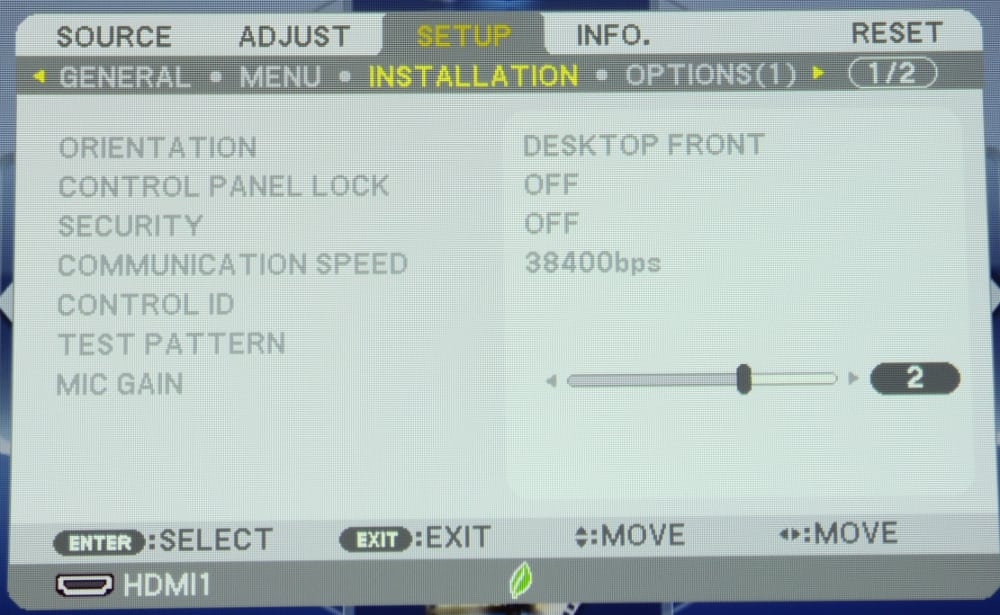
Setup -> Installation Menu
Finally the Setup menu structure includes a second page of additional menu options, as shown below:
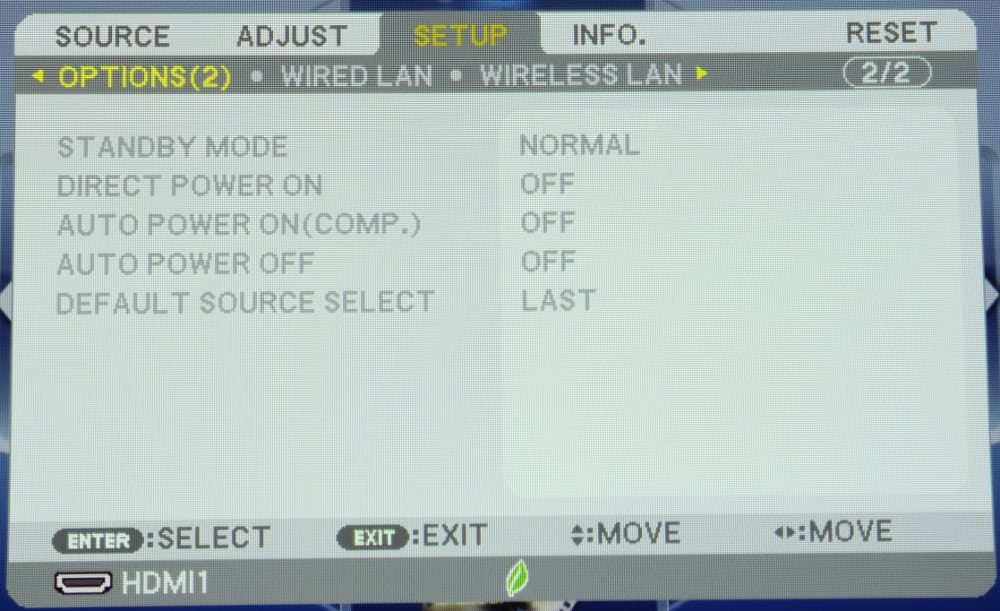
Second Page of Setup Sub-menus