Input Menu
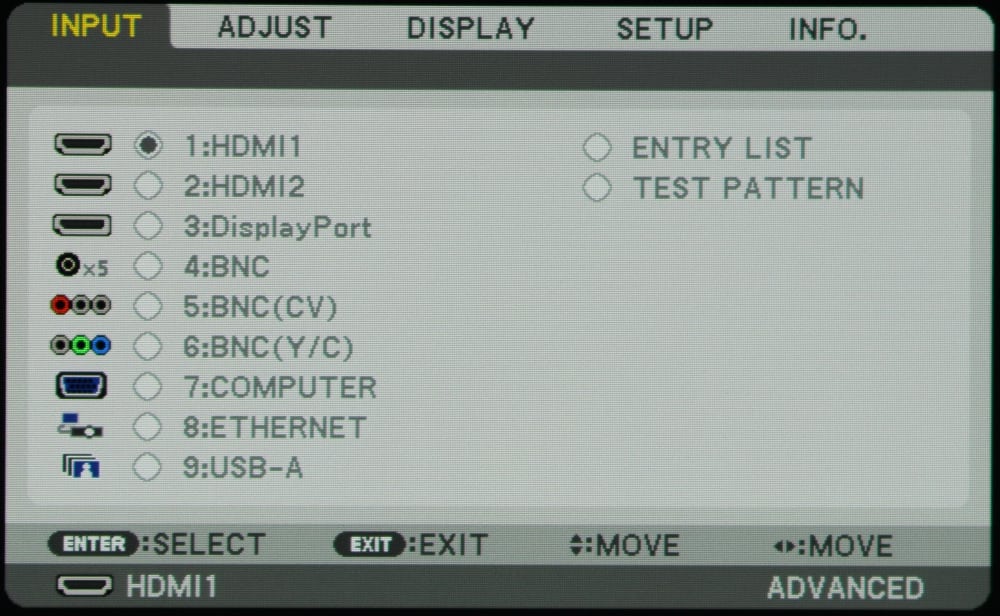
The input menu is the first selection (left most) on the NP-PA521U projector's home menu. The desired signal input can be selected from this menu.
[sam_pro id=1_113 codes="true"]
Adjust Menus
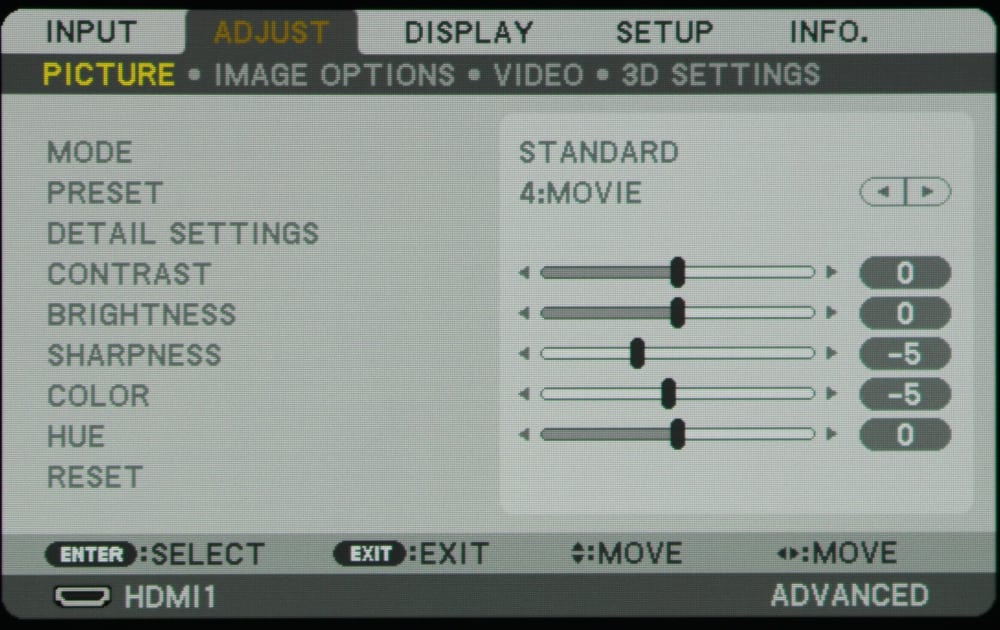
The 1st photo in the above gallery shows the first sub-menu under the "Adjust" menu item.
The Adjust Menu has several top-level submenus as discussed in the following paragraphs.
Picture Adjustments
The 1st gallery photo above shows the Picture Adjustment submenu. Toward the top of this submenu are two items for the picture "Mode" where the choices are either Standard or Professional, and then for which preset picture mode is to be applied. For the Standard picture mode there are of 7 preset modes offered, as shown in the following photo.
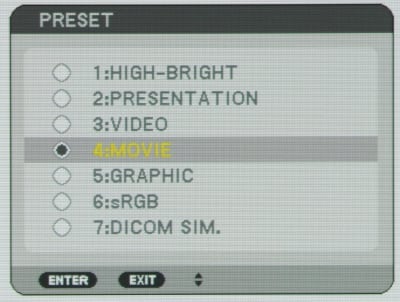
The difference between Profession and Standard picture modes is when set to Professional mode the specific user picture settings are saved for each individual signal input while in Standard mode the user customized picture settings are saved for each of the 7 specific preset standard picture modes (e.g., presentation, cinema, etc.).
The Picture Adjustment submenu, includes the standard picture adjustments (e.g., contrast, brightness, sharpness, etc.). There are also more detailed custom adjustments for picture characteristics offered for such picture characteristics as white balance and color correction. These additional adjustments are located under the Detailed Settings item on the Picture Submenu and the 3 Detail Settings submenus are shown in the following three photos.
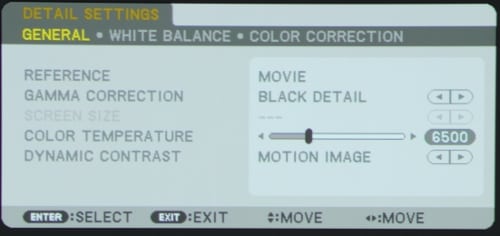
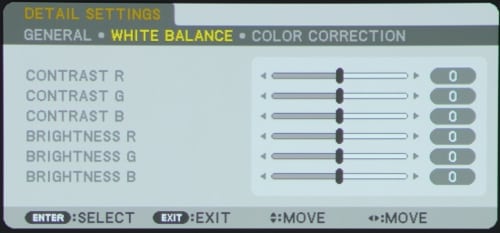
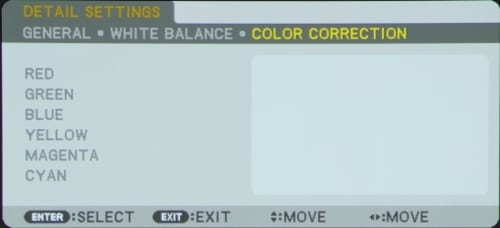
With these Detailed Settings it is possible to professionally calibrate the NP-PA521U for improved colors, white balance, grey scale and gamma.
IMAGE OPTIONS
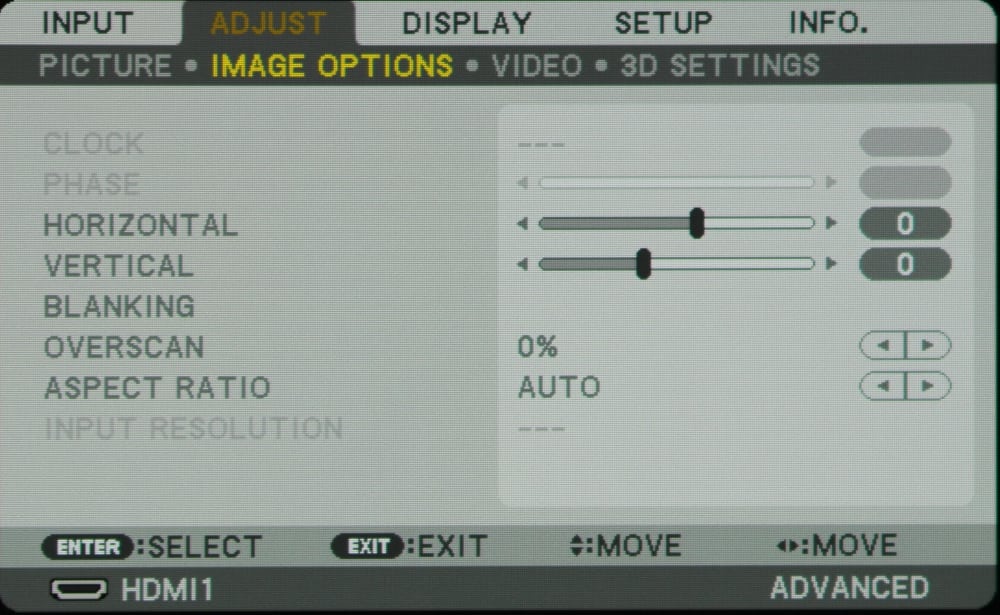
The 2nd item under the Adjust Menu is for Image Options and this submenu is shown in the 2nd gallery photo above. Adjustments are offered for positioning the image, adjusting for overscan, blanking and aspect ratio. The Aspect Ratio will normally need to be set to the aspect ratio of the projection screen being used. For the other items, in most cases no changes to the factory default settings on this menu will be necessary.
VIDEO
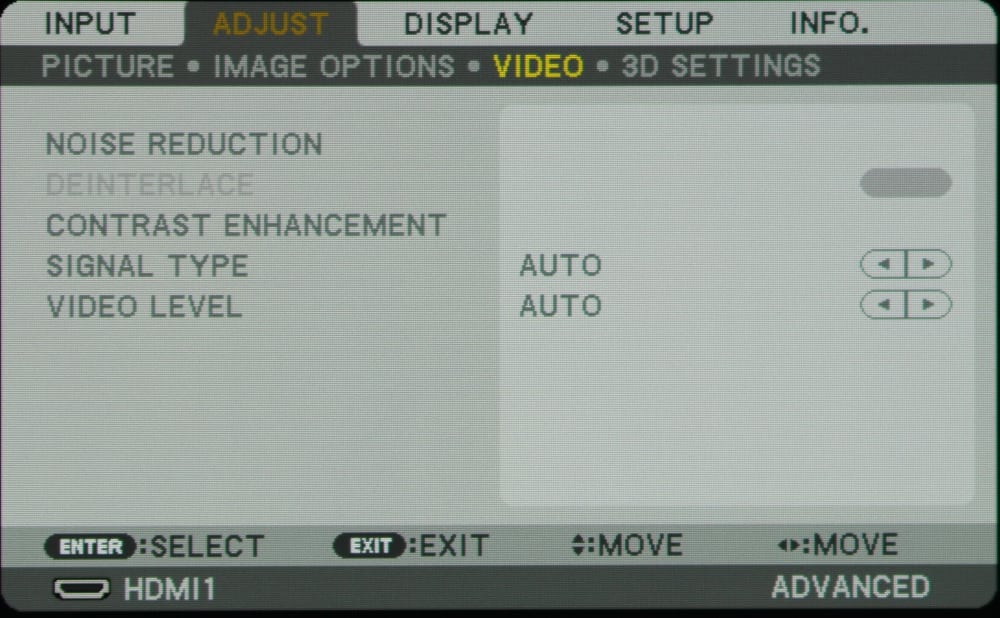
The submenu for the 3rd item on the Adjust Menu is shown in the 3rd gallery photo above. Adjustments are offered for such things as noise reduction, contrast enhancement, signal type and video level. In most cases no changes to the factory default settings on this menu will be necessary.
3D SETTINGS
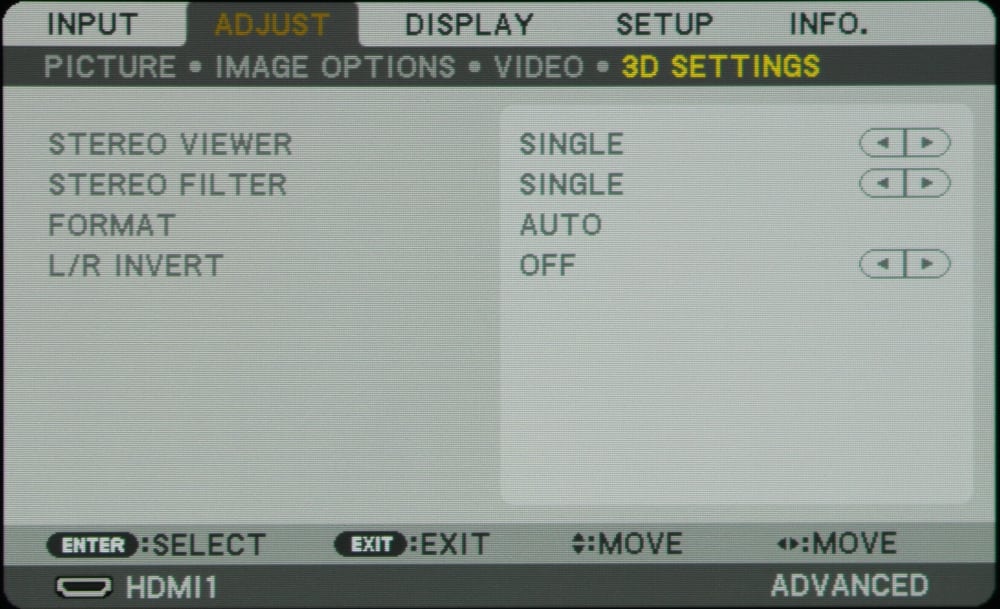
The submenu for the 4th item on the Adjust Menu is shown in the 4th gallery photo above. This menu offers adjustments for the 3D settings of the projector and in most cases no changes to the factory default settings on this menu will be necessary.
Display Menus
The Display Menu offers a number of sub-menus for making various adjustments that related to what is displayed.
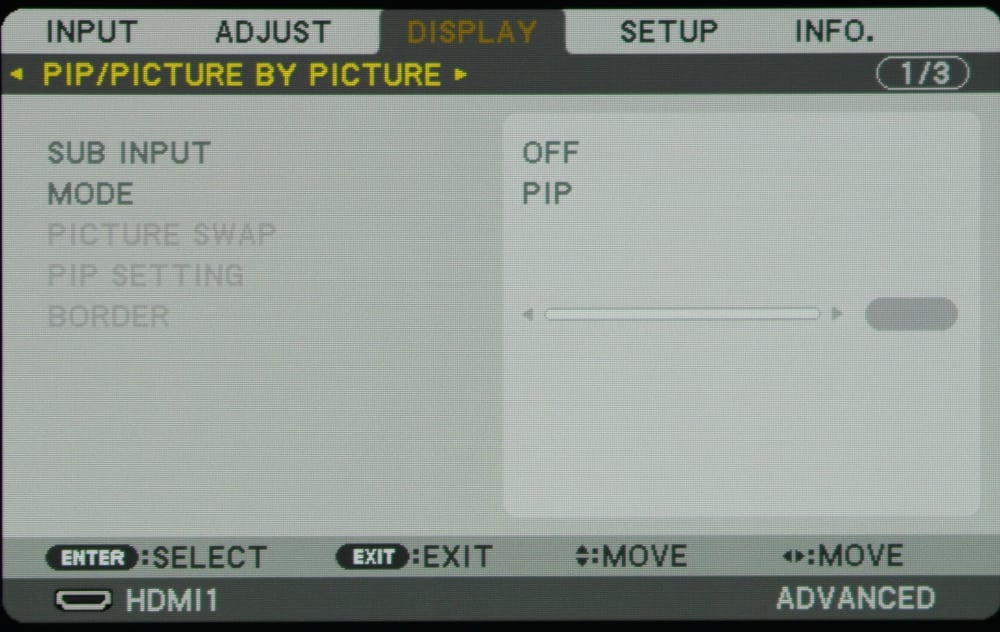
PIP
The 1st gallery photo above shows the Picture in Picture (PIP) submenu.
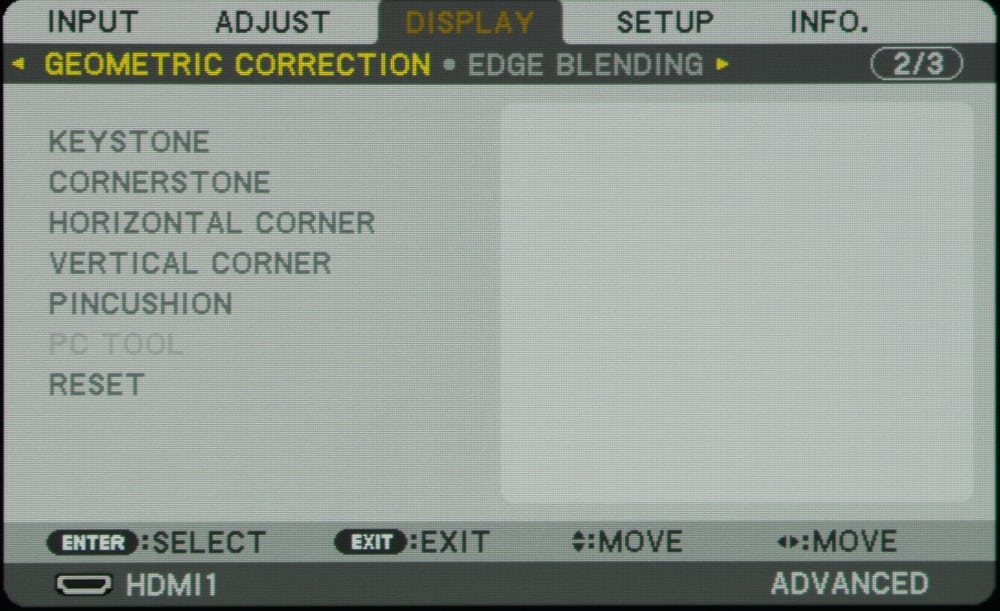
Geometric Correction
The 2nd gallery photo above shows the Geometric Correction submenu. The geometric corrections allow the projected image to conform to non-flat and/or non rectangular surfaces such as might be used for digital signage, advertising or other special commercial uses.
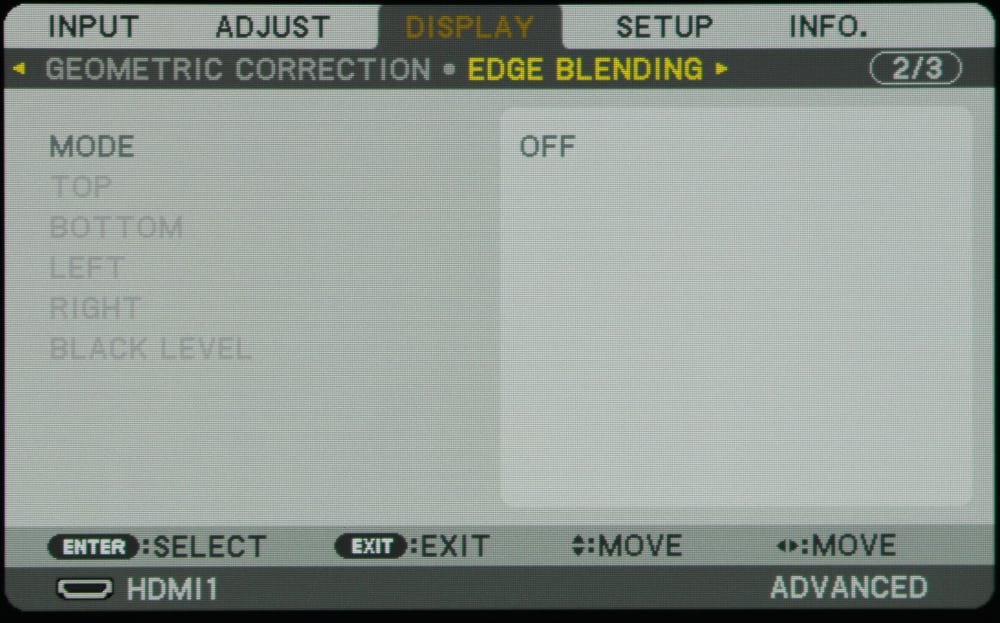
Edge Blending
The 3th gallery photo shows the Edge Blending submenu which offers adjustments for when multiple projectors are being used to create a seamless larger image.
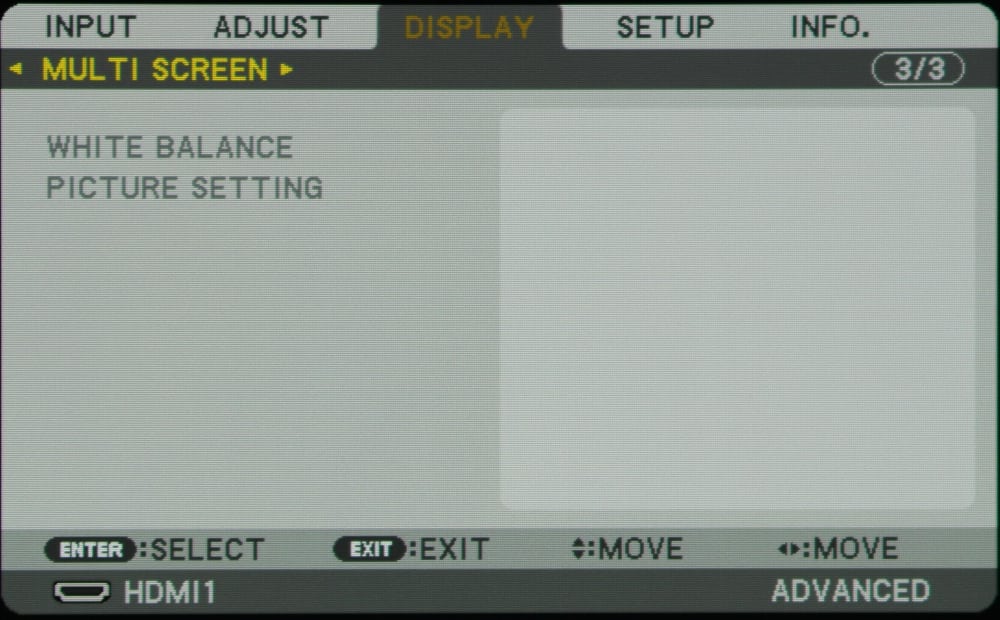
Multi Screen
The 4th gallery photo above show the Multi Screen submenu which allow for the hue and brightness to be matched for images being projected from multiple projectors.
[sam_pro id=1_113 codes="true"]
Setup Menus
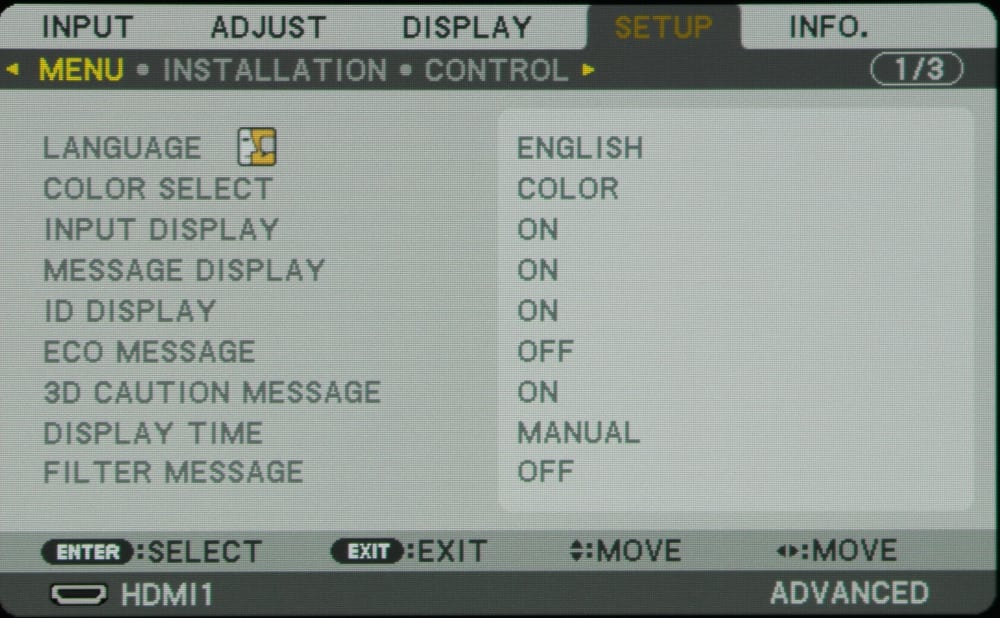
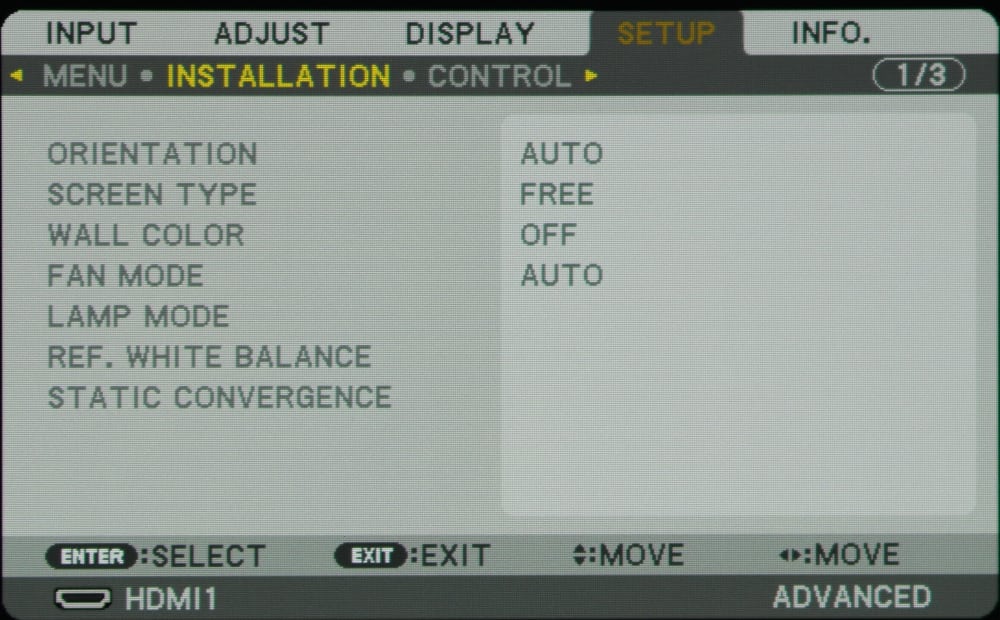
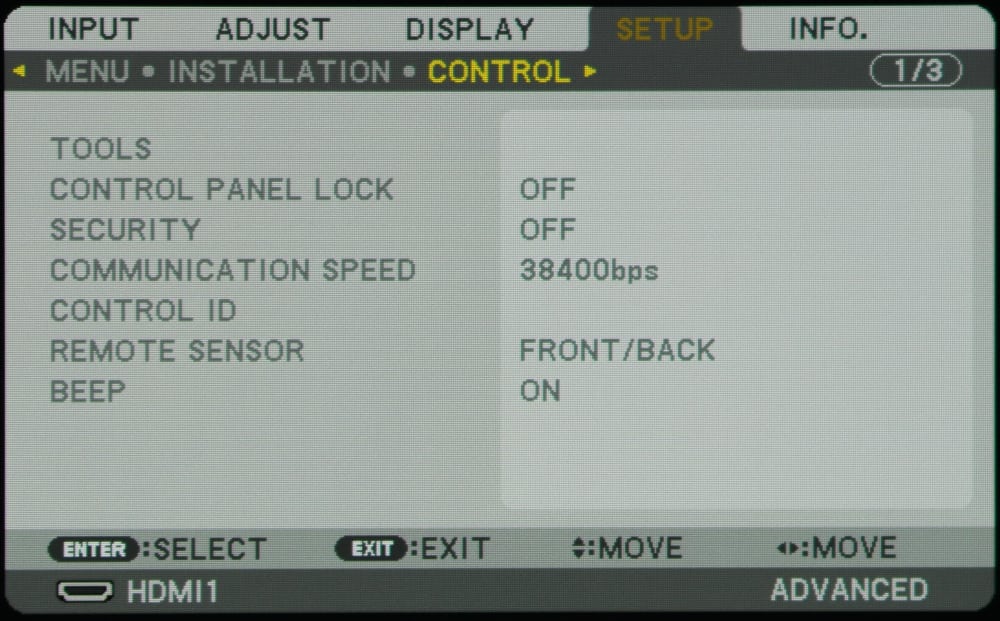
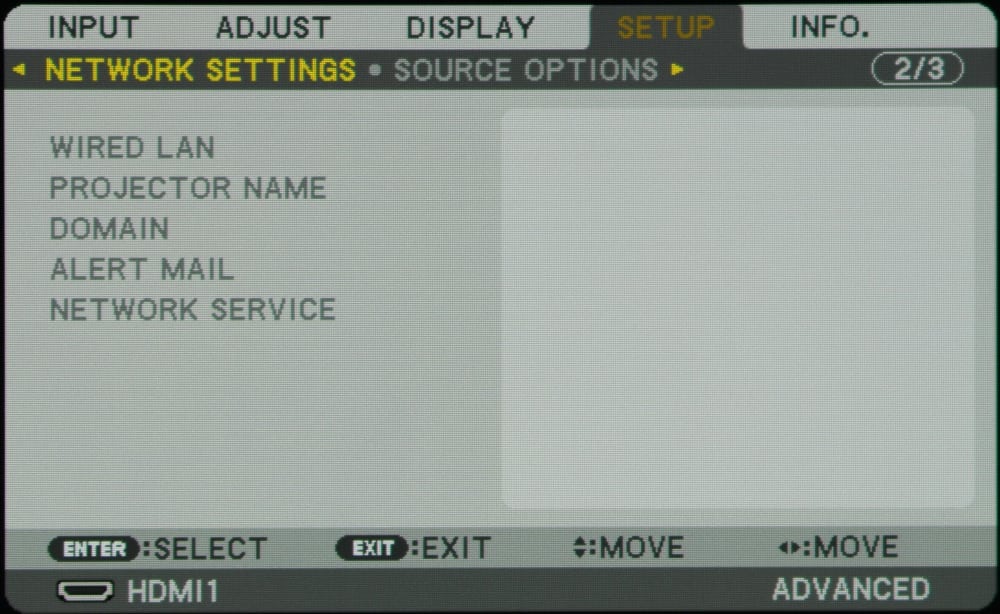
The above gallery shows 7 of the Setup submenus offered by the NP-PA521U.
Menu
The 1st setup submenu, shown in the 1st gallery photo above, allows the user to customize the projector's menu. The language, appearance and how or when the menus are display can be customized.
Installation
The 2nd setup submenu, shown in the 2nd gallery photo above, allows the user to change/customize certain of the specifics (e.g., projector orientation, screen type, etc.) for the specific projector installation.
Control
The 3rd setup submenu, shown in the 3rd gallery photo above, allows the user to set how the projector is to be controlled, either by the projectors IR remote control or via a network. Also security can be used to prevent the projector's settings from being changed by an unauthorized individual.
Network Settings
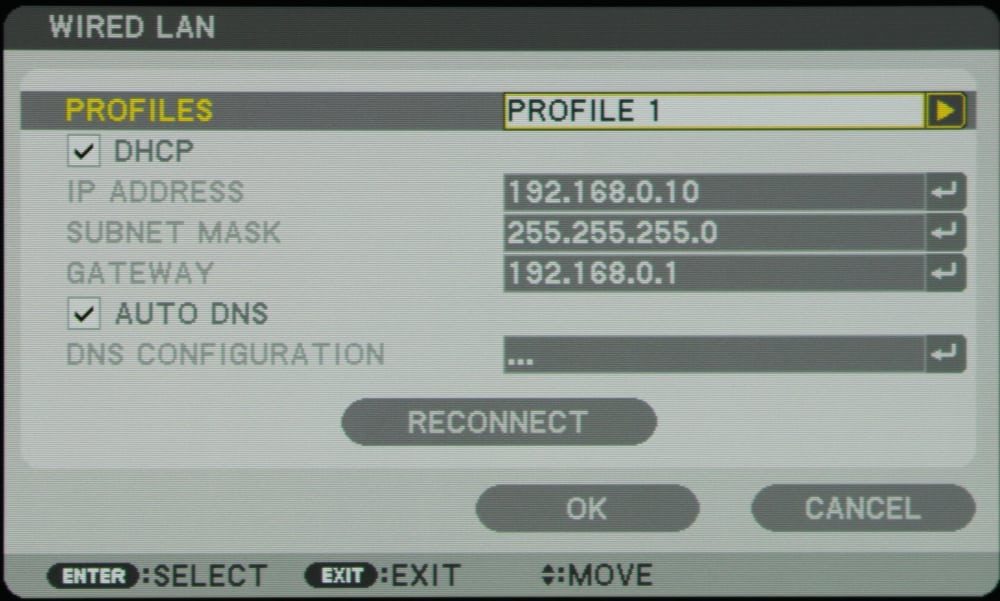
The 4th setup submenu, shown in the 4th gallery photo above, allows the user to configure the projector for use on a network. The 5th gallery photo shows the submenu for the wired network (LAN) settings. The review unit was not supplied with the optional wireless network module, so the menus for wireless networking submenus are not shown.
Source Options
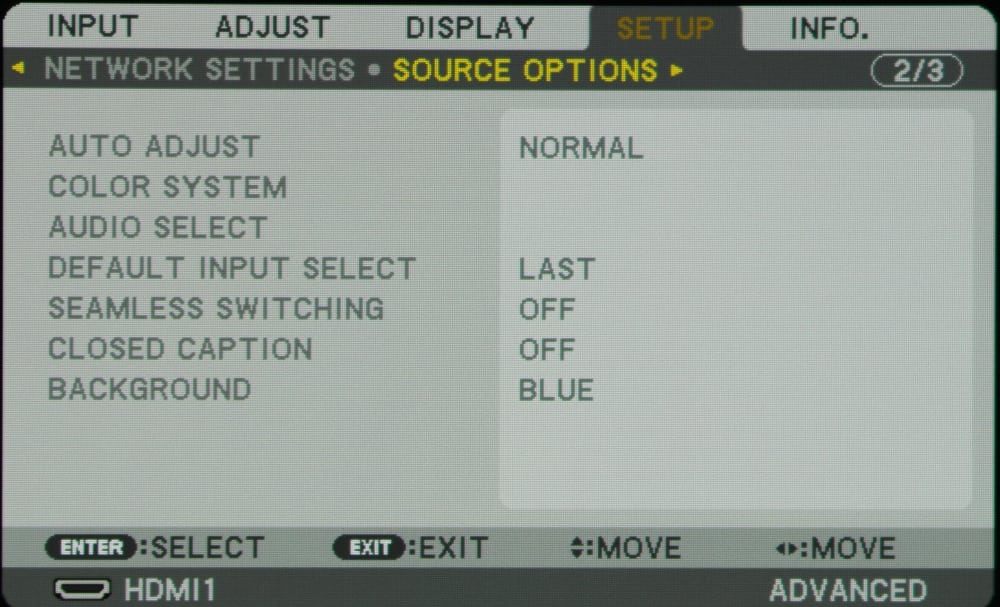
The 5th setup submenu, shown in the 6th gallery photo above, allows the user to configure several items for the selecting and use the available signal sources.
Reset
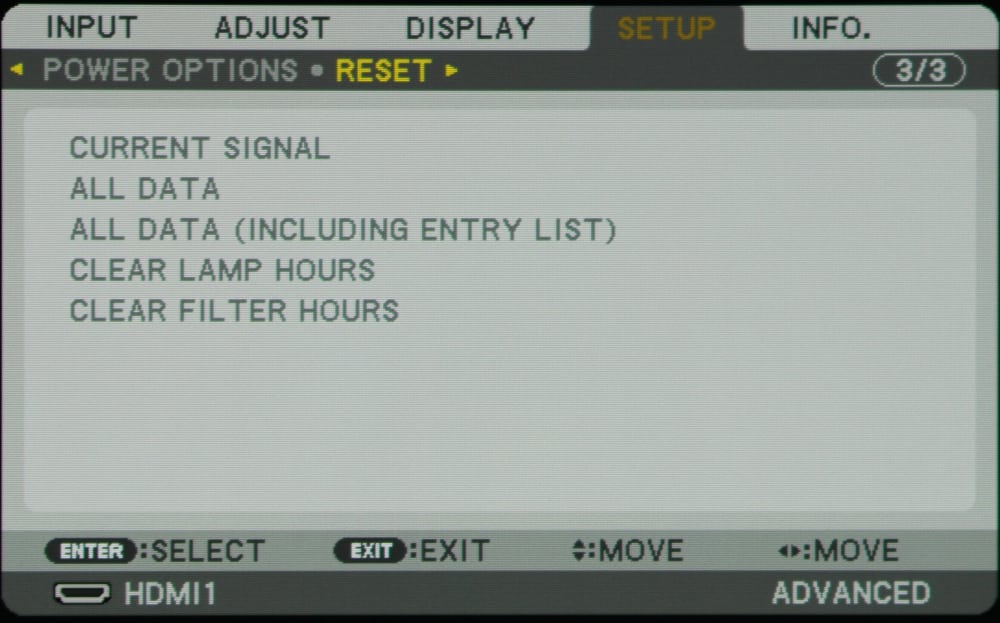
The 6th setup submenu, shown in the 7th gallery photo above, allows the user to reset several features and parameters (e.g., lamp hours) for the projector. For example, this menu would be used to reset the lamp hours or filter hours after a new lamp or air filter is installed, respectively.
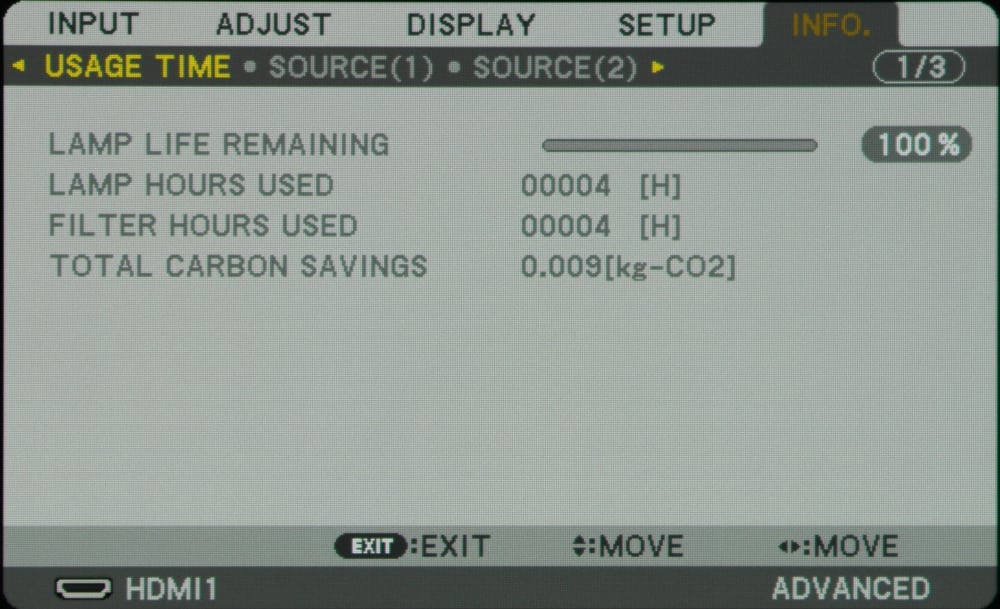
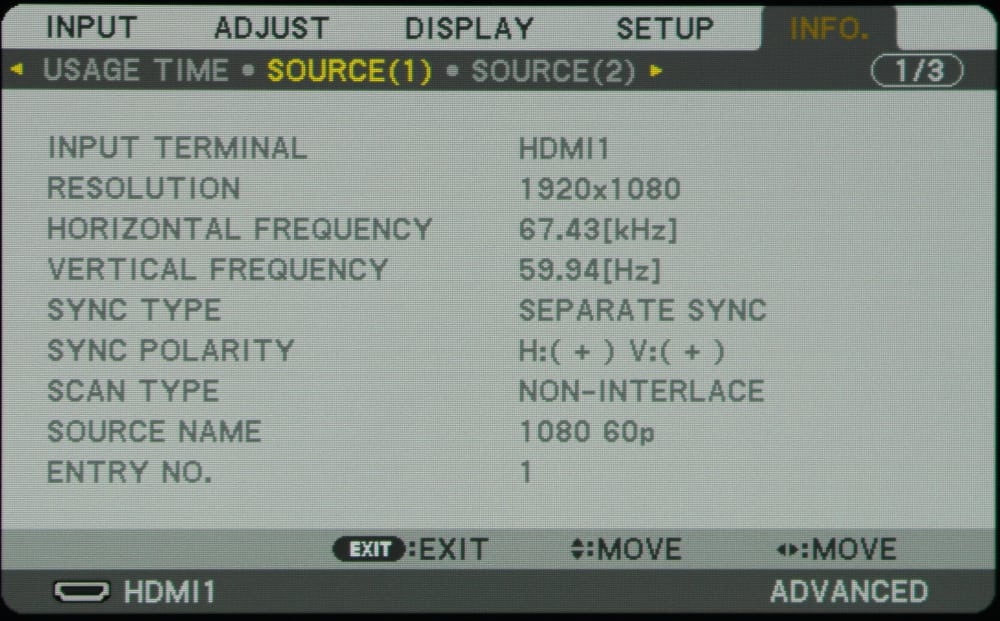
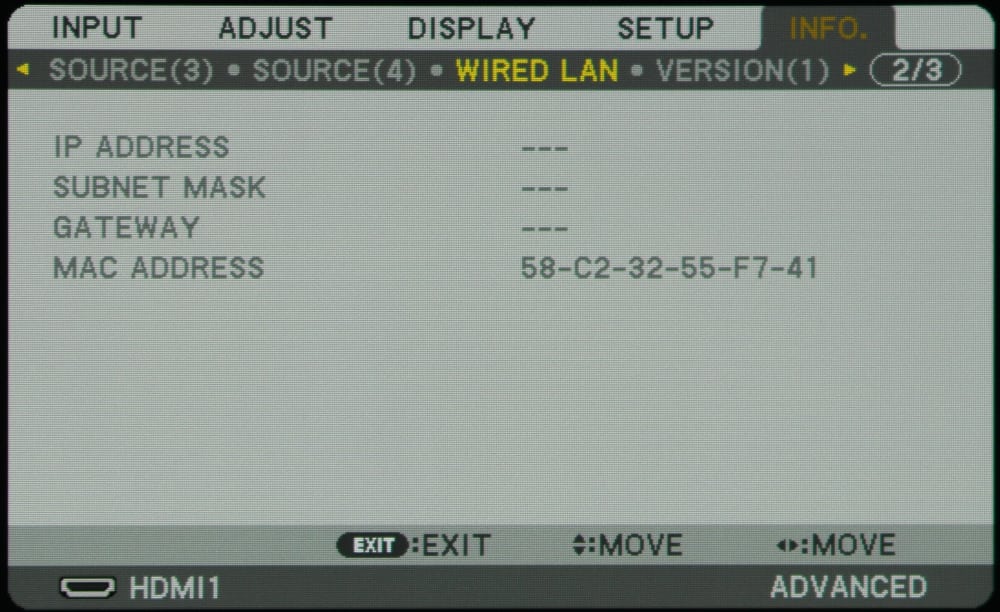
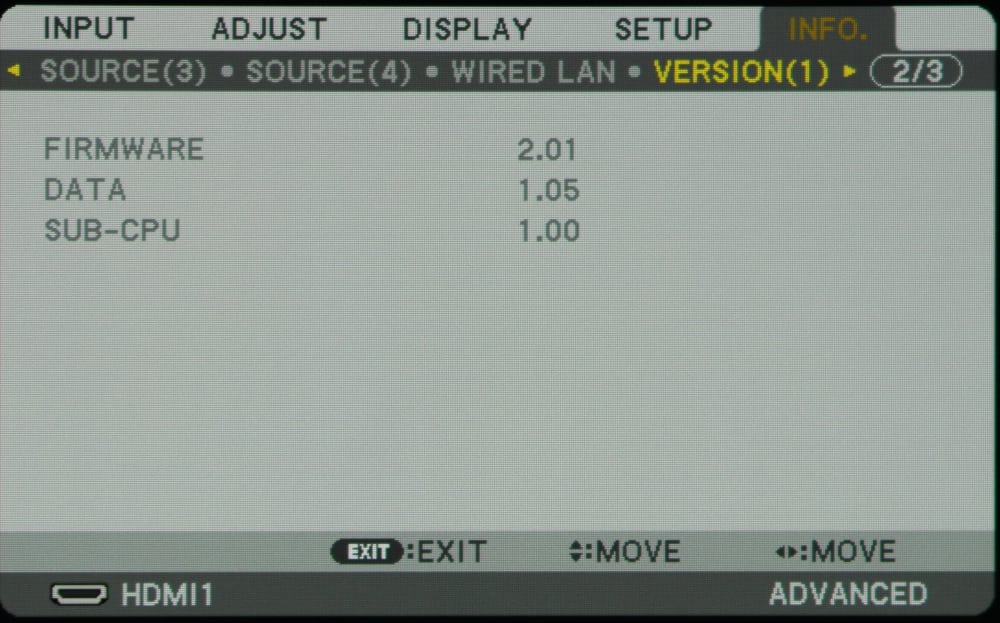
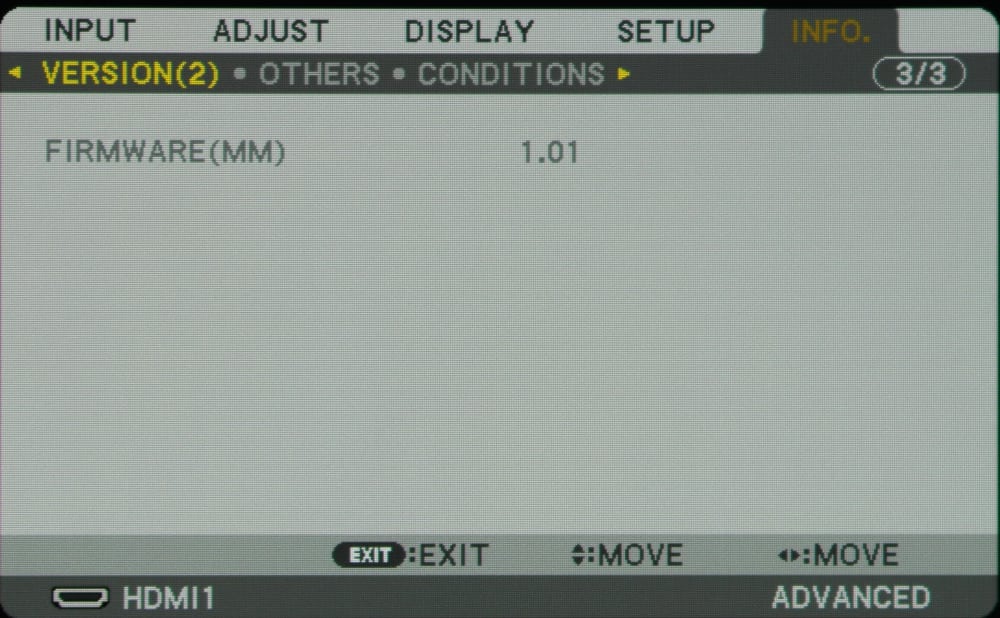
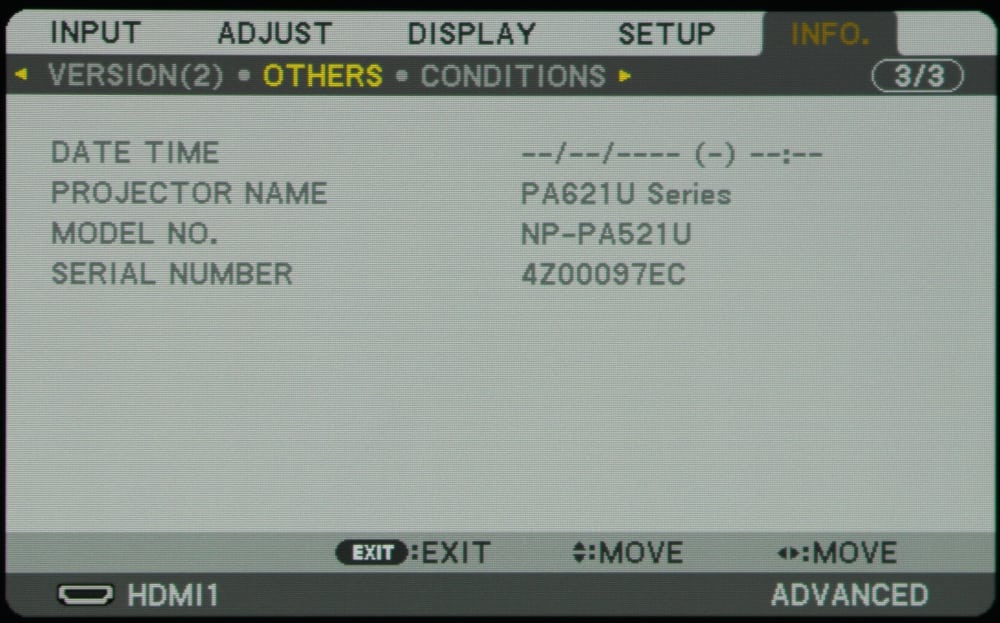
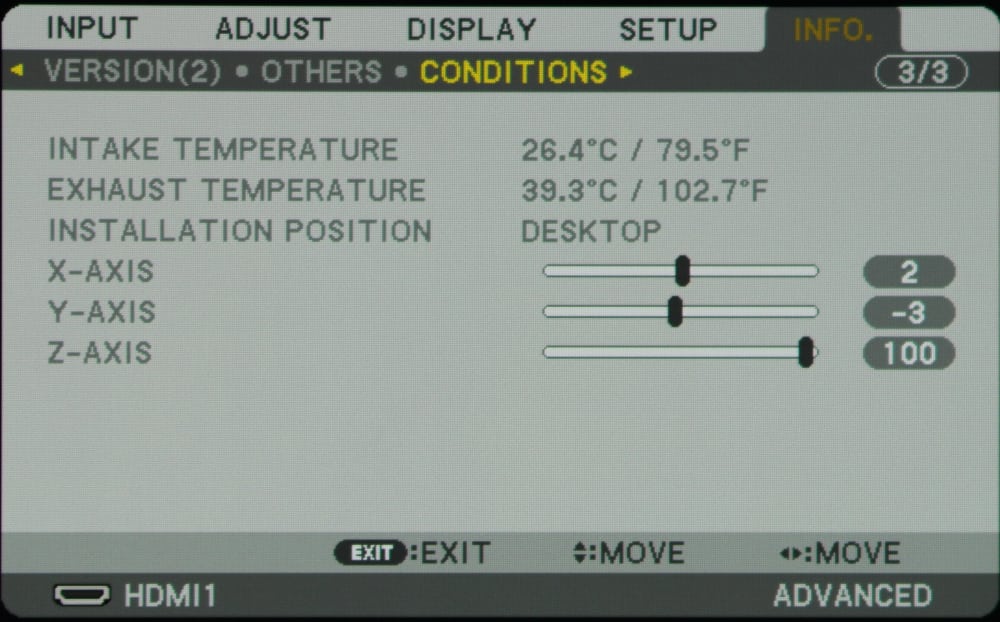
The above photo gallery shows 7 submenus under the Information Menu. As seen in these sub-menus, information is offered for such things as lamp and filter hours of use (gallery photo #1), video source signal characteristics (gallery photo #2), wired LAN information (gallery photo #3), firmware version number (gallery photos #4 and #5), projector model, name and serial number (gallery photo #6), and installation conditions such as air intake and exhaust temperatures (gallery photo #7).


