Projector Reviews Images

JVC DLA-NX7 4K Projector Review- Hardware 2

Posted on August 31, 2019 by Phil Jones

JVC DLA-NX7 4K Projector Review- Hardware 2: The Control Panel, Menus, Remote Control

Control Panel

JVC_DLA-NX7_control-panel

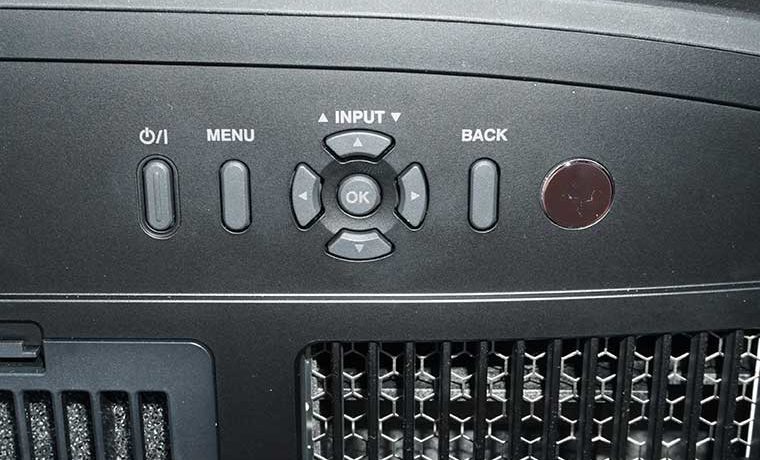
The DLA-NX7 control panel is very simple but most people will only use the control panel for initial setup, then rely on the remote control or a home automation system for those types of functions.

The POWER button is located on the left. Press it once to power the unit on and press twice to power off. Beside it is the MENU button.

Next are four arrows for navigating the projector’s menu with an OK button located in the center (which most companies call ENTER). The UP and Down arrow buttons can also be used to switch between inputs.

Finally, to the right is a BACK button which takes you back up one level in the menus.

It’s very functional, While DLA-NX7’s Control Panel doesn’t have as many buttons and features as some projectors, but it has all the key buttons.

Menus

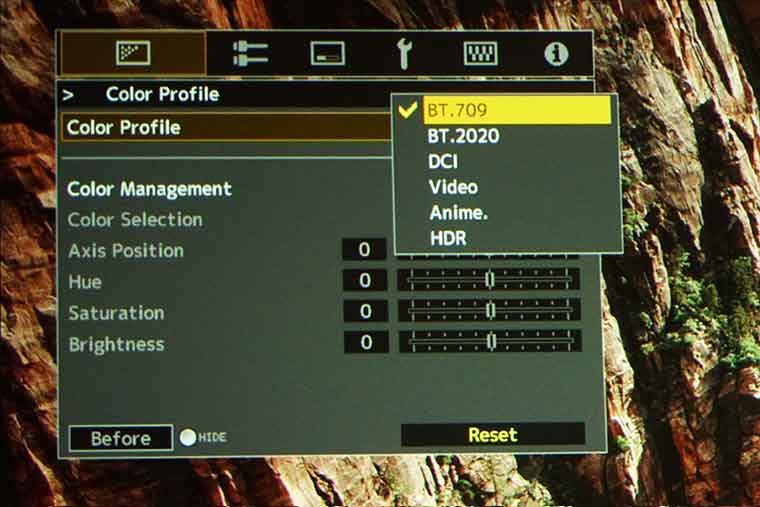
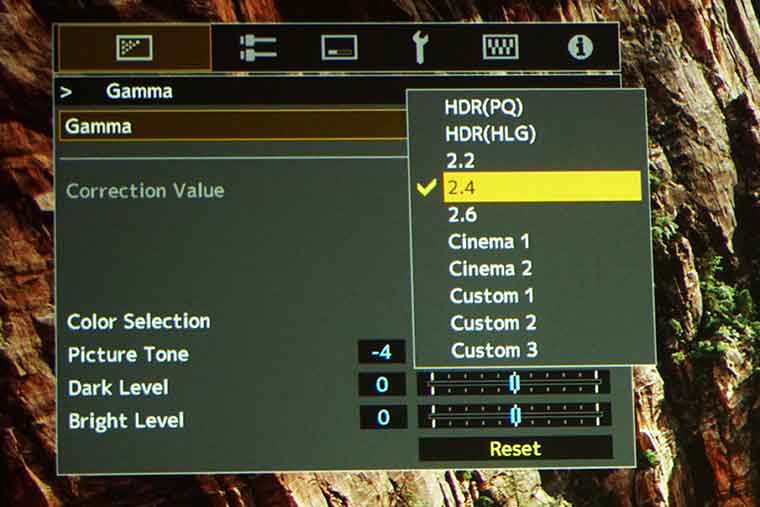
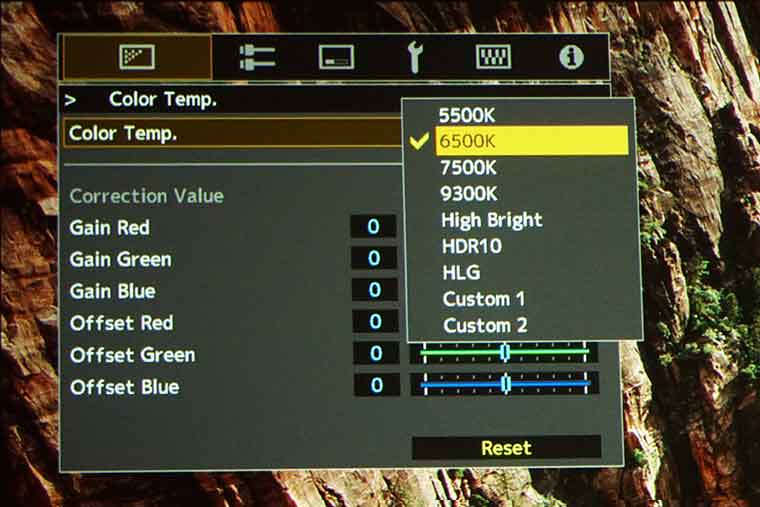
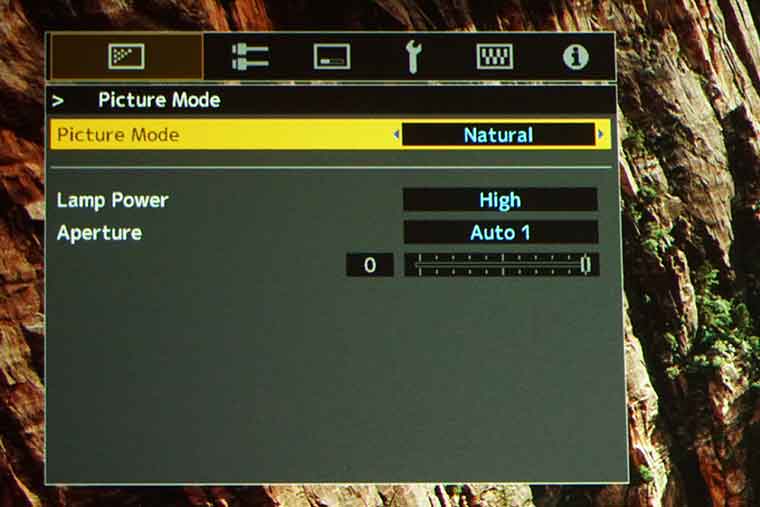
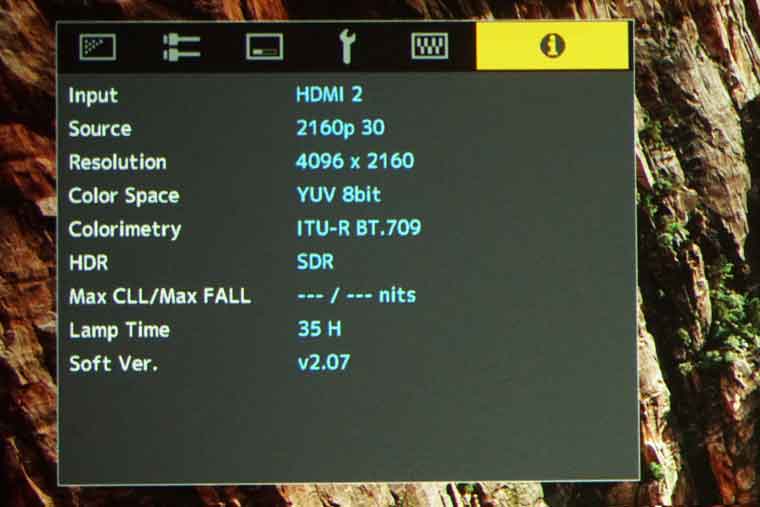
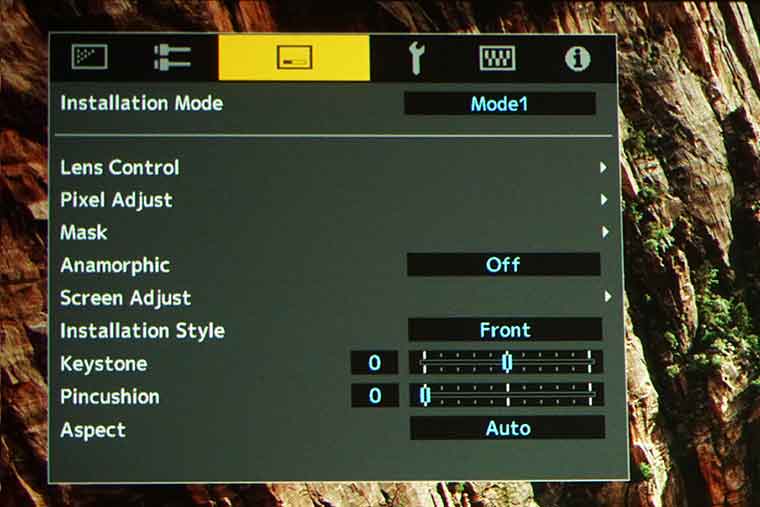
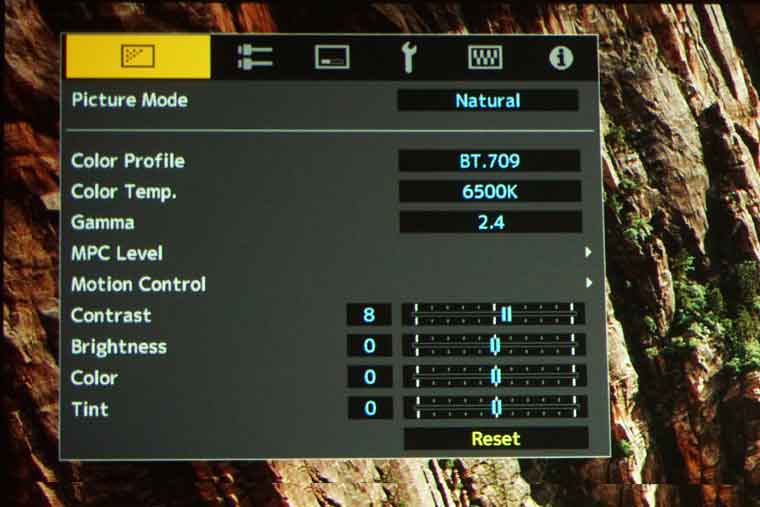
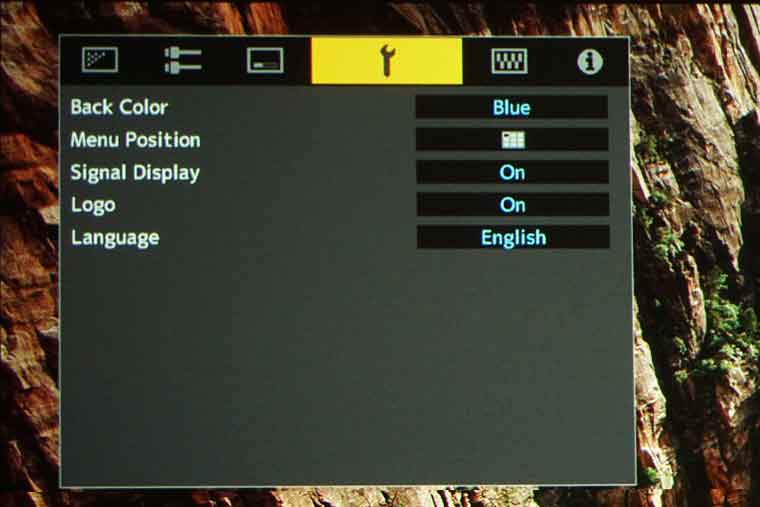
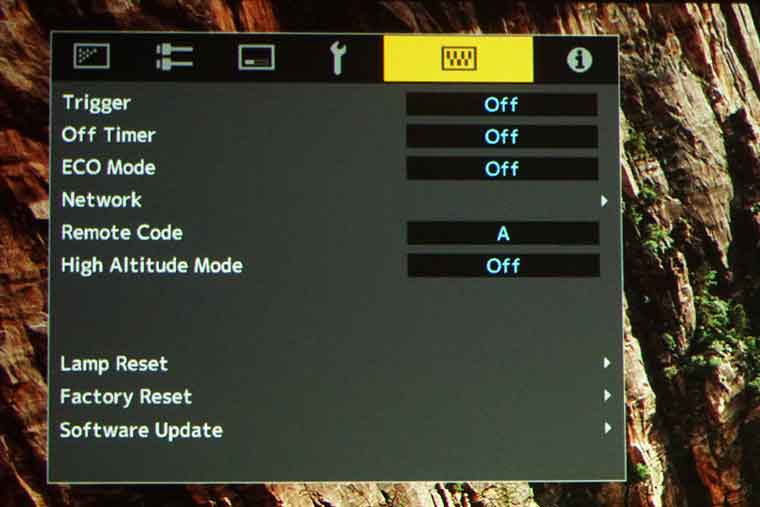
The images of the menu shown in this section represent only a small number of all the sub-menus available. I tried to show a couple more notable sections found in the most used sub-menus (image, setting and networking, etc.). DLA-NX7’s overall menu is well organized and easy to navigate. While the type size on the menu is a little small, it is still readable at a “normal” distance. The position of the menu can also be moved.

Remote Control

The DLA-NX7 uses JVCs newest remote control. It is slimmer than the previous JVC projector remote with less buttons. While the remote is smaller and simpler, the buttons are well spaced, and key buttons are easy to locate.

JVC_NX7_RM-MH27

The ON button is at the top right. To the left is the STANDBY button which you have to press twice to power unit off. In the next row on the left is the INPUT button to switch between HDMI 1 and 2. Beside it is the SETTING MEMORY to access the Installation Mode Menu. To the right is a button to toggle between motorized lens adjustments (focus, zoom and shift).

The next section holds a HIDE to temporary blank the screen as well as an INFO button to access the information menu. Below those are a group of buttons that contain the 4-way navigation buttons with an enter button in the center. There is a MENU to access the main page of the menu and a BACK button to move you up one level in the menus.

In the row below, to the left is a PICTURE MODE button followed by two buttons to directly access the projector’s Color Profiles and the Gamma settings menus.

Below those is the C.M.D button which lets you toggle between the different CFI (smooth motion) settings or turn them off. In the middle is a button labelled MPC which provides controls to both sharpen very sharp portions of a movie while further softening softer, out of focus areas – to add “Expressiveness” as JVC calls it.  At the very bottom is the LIGHT button to turn on the remote’s backlight.

© 2024 Projector Reviews

crossmenu linkedin facebook pinterest youtube rss twitter instagram facebook-blank rss-blank linkedin-blank pinterest youtube twitter instagram