The "Easy Menu"
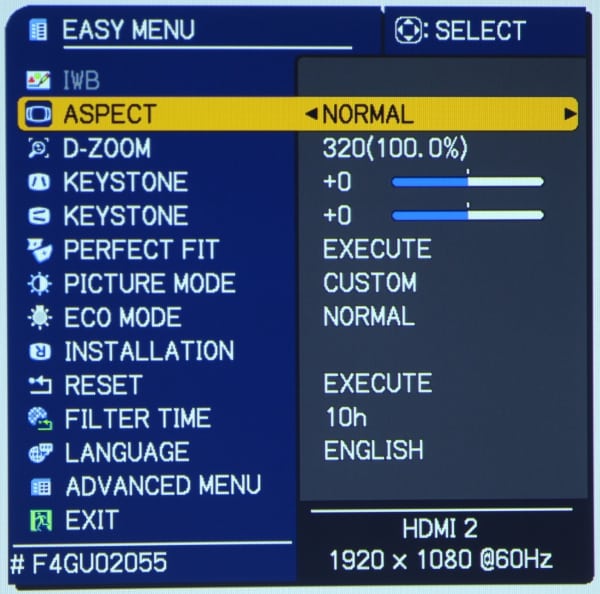
The "Easy Menu", shown in the first gallery photo above, is a good starting point for setting up a new Hitachi CP-TW2503 as it provides access to several of the necessary setup items as well as the desired picture mode. Below I discuss a few of the more interesting items under the Easy Menu.
The IWB menu item is for setting up the interactive features (see more info on IWB setup and use on the next page of the review).
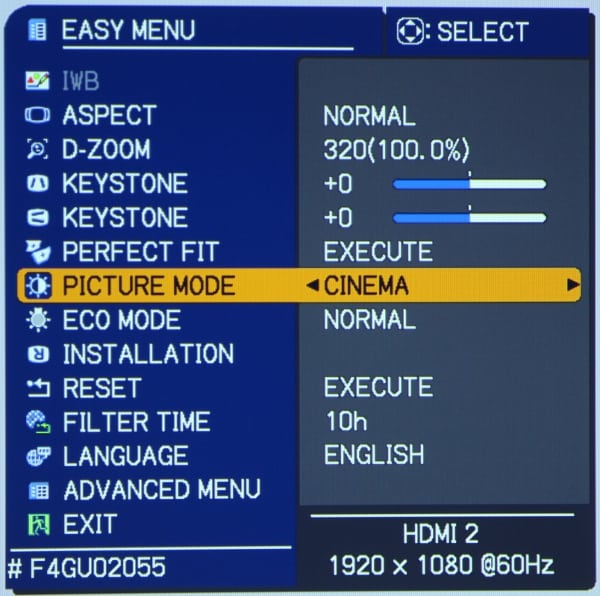
If the projector has been installed using a wall mount and at the ideal position (as described in the projector's manual) relative to the projection surface (e.g., whiteboard), then the adjustments for aspect ratio, keystone, perfect fit, and digital zoom should not need to be changed (at least not much) from the factory default values. However, it using the projector during a temporary, table top setup then you may need to use the keystone and/or perfect fit adjustments to obtain the correct geometry for the projected image. The Picture Mode (see gallery photo 2 above) lets you select from the CP-TW2503's nine different picture modes. The Eco item lets you operate the projector in either normal mode (i.e., full power), or in a energy saving mode, with reduced image brightness.
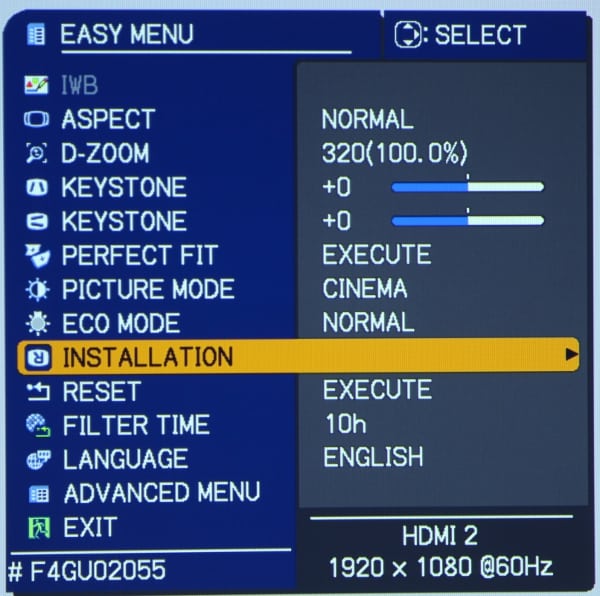
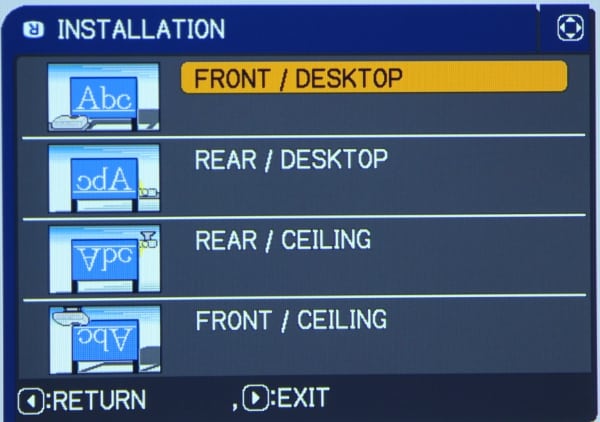
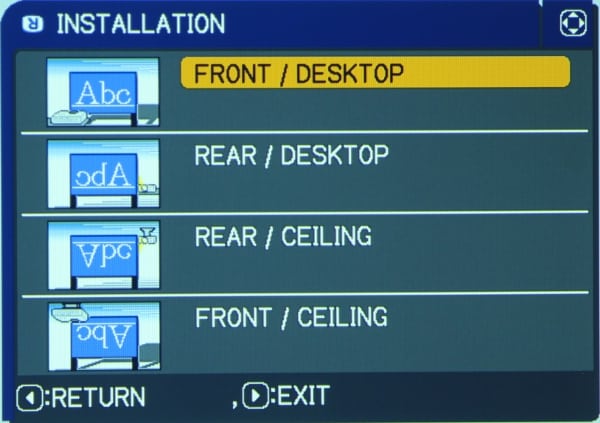
Perhaps the first item you will need to select from the "Easy Menu" is shown in the gallery photos 3 and 4 above. The installation menu item lets you select the configuration of the projector to the projection surface (front vs. rear projection and mounted above vs. below the projection surface). Next there are menu items for resetting the projector to the factory values and one that shows the number of hours of run time on the current air filter. As shown in the gallery photo 5 above, the menu for the Advanced settings can be accessed from the Easy Menu.
Advanced Menu
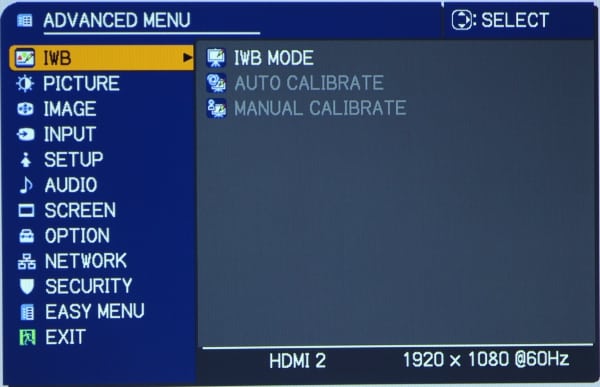
The 1st item in the Advanced Menu, shown above, is called IWB and this is used to setup the interactive features. The next page of this review describes the IWB setup and use.
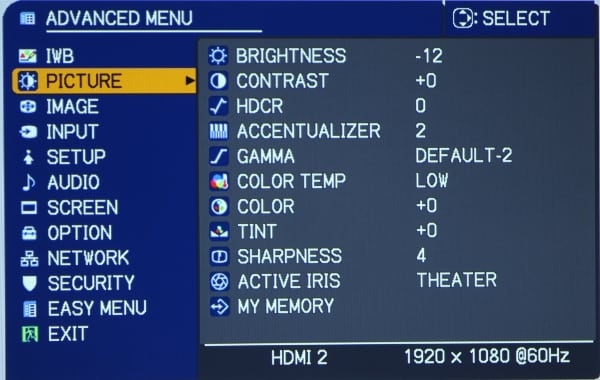
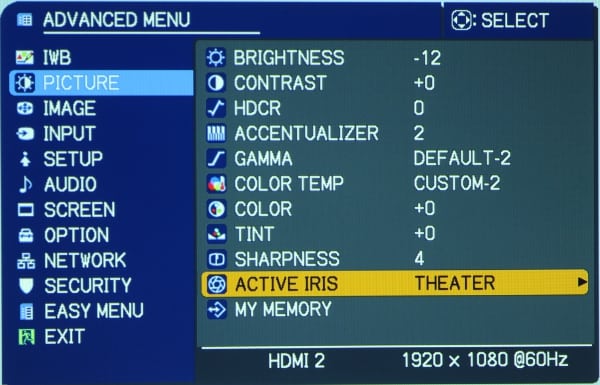
The 2nd item on the Advanced menu is for the Picture adjustments. When selected the Picture Menu is displayed, as shown in the first gallery photo above. The CP-TW2503 offers more user adjustments than is typical for this class of education and business projector. In addition to the usual brightness, contrast, etc. adjustments there are adjustments for gamma plus two unique Hitachi adjustments called Accentualizer and HDCR. The Accentualizer is a type of detail sharpening adjustment and the HDCR seems to in effect raise the contrast and perhaps also adjust the grey scale. The gamma control has a few preset values and also allows the user to create a custom gamma curve.
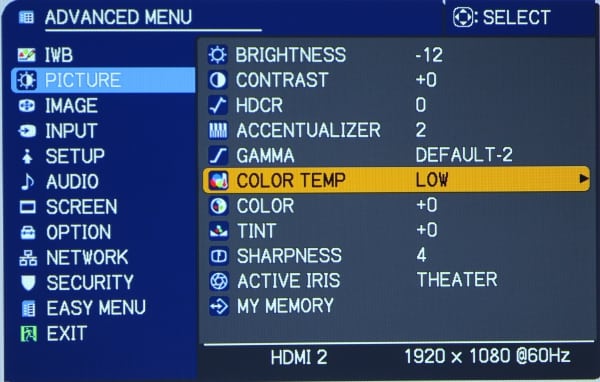
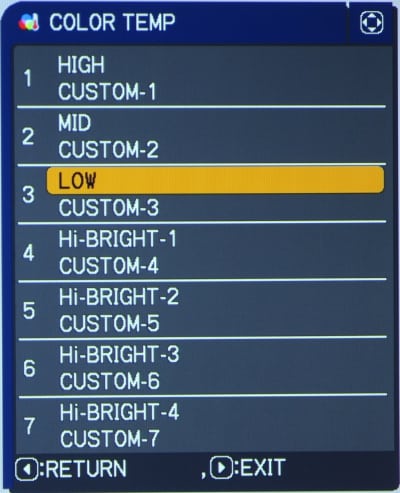
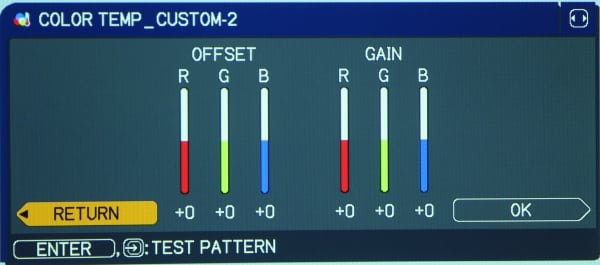
The CP-TW2503 offers a greater than typical range of adjustments for Color Temperature and grey scale as shown in gallery photos 2, 3 and 4 above. There are 7 preset color temperature alternatives plus for each one of these there is also a custom user setting that includes adjustments for red, blue and green gain and offset.
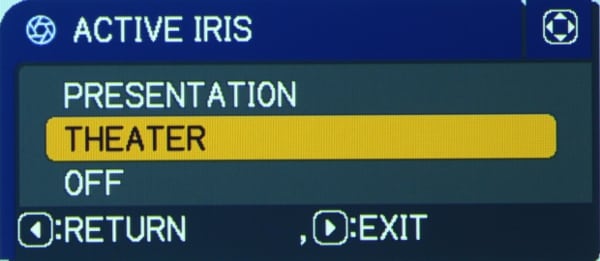
Near the bottom of the Picture Menu is the setting for the Active Iris, as shown in gallery photos 1 and 2 above, where it can be turned off or set to Presentation or Theater mode.
There is also a Picture menu item for My Memory where the user can store the picture settings that you have entered.
The 3rd item on the Advanced Menu is for the Image adjustments, as shown in the photo below.
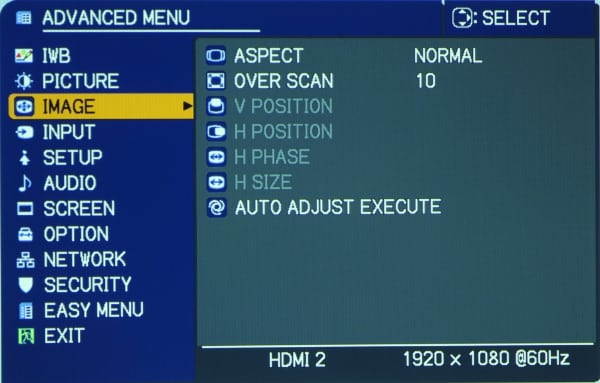
Some of these image adjustment are greyed out when the input signal is digital, e.g., via the HDMI input.
The 4th item in the Advanced Menu is for the Signal adjustments, as shown in the photo below.
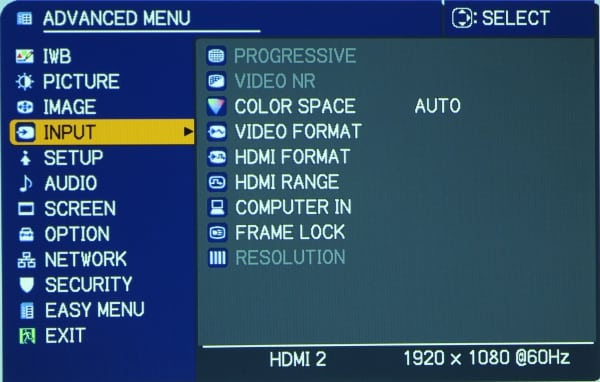
Among several setting available under Signal Menu are items that allow the user to set the desired color space to one of several alternative (e.g., ITU Rec. 709) or set it to auto. Also the HDMI format and range can be manually selected or left on Auto.
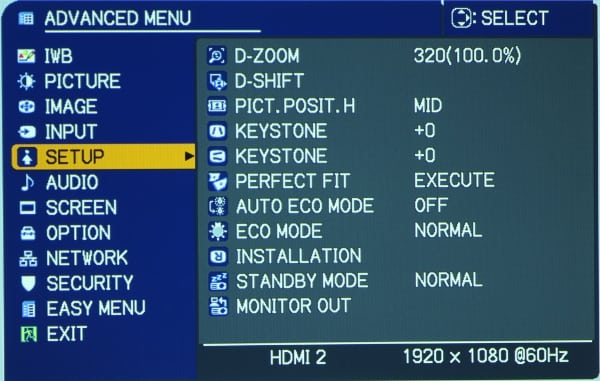
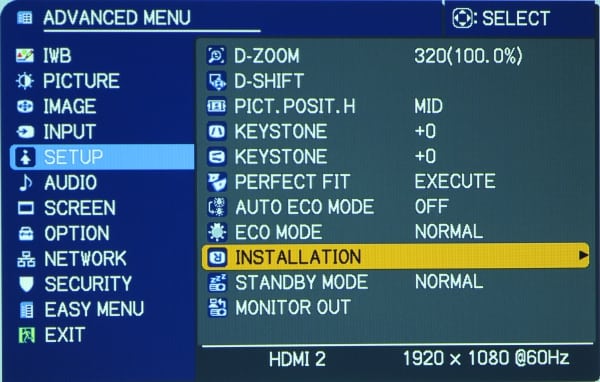
The 5th item in the Advanced Menu, as shown in gallery photo 1 above, is for Setup and this essentially duplicates several setup options offered in the "Easy Menu". This includes items for keystone adjustment, Eco Mode and Installation (as shown in gallery photos 2 and 3 above).
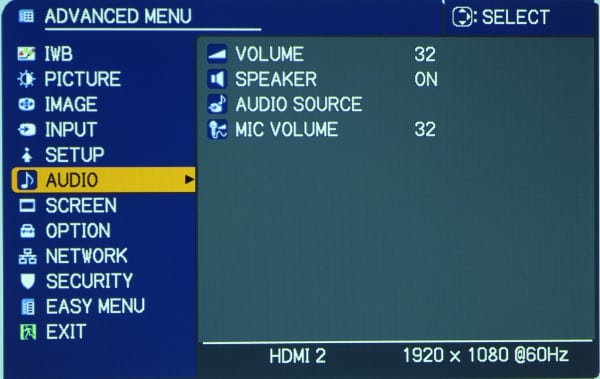
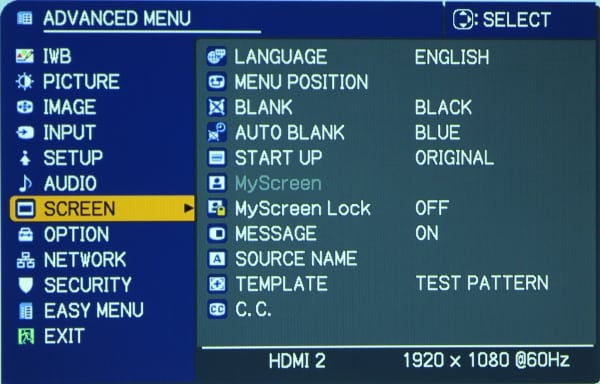
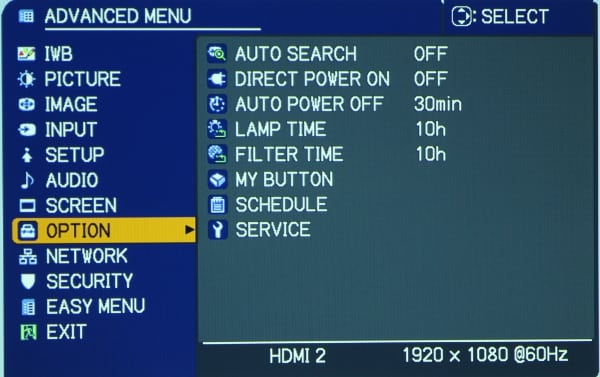
The 6th, 7th and 8th, items on the Advanced Menu provide for adjustments and status information for Audio (gallery photo 1 above), Screen (gallery photo 2 above) and Options (gallery photo 3 above).
Network Menus
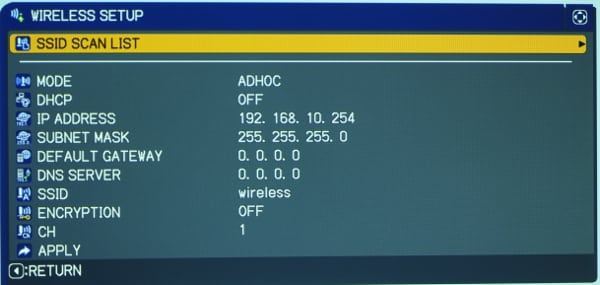
The 9th item on the Advanced Menu for configuring the Wired and Wireless network settings.
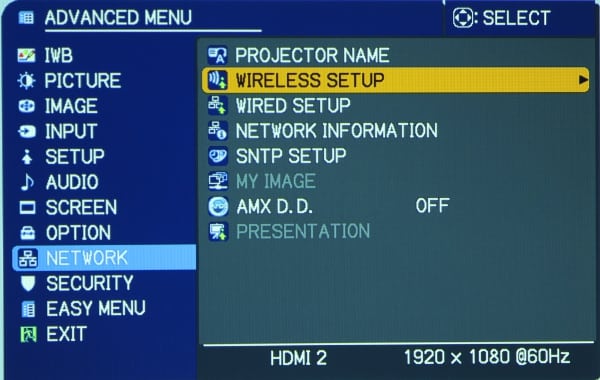
Selecting the Wireless setup displays the following menu.
Selecting the Wired Setup from the Network Menu displays the following menu.

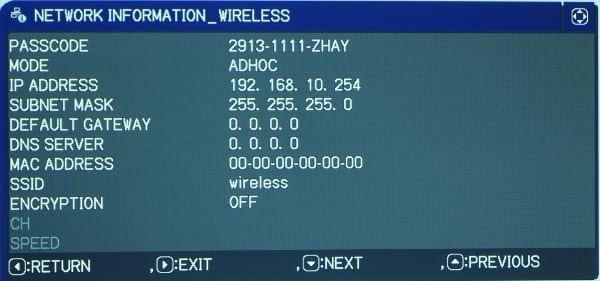
Selecting Network Information from the Network Menu displays the following menu for the wireless network.
Summary
The Hitachi has a many different menus that provide extensive options for the setup and operation of the CP-TW2503. The above photos of menus and the descriptions are intended to provide an reasonably detailed overview of the available menus and adjustments.

