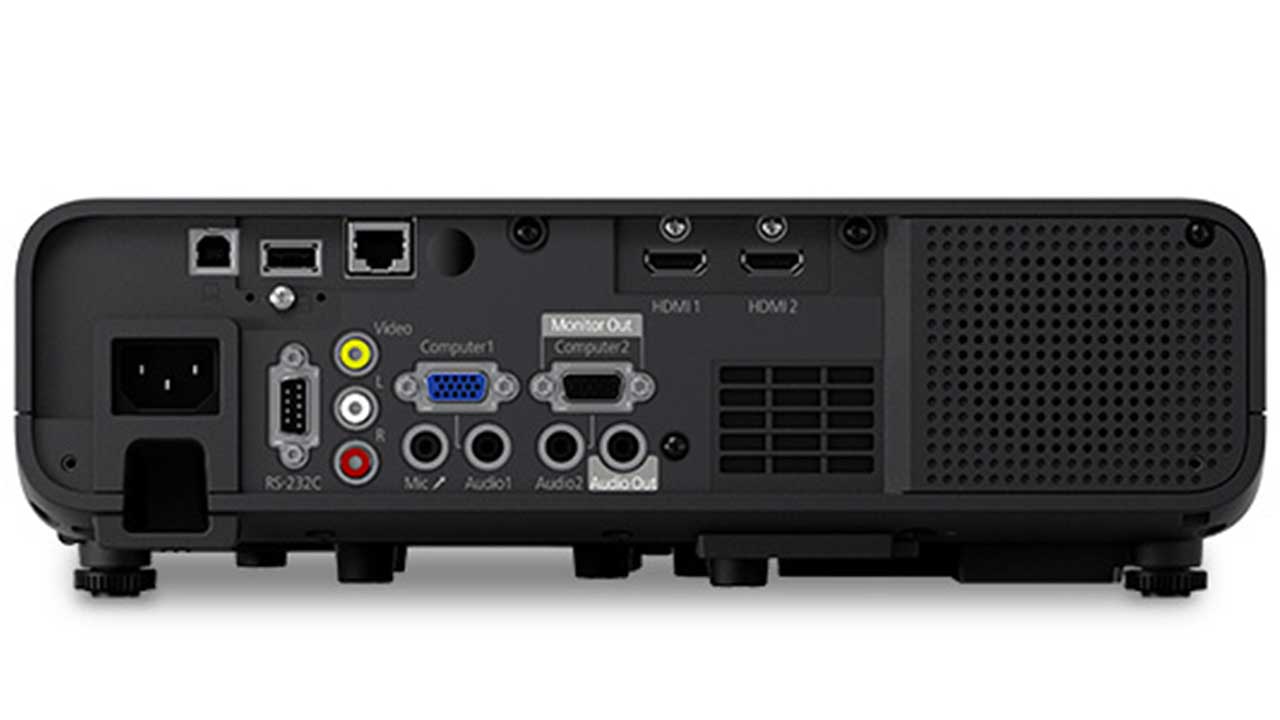
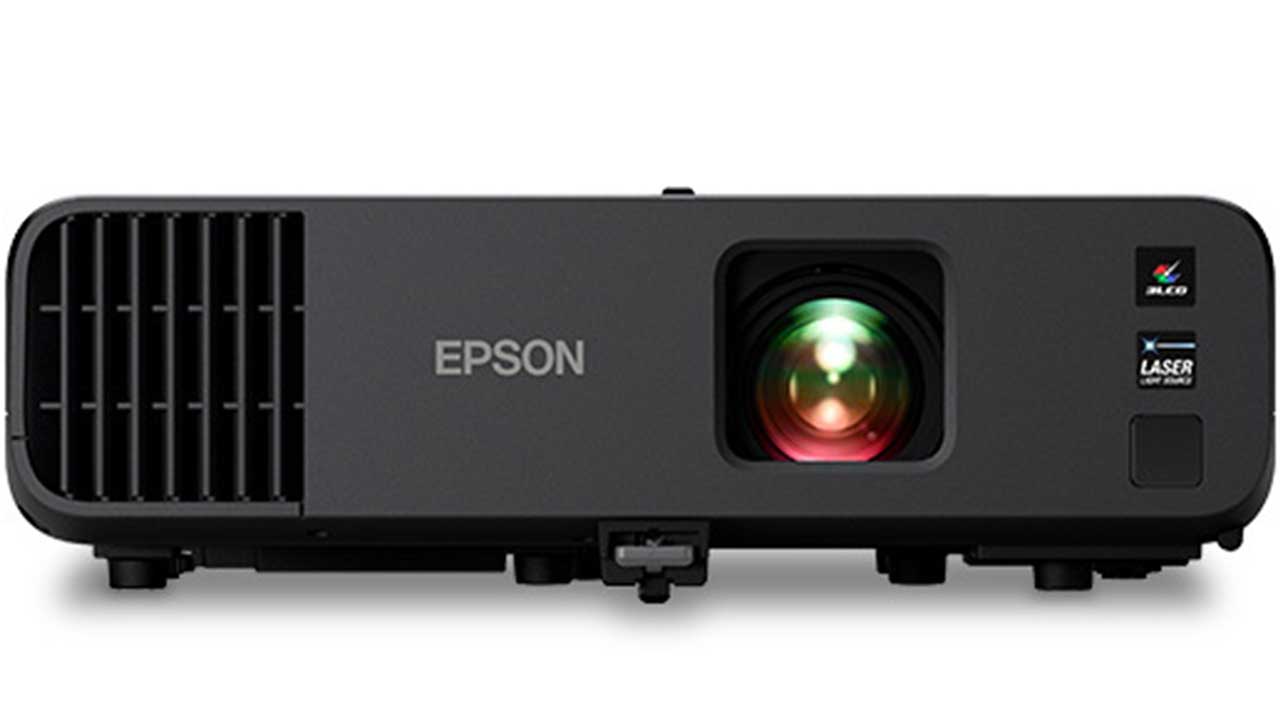
Big and white (black on the back), this 40 pound plus projector, has rack handles on the top. The input panel is located on the back, while the inputs and other connectors are found on the front, behind a cable cover door, to the right of the center mounted, motorized lens.
Need a black casing for your installation? No problem, just order the Z8455WUNL, instead of the Z8450WUNL.
A series of indicator lights are located on the back, below the control panel. If you install the wireless networking module, one of those lights also provides info on the wireless.
Let's take a closer look.
Thanks to its adjustable feet and horizontal and vertical lens shift, the Z8450WUNL is easy to setup up in either table or ceiling mounting installations. If ceiling mounted, the feet can be removed, and supplied covers can replace them for esthetics.
The Z8450WUNL starts up very fast and has multiple test patterns that can aid in initial setup (using the picture geometry and crosshatch patterns), as well as more advanced picture adjustment (using the grayscale and color bars).
The menus will look very familiar to anyone who has previously used an Epson projector.
All of our reviewers consider Epson's menu structure to be one of the very best, and relatively Simply choose one of the available color modes, fine tune it with the usual Brightness, Contrast and Sharpness adjustments and you’re ready to go.
You can also adjust the overall grayscale balance with the Color Temp control.
For the advanced user, Epson has also added full color management, found on the Advanced sub-menu. The CMS allowing adjustment of hue, saturation and brightness of both the primary (Red, Green, Blue) and secondary (Cyan, Magenta, Yellow) colors.
The Z8450 has a basic, but well thought out remote. Power and input buttons are on top, right above a thumbpad which offers 360 degree response, making it very usable as either a wireless or wired mouse (with an optional mouse adapter or cable). The “disc pad” action of the navigation control also comes in handy when using the Z8450’s built-in pointer. The pointer display button, as well as buttons to control the electronic zoom and presentation pages, is right below the thumbpad. Also in an easily accessible location at the bottom of the remote are the Help and speaker volume. If external speakers are connected to the audio out, the remote’s Volume control will control them as well. The buttons are not backlit, but that is typical for presentation projectors. In general, I found the buttons to be well laid out and spaced sufficiently to avoid hitting the wrong one, even in the dark.
Another feature allows you to control more than one Z8450 at a time independently from a single remote. By turning on the “ID” slide switch on the side of the remote, you can switch the remote between different projector IDs (a total of nine selectable in the projector menu) and have completely independent, full control of each projector.
Since a projector like the Powerlite Pro Z8450WUNL may be mounted some distance from the screen, I wanted to check the range Doing so, I found the remote had a range of at least 45 feet, the furthest back I could get from our testing room with line of sight to control the Z8450. There was also no problem with a signal bounced off of our 1.4 gain Carada screen from over 30 feet.
All the lenses offer both motorized vertical, and horizontal, lens shift. Shift range is extensive.
I should note that the fineness of the lens shift controls is downright spooky. At first I was sure the motorized lens shift was not working. I held down the button to move the lens down, for several seconds, perhaps more than five. Well, I wasn't paying enough attention. The lens was actually shifting, but due to the fineness of the controls, and my expectations of some real movement, I didn't notice. After even more time, the lens shift got much faster. I realize that a projector like this, which may be stacked with others, or used in multi-projection environments, extremely fine control can be a real advantage.