LS9600e Projector
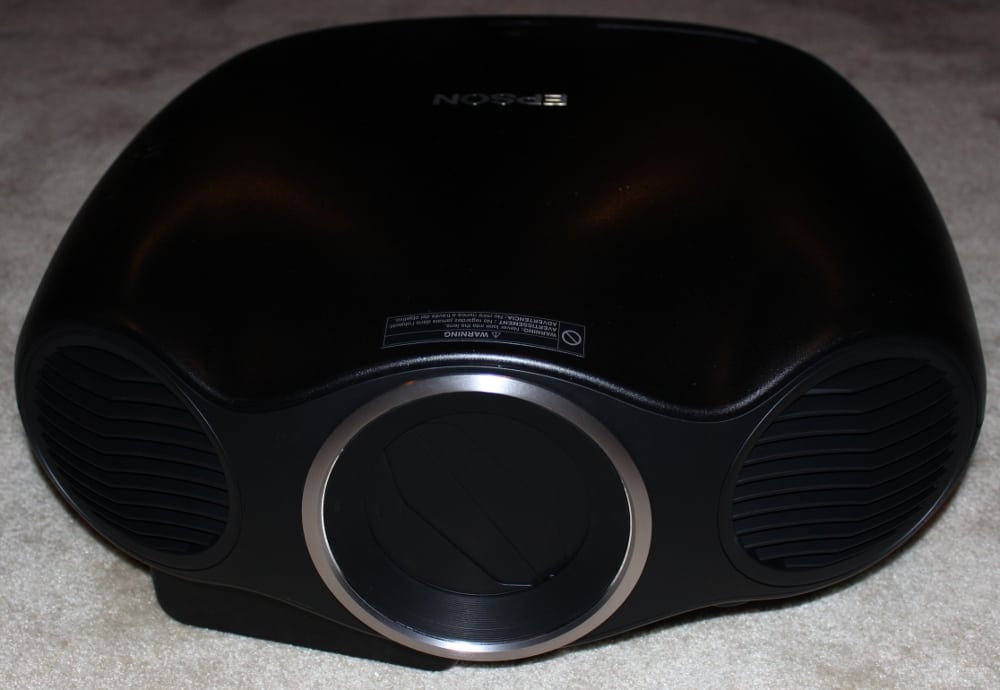
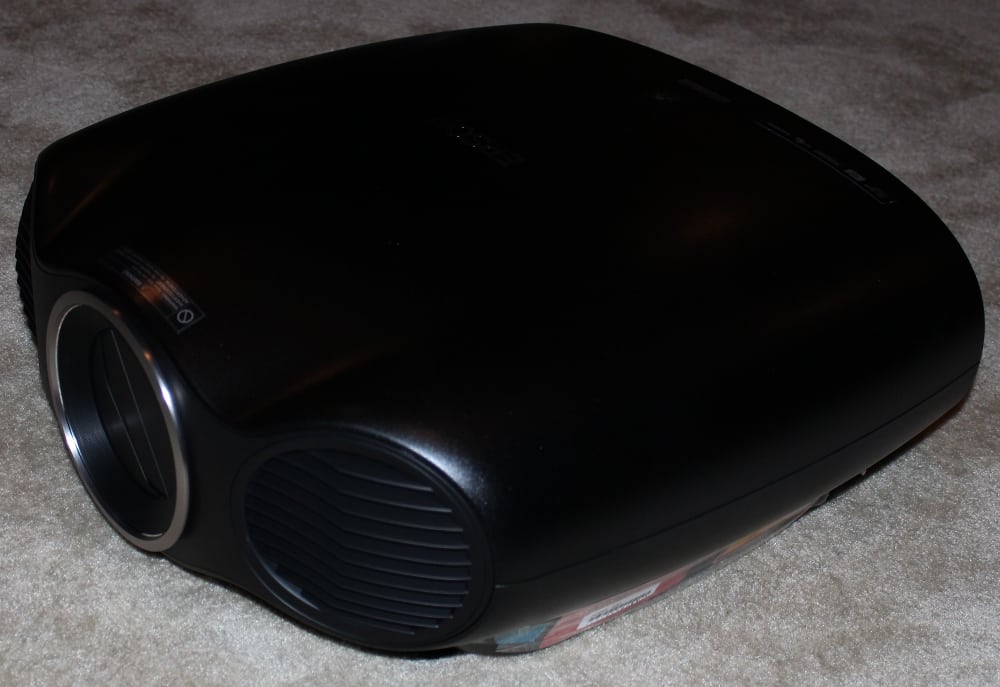
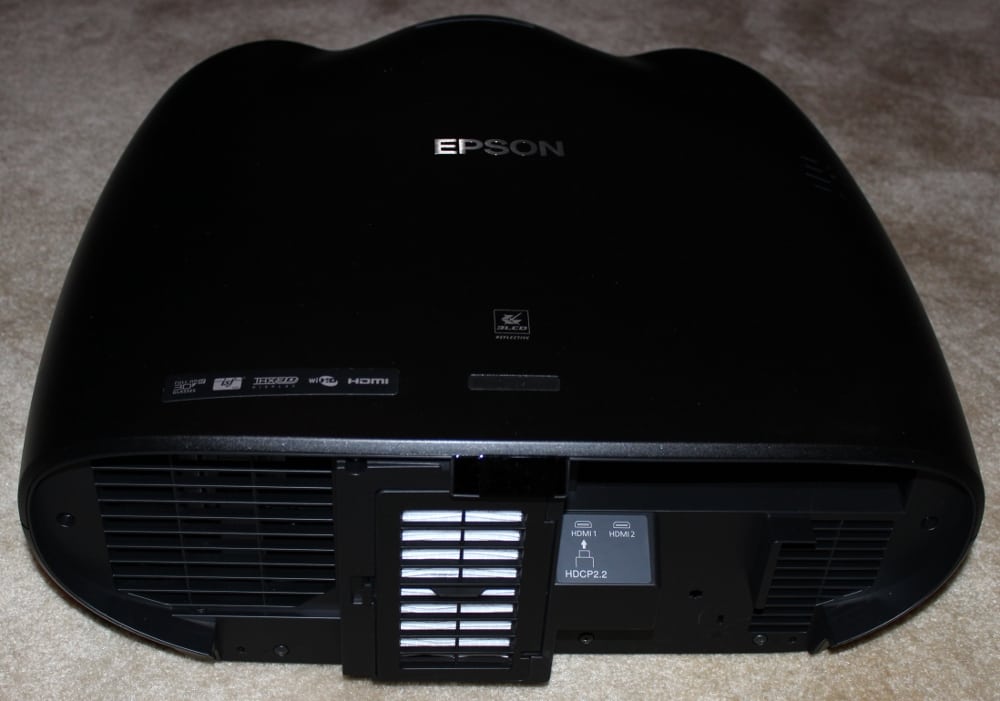
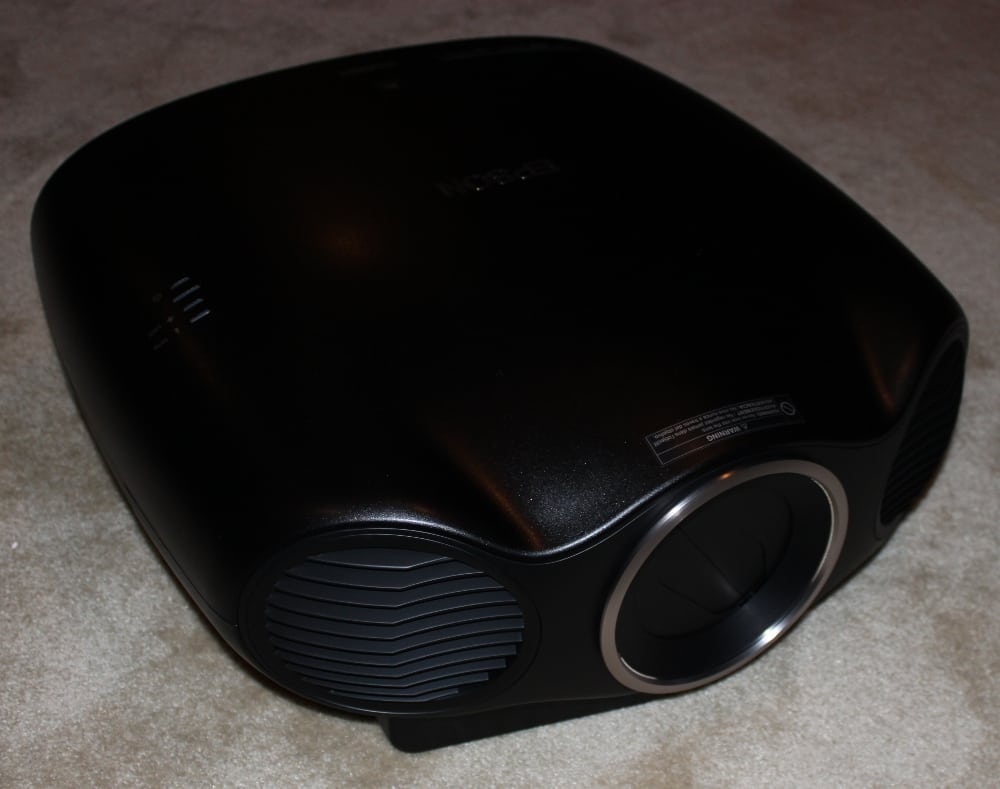
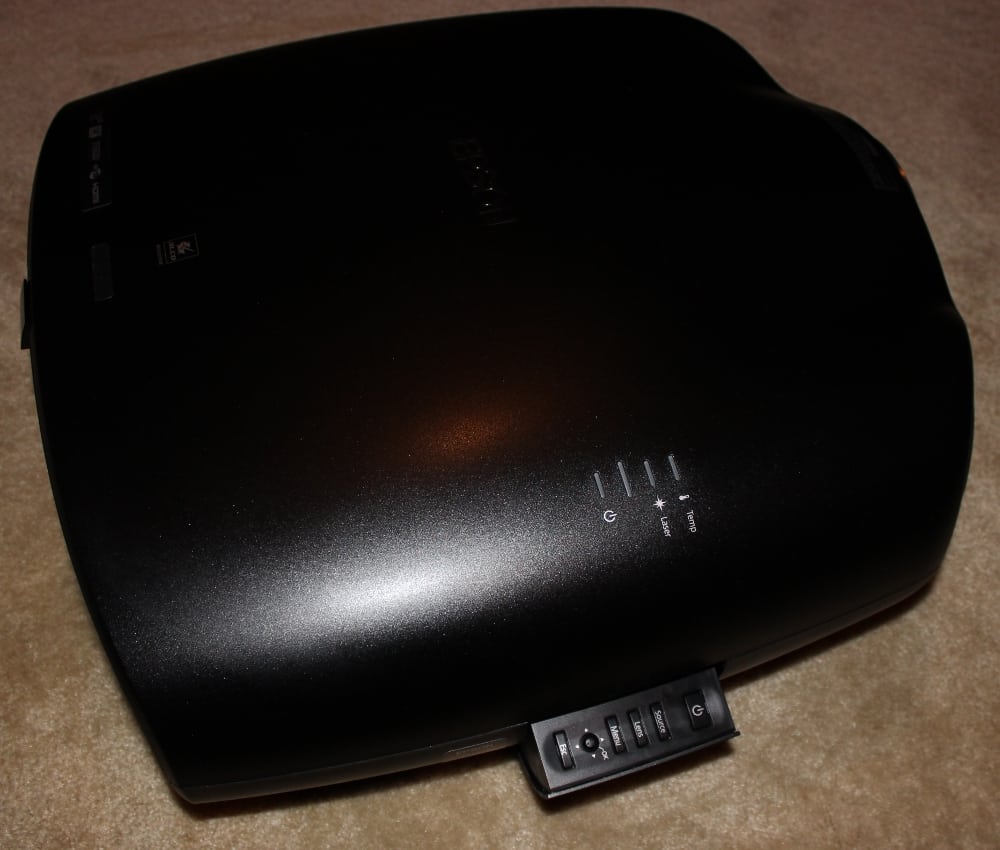
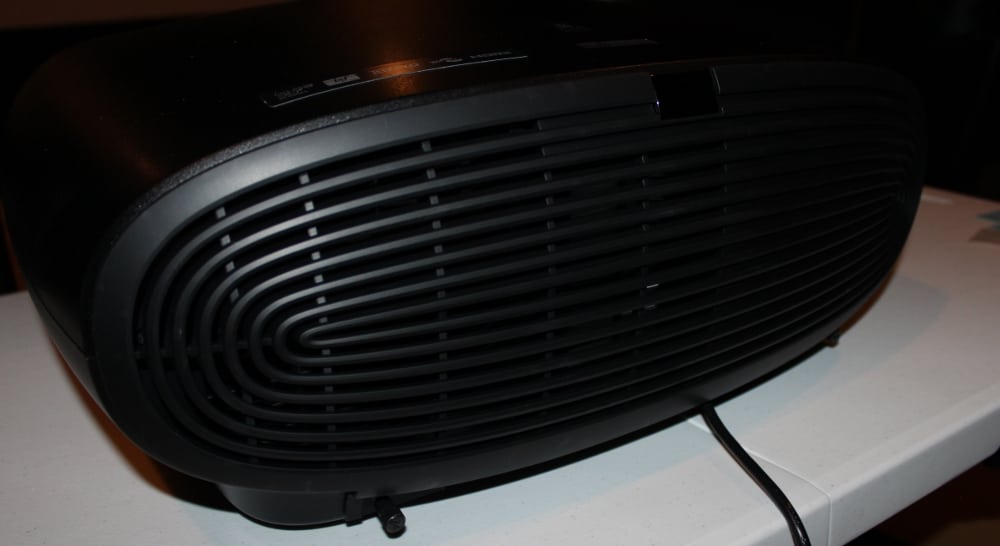
This is one good looking projector, as projectors go, at least if you like a bit of massive, with style. As I said on the first page, very “euro” looking. You’ll decide for yourself, however, the finish is a matte black so should disappear nicely in a dedicated theater with a dark ceiling. Dual large exhausts adorn the front, on either side of the recessed power zoom lens with lens memory.
Note in the images above, that the first one shows the Epson powered down, with the lens cover closed. It opens automatically when powered up (of course)! Also of note, the rear of the projector is shown with the provided cable cover removed. The projector's lens is a center mounted, recessed, power zoom 2.1:1 that provides maximum placement flexibility, especially with the exceptional amount of motorized lens shift provided. Info about the affect of the zoom lens position on brightness is covered on the Performance page of this review.
Thanks to the power focus, zoom and lens shift, the LS9600e along with the LS10000 are the first Epson home projectors to support lens memory, so that you can easily choose to use a wide screen – cinemascope style such as one with a 2.35:1 or 2.4:1 aspect ratio.
The throw ratio range is approx. 1.29:1 to 2.74:1. Meaning for a screen that is 100 inches wide (not diagonal size) the projector's zoom has enough range to allow the projector to be placed anywhere in the range of approx. 129" to 274" back from the screen.
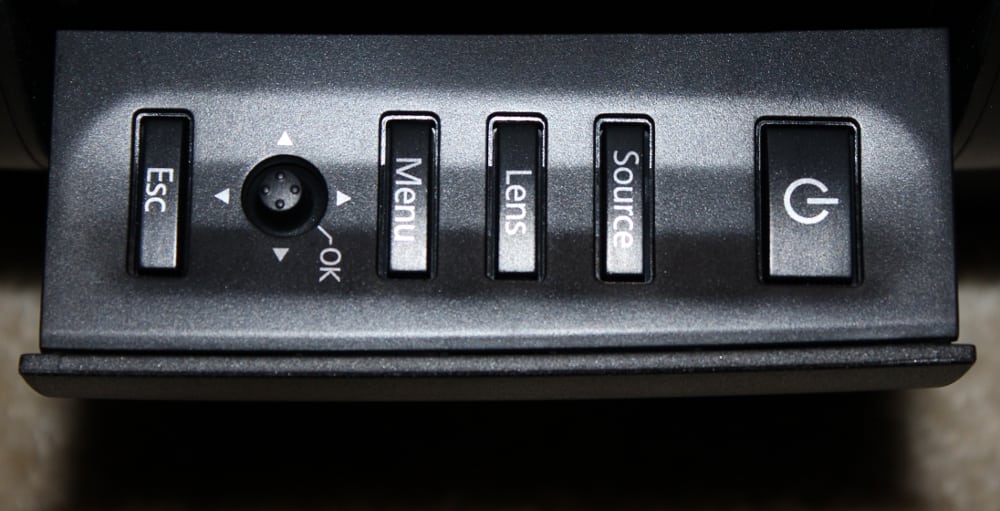
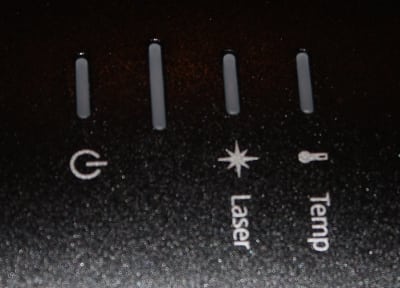
The control panel is on the left side when you are facing the front of the projector. It is located on a spring loaded door, so is essentially invisible when you don’t need it. The first gallery photo above shows the projector with the control panel opened and the second photo is a close-up of the control panel. It has the usual buttons for Power, Source (input), Lens (to make Focus, Zoom or Len Shift adjustments), and Menu. Then there is a mini joy stick used for the 4-way menu navigation with an OK (Enter) function also provided by pressing down on it. Finally there is an ESC button to go back one level in the menus. Above the control panel on the curved part of the top of the projector are the usual indicator led lights shown in the third gallery photo above.
[sam_pro id=1_26 codes="true"]
Connector Panel
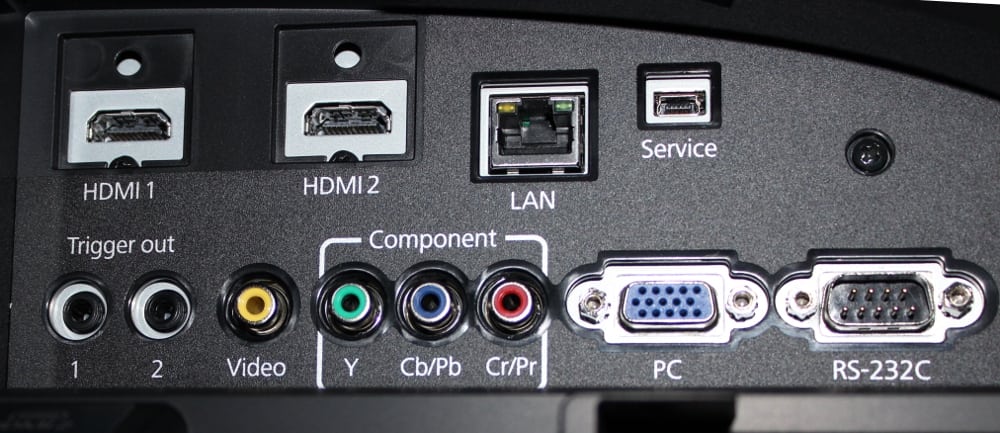
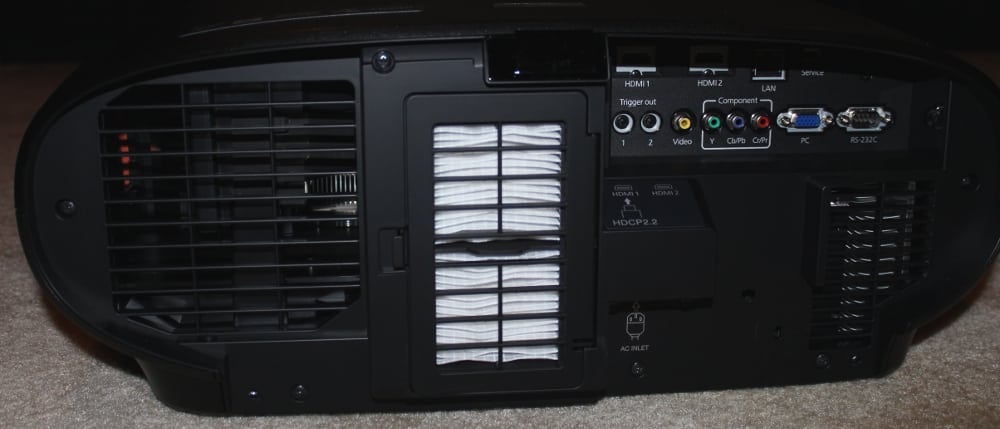
The first gallery photo above shows the connector panel that is located on the rear of the projector. All the connectors and inputs are on the right hand side of the back (the filter door is dead center), if you are facing the back of the projector. The power receptacle is a little hard to see because it is vertical. That is, the power cord’ connector (from this right side up view) goes up into the receptacle (note the label "AC Inlet" below and toward the left side of the connector panel when you enlarge the 2nd gallery photo above).
Near the top center are the two HDMI inputs. Further to the right is the standard ethernet RJ45 type connector for a hard wired network – that is, plug it into your home router or switch. As mentioned earlier, the projector is designed so that firmware can be updated through your network, when the projector is connected. There’s a small USB mini type connector as a service port on the top right. Below it and a little further to the right is an RS232 serial port (DB9) for “old school” command and control. Next to it, moving to the left is an analog computer input labeled PC (DB15) connector, and then comes the three color coded RCA jacks for component video.
All that’s left as a composite video (yellow RCA jack) and a pair of 12 volt screen triggers, one of which could be used to control an anamorphic lens sled, but most folks will be perfectly happy using the Epson’s Lens Memory to switch between 16:9 and 2.35 or 2.40, for displaying “Cinemascope” shaped movies.
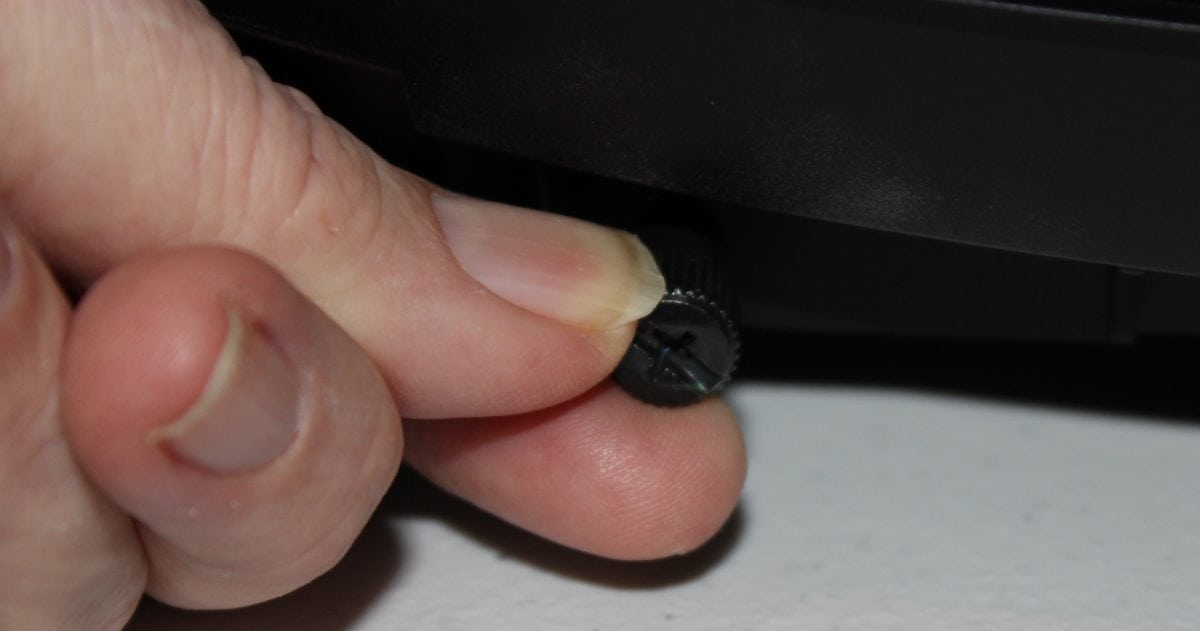
As can be seen in the 2nd gallery photo above, the rear of the projector isn’t very pretty, you’ll see not only the connector panel with attached cables, but also a large air filter, but Epson ships the LS9600 with a cable cover to keep things nice and neat, as shown installed in the 3rd gallery photo above. This cover is attached with two thumb screws, as shown in the 4th gallery photo above.. When the projector is ceiling mounted the access through the cable cover is on the top where it belongs and that should keep the cables invisible. -

