IMAGE MENU
The Image category has adjustments for the projection mode as well as expected things like brightness, contrast and sharpness. This is where you can adjust whether the PowerLite W29’s iris is set to Normal, High Speed or turned off. In addition to tweaking the red, green and blue gain levels, there are menu items for changing the image’s color temperature, but only with a relative scale with 10 choices that aren’t calibrated to Kelvins.
Signal Menu

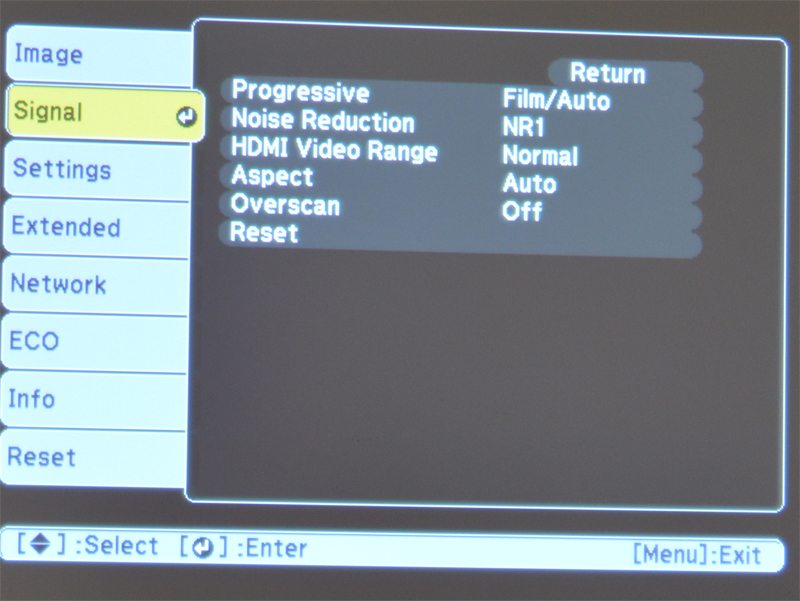
W29 Signal menu
With the ability to optimize the input signal, this section has a slew of adjustments, but you can just pick Auto Setup that let the projector choose and tweak its operational settings. Otherwise, you can adjust the Overscan, Aspect ratio and HDMI Video Range. While it doesn’t have a high-performance Farouja video processor, the W29’s video processor does have two levels of video noise reduction. You can choose between film and video progressive scanning techniques.
Settings

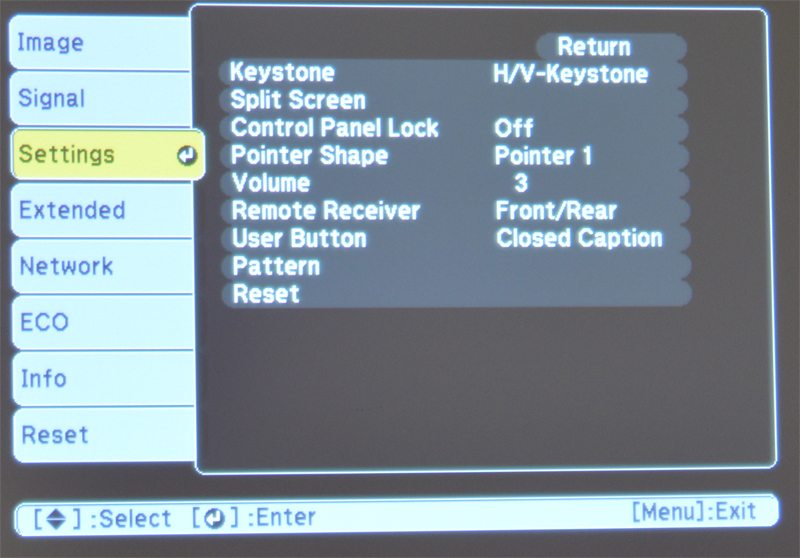
W29 Settings menu includes keystone correction, split screen, and pointer options...
The projector’s Settings category has a bunch of things that you’ll likely set once and never look at again, such as the horizontal and vertical keystone settings. You can change the software pointer that’s superimposed on the screen as well as turn off either of the IR remote control receivers This is where you set up the parameters for using the projector’s split screen.
There’s also one of the most useful things when setting up a projector in a new location: built-in setup patterns. While I didn’t put my pattern generator away, the PowerLite W29 can show four different patterns or you can add your own image to the mix.
EXTENDED SETTINGS

Extended menu offers display options, front/back ceiling/table options, more
This is a cornucopia of settings for the PowerLite W29 for items that don’t fit into the Settings section.
Here you can do everything from turning on Closed Captioning or displaying your school’s logo on start up to changing the menu’s language.
NETWORK

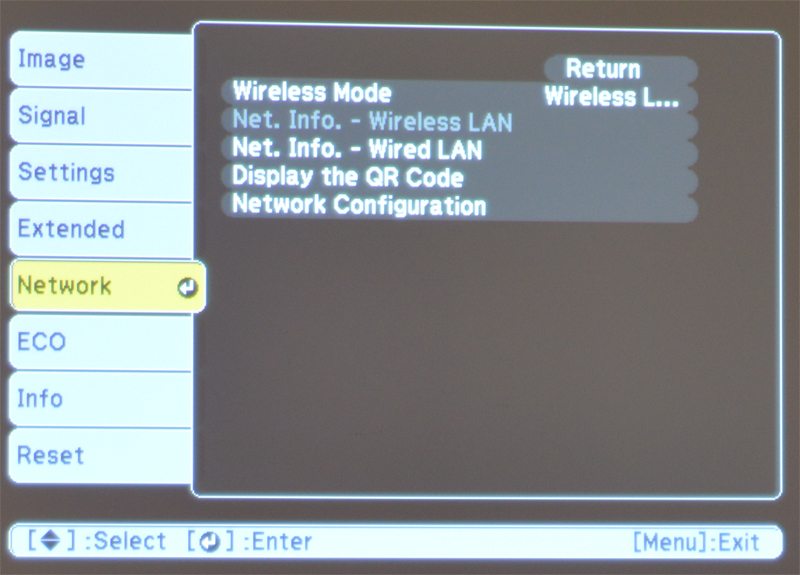
Network main menu - controls wired and wireless network configuration and reporting
While the PowerLite W29 lacks integrated WiFi, it does have wired Ethernet networking built in.
In addition ou can add WiFi with the $99 USB adapter that Epson sells. It takes about two minutes to install it, as it plugs in next to the air filter behind the filter door on the side of the W29.

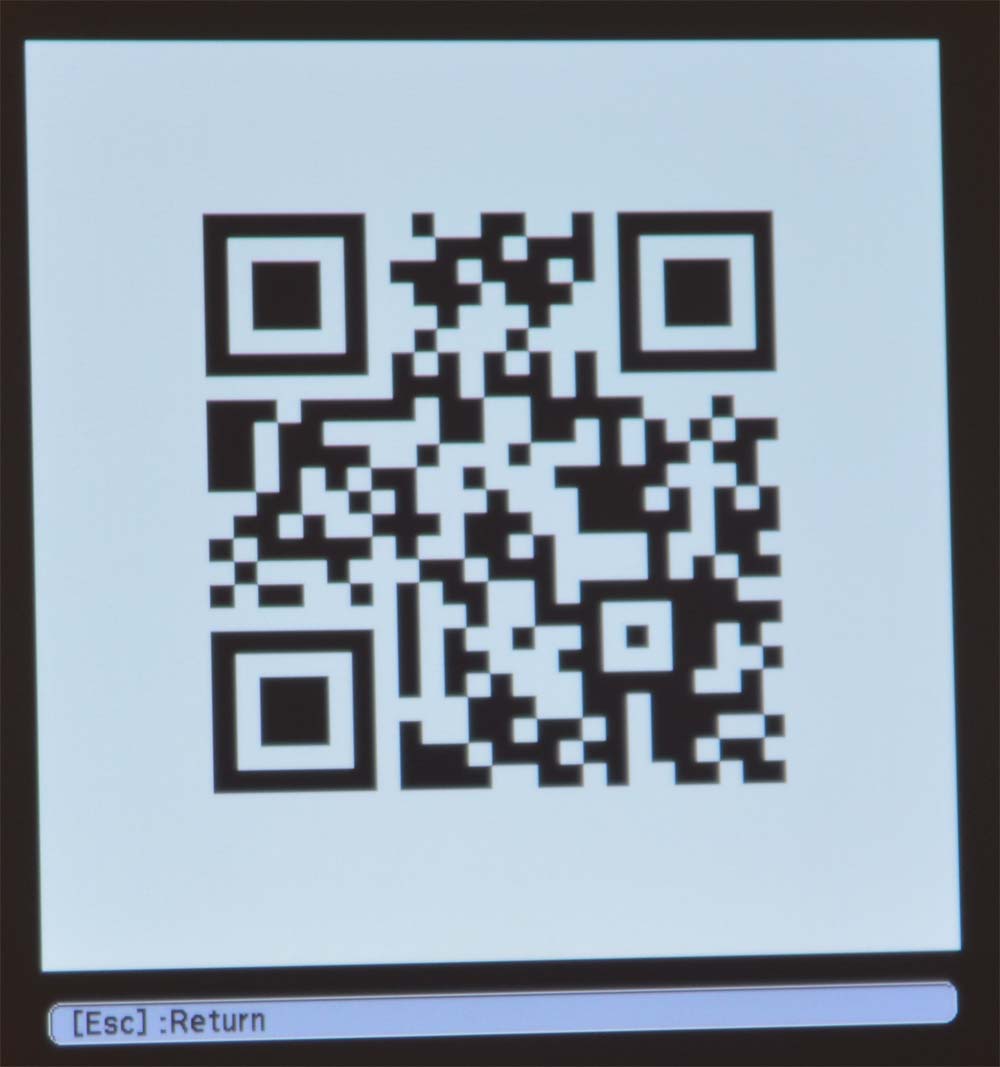
Epson uses QR codes to help with the network setup
On top of viewing the current IP address, there’s a place to enter the PJLink password you’ll need to use the software. There’s a submenu for the Basics, Wireless LAN, Security, Wired LAN, Mail and Others. My favorite is a recent addition that projects a QR code containing all the networking details needed to connect. Just point a phone or tablet that has the Epson iProjection app running (there are versions for iPhones, iPads and Android phones and tablets) at the screen and click Read QR code. It takes about 30 seconds for the tablet or phone to make the connection, but it can now project material or be used as a projector remote control.
ECO

Lots of options on the Eco menu. As a 3LCD projector, the W29 starts out more energy efficient than DLP designs.
You can you reduce the projector’s power demands to save on electricity or be eco-aware – or both. The Eco mode reduces the electricity usage by about 30-percent, but with a corresponding drop in brightness. You can follow the menu’s green leaves to set the sleep mode and what happens when you close the lens door. This is the place to set up the projector to remain connected with the LAN when it’s asleep for fast start-ups.
Info and Reset
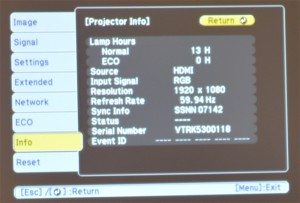
The Info menu tells you lamp usage, current resolution, projector info, and more.
The Info screen projects every major attribute of the PowerLite W29’s operation and it would be nice if this could be printed for future comparison. The section shows how many hours are on the projector’s lamp as well as the input signal in use, the resolution and the stream refresh rate. If you ever need service, the serial number is at the bottom.
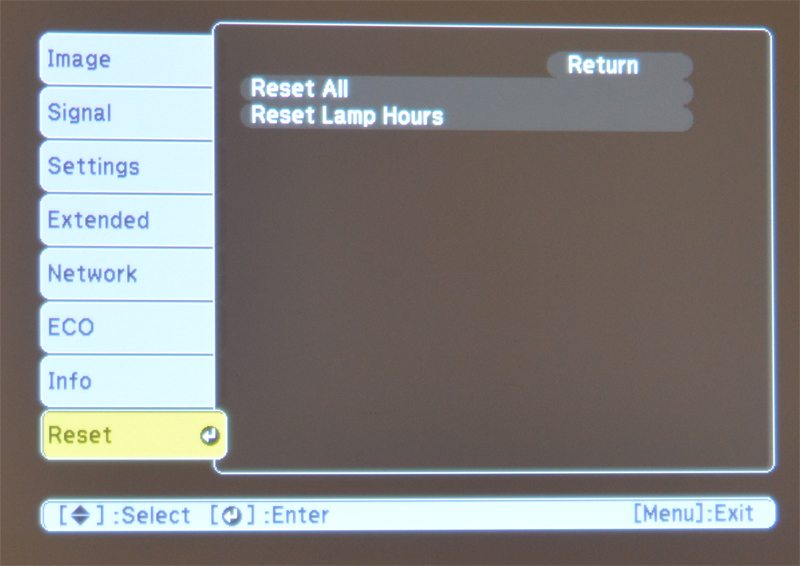
Finally, the reset menu gives you a pair of options.
One is the proverbial "nuclear option." It will set the projector back to t's original factory defaults.
The other option resets lamp clock back to zero after you’ve replaced the original lamp with a new one. Here’s where you do it.
Be absolutely sure before you do a full projector reset.


