Projector Reviews Images

Epson PowerLite Pro Z10005UNL Projector Review - Hardware Tour 2

Posted on August 2, 2015 by Art Feierman
Epson PowerLite Pro Z10005UNL Projector - Hardware Tour 2:   Menus The following sections provide an overview of the Z10005UNL's menus.  The top-level menus are shown and discussed, but only a few of the more detailed sub-menus are presented.

Image Menu

The menus will look very familiar to anyone who has previously used an Epson projector.

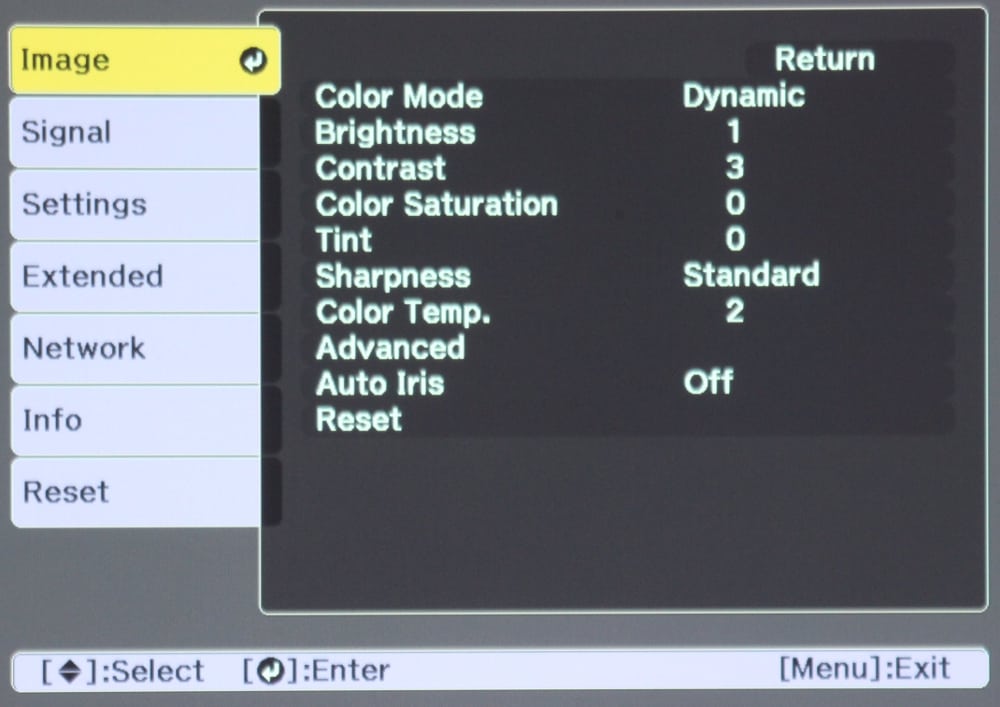
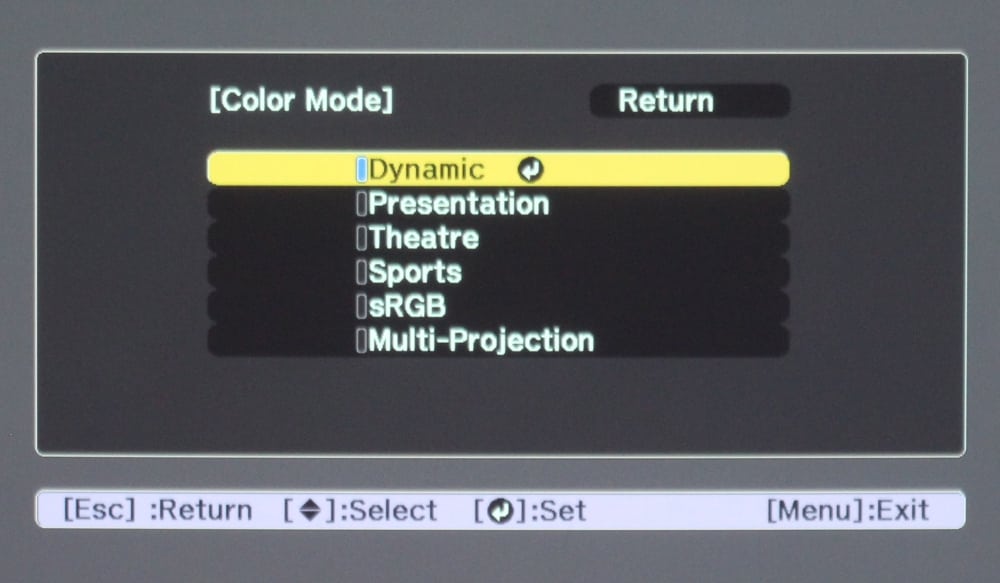
We consider Epson’s menu structure to be one of the very best. The straight-forward menu structure allows the user to choose one of the available color modes, fine tune it with the usual Brightness, Contrast and Sharpness adjustments and you’re ready to go.  The 1st gallery photo shows the top-level Image Menu and the 2nd photo shows the submenu for color modes.

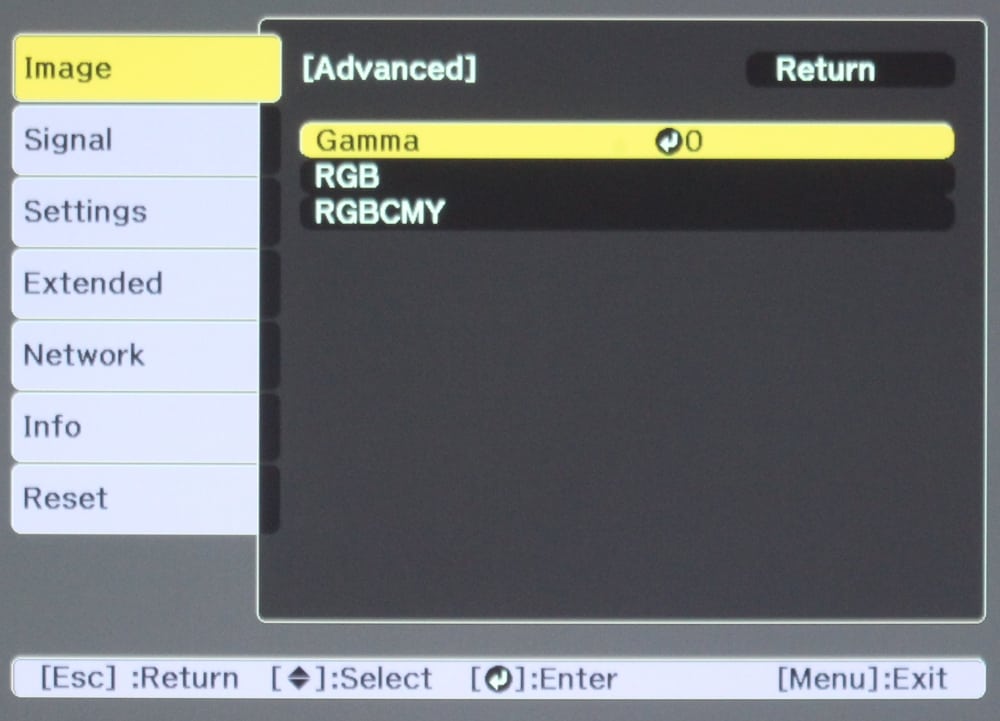
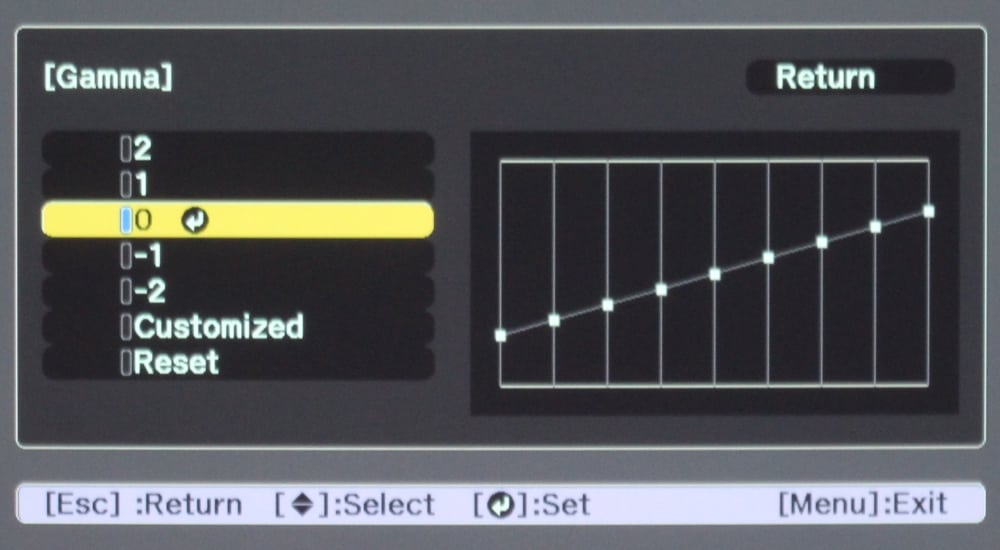
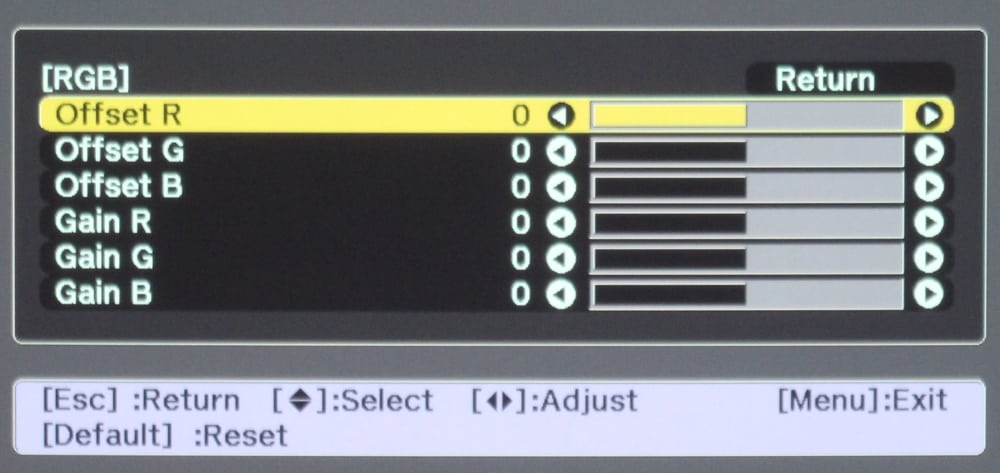
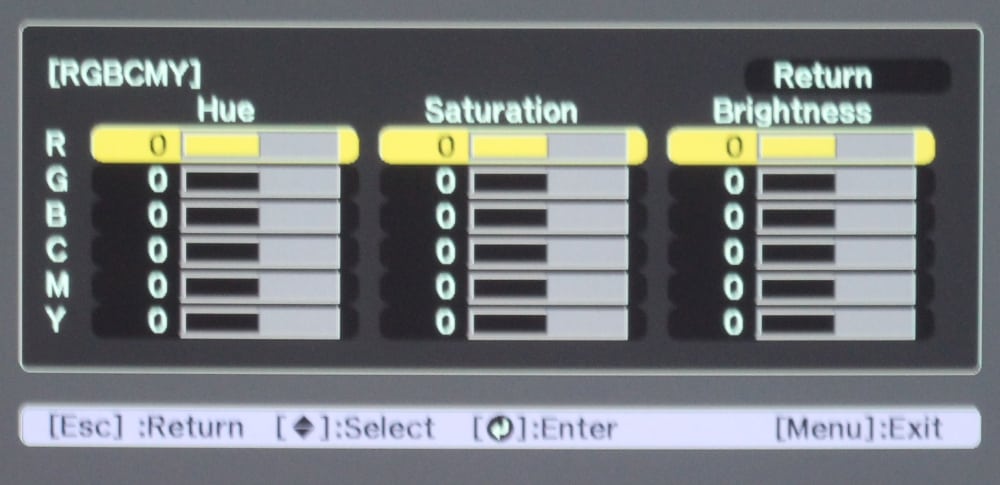
The 3rd gallery photo shows the top-level Advanced Image sub-menu while the 4th, 5th and 6th photos show respectively the submenus, under the Advanced menu, for adjusting the Gamma, the RGB gains (for calibrating the grey scale/color temperature), and for adjusting the RGBCMP colors.  This Color Management System (CMS) allows adjustment of hue, saturation and brightness of both the primary (Red, Green, Blue) and secondary (Cyan, Magenta, Yellow) colors.  Note these CMS controls are for use only by the advanced user or professional calibrator.

[sam_pro id=1_24 codes="true"]

Signal Menu

Epson Z10005UNL - menu-7


The top-level Signal Menu is shown in the photo above.  It provides settings for a number of the video processing options offered by the Z10005UNL.

Settings Menu

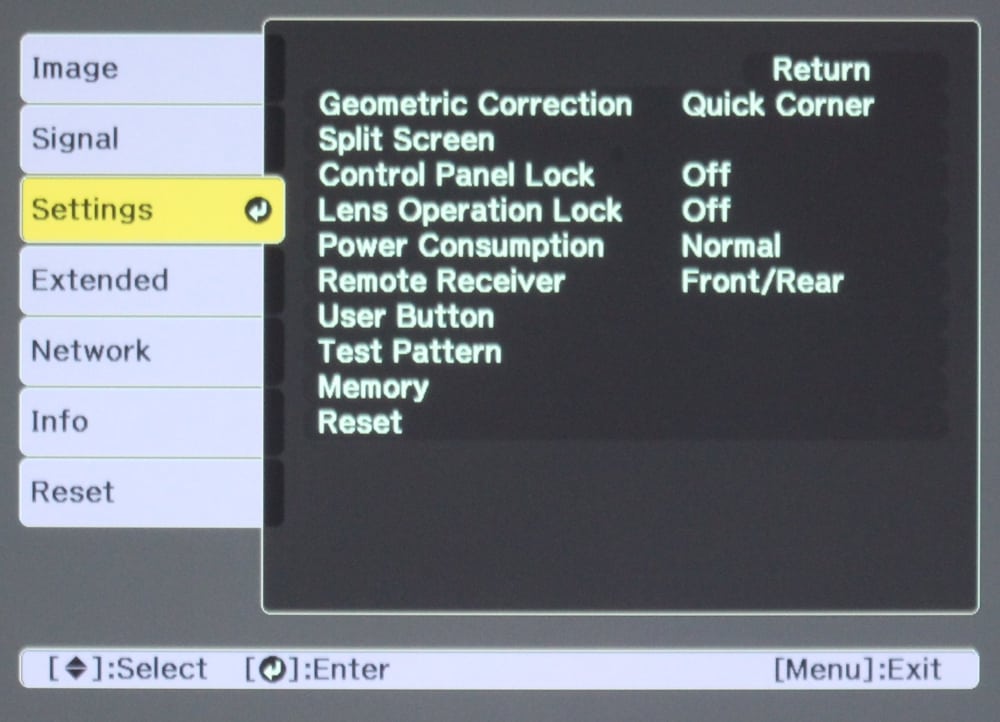
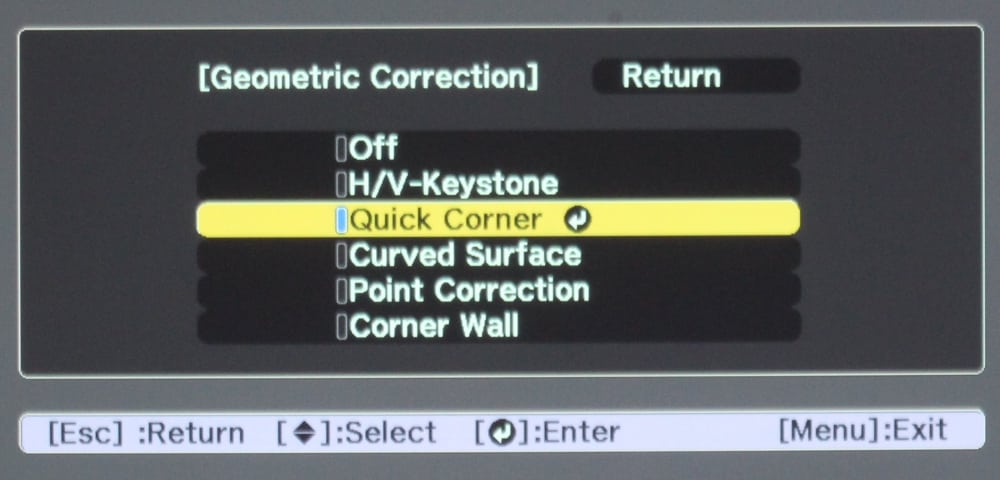
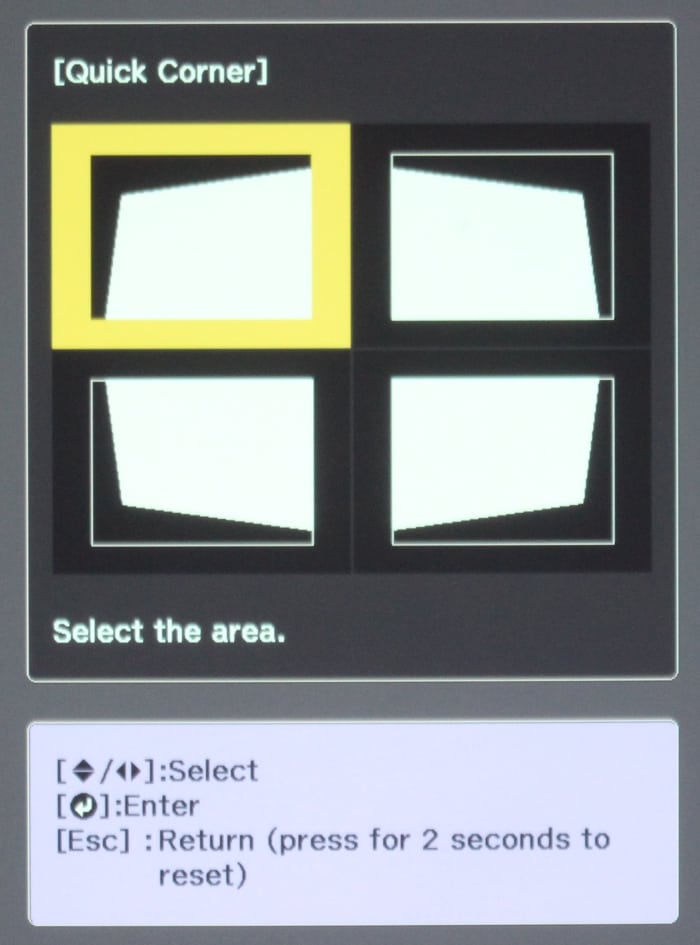
The top-level Settings Menu is shown in the 1st gallery photo above.  The items offered on the Settings Menu allows the user to configure the projector and to do such things as putting the projector into the power saving Eco mode.  The 2nd and 3rd gallery photos show the submenu screens for using the "Quick Corner" geometric correction feature.  This feature is for use when there is less than ideal projector/screen alignment or when projecting onto a non-flat surface.


Extended Menu

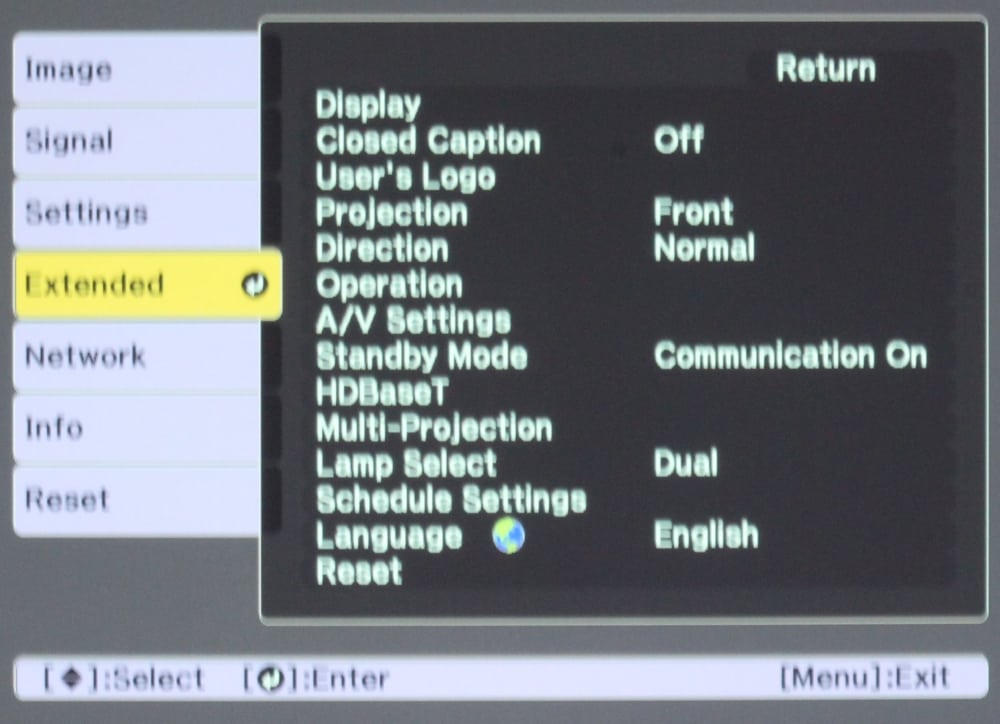
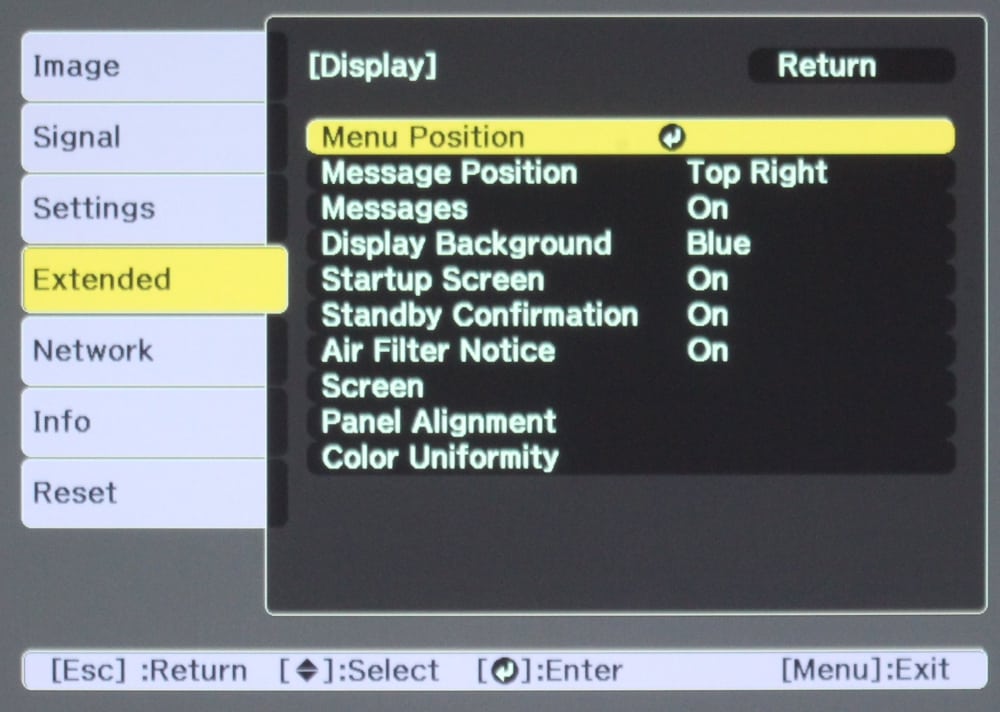
The Extended Menu provides additional settings beyond those in the above described Settings Menu.  The 1st gallery photo above shows the top-level Extended Menu while the 2nd gallery photo shows the Display submenu.  This submenu allows the user to configure the projector for how information is displayed and also provides access to certain the projector's setup features for such things as panel alignment (to reduce any misconvergence between the red, blue and green sub-images).

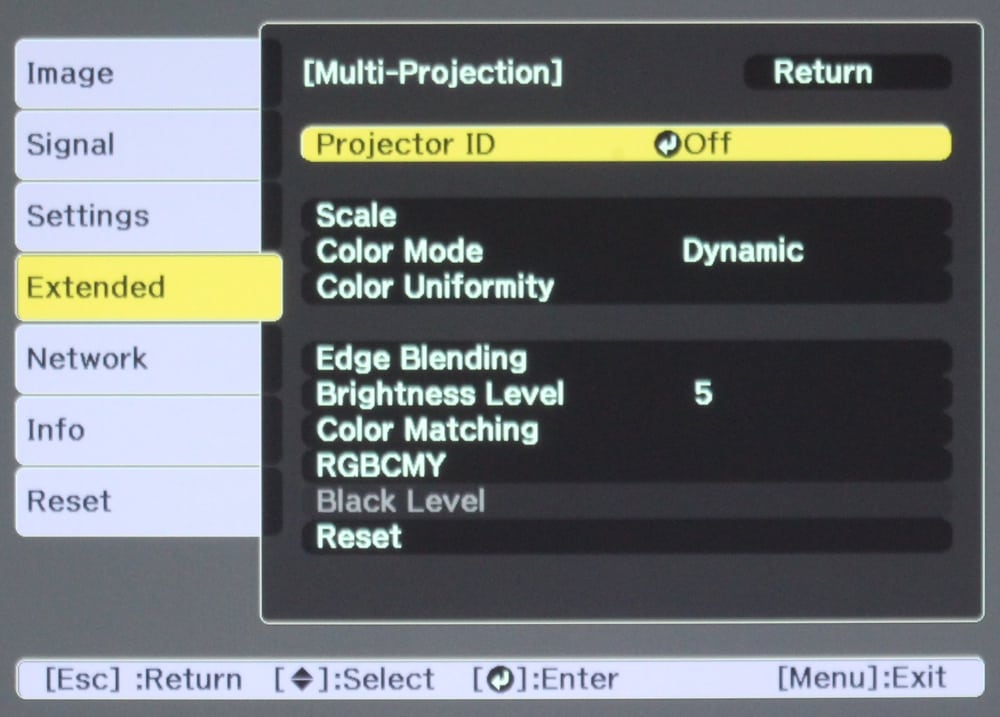
The 3rd gallery photo shows the submenu for the multi-projection operation.  This menu is for use when using multiple Z10005UNL projectors where adjustments are offered for such things a edge blending, color matching, and brightness matching of the adjoining images.

Other settings available on the Extended Menu include such items as setting up the HDBaseT connection, selecting to operate the projector with both projection lamps or just using a single lamp, and selecting the operating mode to match the projector orientation and projector/screen configuration.

Network Menu

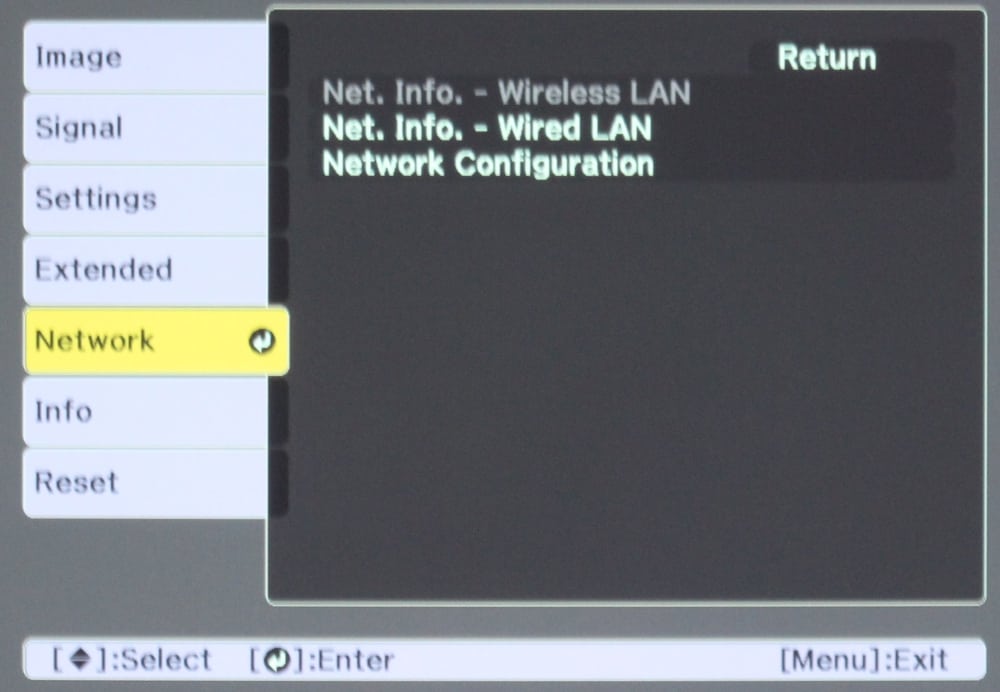
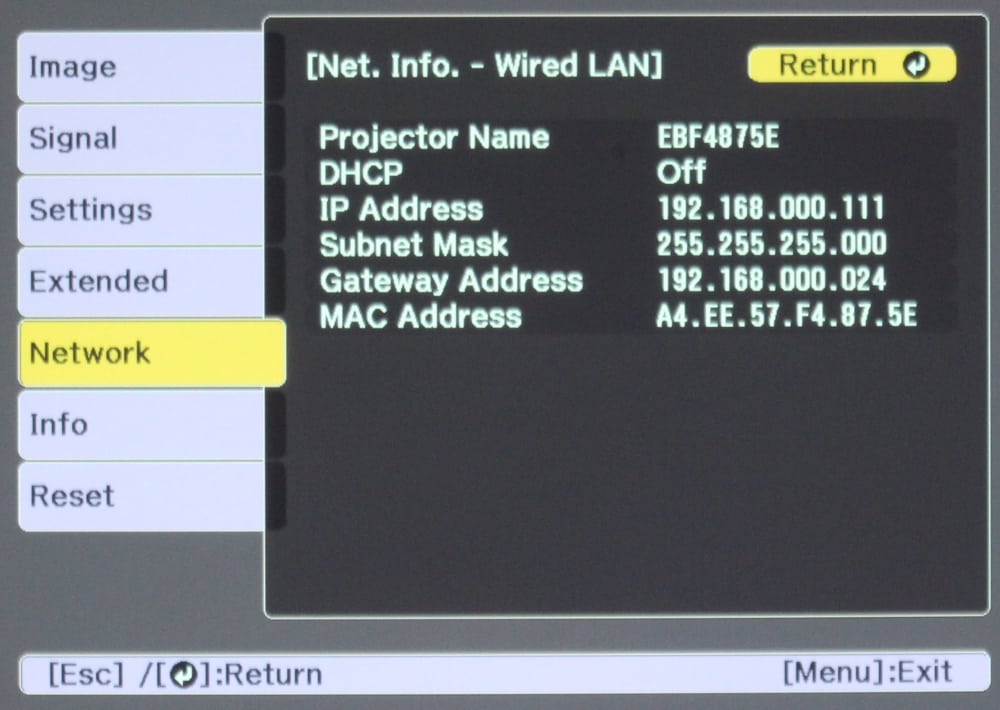
The 1st gallery photo above shows the top-level Network Menu while the 2nd photo shows a wired-LAN information screen.   When the optional wireless adapter is installed, then the setup for use on the wifi network will need to done through the wireless network submenu.

Info Menu

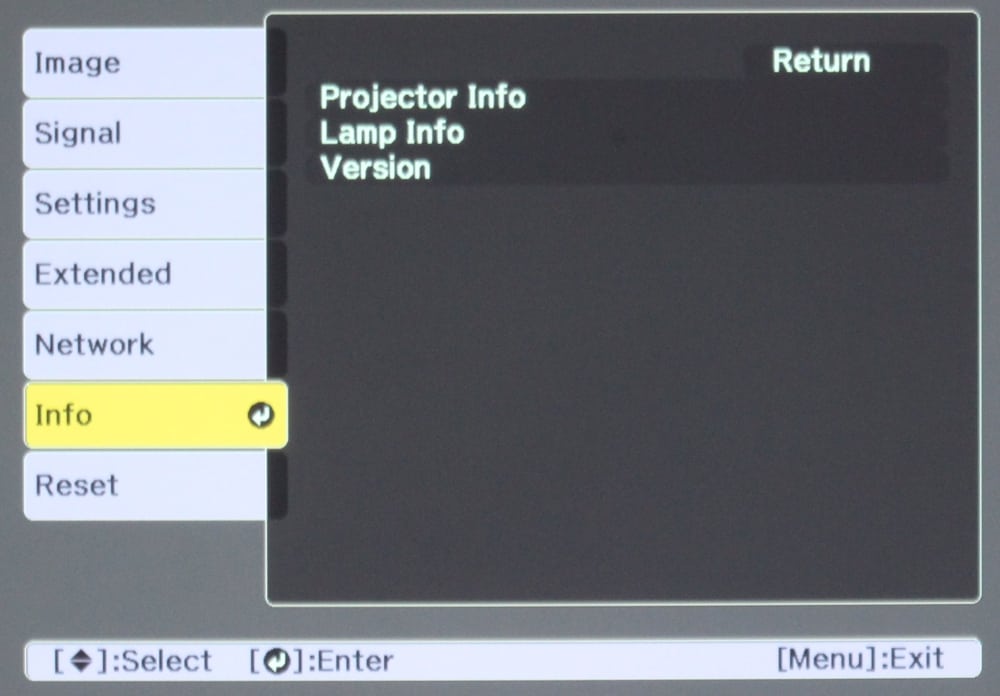
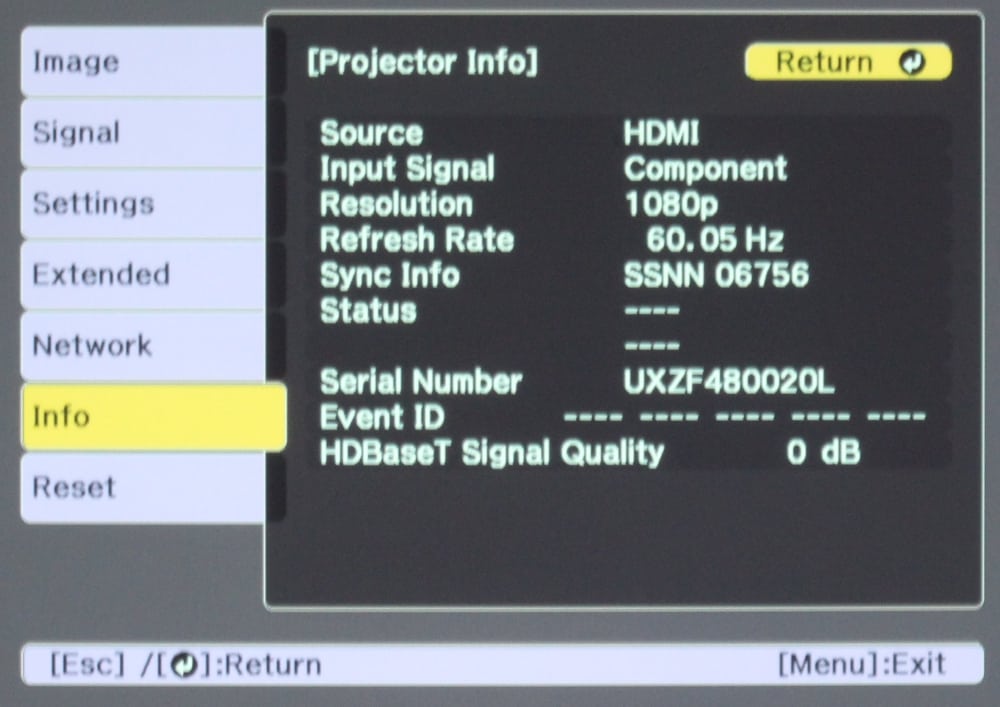
The 1st gallery photo above shows the top-level Info Menu while the 2nd photo shows the Projector Info submenu.  This provides information about the projector itself and the current operating status.

Reset Menu

The final item on the Z10005UNL's top-level menu is used to reset the projector to its original factory configuration.

© 2024 Projector Reviews

crossmenu linkedin facebook pinterest youtube rss twitter instagram facebook-blank rss-blank linkedin-blank pinterest youtube twitter instagram