POWERLITE PRO L1505 PROJECTOR - HARDWARE TOUR: Overview, Control Panel, Inputs and Connectors

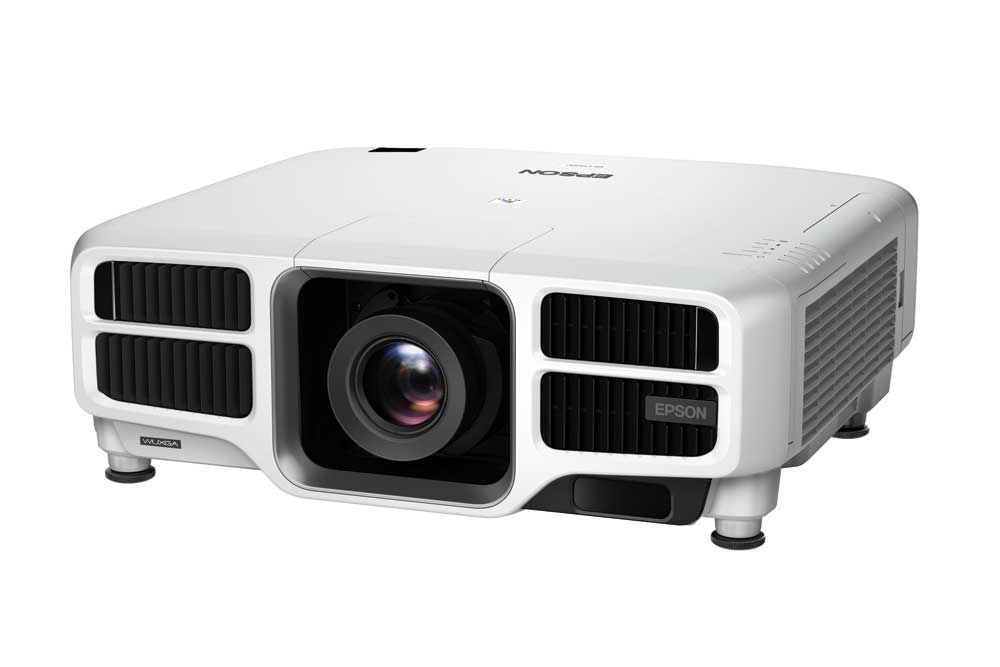
The Epson Powerlite Pro L1505 Laser Projector: A straight on beauty shot of the projector showing the recessed zoom lens
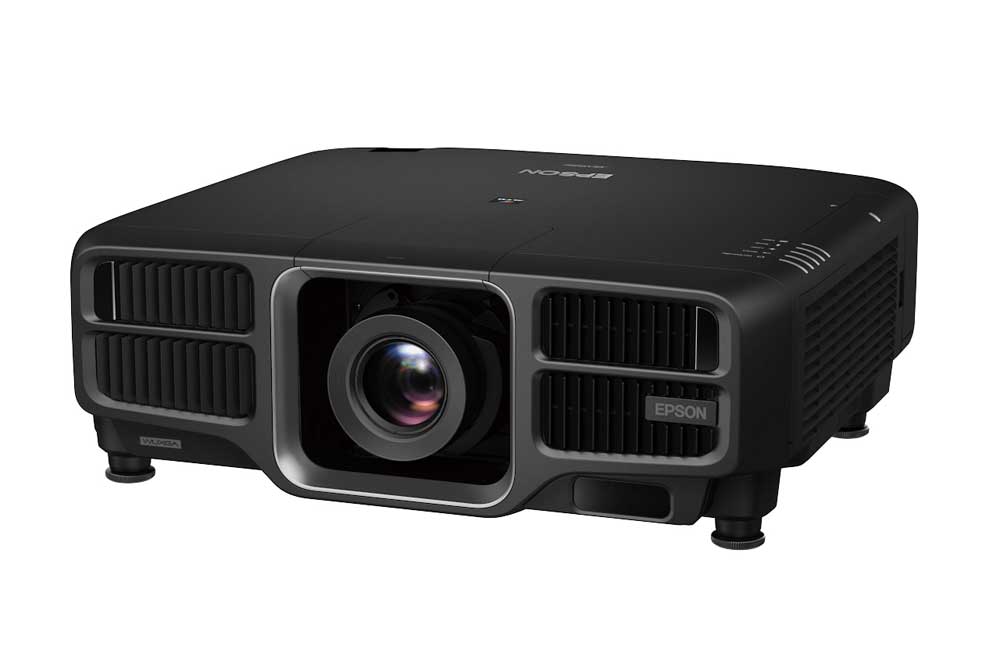
The Powerlite Pro L1500 and L1505 are white and black versions of the same projector. Considering these projectors put out about 12,000 lumens the physical size of the projectors is surprisingly small.
Dimensions, including the feet, are: 23.1" x 19.4" x 8.3"
Canon doesn't offer anything quite this bright, but they are the only other company that comes to mind for offering pretty compact, high brightness, large venue projectors.
The L1500 and L1505 may be relatively compact, but they are solid - weighing in at a not very light 47.8 pounds not counting your choice of lenses.
Epson L1500, L1505 Projector Hardware Overview
All the lenses for these Epson Pro L series projectors are motorized, for focus, lens shift, and zoom. With that Epson provides lens memory capabilities (with 10 separate savable settings - which is a lot. Rental and Staging companies in particular will love having lots of savable memories.

Close-up of the auto-calibration camera
Large exhausts are located on either side of the center mounted lens area. There's a front IR sensor for the remote. The area below and to the right of the lens where the auto calibration camera exists.
The standard zoom lens (if you buy one of these in the U configuration - which comes with the zoom) has a very good amount of zoom range, as it's a 1.6:1 zoom. Or you can buy the L1500UNL, or L1505UNL (NL = No Lens) without a lens. For those wanting more information on the eight lenses, go to the last page of this review, and click for the data sheet, which does have more lens information. The UNL version is $300 less.
Here's a chart I stole from the Epson brochure, with the lens throw info for each lens:

Lens options for L1500, L1505: Because the L15xx series has larger lcd panels, each lens is shorter throw than on the lower L series projectors. Also these two can't accept the ultra-short throw lens
There are two screw thread adjustable front feet, and two more at the rear.
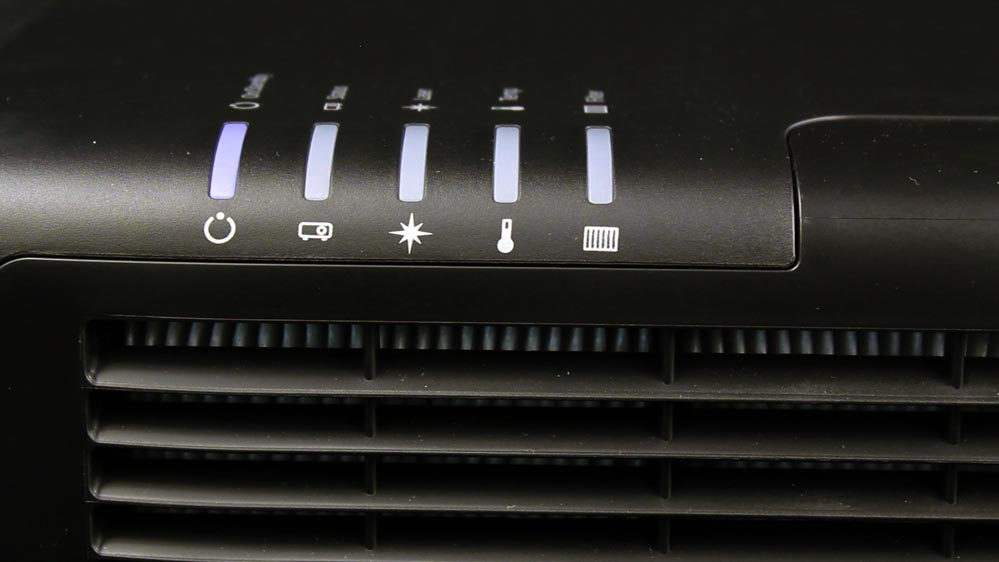
The control panel is on the back on the Pro L projectors, along with all the connectors, so the top is occupied only with the Epson logo, and on the far right edge, the five indicator LEDs.
Below the indicators is the filter and its door. Along with the ability to change the filter out, you will find in that compartment a small area toward the top front, for plugging in Epson's optional $99 Wireless Module (same one offered on their projectors all the way down to some $400 models). That's a smart move, as it makes for a standard wireless solution across Epson's entire product line.
Funny thing - reflex - I was looking to see where the lamp door was on this Epson - for at least 5 seconds before it naturally occurred to me that it's a laser projector - thus no door. Hmm.
Looking next at the back of the L1505, all the inputs and connectors - and there are quite a few of them - are on the center to right side of the back, as the control panel is to their left. Naturally there are mounting holes for a ceiling mount on the bottom.
When considering all these inputs, don't forget, there's also a wireless wifi module option for these projectors, but it plugs in out of sight.
Let's check out that control panel next.
Pro L1505 Control Panel

Epson L1505 Indicator lights on the front.
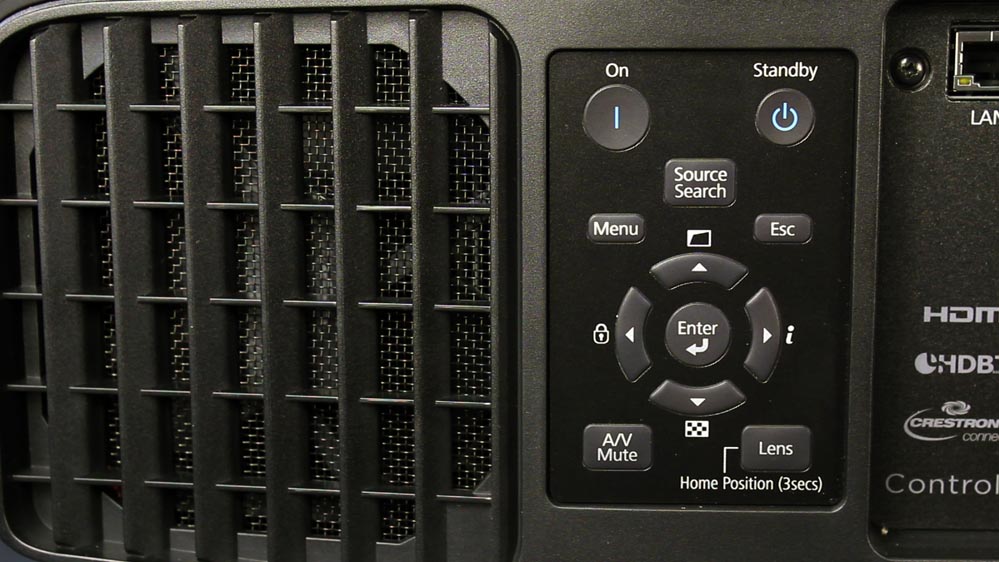
The Pro L control panel is found on the back of the projector, to the right of all the inputs. It is at least typical Epson control panel in terms of features, but also has a lens button. That's "new," for Epson since their other projectors all have manual lenses. Note that the usual indicator lights (shown above) that on most projectors are found near the control panel, are, in this case, located the top front of the projector.
From from the top left, first is the power switch - press once to power up. The Off switch (Standby) is to its right, and requires pressing twice to power down. Next - and below, is the Source Search button, and then, further down is the navigation: Four arrows in a round layout formation with the Menu button slightly above to the left, and the Esc(ape) button across on the right. Escape takes you back up one level in the menus when pressed. . The Enter button is in the middle of the arrow keys, as is standard for all Epsons.

Epson L1505 Control Panel - is very capable, including direct lens control access
When not in the menu system. each of the arrows has another function Left arrow brings up the Control Panel lock menu, where you can lock out use of the panel for security. The up arrow brings up the keystone correction menu, while the right arrow doubles as the A/V Mute. The down arrow brings up the first of 9 test patterns built into the projector (a black and white checkerboard pattern).
I can see where having the control panel right next to the connectors for all the inputs and networking would be a real advantage during installation, but especially for rental and staging use.
Epson Pro L1505 Inputs and Connectors
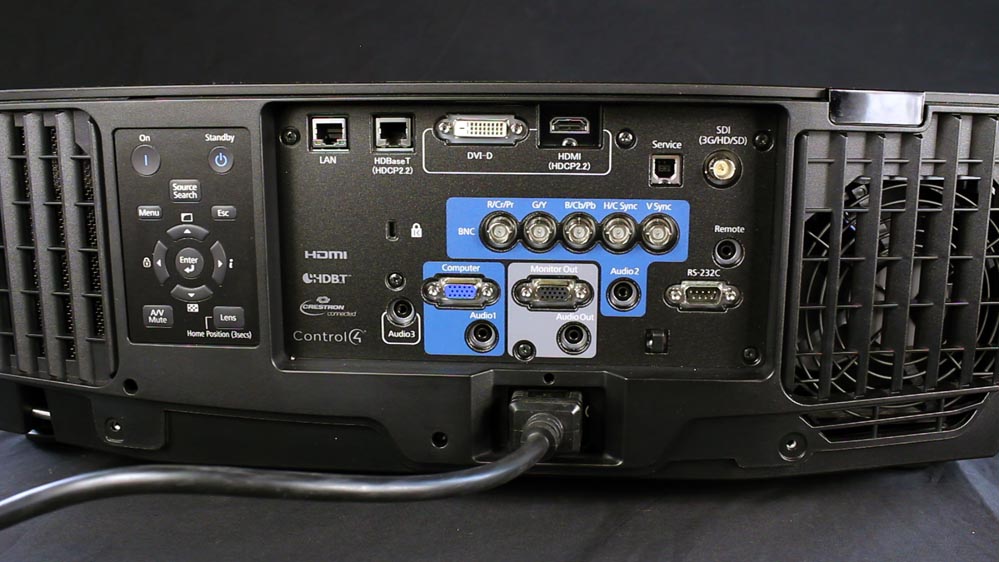
Let's start top left (as usual). First is a the standard RJ45 ethernet LAN (local area network) connector. Next to it, is the HDBaseT connector (also RJ45) for running HDMI over CAT6 cabling up to 100 meters.

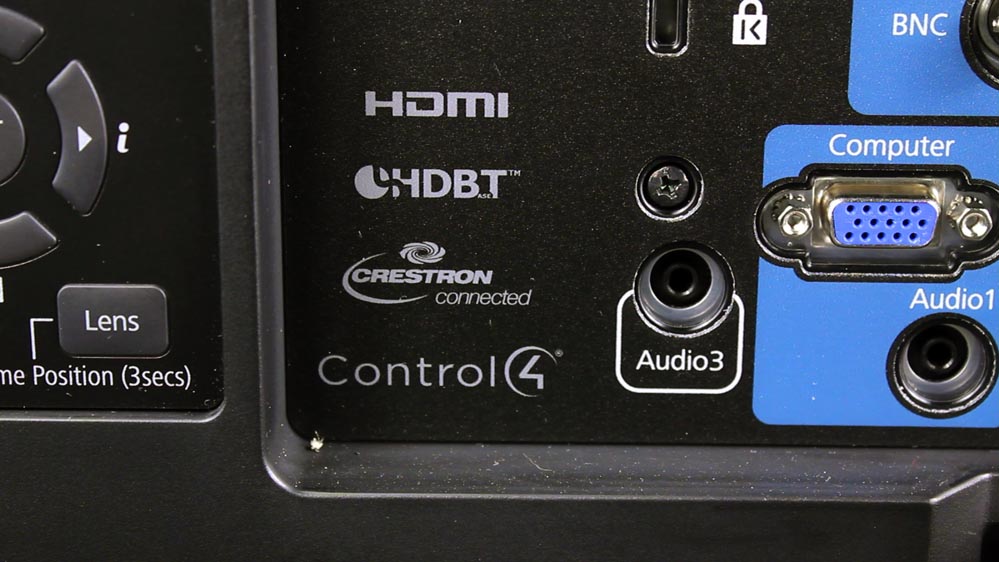
The back panel of the Epson Pro L1505 projector shows the control panel and the many inputs and connectors!
Next up is the DVI-D connector. The DVI-D has no analog, so it can't double as an extra component video or analog computer input, but no worries, that's pretty well covered.
HDMI comes next (with HDCP 2.2 copy protection needed for the new 4K standards like Blu-ray UHD). Gone is the Displayport input found on most of the Epson G series projectors.
My biggest criticism is the lack of extra HDMI inputs. I realize one can come in on the HDBaseT if you are using that, and the DVI-D is for many sources, a viable alternative, but even so, I do believe this projector should have two, preferably 3 HDMI inputs using the standard HDMI connector.
Moving further to the right is a USB service port, and lastly, the 3G-SDI coaxial input for running long lengths (up to 100 meters) of live video.
Now to the second row of connectors: From the left you'll find a small Kensington Lock slot for security, then the five BNC connectors, for component video (or other compatible sources). To it's right, is a small jack labeled Remote, for hard wiring the remote when range or location makes the infra-red unreliable.
The third and fourth rows are a cluster containing an analog computer input and a monitor out (both with standard HD15 connectors, surrounded by 3 stereo audio inputs and one stereo audio out - all using the usual stereo-mini connector. That leaves only the "old school" RS-232C serial port of command and control.
Bottom Line: Overall, the L1505 (and L1500) are extremely well equipped, but again with my only complaints, being that there could be one or two more HDMI inputs. And that one should be able to support MHL for internet streaming (there are alternatives).
At this time, I'm not sure if the DVI-D connector is compatible with 4K content, especially if it needs HDMI 2.0 and HDCP 2.2 compatibility.


