Projector Reviews Images

Epson PowerLite 990U Projector - Hardware

Posted on March 28, 2018 by Nikki Zelinger

Epson PowerLite 990U Projector Review - Hardware: Overview, Inputs and Control Panel, Remote, and Menu and Setup.

Overview

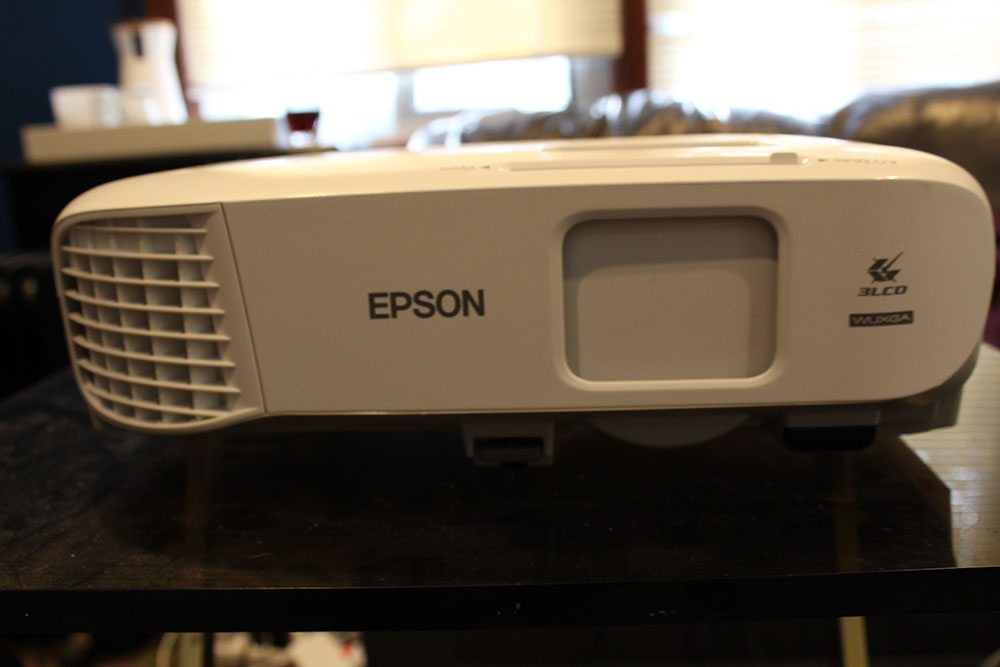
The Epson 990U is a larger portable /small fixed install projector, but it certainly is light enough for occasional portable use.  (A road warrior, constantly traveling with a projector will prefer a smaller lighter one, but still, it’s not bad.)  Sure you could transport it around no problem but as someone that has experience on the go with projectors, it’s probably more at home ceiling mounted, or on an AV cart for same building usage.  The 990U comes in weighing at 7 pounds, it is 12 inches wide by 11.5 inches long, and it is 4 inches tall.

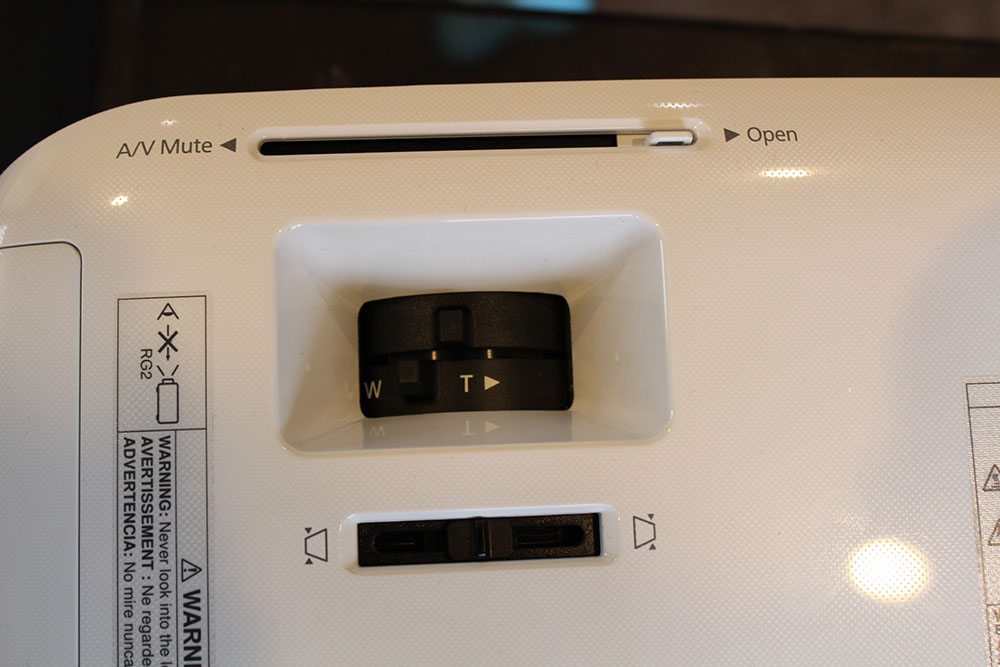
In the front center, you have your typical Epson foot release lever to shift your screen height up as needed.  Moving backward from there, the lens has a sliding lens cover, which doubles to your device in A/V Mute when closed, as happens on a number of Epson projector models.  Both the focus and zoom knobs are located right behind the lens cover. For those using this portably, you will appreciate that this Epson projector will maintain its sharpness when zooming in and out, always a good thing.  Many portable projectors routinely lose focus when zooming. Of course if ceiling mounting, you only need to set the zoom and focus one time, so no worries! Right behind the focus knobs you have a horizontal keystone slider.

Inputs and Control Panel

Input Panel
Input Panel

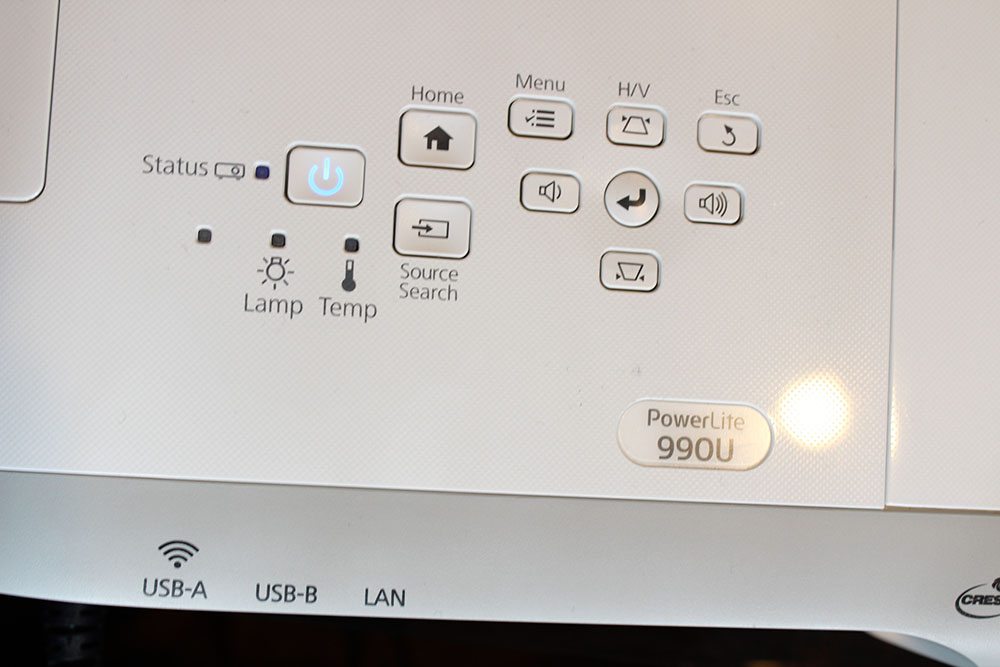
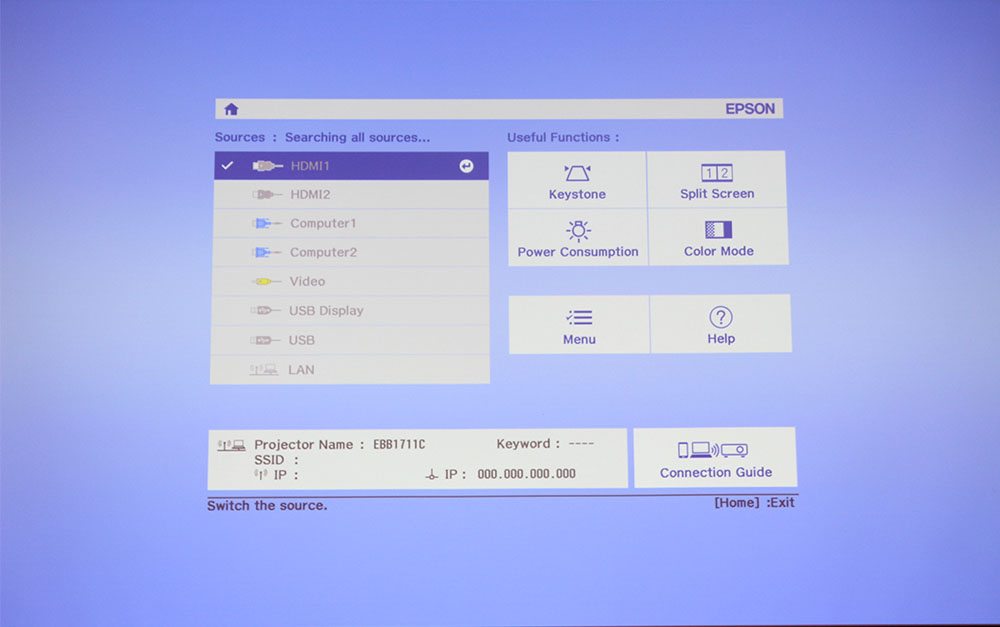
You will find the Epson 990U’s control panel and power button atop the projector, behind the lens and in the back center of the projector.  It is a typical control panel as you can see pictured, save for the Home button, which brings the user to the Epson Homescreen, which allows you to see all your sources, what may be connected, shows a couple other options and access to the main menu, and also displays your projector’s networking information and provides assistance to get connected.  We’ll discuss the home screen below more when we get to the Menu & Setup.

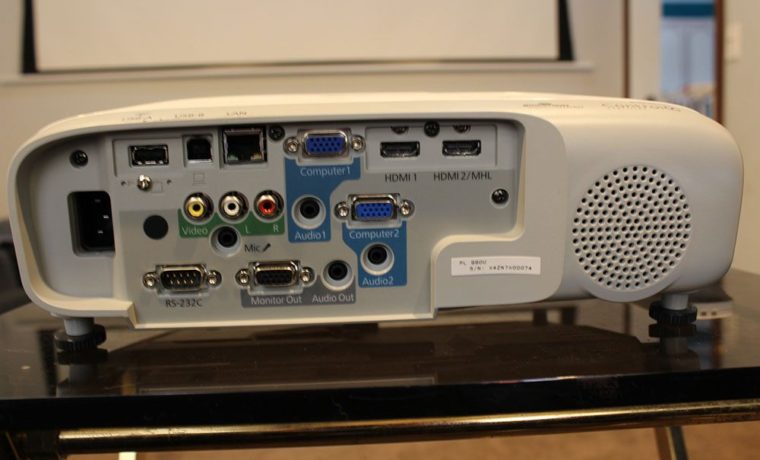
And switching over to the back of the 990U, you will find your input panel where there is no shortage of requisite inputs.  Starting at the top left, you have one USB-A, one USB-B, and a LAN port.  Moving across to the right is your first VGA input followed by the 2 HDMI inputs, one of which also supports MHL (Mobile High-Definition Link).  The power cord input is located on the back all the way to the left.  Next you have Audio Left & Right, and Video inputs with a Mic input underneath, and followed by a single 3.5mm Stereo Audio in.  Next you have your second VGA input with another 3.5mm Stereo Audio in right beneath it.  Finally, we have an RS-232C port, a Monitor out, and lastly a 3.5 mm Stereo Audio out.  The 16 watt speaker is located to the right of the input panel on the back of the projector.

Remote

Remote
Remote

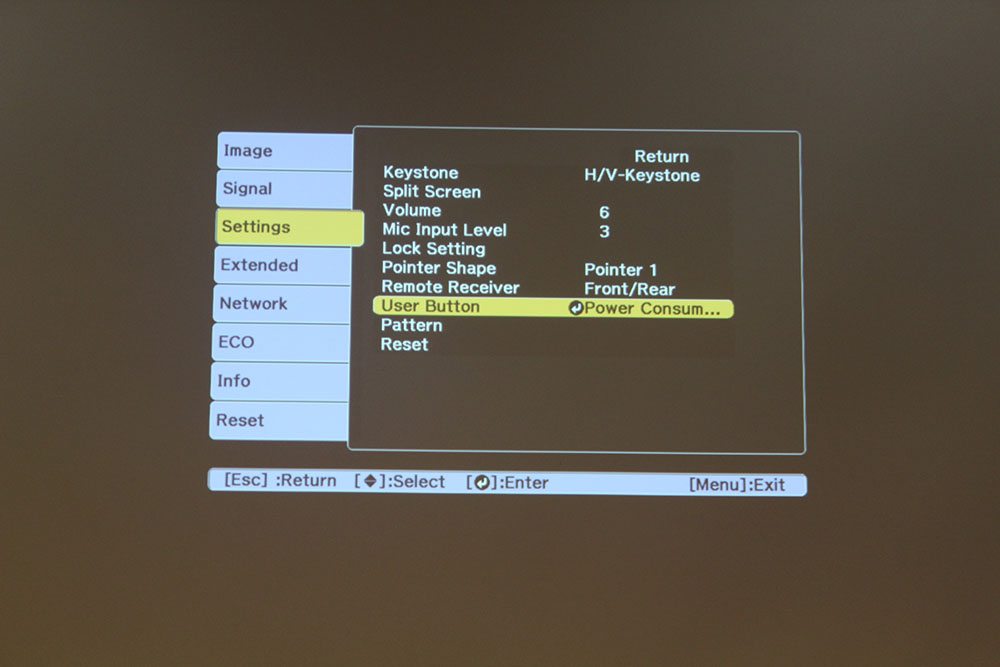
The remote is both intuitive and enables you to handle every task you could possibly need on the projector save for the Zoom and Focus knobs for the lens.  Unfortunately it’s not backlit but being that you’ll likely be using it in a fairly bright classroom (or conference, or multi-purpose room), it is not a huge deal.  Still, it would be better to have a backlight.  You can do a smart search to connect to a source or there are buttons to simply connect with the source of your choosing.  I found smart search to work pretty well and quickly, certainly improved upon my experience in the past on my old classroom projectors from over four years ago.  You have quick button access to color mode switching, ratios, split screen, a customizable user button, and you can of course adjust your volume.  If you utilize PC-free projection, you can also control aspects of the presentation with the remote.

Lastly, you have digital zoom capability which you can access on the remote, and you won’t sacrifice much quality while you’re zooming in and moving around the screen as needed.  The image remains clear and sharp and makes for a convenient feature to enhance your presentation when needed.  Finally, the remote had a range of about 30’.

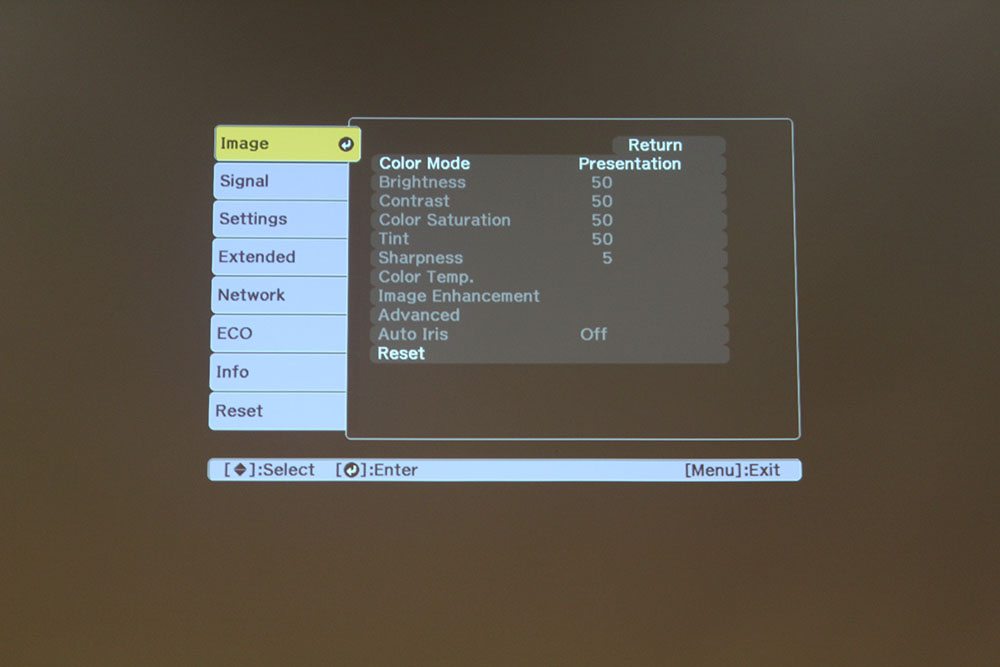
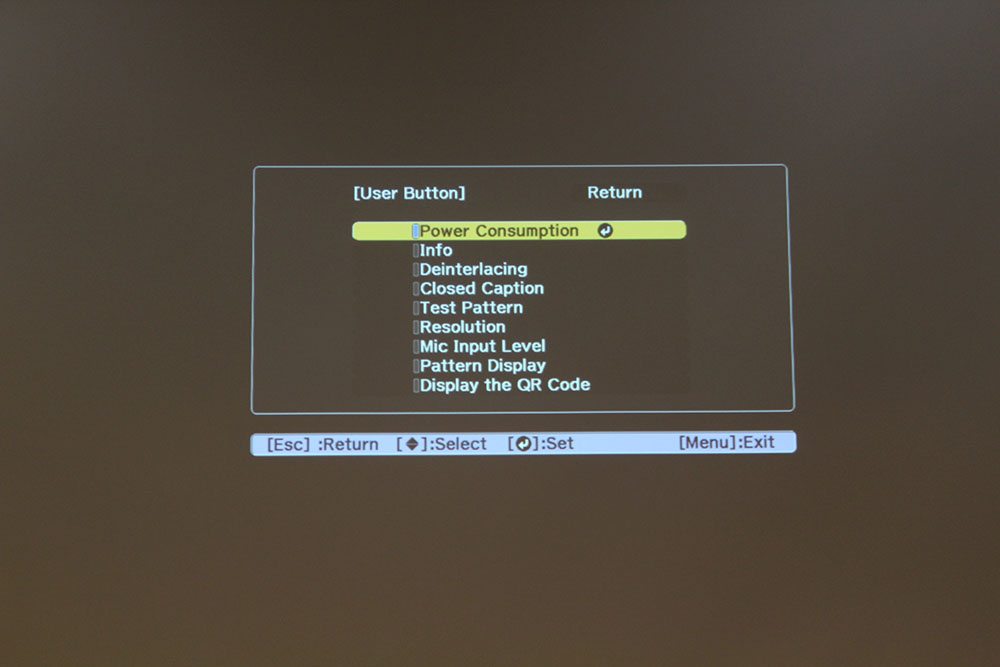
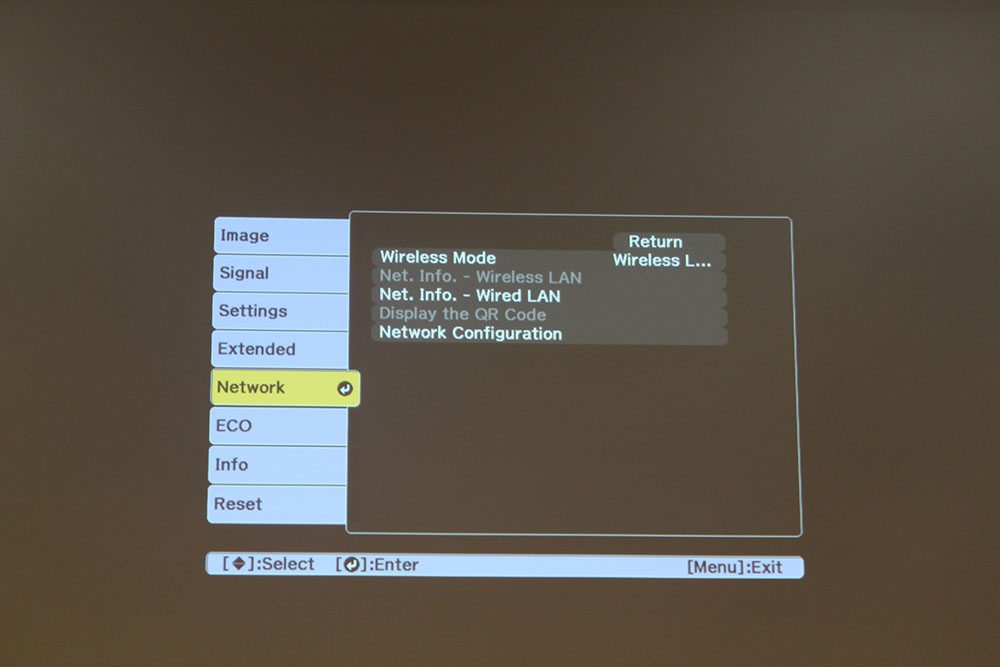
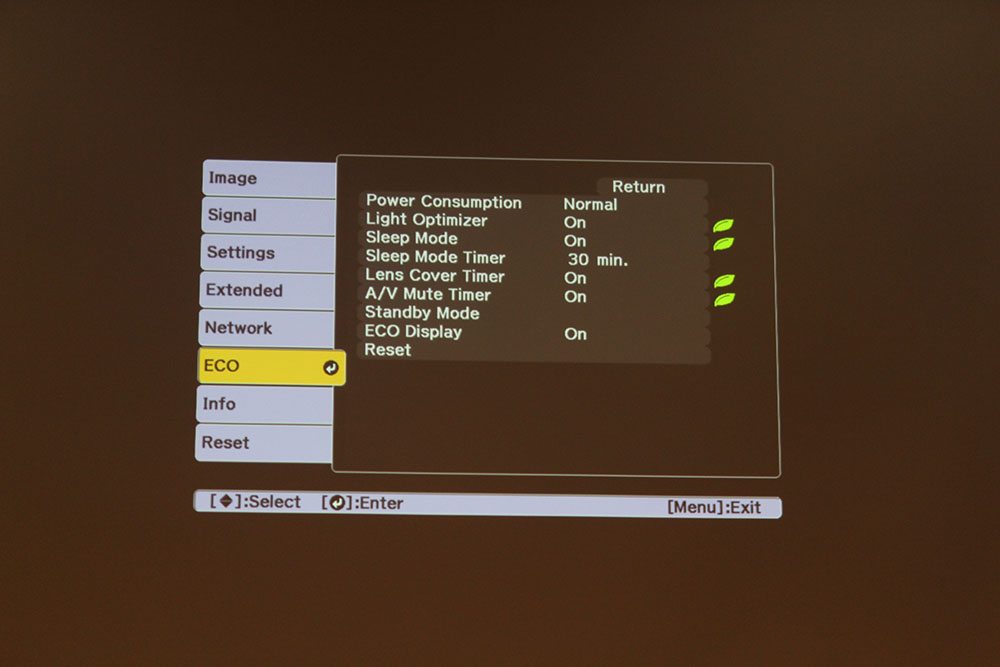
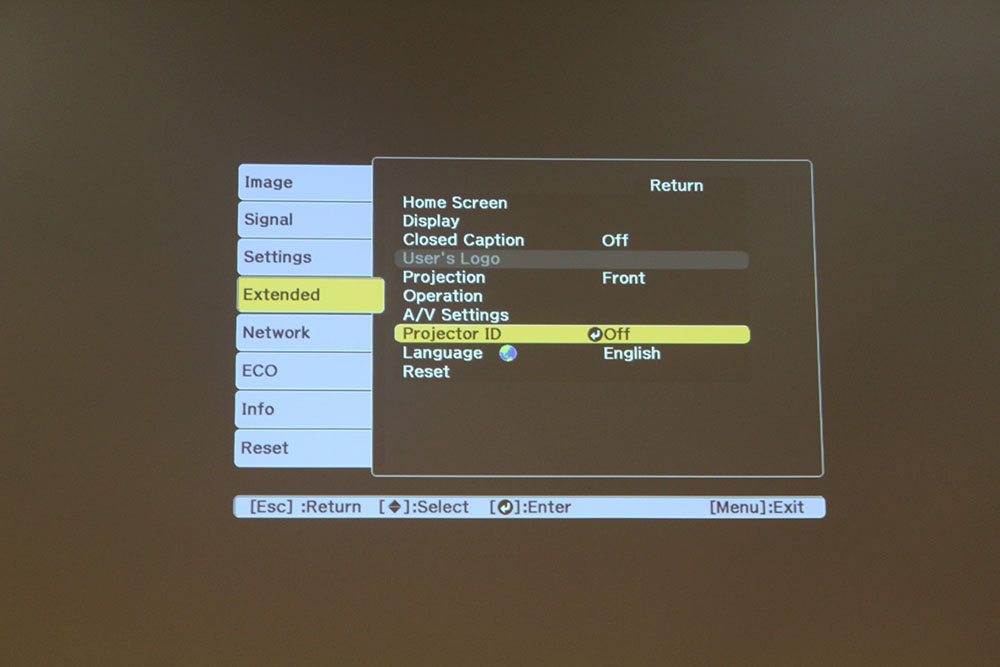
Any of the features in the menu system that  you can’t access directly from buttons on the remote itself, become accessible, of course, by hitting the Menu button on the 990U’s remote and navigating from there.

© 2024 Projector Reviews

crossmenu linkedin facebook pinterest youtube rss twitter instagram facebook-blank rss-blank linkedin-blank pinterest youtube twitter instagram