Projector Reviews Images

Epson Powerlite 97H Projector Review - Hardware Tour

Posted on June 22, 2015 by Art Feierman
Epson Powerlite 97H Projector - Hardware Tour 1

Appearance

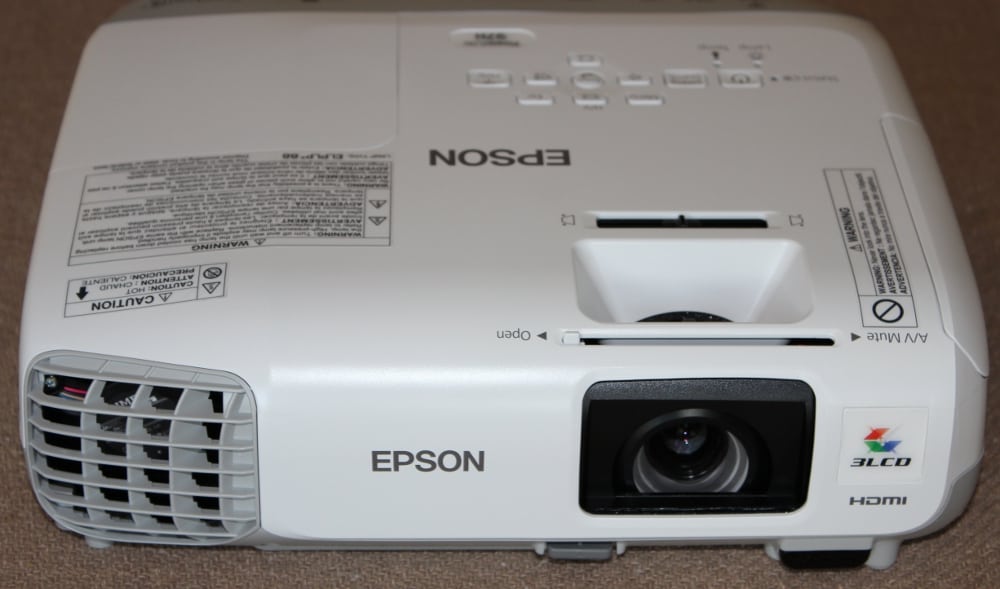
The Epson PowerLite 97H, while larger than pico and pocket projectors, is still a compact model that could easily be moved between classrooms.  It is a well built classroom class projector packaged in an attractive white colored case.

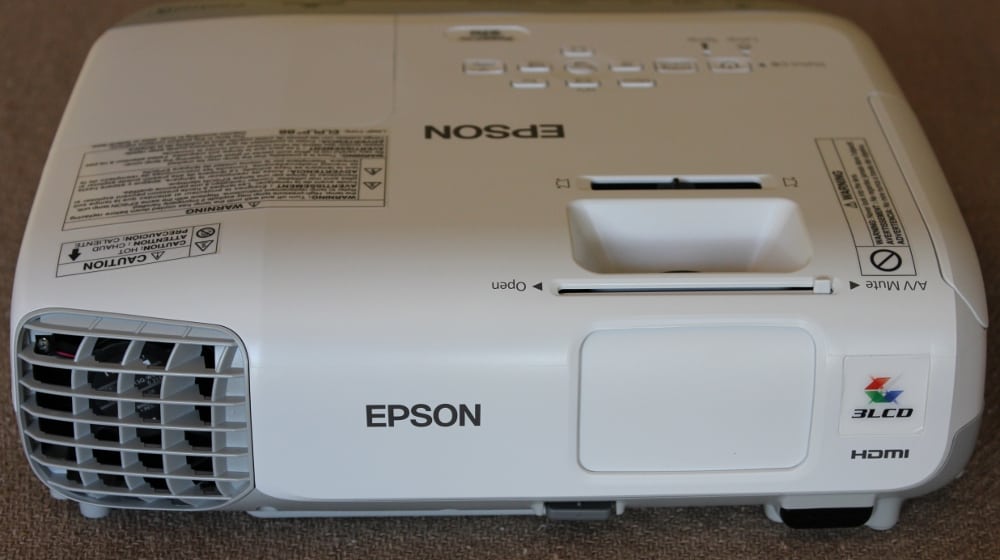
As seen in the 1st gallery photo above, the projector's lens is positioned toward the right side of the projector’s front panel (when the projector is placed on a table and viewed from the front).  A air exhaust vent is located on the left side of the projector's front panel and an IR receiver for the remote control is located along the lower-right edge of the front panel.

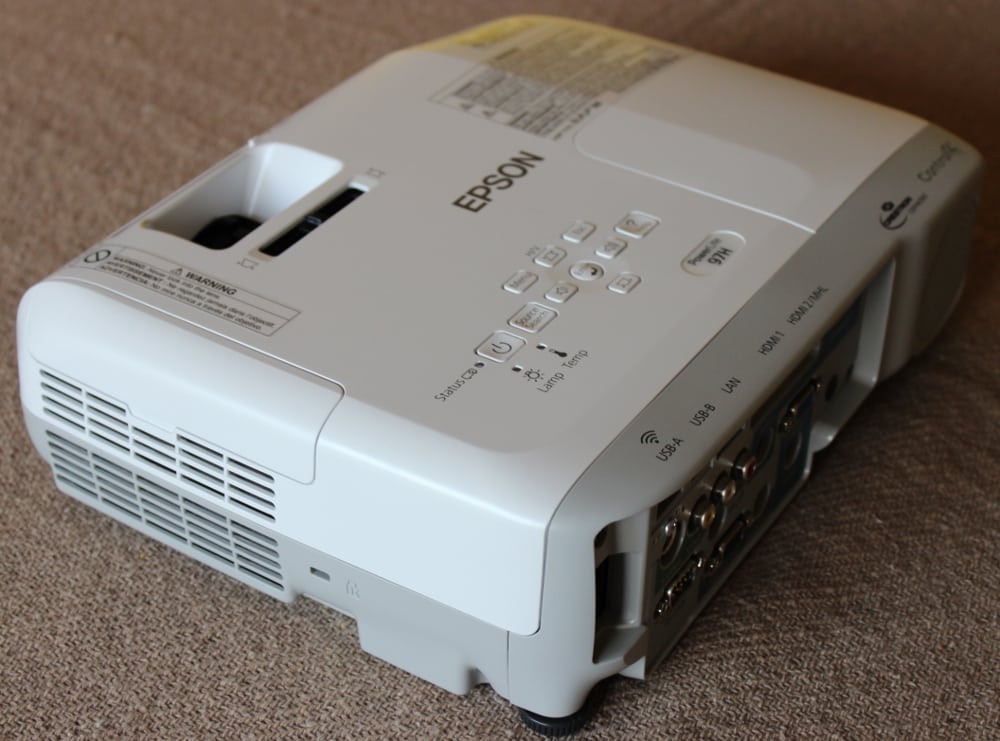
The air inlet/air filter grill are located on the right side of the projector, as shown in the 2nd gallery photo above.

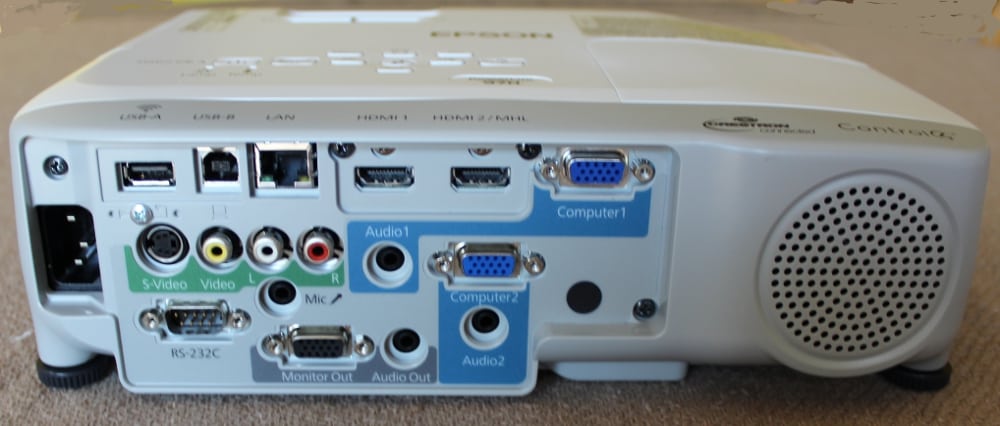
The connector panel and speaker are located on the rear panel as shown in the 3rd photo above.

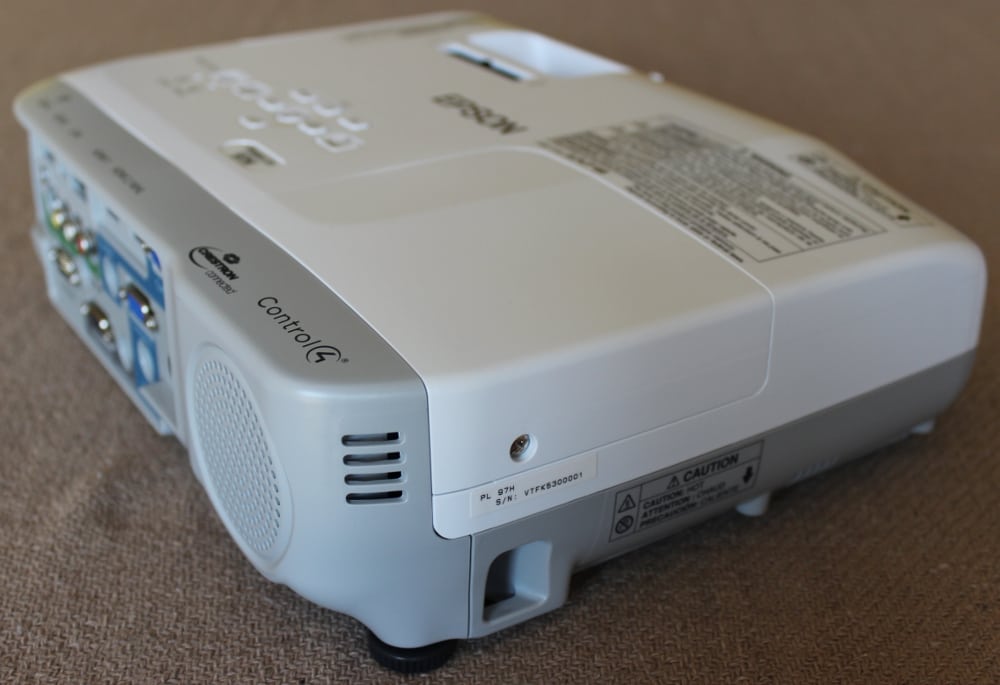
The left side of the projector, as seen in the 4th gallery photo has no controls or vent, beyond those small slots near the left-rear corner of the projector.

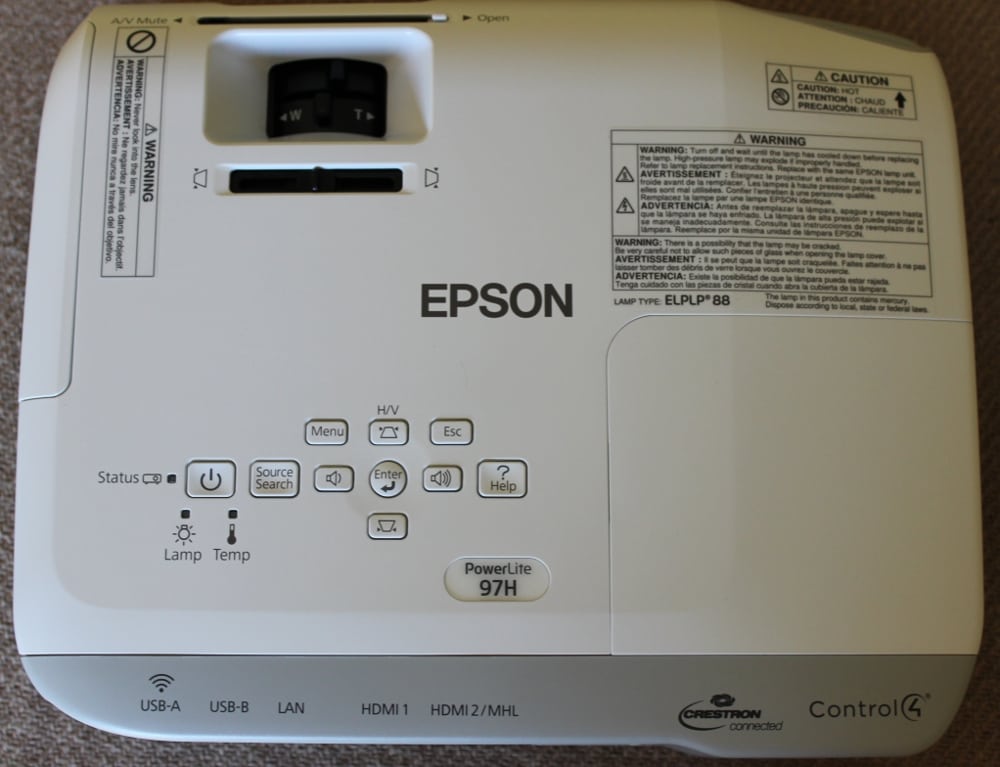
The top of the projector, as shown in the 5th gallery photo, has the lens adjustments toward the front and the control pad toward the rear.

For a permanent installation the projector can be mounted in the inverted position using a ceiling mount (an extra cost optional accessory).

Connector Panel


Epson Powerlite 97H-Connectors

The input panel includes, from left to right across the top:

  • USB-A and USB-B connectors
  • RJ-45 wired network connector
  • HDMI 1 connector
  • HDMI 2 w/MHL connector
  • Analog computer #1/Component Video (15-pin VGA style) input connector

The middle row of connectors includes:

  • Power cord connector
  • S-video input connector
  • Composite video input connector
  • Left and Right Analog audio input connectors
  • Computer #1 Analog audio (mini-phone jack) input
  • Analog computer #2/Component Video (15-pin VGA style) input connector

The bottom row of connectors includes:

  • RS-232c serial connector
  • Stereo Microphone input (mini-phone jack)
  • Analog Monitor Video Output (15-pin VGA style) connector
  • Analog audio output for use with monitor (mini-phone jack)
  • Analog audio input for use with the analog computer #2 video input

The projector’s single speaker is located to the right of the connector panel, at the rear of the projector

The projector has IR receivers, for the remote control signal, on both the front and rear panels.

Control Pad

Epson Powerlite 97H-control pad

The buttons for the basic projector controls, see photo above, are located toward the rear of the top panel.  Included are the buttons for powering the projector on/off plus buttons for menu, electronic vertical and horizontal keystone adjustments, input source selection and audio volume.  The keystone and volume buttons, along with the “enter” button also serve as the menu navigation buttons.  The Esc button backs up one level on the displayed menu.  There are also status lights for the lamp and an over temperature warning.

Lens

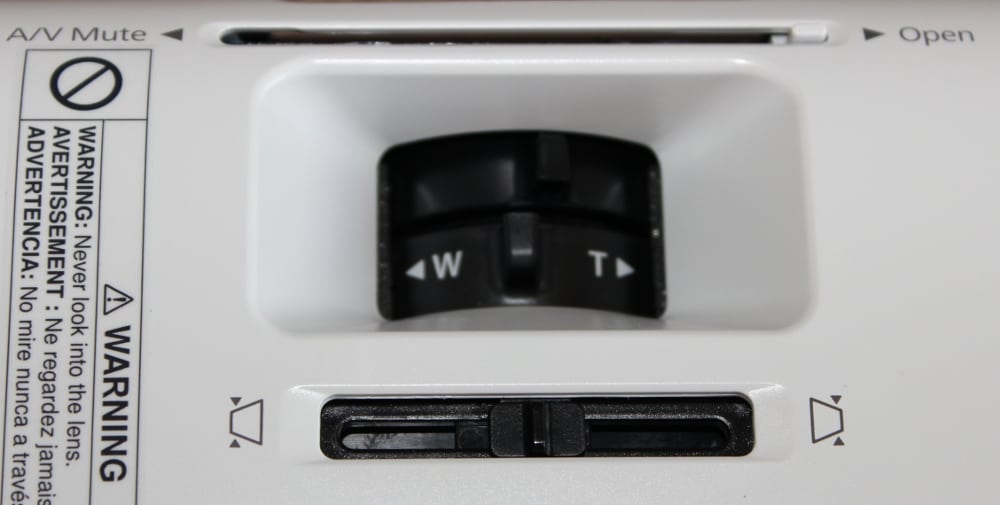
Toward the front of the projector’s top panel are the controls (see 1st gallery photo above) for the lens focus and zoom (mechanical controls), a slider control of the horizontal keystone adjustment and a mechanical tab used to slide the lens cover to an open or closed position.  When the lens cover is closed, as shown in the 2nd gallery photo above) the projector goes into A/V Mute mode, if the projector is still tuned on.

Remote Control

The PowerLite 97H is supplied with a fairly compact remote control measuring approximately 5.6 x 1.8 x 1.0 inches.  The remote is neither backlighted nor glow-in-the-dark, making it somewhat difficult to operate in a darken room, but this is not an issue with typical classroom lighting.

The group of buttons toward the top of the remote include the power on/off button and buttons for input source selection.

Below that is a numeric keypad with three of those buttons doing double duty for:  (1) "MHL Menu" (displays menu for MHL settings),  (2) “Auto” (automatically adjusts position, tracking a sync settings for analog input signals), (3) “Aspect” ratio, and (4) “Color Mode”.

Below the numeric keypad are the buttons to display and navigate the projector’s menus.  Also there is a “Pointer” button which displays an on-screen pointer that can be moved using the navigation buttons.

Below the navigation buttons are pairs of keys to (1) “Page” thru the photos/presentation images, (2) electronic “Zoom” (i.e., to enlarge a portion of the image), and (3) a “Volume” control.

Finally at the bottom of the remote there are three buttons for:  (1) “A/V Mute” which turns off the picture and sound and places the projector in a lower power mode,  (2) "Split" to active split screen mode, (3) “Freeze” which freezes the current image being displayed, and (4) “Help” which displays help information for the projector.

-

Click Image to Enlarge

© 2025 Projector Reviews

crossmenu linkedin facebook pinterest youtube rss twitter instagram facebook-blank rss-blank linkedin-blank pinterest youtube twitter instagram