Projector Reviews Images

Epson Powerlite 1985WU Projector Review - Hardware Tour

Posted on January 4, 2015 by Art Feierman
POWERLITE 1985WU PROJECTOR REVIEW - HARDWARE TOUR:  Overview, Lens, Control Panel, Inputs and Connectors

Powerlite 1985 WU Overview

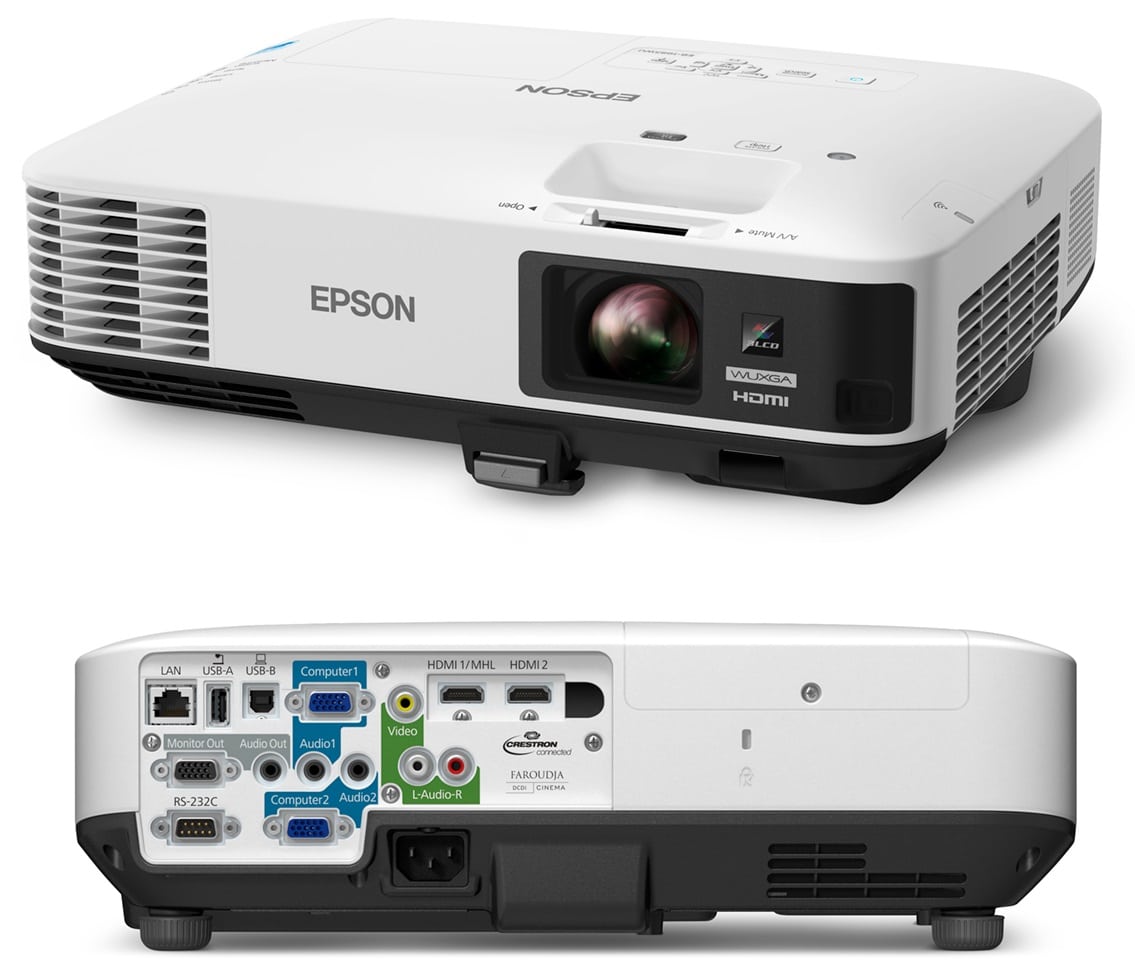
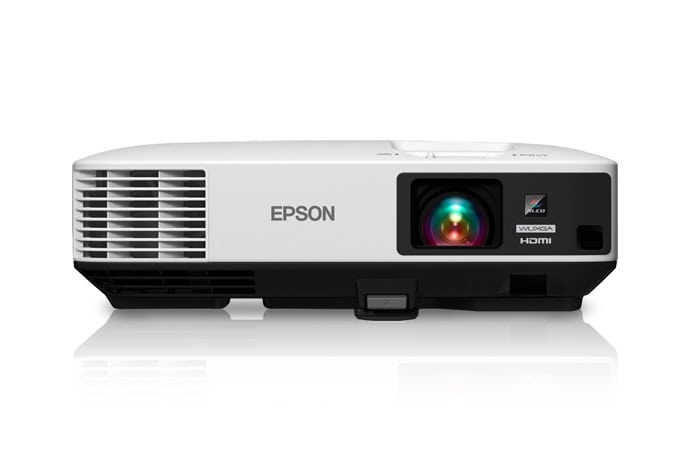
Despite its brightness, the Powerlite 1985WU is not a very large projector.  Think of it as a "largish" portable, or small install projector.  It weighs in at just over 10 pounds (for years under 10 pounds was the basic cut off for being a true portable) and has a footprint that's roughly 15 inches by 11.4 by 4.9 (including the feet). The projector has it's manual zoom lens mounted off center, and has a door to cover it for protection when not in use.

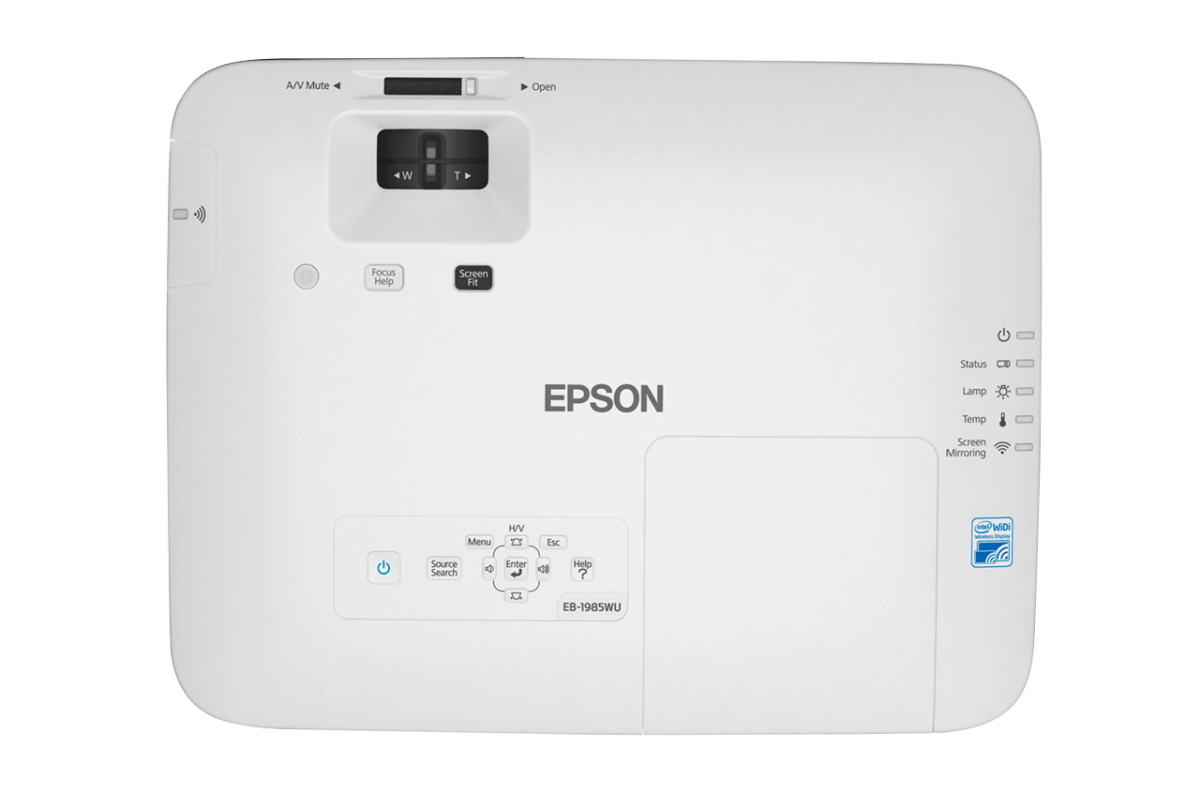
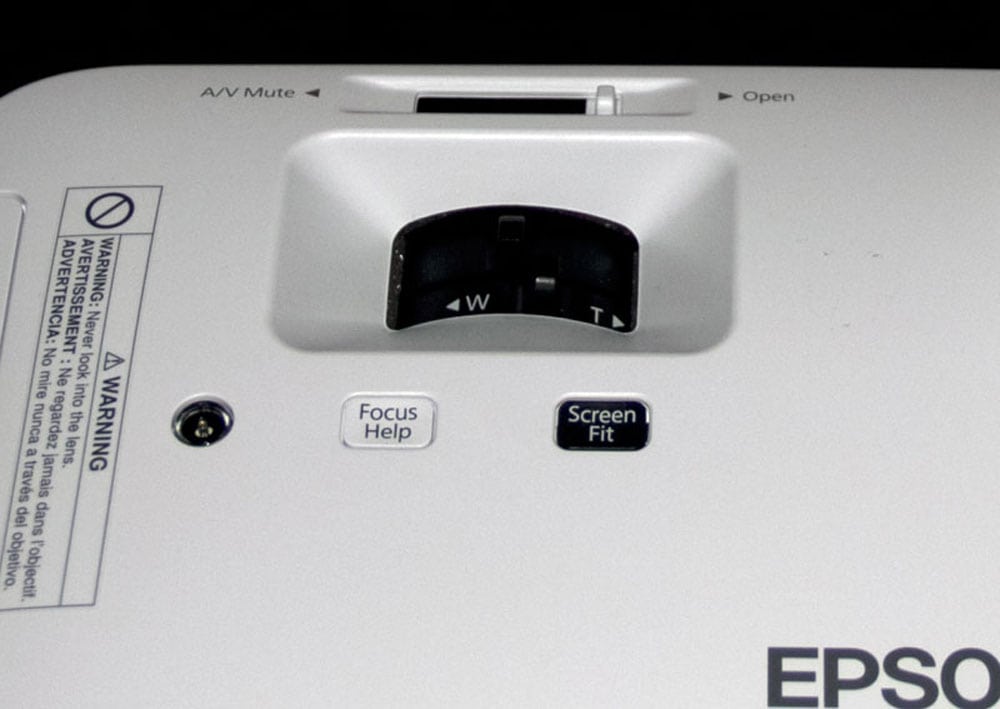
The zoom and focus controls are on the top, as is the control panel and the slider for the lens cover which doubles as a switch to engage AV Mute,  when the projector is on.

All of the inputs are located in the back of the projector.  Infra-red sensors for the provided remote control are located front and rear. Speaking of sensors.  Also located on the front is a sensor (lower right if facing the projector) which is for the Focus Help and Auto Image size features.

On the top (see image below), behind the lens controls is the Illumination sensor which allows adjusting the image based on the amount of light in the room. Next to it are Focus Help and Screen Fit.  There is a drop down front adjustable foot in the center front of the bottom, and a pair of screw thread adjustable rear feet, for a nice stable 3 point stance if you are using the projector table top. The relatively powerful (compared to other projectors) 16 watt speaker is side facing - on the right side if looking from the front.  This speaker has some real umph, and should be able to handle a fairly large classroom or fairly large training or conference room without outside help.

Powerlite 1985WU Lens

Epson's lens for the 1985WU is a manual zoom lens with a 1.6:1 zoom ratio.  This is significantly more zoom - and therefore placement flexibility, than most smaller portable and fixed install projectors many of which have 1.2:1 or 1.3:1 zooms. This makes it easier to place a 1985 in your facility.

Separate, but worth noting, this Epson has a feature called Screen Fit which will allow the projector to resize the image to fit the screen you are using.  (Press the button and it puts up a yellow border.  Set the projector so that the border is slightly larger than the screen, and outside the screen area.  Press again, and the image gets resized to fit.  Done!  You most likely wouldn't need that if mounting, but if moving the projector from site to site, it's quick.   Not that normally adjusting zoom and elevation takes more than a few seconds.

The lens has a lens cover to protect it when not in use, and the lens controls as mentioned are on top.  The optics are very respectable with both focus and brightness being very good from center to edge.  Yes, the projector isn't as bright in the corners as the center, but the drop off is slight, less than most. There is no vertical or optical lens shift, but of course there is keystone correction, as well as other features like the Screen Fit just described.

Click Image to Enlarge

Control Panel

The Control Panel is pretty standard, especially for Epson.  It should be noted first that if looking down on the projector there are indicator lights on the far right center of the top, for power, lamp, temperature, etc. with the manual showing a list of possible error codes should there be a problem. The control panel itself starts with the power button on the left.  Moving to the right you'll find the Source button, and then the navigation area. Next over and slightly closer to the front is the Menu button, and then comes the four arrow keys in a diamond configuration.   Enter, as is typical for Epson, is in the center of the nag arrows.  Escape, which moves you back up a level when in the menus, is above to the right.   Epson's interactive Help button is the furthest to the right. When you are not in the menus, the four arrow keys have different functions. Up and down double for setting keystone correction, while left and right are volume down and up.  That pretty much does it.  We'll discuss the menus later.

Click Image to Enlarge

Powerlite 1985WU Inputs and Connectors

All the goodies are here, on the back of the Epson. Epson-EB-1970w   Let's start far left!  Hard wired networking is accomplished via the RJ45 LAN connector found top left.  Next to that are a pair of USB connectors (an A and a B).  Next over is the first of two analog computer inputs.  Note that it is surrounded by blue.  Right below also in blue, you'll find the matching Audio 1 stereo input.  Next over is the yellow color coded RCA jack for composite video (with green around it), and below a pair of RCA jacks (white and red) for that video's matching stereo inputs. That brings up HDMI 1 and 2, with HDMI 1 supporting MHL (previously covered in Special Features).  Then comes the back IR remote sensor.  I mentioned that the door to change lamp is on the top.  You can see the screw on the back to the right of the IR sensor, to open that lamp door. Next row:  There's a Monitor out to hook up a display, and a matching stereo audio output jack (stereo mini).  Below the Monitor Out is an RS232 serial port for command and control, and next is the 2nd analog computer input.  Note that above it to the right is the audio input for computer 2. That pretty much covers it except for a Kensington lock slot, and the power cord receptacle.

© 2024 Projector Reviews

crossmenu linkedin facebook pinterest youtube rss twitter instagram facebook-blank rss-blank linkedin-blank pinterest youtube twitter instagram