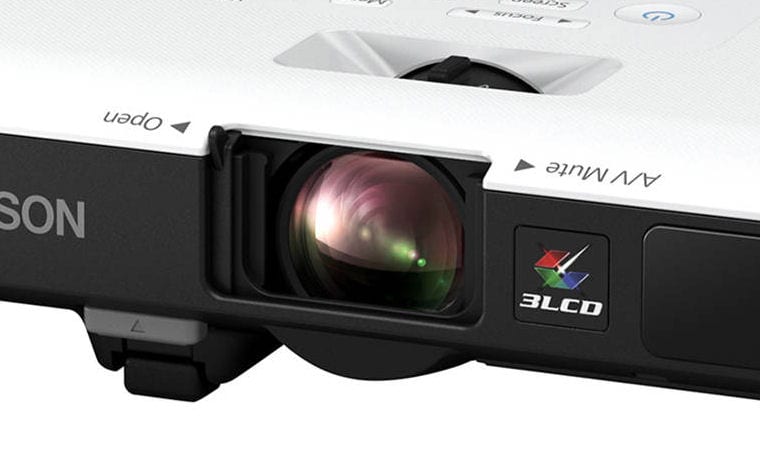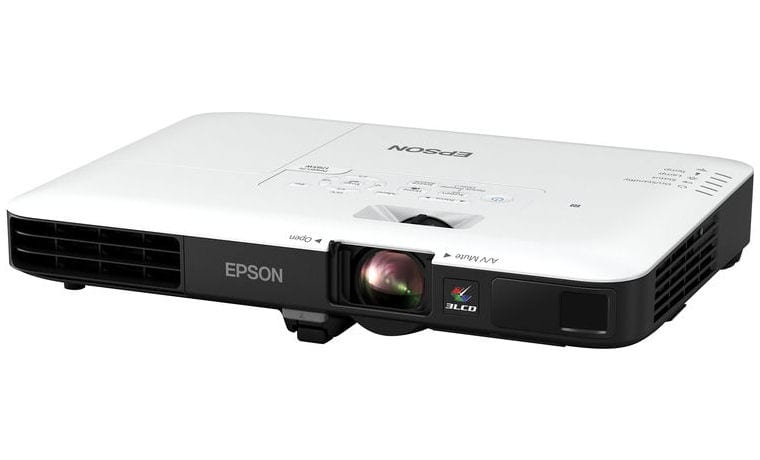
The Epson PowerLite 1785W Portable Business and Education Projector's right side houses the cool room air intake.
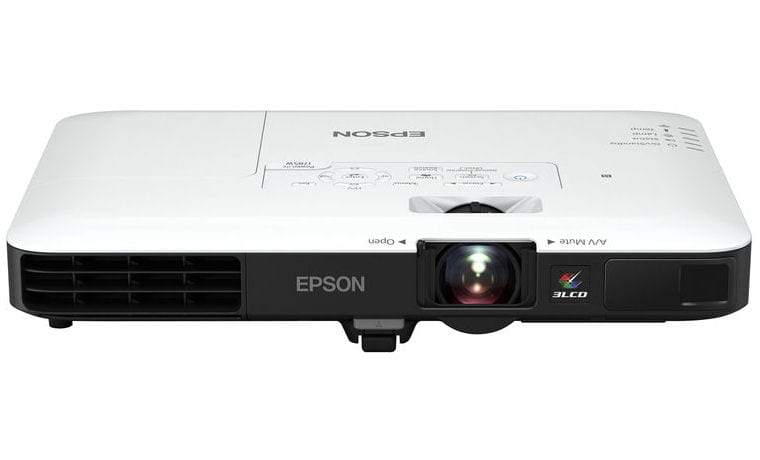
The lens and sensor used for Automatic Image Correction and Gesture Presenter are found on the front of the Epson PowerLite 1785W Portable Business and Education Projector, along with a single adjustable foot.
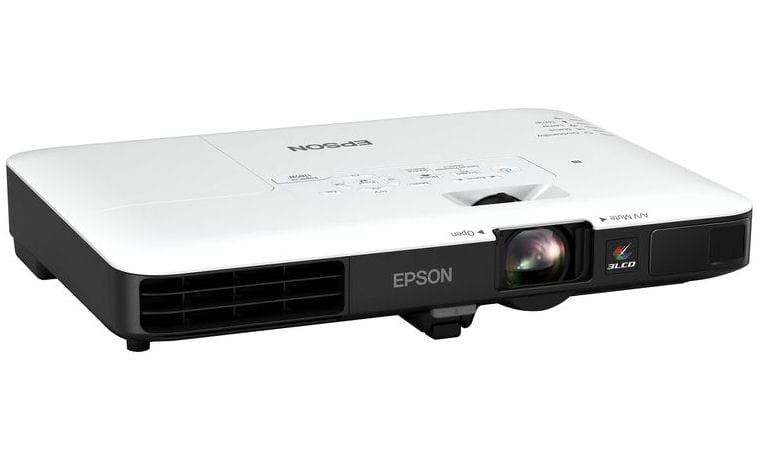
The left side of the Epson PowerLite 1785W is completely closed off.
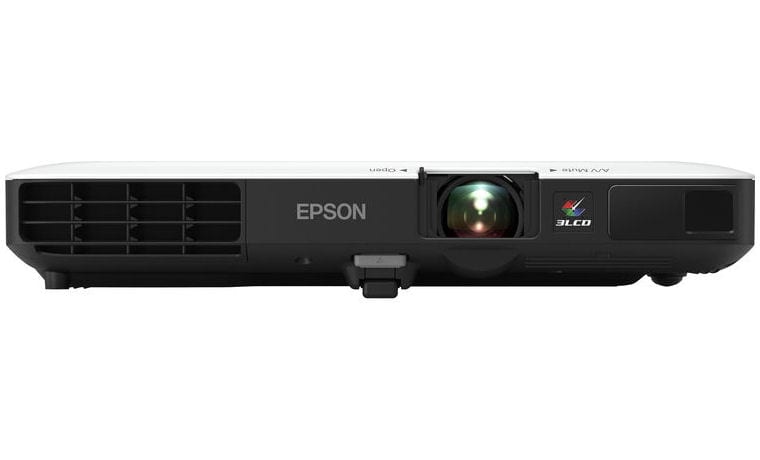
The Epson PowerLite 1785W Portable Business and Education Projector is super slim, measuring just over 2 inches tall. In width and depth measurements, it is the size of (or smaller even) than a laptop!
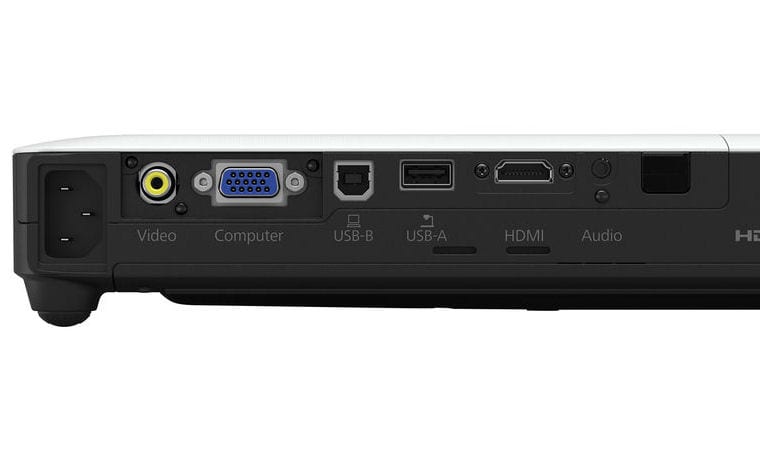
The rear of the Epson PowerLite 1785W is where you can find inputs and connectors, and a security lock port in the bottom right corner (not pictured.)
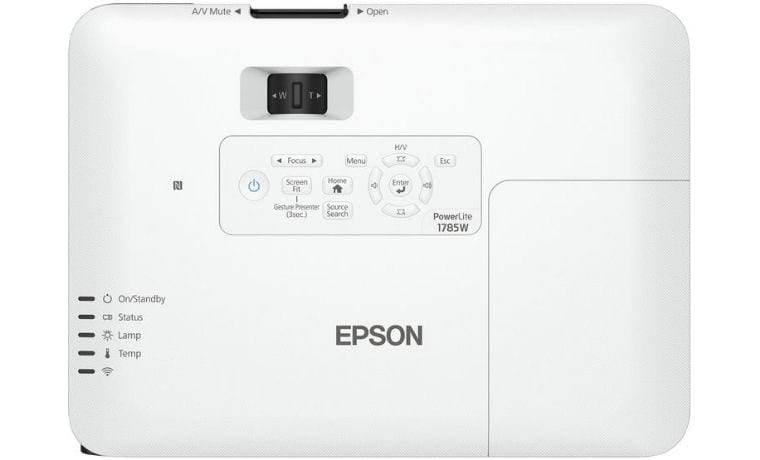
The top of the Epson PowerLite 1785W Portable Business and Education Projector is where you find the lens zoom controls, control panel and indicator lights.
❮
❯
The Epson PowerLite 1785W is a portable projector that measures 11.5 inches wide by 8.4 inches deep, only 2.1 inches tall, and weighs a mere 4 lbs; that’s the size and weight of a laptop for ultra-portability. This projector is well suited for front table top use, but also supports ceiling mounting and both front and rear projection. For this review, I set the 1785W up on a table top using front projection, so descriptions will be written as this unit appeared when sitting on a table top.
The front of the Epson PowerLite 1785W houses the lens, with a manual shutter that doubles as an Audio and Video mute. The vents to the left are the hot air exhaust, and on the right you’ll find the sensor that is used for Automatic Image Correction and Gesture Presenter. The right side of the projector houses the 1-watt speaker and cool air intake vent. The rear of the PowerLite 1785W offers a simple array of connectors and a slot for a security lock. The left side of the projector is entirely closed and featureless.
The top of the projector is where you find a basic control panel that is quite functional and easy to use. The NFC symbol is found to the left of the control panel to assist in linking an Android device to the projector. You will also find the zoom lens control on the top of the projector, as well as five status indicator lights. The bottom of the projector features holes for attaching the unit to a ceiling mount.


