Projector Reviews Images

Epson BrightLink 710Ui Interactive Projector Review – Hardware

Posted on January 30, 2018 by Nikki Zelinger

Epson Brightlink Interactive Projector Review – Hardware: Overview, Inputs and Connectors, Lens and Interactive Camera, Interactive Module and Pens

Overview

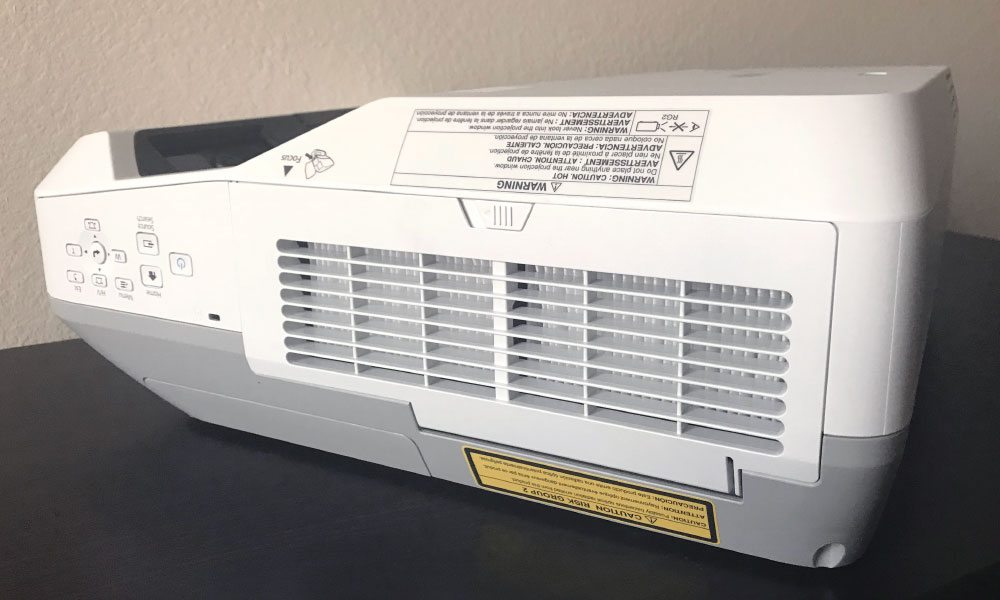
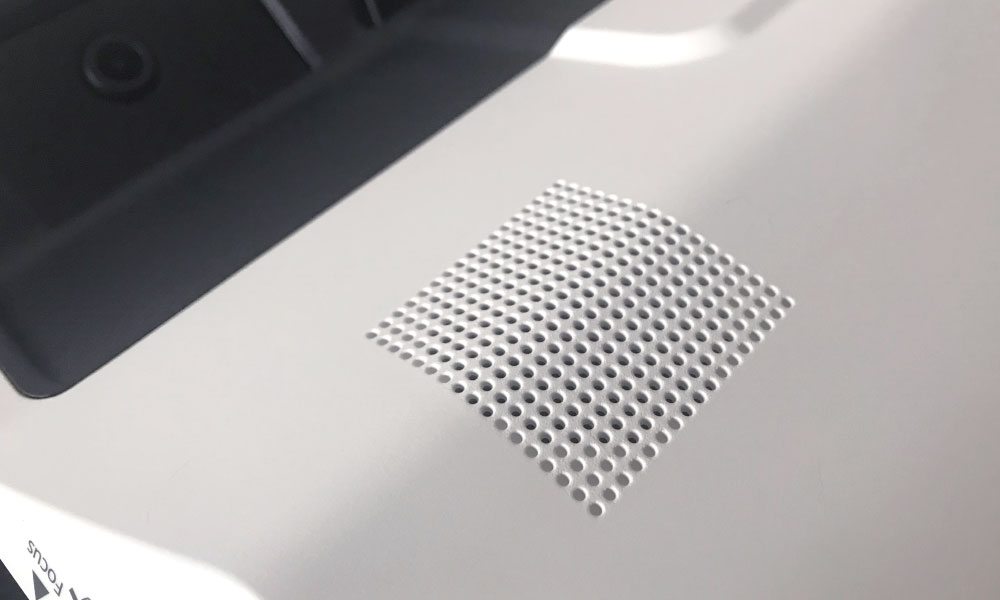
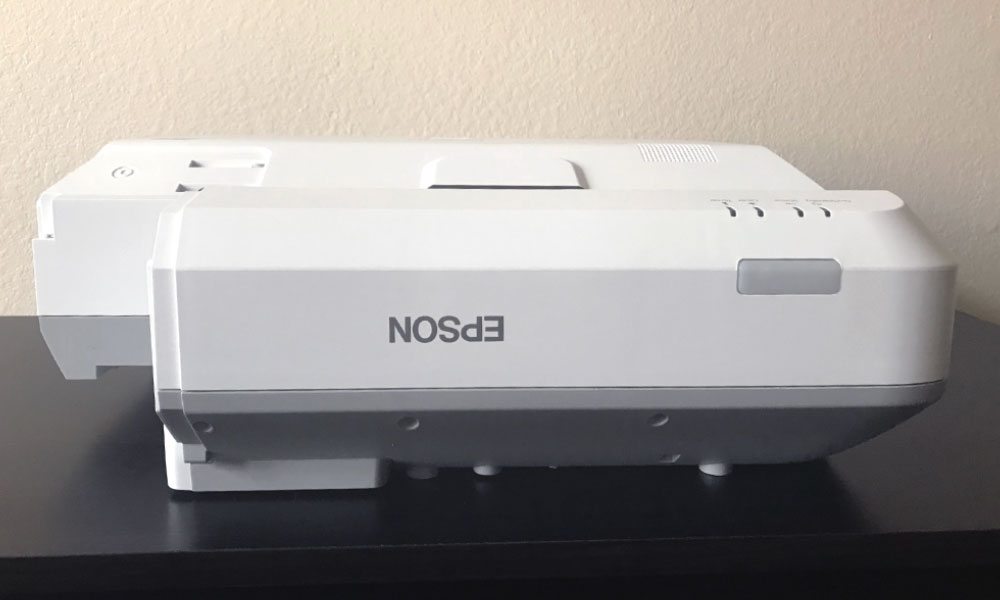
The Epson BrightLink 710Ui looks virtually identical to the BrightLink 696Ui I reviewed last year – it's a bit bigger and a couple pounds heavier, though. It is white with a grey bottom for contrast, and there is a touch of grey under the cable cover, next to the inputs and connectors. To offset the white, the lens and interactive camera are surrounded by black. Classy. When wall mounted, as this projector will most certainly be, the BrightLink 710Ui has a sensor for the remote control and four indicator lights below it when looking at the front. The 16-watt mono speaker is located on the top of the projector in the vicinity of the lens and interactive camera. Opposite to that interactive camera is a small indicator light for Wireless LAN. Also on the top of the projector are some more remote sensors and the interactive pen receiver.

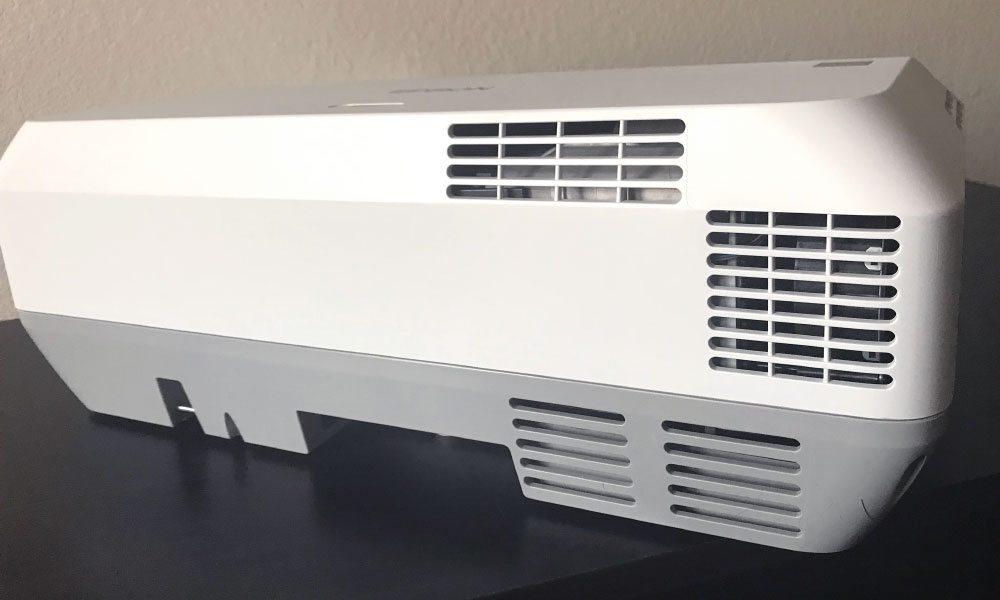
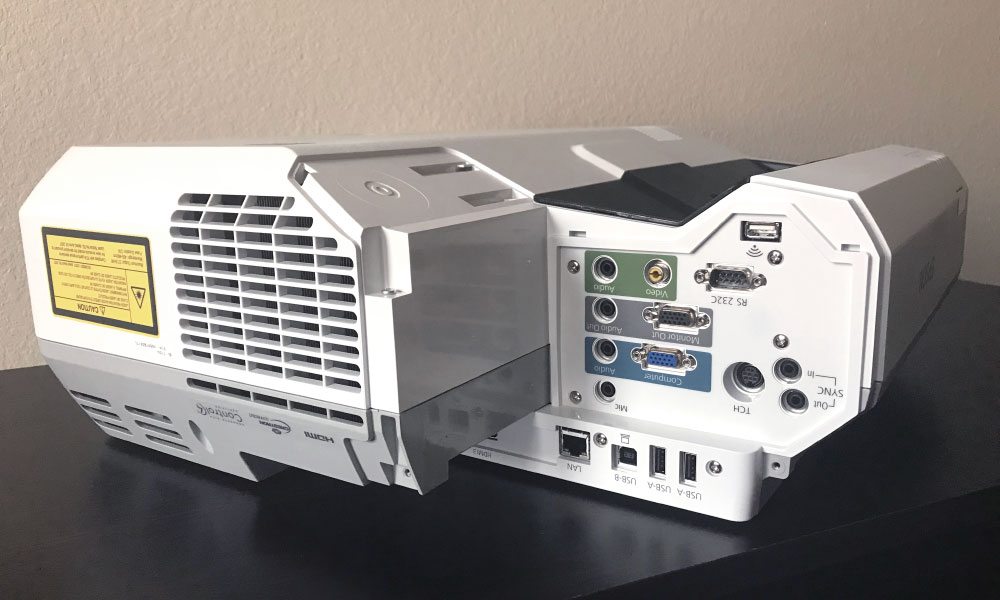
Moving to the right side of the projector (when looking at the Epson logo on the front), there is the cable cover that houses the inputs and connectors panel within. That cable cover is attached with screws, so best connect all the sources that will be used before putting that back on again. Also on this side are two hot air exhaust vents. On the left side of the 710Ui, we have the cool air intake vents, which can be accessed via a quick-release door. The focus lever for the lens is hiding here as well. To its right is the control panel, which will likely never be used after setting up the projector. Let’s move onto the inputs and connectors, of which there are plenty.

Inputs and Connectors

Epson BrightLink 710Ui Inputs and Connectors
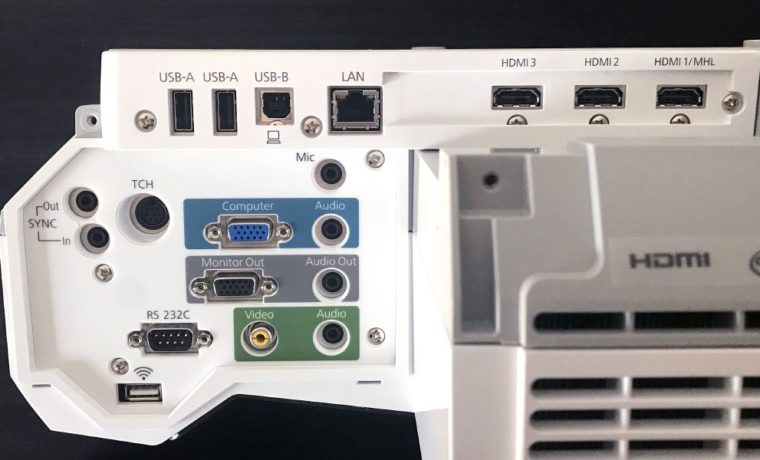
The Epson BrightLink 710Ui has all the inputs and connectors you'll need for your education applications.

There are two basic sections to the inputs and connectors panel on the Epson BrightLink 710Ui: one long, thin piece above a recessed, asymmetrical area. The top piece is home to all our favorite inputs: USBs, LAN, and HDMIs. Starting from the left, there are two USB Type-A inputs followed by a USB Type-B input. Next to that is the wired LAN port. A space separates the HDMIs, of which there are 3 – two regular, and one HDMI with MHL for those streaming sticks. That the BrightLink 710Ui has three HDMIs instead of two (or worse, one) is a definite plus that we like to commend manufacturers for when they see fit to include them. In a perfect world, all projectors would have at least three HDMI inputs.

Below that is the asymmetrical area housing a number of other useful connectors. There are SYNC In/Out ports on the left next to the TCH port for the Touch Unit connection cable (Interactive Module). Contained within a blue rectangle, there is a VGA computer input followed by an Audio In port. Above, there is a port for connecting a microphone. Below the blue rectangle is a grey rectangle that has the VGA Monitor Out connector and an Audio Out port. A green rectangle sits below and holds the Composite Video input and an Audio port for that. To their left is the obligatory RS232C for old school command and control, and a port for the wireless LAN dongle.

Lens and Interactive Camera

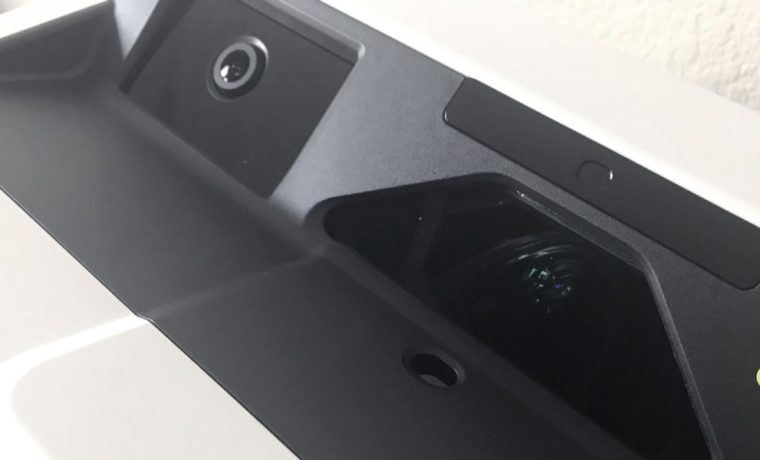
Epson BrightLink 710Ui Interactive Camera and Lens
The Epson BrightLink 710Ui has a built-in interactive camera (left) and an ultra short throw lens (right).

The BrightLink 710Ui features an ultra short throw lens, meaning the projector can be placed within mere feet (or inches) to the wall. This is desirable in a classroom setting where the projector will be wall mounted. Wall mounting in classrooms is a popular practice, as the ceilings in these rooms are not typically strong enough to ceiling mount, as many have those removable tiles. Mounting in general is a good idea in classrooms as it frees up space for the teacher to move around and prevents students from accidentally bumping the projector. Another perk of wall mounting with an ultra short throw is that there will be less shadow when standing in front of the light source, just by virtue of the angle at which the light is coming from (a steep downward angle). That the interactive features of this projector don’t even work when table mounted (unless you place the projector on its side, then turn it on, which tricks it into thinking it’s been mounted) makes wall mounting the way to go with the BrightLink 710Ui.

The interactive camera lives next to the ultra short throw lens, to its left when looking directly at the lens. The infrared camera works in conjunction with the interactive module to create a fully interactive image. It is embedded into the projector itself, so there is no extra installation necessary beyond setting up the interactive module, which I’ll get into in the next section. Embedding the camera directly into the projector seems to be commonplace amongst these interactive projectors, no matter the manufacturer.

Interactive Module and Pens

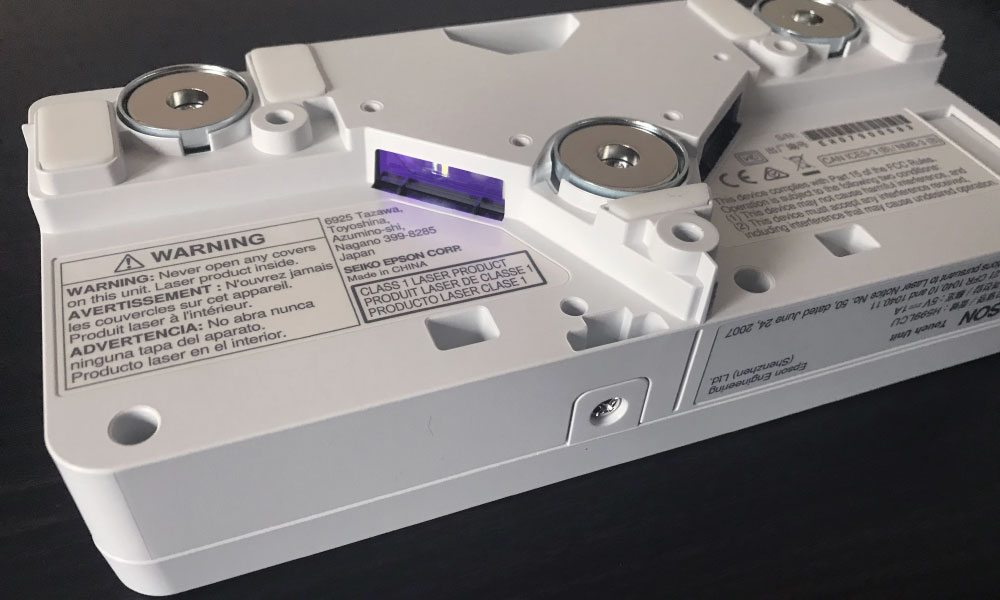
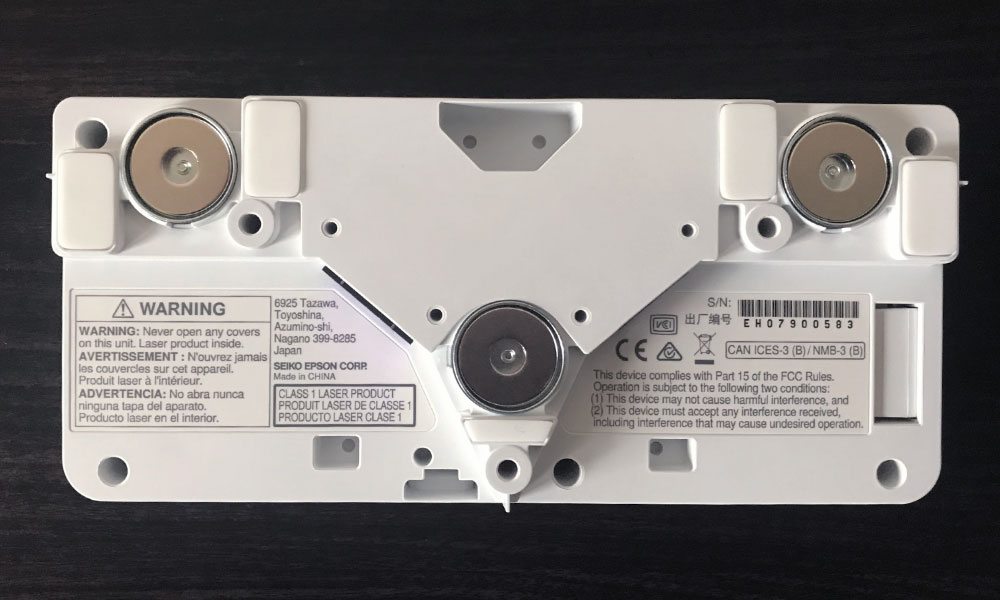
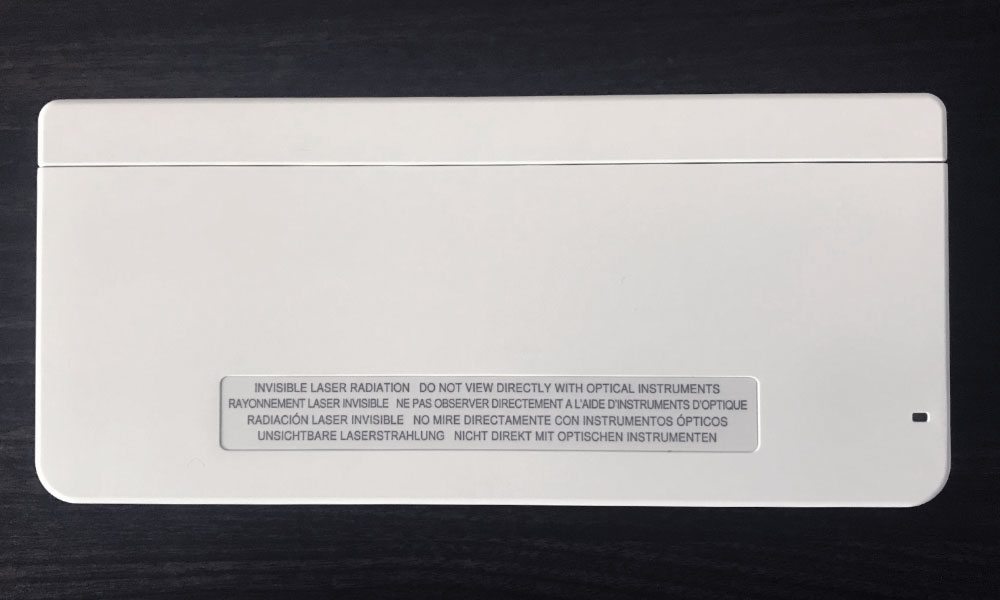
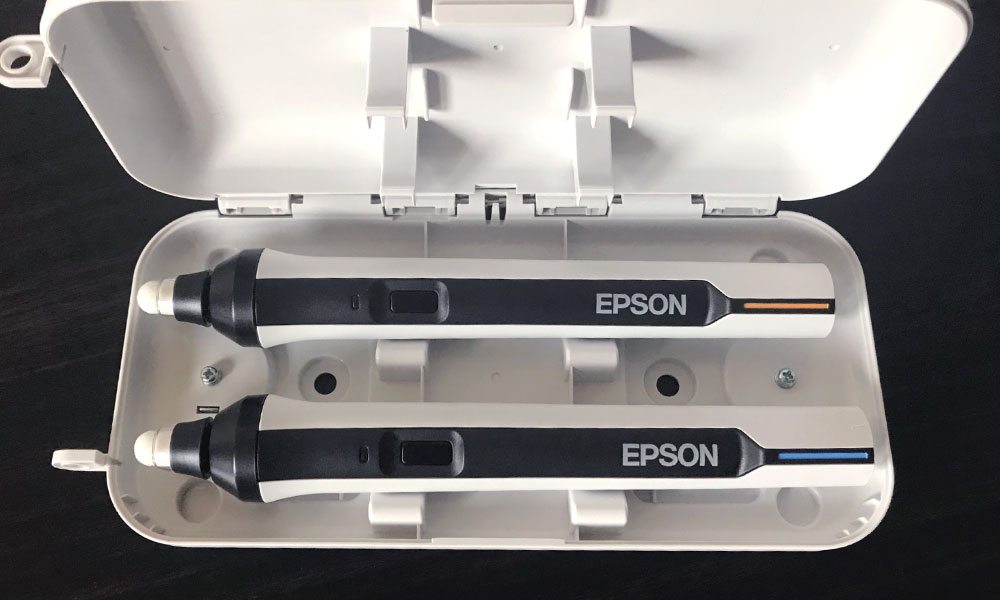
The Epson BrightLink 710Ui includes the Touch Unit (interactive module), and two marker-like pens inside a case. These are pretty cool pens, as the tips rotate when in use to give a more realistic feel, and require a bit of pressure to activate. That’s why we are so adamant about using a hard-surface screen, whiteboard or wall, when using interactive projectors. A single jab could stretch a traditional screen surface, not to mention multiple times per day – add dozens of greasy fingers to the mix, and you’ve got yourself a disgusting screen surface. No thanks. Better to get a specialty whiteboard screen like the one Epson offers, use a regular whiteboard, or a smooth white wall to project.

The Touch Unit has some built-in magnets that allow it to attach to a whiteboard or mounted magnetic surface. Alternatively, it can be mounted into the wall with screws, and should be one inch above the top of the projected image. For this reason, many will choose to wall mount with screws, as it would be desirable to utilize the entire projection area, which may be encroached upon when attaching the Touch Unit to a whiteboard. Whatever your preferences are, Epson, as usual, has you hooked up.

As mentioned, the infrared camera works with the Touch Unit to produce the interactive image. How? The Touch Unit projects a veil of infrared light downward over the projection surface. When a pen tip or finger interrupts the light, the interactive camera perceives this as an action and the projector reacts accordingly. The Touch Unit connects to the projector via a cable, which is provided. After mounting the projector and the Touch Unit, it will need to be calibrated so that the projector can accurately determine the position of the fingers/pens in relation to the projected image. Epson has an easy guide for setting this up that you can access here.
© 2024 Projector Reviews

crossmenu linkedin facebook pinterest youtube rss twitter instagram facebook-blank rss-blank linkedin-blank pinterest youtube twitter instagram