Projector Reviews Images

Epson Brightlink 585Wi Projector Review: Hardware Tour

Posted on May 15, 2014 by Art Feierman
BRIGHTLINK 585WI PROJECTOR - HARDWARE TOUR:  Overview, Lens, Sensors, Control Panel

Overview

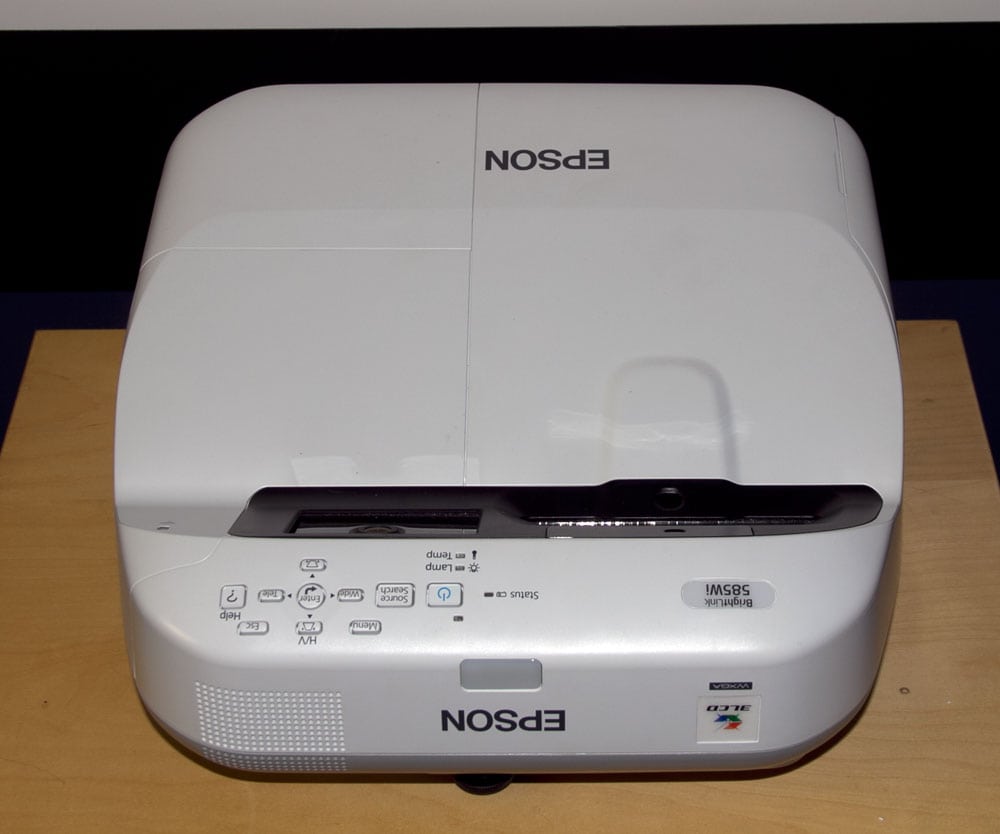
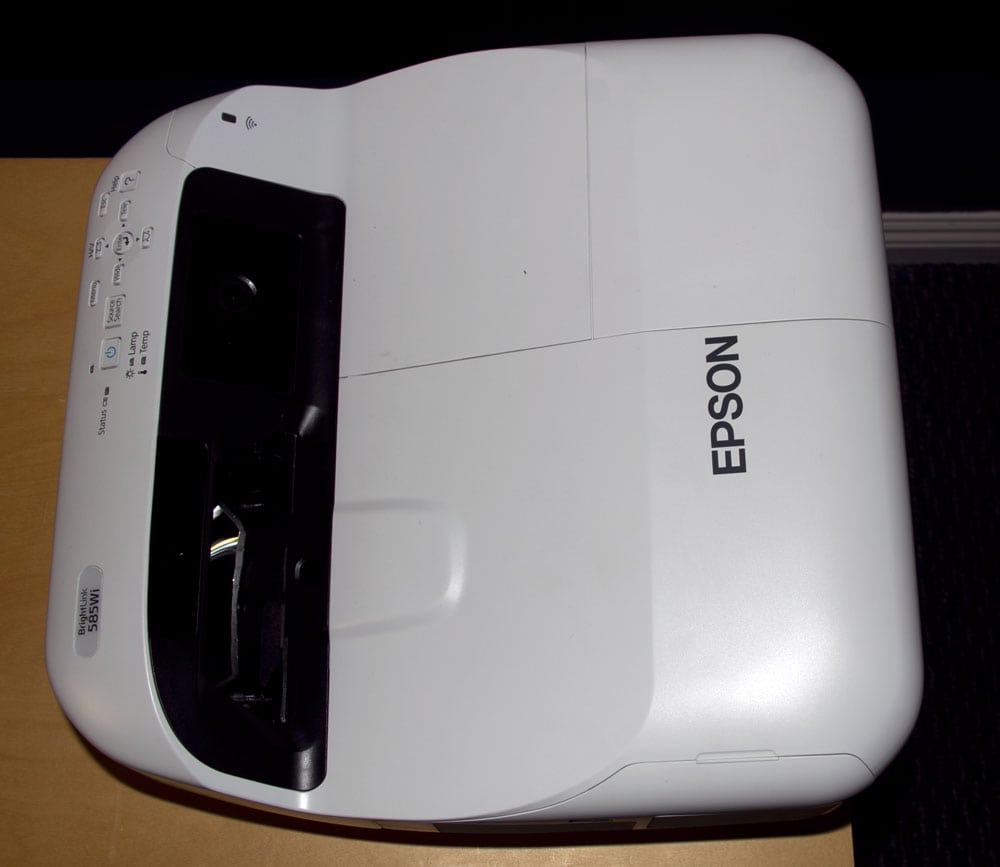
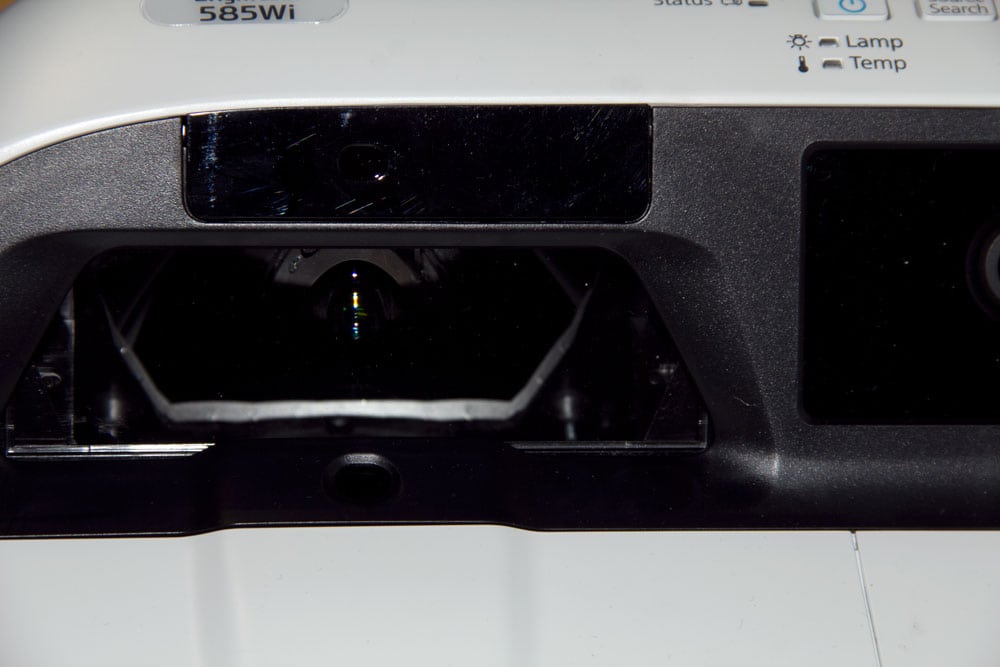
Typical of Epson's ultra short throw projectors, the Brightlink 585Wi has it's "lens" on the top surface, on a steep angle, pointing "up" or "down" at the projection surface at a steep angle.  At a glance you can't see it, it's part of that smoked glass looking area that also houses the sensors for the interactive functions to track pen movements.

The projector typically is placed so that the closest part of the projector is 2.5  inches from a 60 inch diagonal WXGA image (16:10 aspect ratio).  The other extreme is to fill a 100" diagonal screen of the same aspect ratio.  That requires the front of the projector to be a mere 12.2 inches from the projection surface!   The projector supports a maximum size of 100" diagonal at 16:10, or 97" maximum with a 16:9 (HDTV shape) image.  (Larger sizes aren't practical for an interactive projector - people can't interact with the upper portion of the surface if it's 7, 8, 9 feet off the floor.)

There is no optical zoom feature, but the projector does offer digital zoom.  The image immediately below shows the image of kids after being digitally zoomed in.  The remote has zoom in and zoom out buttons for convenience.  Or you can use the zoom tools shown in this image.

brightlink-585_interactivity_drawing_2

Digital zoom controls can be seen expanding upward from the bottom tool bar. This image is zoomed in.

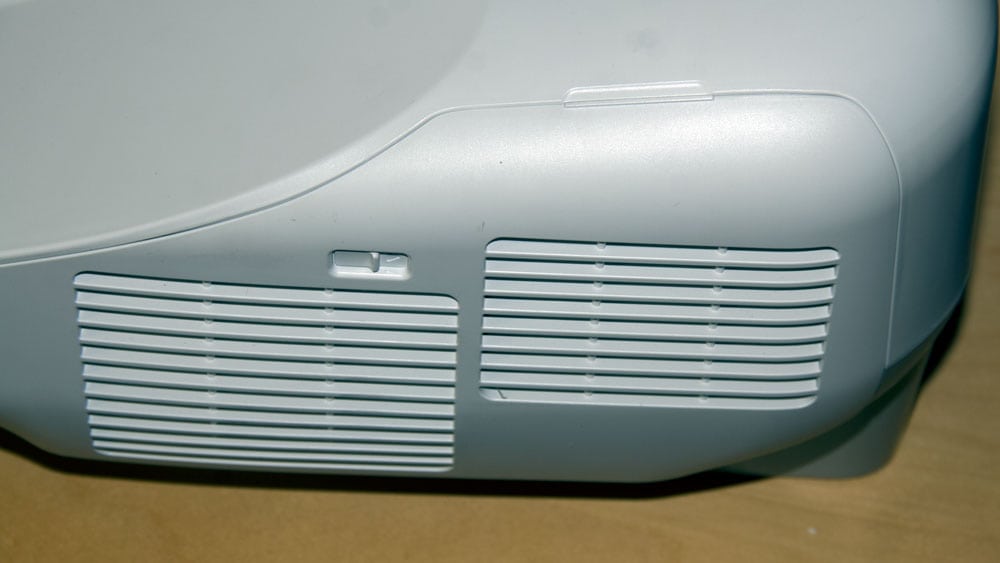
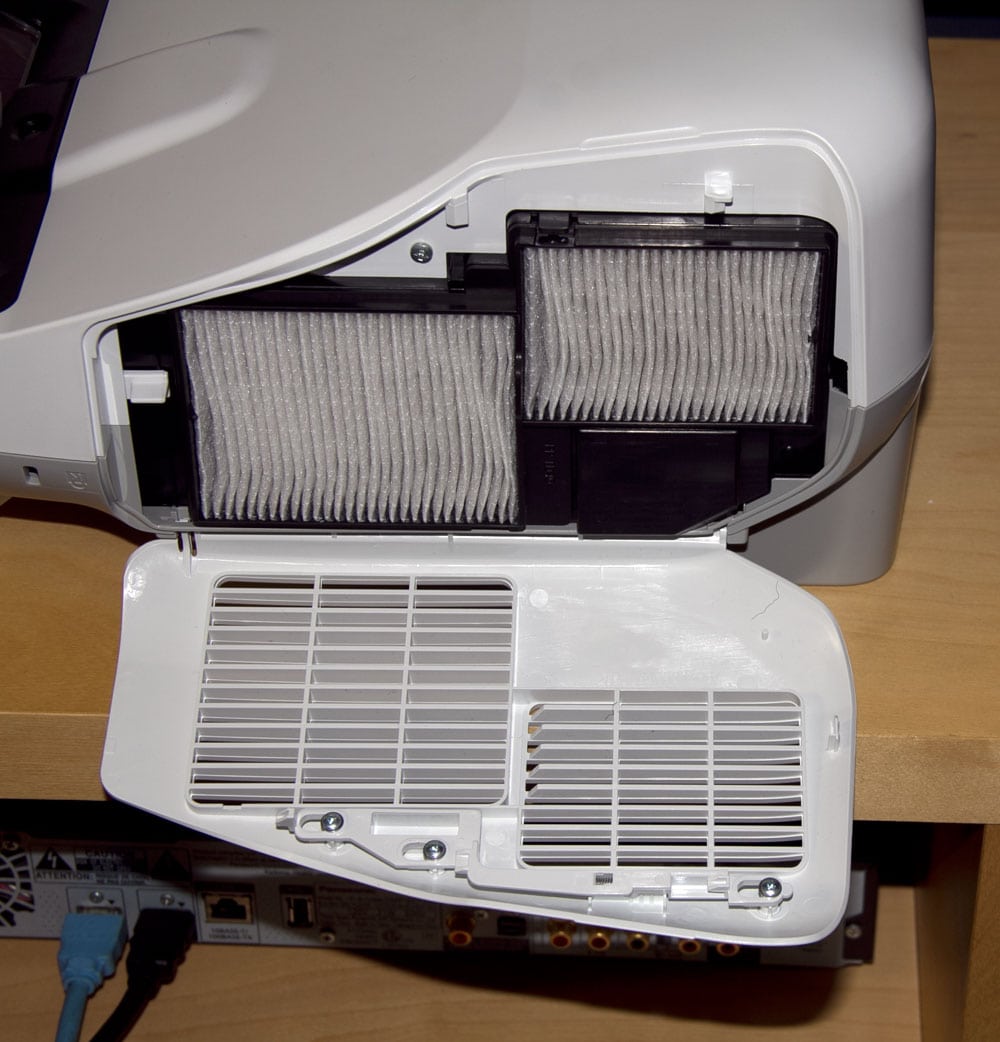
There is a focus control, which is located inside the filter compartment.  It's white, rectangular slider is visible on the left side of the open filter compartment in the last image below.

The control panel is on the front edge, and is typical of most projectors, but with an extra bell and whistle, discussed later.

A pair of long life filters are hidden behind a quick release hinged door on one side.

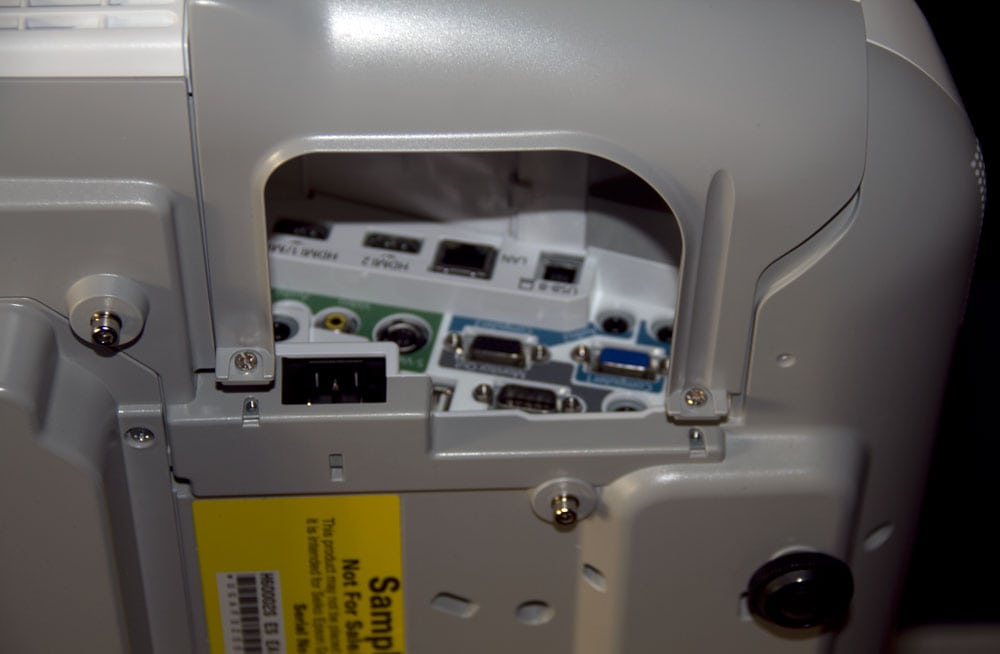
All of the connections are located facing the other side.  There are a lot of connections, so things can get pretty tight in there.  We'll take a closer look on these pages.

Holes for mounting the Brightlink 585Wi to their wall mount and other mounting options are located on the bottom.

Brightlink 585Wi Lens and Lens Throw

The lens, as noted is mounted on a steep angle.  This means that the output needs to be non-linear.  Consider a table top placed 585Wi.  The angle from the lens to the lower part of the screen is relatively moderate, perhaps 30 degrees up, while to hit the top part of the screen it's more like 70 degrees (these are best guesses).

Because most surfaces including whiteboards, bounce the light off the surface at the same angle the light hit it, light hitting the top of the surface is mostly going to bounce toward the ceiling.  As a result, the projector has to compensate, by having the light that hits the top of the screen be much brighter than the light with the shallower angle hitting the bottom.

brightlink-585_lens

Brightlink 585Wi Projector lens area. Fixed ultra short throw lens with 1.35:1 digital zoom


That's exactly what Epson does.  When viewing the projector from a typical positions in the room, the screen appears evenly lit.  In other words, the design works!   (The challenge is how to measure the usable brightness.)

Once the projector is mounted or placed, simply adjust the focus.

Click Image to Enlarge

Interactive Sensors

Next to the lens are the sensors for tracking the pens, allowing all that cool interactive functionality.  If the projector is mounted above the screen surface, or on a drafting table type of setup at the top, it's easy to avoid blocking the sensors.

When using in a typical table top fashion it is possible to block the sensors (you'll also be casting a large shadow on the projection surface), but it's easy enough to avoid.

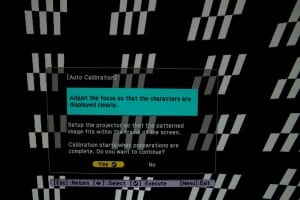
The auto setup of the interactive function takes less than a minute, and does the job very nicely, providing excellent accuracy, with the pen tip accuracy being typically within 1/2 inch, which is very good for such a large surface.

brightlink-585_menu_auto_calibration

Part of the auto alignment process of the Brightlink 585Wi

Once that is done, the projector is ready to start being used interactively.

Brightlink 585Wi Control Panel

Control Panels are handy things when they are within reach.  In the case of the 585Wi, the control panel should be easily accessible of placed on a table top, mounted to a table or to a drafting table.  If the projector is wall mounted above the screen, most likely the control panel will be just out of reach.  Folks that's why you also get a remote control.

Let's look at the control panel, starting from the left if you are  looking from the rear of the projector.

As you can see, there are the usual indicator lamps by the power switch.  The projector uses the usual protocol of:  Press once to power up, twice to power down that is shared by most projectors.  Moving to the right:

Source Search is next.  One can manually advance through all the inputs, or it will seek a live one out.  Note that when it searches, it will stop on the first live input it finds, not continue on looking for others.

Just above and to the right is the menu button, and then comes all the navigation controls, consisting of four arrow keys in a diamond configuration, with the Enter button in the center.  Just on the other side of the up arrow, from the Menu button is the Escape button which will let you move backward in the menus to the first level, and then off.  (Pressing Menu when inside the menus closes the menu - also fairly typical of most projectors.)  Far to the right is the Help button. You'll see an example of Epson's interactive Help function in our photo collection and comments on the Menus in this Hardware Tour.

The only other thing to note is that the four arrow keys take on different functions when you are not navigating menus.   Up and Down arrows let you adjust keystone correction, while left and right control the digital zoom feature.

Click Image to Enlarge

© 2024 Projector Reviews

crossmenu linkedin facebook pinterest youtube rss twitter instagram facebook-blank rss-blank linkedin-blank pinterest youtube twitter instagram