Projector Reviews Images

Dell S718QL 4K UHD Laser Projector Review – Hardware

Posted on March 13, 2018 by Art Feierman

Dell S718QL 4K UHD Laser Projector Review – Hardware: Overview, Inputs and Connectors, Lens Optics and Throw Chart

Hardware Features Overview

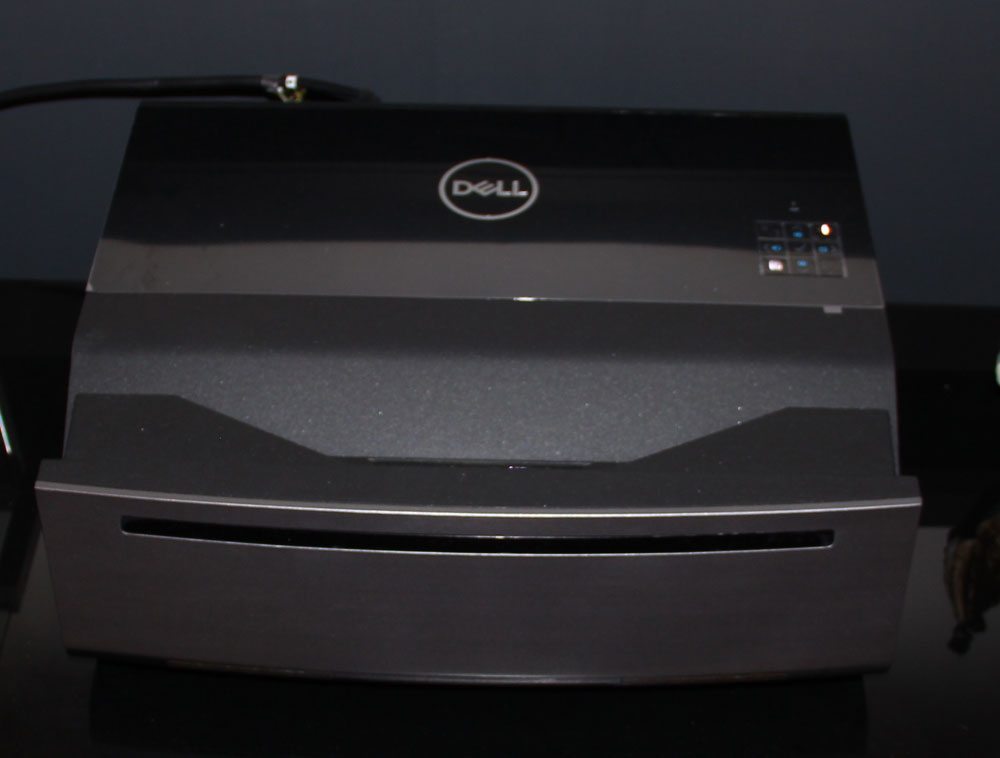
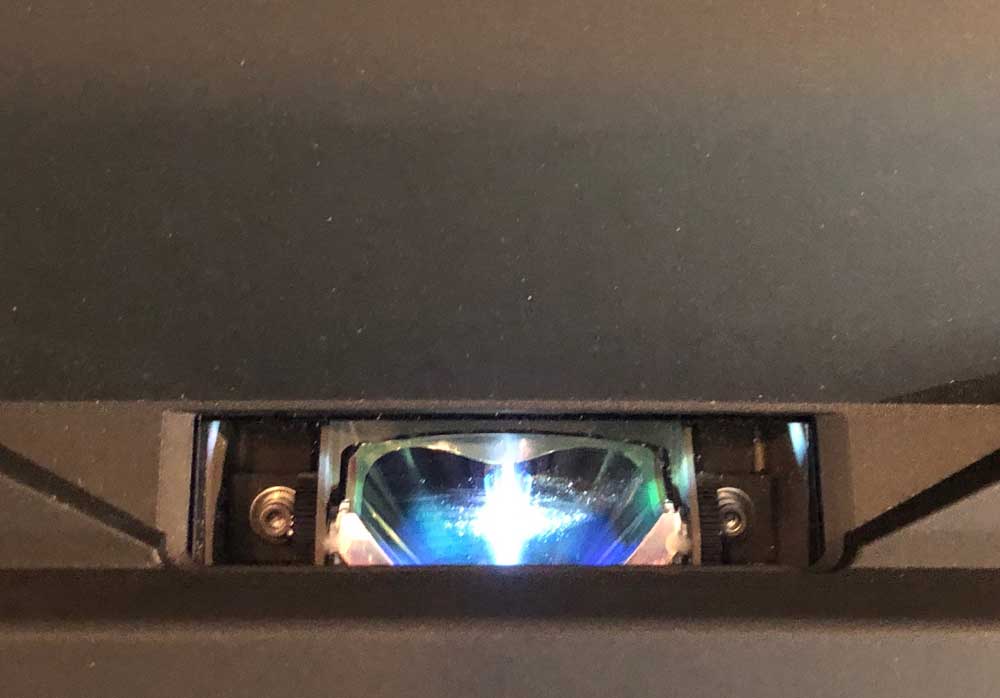
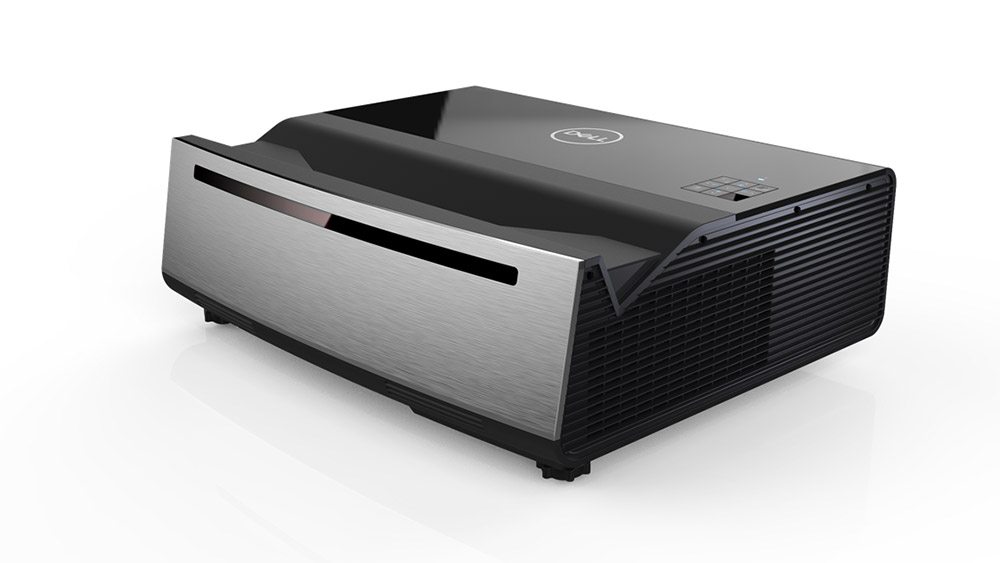
As an ultra short throw projector, the S718QL’s projects out the top of the unit, onto the screen surface. The “back” of the projector sits only inches from the screen – just four inches back for a 100” diagonal image – while the front is more cosmetically designed The “front” of the projector faces the audience. Overall the projector is finished in shiny black and dark matte gray.

Very low on the case are the pair of 6-watt speakers (facing the audience, of course). They are  well separated, but there’s only so much to expect with stereo, of course, when your two speakers are barely one foot apart.

One nice feature is that the Dell offers Bluetooth audio out, making it easy to feed sound to a larger system, either a Bluetooth speaker, or a larger AV system that supports Bluetooth audio in.
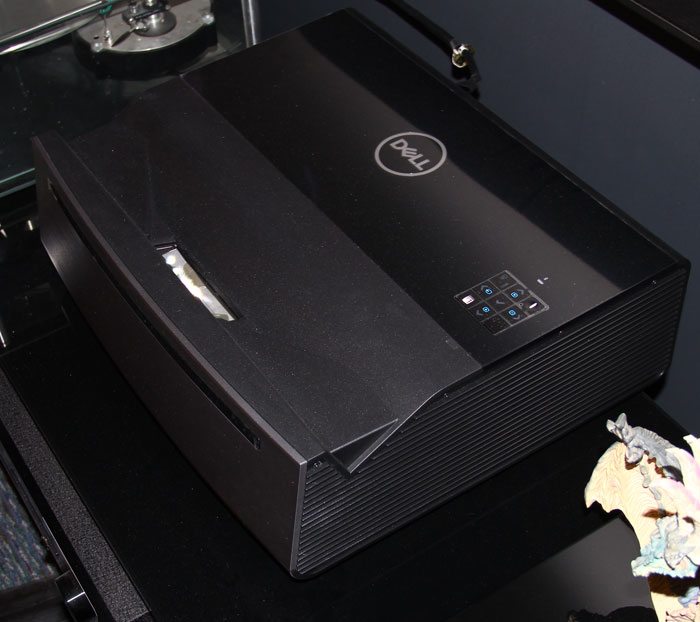
The control panel is found on the top of this Dell, while the inputs and other connectors are found on the "back" – closest to the screen. The projector itself is not overly large, despite being rather heavy at 29.76 lbs. Laser projectors, as a group, tend to be a lot heavier than similarly bright lamp based projectors.

Note, if this projector isn’t mounted, it should work very nicely on a credenza or table, of course, but it should place very nicely on an AV cart, if you need to move from room to room, and thanks to its UST design, that cart can be rolled up and stopped right under the screen or wall being projected on. It can also be mounted inverted using a wall mount, right above your projection surface.

Underneath, you’ll find three screw thread adjustable feet, one centered in the “front” (closer to the audience, and two in the back toward the sides).

Inputs and Connectors

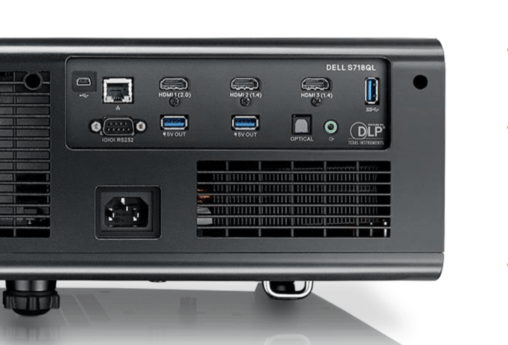
This Dell projector is pretty well endowed. The input panel, is located on the side closest to the screen.

From left to right – furthest to the left, and far from the rest, is a small Kensington lock cable slot. Then comes venting, and then starting right about in the middle are the rest.  There’s a mini-USB service port for doing firmware upgrades. Nice to know that the projector is designed to take firmware upgrades (without having to send it back to “the factory”).

Moving to the right is the RJ45 LAN connector for networking. Then comes three HDMI inputs, which, of course, handle data/video, audio and command and control. Two of them are the older HDMI 1.4, while one is HDMI 2 needed for a lot of 4K sources.

back panel of projector
Input panel on back of the Dell S718QL projector

Another USB rounds out the top row. This USB is for PC free presentations (the Dell not only does PC free photos and video, but also can play Microsoft Office files, like Word, Excel and PowerPoint). Most interesting is that the USB port can alternately be used to plug in a Wireless dongle.

OK, second row: There’s an RS232 serial port for old school command and control (to turn on, change settings, etc., from a PC or other system set up to do control), followed by two Type A USBs.

Almost done. An SPDIF connector is there to provide Digital Audio output. Right next to it is an analog audio out, this time the connector is a stereo mini jack. Note audio out is variable, which is to say, you can control the volume from the remote or control panel, etc. Finally, the Power receptacle is located between the filters.

Lens Optics and Throw Chart

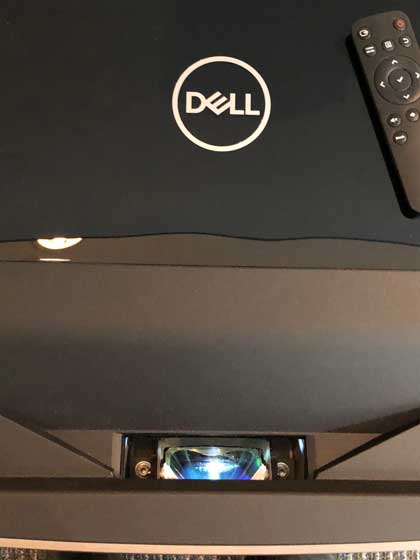
Typically, UST projectors have unusual optics and lack any zoom capability. The projector should be 3.9 inches from your screen to project a 100” image, as you can see in the chart below, and moving a few inches back from the screen will produce a larger image. One interesting feature this has that most UST projectors lack is power focus, which can be done from the control panel, focus sub-menu, and remote control. Your best bet – focus the projector on a spot about 1/3 of the way from the center to the side edges.

There’s a little optical bowing, but for a UST projector, it’s not bad at all – that is, not an issue. Optical clarity is fine, but I would venture to say not as clear as some traditional projectors that sell in the same price range. Unless you have a need to project highly critical photographic imagery, an application that really calls for superior optics, this Dell will be just fine.

Throw Distances 16:9 Screen, Table Top Setup

Screen Size (Diagonal)Distance From ScreenDistance Below Screen (Offset)
100"3.9"7.3"
110"5.6"8.2"
120"7.2"9.1"
130"8.9"10.0"

Dell S718QL 4K UHD Laser Projector Review – Hardware: Overview, Inputs and Connectors, Lens Optics and Throw Chart

Hardware Features Overview

As an ultra short throw projector, the S718QL’s projects out the top of the unit, onto the screen surface. The “back” of the projector sits only inches from the screen – just four inches back for a 100” diagonal image – while the front is more cosmetically designed The “front” of the projector faces the audience. Overall the projector is finished in shiny black and dark matte gray.

Very low on the case are the pair of 6-watt speakers (facing the audience, of course). They are  well separated, but there’s only so much to expect with stereo, of course, when your two speakers are barely one foot apart.

One nice feature is that the Dell offers Bluetooth audio out, making it easy to feed sound to a larger system, either a Bluetooth speaker, or a larger AV system that supports Bluetooth audio in.

The control panel is found on the top of this Dell, while the inputs and other connectors are found on the "back" – closest to the screen. The projector itself is not overly large, despite being rather heavy at 29.76 lbs. Laser projectors, as a group, tend to be a lot heavier than similarly bright lamp based projectors.

Note, if this projector isn’t mounted, it should work very nicely on a credenza or table, of course, but it should place very nicely on an AV cart, if you need to move from room to room, and thanks to its UST design, that cart can be rolled up and stopped right under the screen or wall being projected on. It can also be mounted inverted using a wall mount, right above your projection surface.

Underneath, you’ll find three screw thread adjustable feet, one centered in the “front” (closer to the audience, and two in the back toward the sides).
Inputs and Connectors

This Dell projector is pretty well endowed. The input panel, is located on the side closest to the screen.

From left to right – furthest to the left, and far from the rest, is a small Kensington lock cable slot. Then comes venting, and then starting right about in the middle are the rest.  There’s a mini-USB service port for doing firmware upgrades. Nice to know that the projector is designed to take firmware upgrades (without having to send it back to “the factory”).

Moving to the right is the RJ45 LAN connector for networking. Then comes three HDMI inputs, which, of course, handle data/video, audio and command and control. Two of them are the older HDMI 1.4, while one is HDMI 2 needed for a lot of 4K sources.

back panel of projector
Input panel on back of the Dell S718QL projector

Another USB rounds out the top row. This USB is for PC free presentations (the Dell not only does PC free photos and video, but also can play Microsoft Office files, like Word, Excel and PowerPoint). Most interesting is that the USB port can alternately be used to plug in a Wireless dongle.

OK, second row: There’s an RS232 serial port for old school command and control (to turn on, change settings, etc., from a PC or other system set up to do control), followed by two Type A USBs.

Almost done. An SPDIF connector is there to provide Digital Audio output. Right next to it is an analog audio out, this time the connector is a stereo mini jack. Note audio out is variable, which is to say, you can control the volume from the remote or control panel, etc. Finally, the Power receptacle is located between the filters.

Lens Optics and Throw Chart

Typically, UST projectors have unusual optics and lack any zoom capability. The projector should be 3.9 inches from your screen to project a 100” image, as you can see in the chart below, and moving a few inches back from the screen will produce a larger image. One interesting feature this has that most UST projectors lack is power focus, which can be done from the control panel, focus sub-menu, and remote control. Your best bet – focus the projector on a spot about 1/3 of the way from the center to the side edges.

There’s a little optical bowing, but for a UST projector, it’s not bad at all – that is, not an issue. Optical clarity is fine, but I would venture to say not as clear as some traditional projectors that sell in the same price range. Unless you have a need to project highly critical photographic imagery, an application that really calls for superior optics, this Dell will be just fine.

Throw Distances 16:9 Screen, Table Top Setup

Screen Size (Diagonal)Distance From ScreenDistance Below Screen (Offset)
100"3.9"7.3"
110"5.6"8.2"
120"7.2"9.1"
130"8.9"10.0"

© 2024 Projector Reviews

crossmenu linkedin facebook pinterest youtube rss twitter instagram facebook-blank rss-blank linkedin-blank pinterest youtube twitter instagram