Projector Reviews Images

Dell Advanced Projector: P519HL Laser Projector Review – Hardware 2

Posted on March 12, 2019 by Nikki Zelinger

Dell Advanced Projector P519HL Laser Projector Review – Hardware 2: The Control Panel, The Remote Control, The Menus

Control Panel

Dell-Advanced-Projector-P519HL_Control-Panel

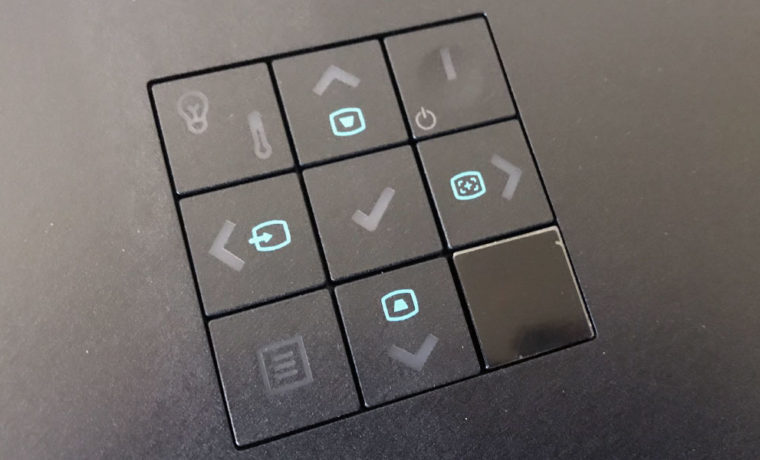
The Dell P519HL’s control panel is located on the top of the projector, and has a typical layout. That is, a nine button configuration – only, the ninth button isn’t actually a button at all, but rather a sort of placeholder so that there’s not an awkward eight button configuration. Starting from the top left, we have button to check the lamp and temp. At the top right, we have the Power button. The bottom right is that placeholder button, and the bottom left opens up the menus.

Each of the arrow keys serves a dual function, as is typical. The Up and Down Arrow buttons are for Keystone Correction. The Left Arrow button affects Source Display, and the Right Arrow displays a test pattern for installation purposes. The control panel is super intuitive, though you’ll likely use the remote control much more often than this panel. Speaking of the remote…

Remote Control

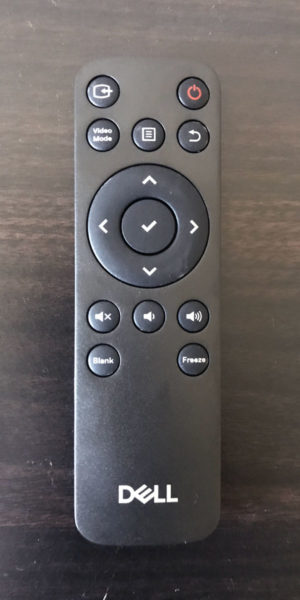
The P519HL’s remote control is small and lightweight. I usually don’t like remotes that are this simple, but in the case of this Dell, I thought the simplicity worked. It fit comfortably into my hand and had all the buttons I needed for my review. As always, I will talk about the remote control in terms of sections, starting at the top, and going left to right.

The top section consists of five buttons. The first of which is Source Search, located at the top left, and opens up the Source Menu. You can navigate that menu using the arrow buttons. Opposite the Source Search button is the Power button. The row below has buttons for Video Mode (color modes), Menu, and Esc.

No buttons to quickly select inputs, which I would’ve preferred to the Source Menu opening up. Not having these buttons adds an extra few steps to select the right one. This will hardly be bothersome to most, but for me – I’m quite used to the quick-select option, which is found on most other remote controls for business and education projectors.

Dell-Advanced-Projector-P519HL_Remote

The next section has the standard arrow keypad. That’s the classic up, down, left and right button configuration, surrounding an enter key. Unlike the control panel, the buttons do not serve a dual purpose – so if you need that Keystone Correction, better set it up using the control panel or the menu system.

There are two final rows underneath the navigation buttons. The first row consists of three buttons, all for controlling volume: Mute, Volume Down, and Volume Up. Below the Mute button, we have the Blank button, which brings up a blank screen (as the name would suggest), and a Freeze button, which freezes the image.

The Menus

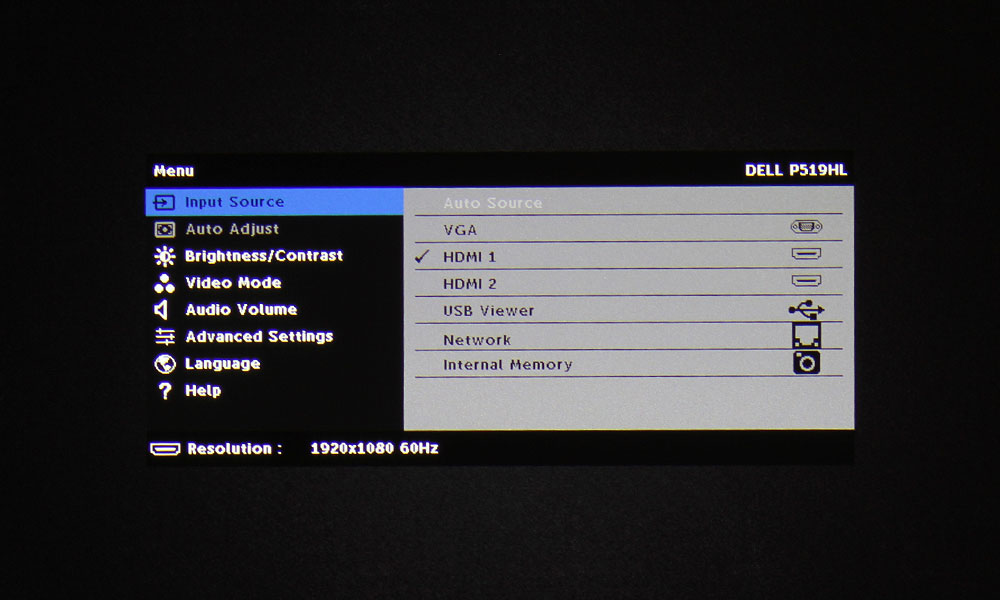
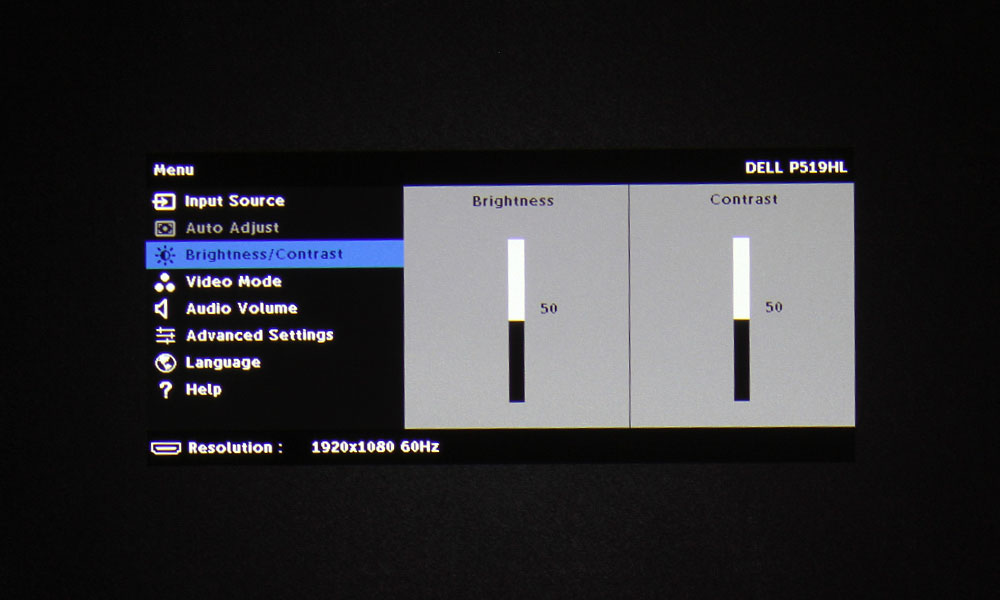
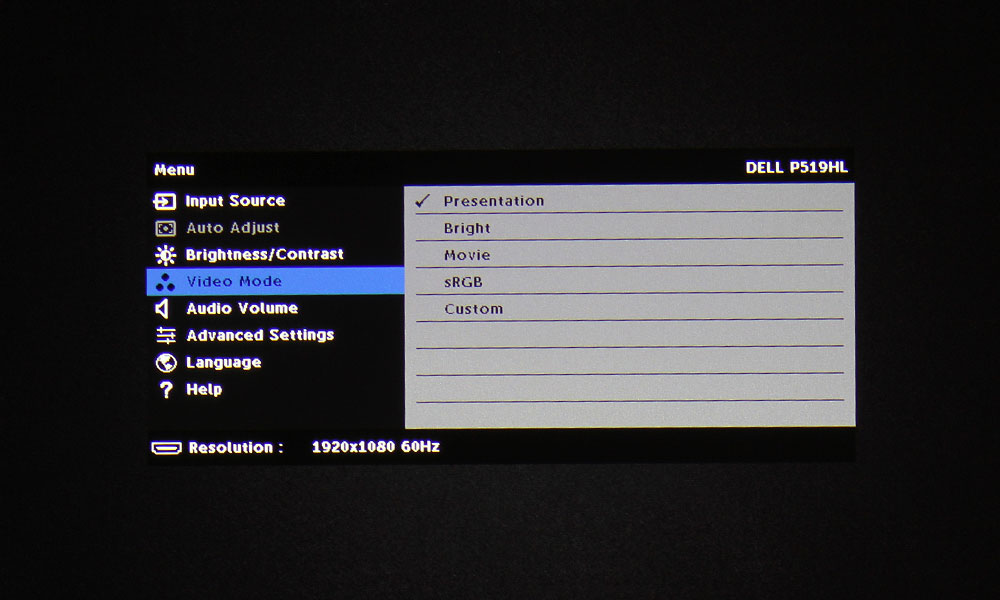
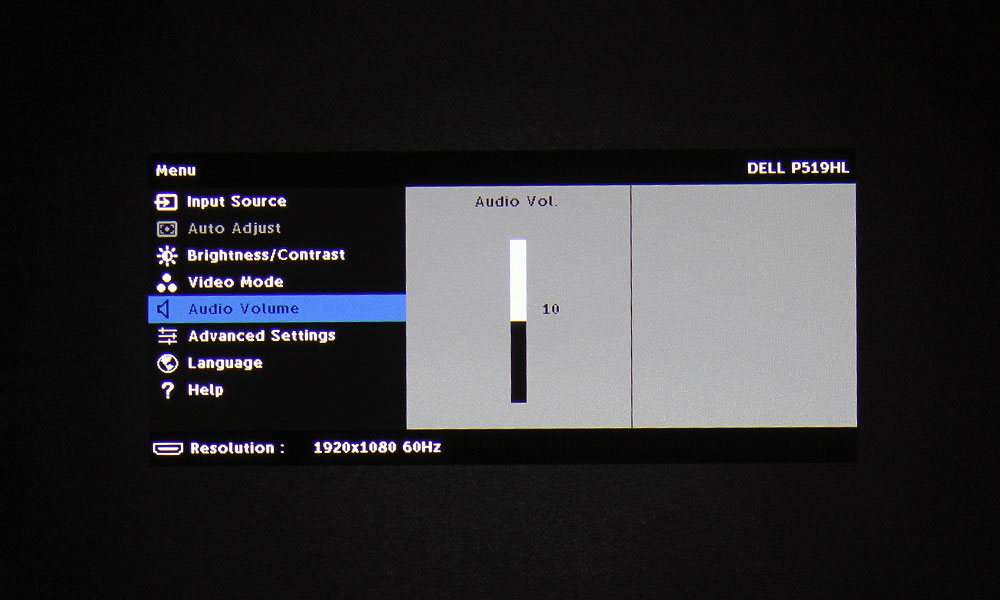
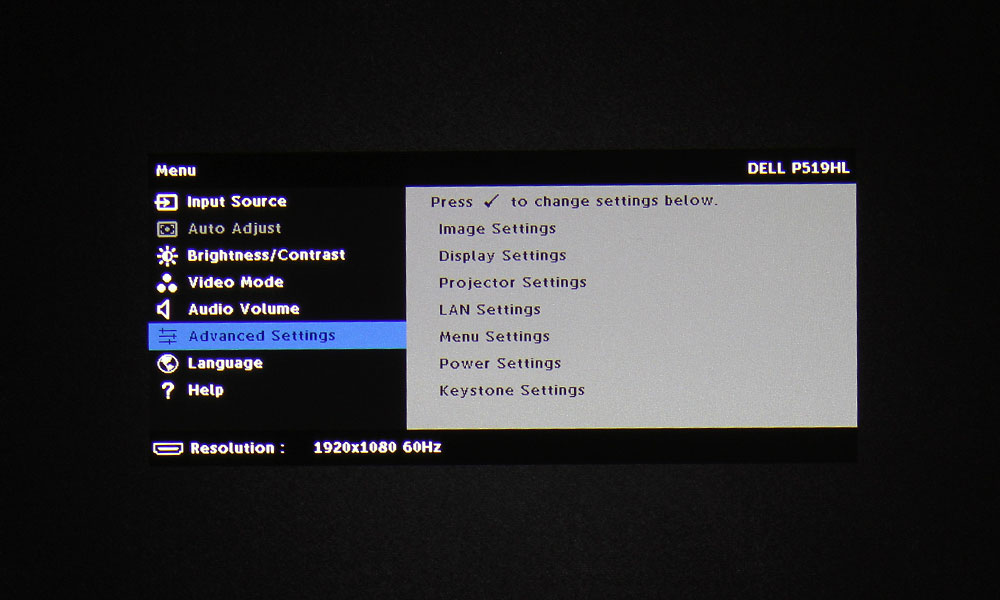
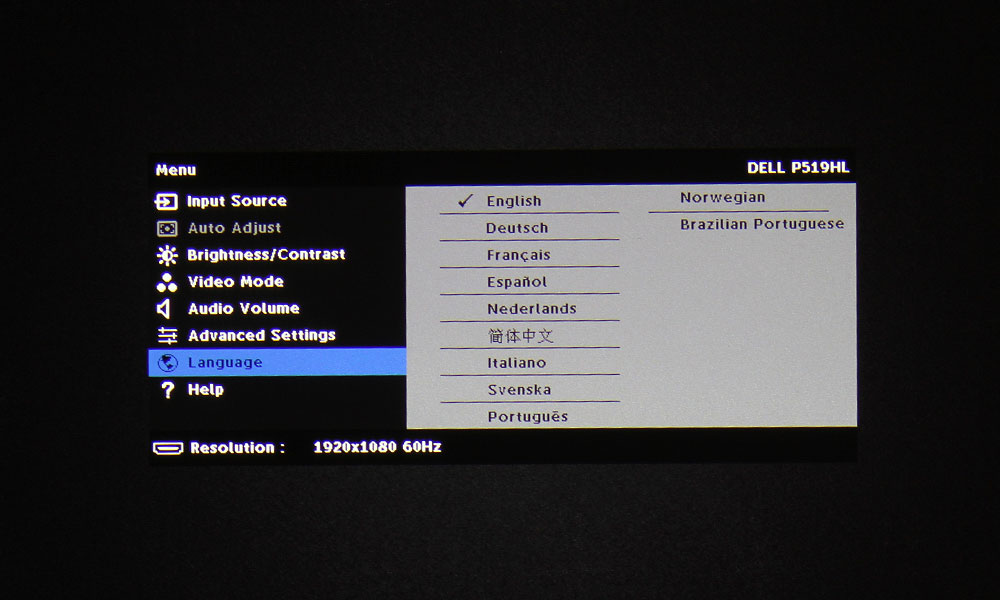
The Dell’s menu system is well laid out and easy to navigate. Check out the slider above to see the menus.

Dell Advanced Projector P519HL Laser Projector Review – Hardware 2: The Control Panel, The Remote Control, The Menus

Control Panel

Dell-Advanced-Projector-P519HL_Control-Panel

The Dell P519HL’s control panel is located on the top of the projector, and has a typical layout. That is, a nine button configuration – only, the ninth button isn’t actually a button at all, but rather a sort of placeholder so that there’s not an awkward eight button configuration. Starting from the top left, we have button to check the lamp and temp. At the top right, we have the Power button. The bottom right is that placeholder button, and the bottom left opens up the menus.

Each of the arrow keys serves a dual function, as is typical. The Up and Down Arrow buttons are for Keystone Correction. The Left Arrow button affects Source Display, and the Right Arrow displays a test pattern for installation purposes. The control panel is super intuitive, though you’ll likely use the remote control much more often than this panel. Speaking of the remote…

Remote Control

The P519HL’s remote control is small and lightweight. I usually don’t like remotes that are this simple, but in the case of this Dell, I thought the simplicity worked. It fit comfortably into my hand and had all the buttons I needed for my review. As always, I will talk about the remote control in terms of sections, starting at the top, and going left to right.

The top section consists of five buttons. The first of which is Source Search, located at the top left, and opens up the Source Menu. You can navigate that menu using the arrow buttons. Opposite the Source Search button is the Power button. The row below has buttons for Video Mode (color modes), Menu, and Esc.

No buttons to quickly select inputs, which I would’ve preferred to the Source Menu opening up. Not having these buttons adds an extra few steps to select the right one. This will hardly be bothersome to most, but for me – I’m quite used to the quick-select option, which is found on most other remote controls for business and education projectors.

Dell-Advanced-Projector-P519HL_Remote

The next section has the standard arrow keypad. That’s the classic up, down, left and right button configuration, surrounding an enter key. Unlike the control panel, the buttons do not serve a dual purpose – so if you need that Keystone Correction, better set it up using the control panel or the menu system.

There are two final rows underneath the navigation buttons. The first row consists of three buttons, all for controlling volume: Mute, Volume Down, and Volume Up. Below the Mute button, we have the Blank button, which brings up a blank screen (as the name would suggest), and a Freeze button, which freezes the image.
The Menus

The Dell’s menu system is well laid out and easy to navigate. Check out the slider above to see the menus.

© 2024 Projector Reviews

crossmenu linkedin facebook pinterest youtube rss twitter instagram facebook-blank rss-blank linkedin-blank pinterest youtube twitter instagram