Projector Reviews Images

CHRISTIE LWU530-APS LASER PROJECTOR REVIEW – HARDWARE

Posted on March 16, 2020 by Phil Jones

Christie LWU530-APS Projector- Hardware Tour- Overview, Lens, Control Panel, Inputs and Connectors, Menu, Remote Control

OVERVIEW

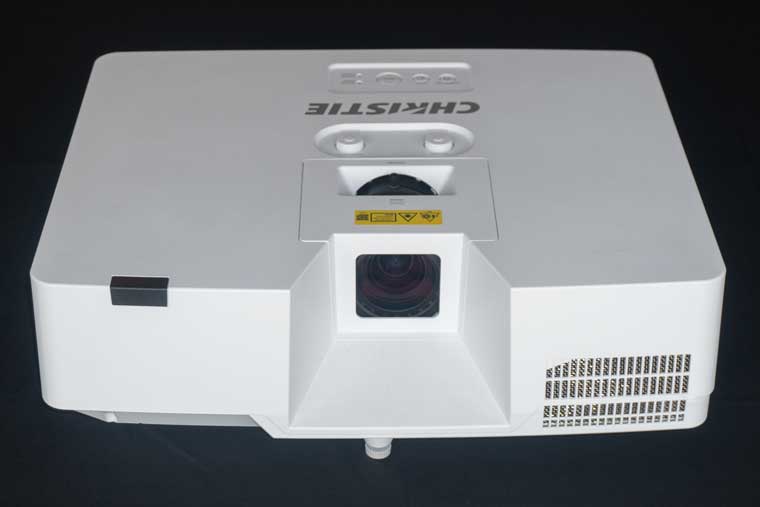
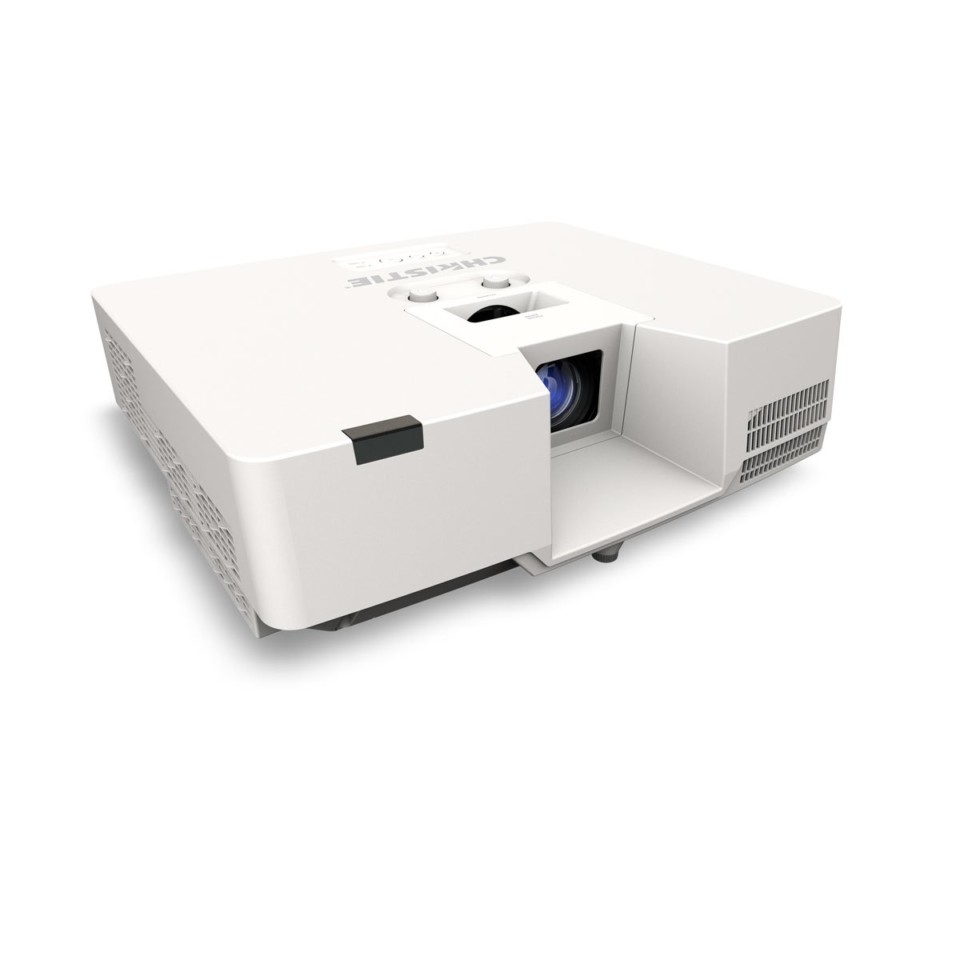
The Christie LWU530 shares the same chassis as Christie’s other APS Series projectors. While not as small as my home theater projector, the LWU530 is fairly compact and lightweight considering that the projector can deliver 5,000 lumens.

Dimensions are about:  20″ x 16 ¾” x 5 ½″ and the chassis weighs about 18.7 pounds.

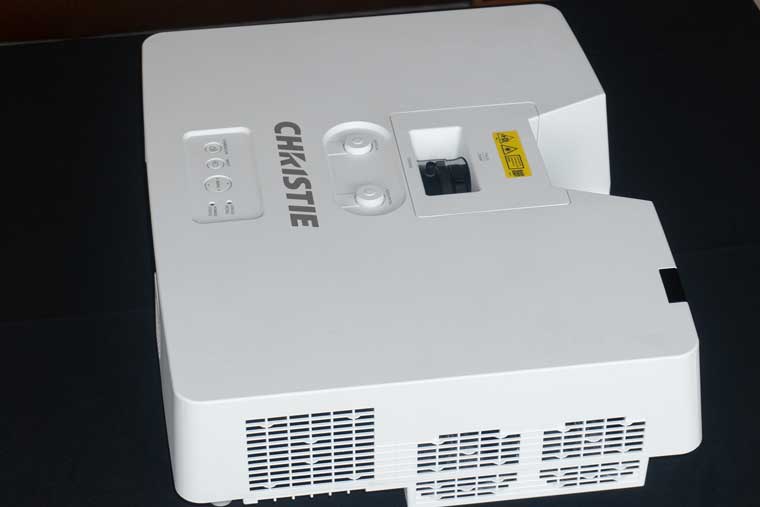
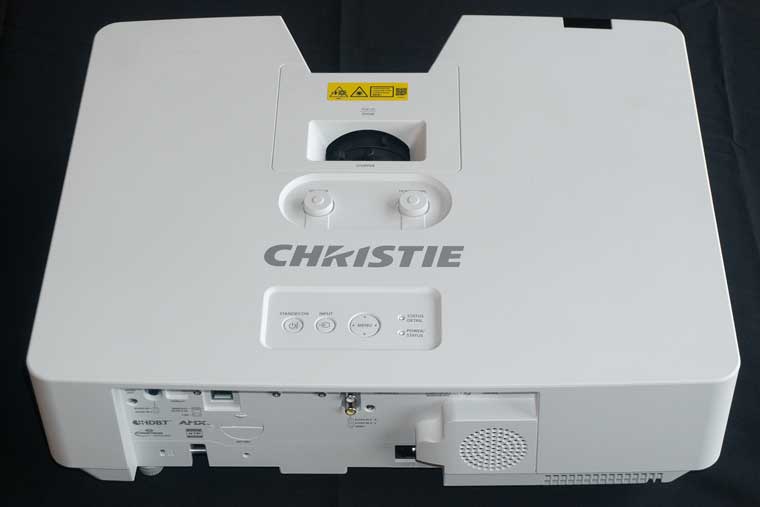
On the top of the chassis is the lens adjustment and the control panel. All inputs and connectors are located on the back side of the chassis along with a mono speaker.

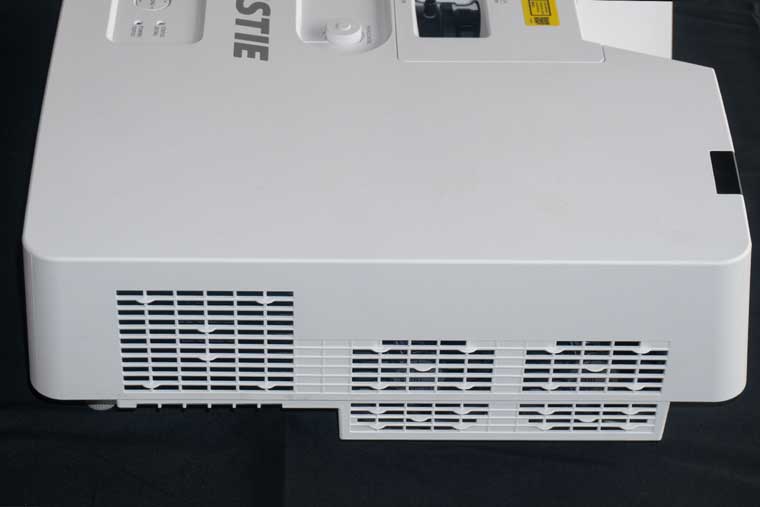
Cleanable/replaceable air intake filter occupies the left side of the chassis. Most of the right side of the chassis in taken up by large exhaust vent.

LENS

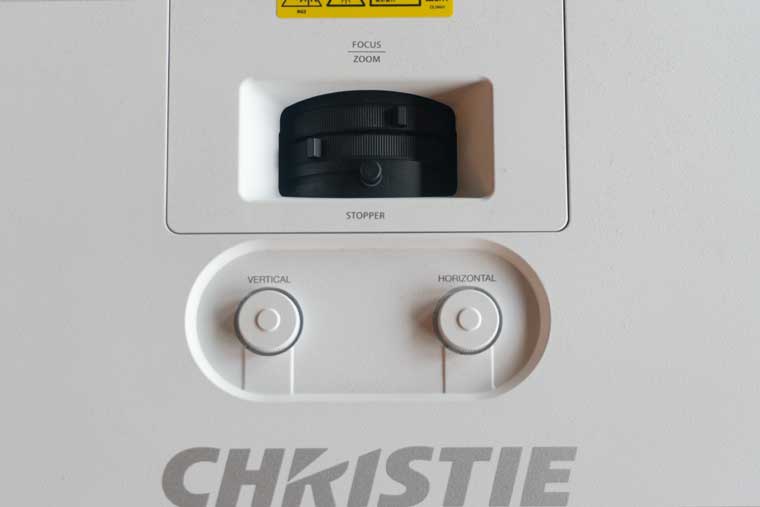
The lens of Christie LWU530-APS is not motorized but you can manually adjust focus, lens shift, and zoom. The projector’s lens adjustments are done via a manual zoom lever and focus lever located on the top of the chassis directly above the lens. The LWU530 has a 1.7:1 zoom ratio with a throw ratio of 1.4 to 2.4

The LWU530’s manual lens shift adjustments located on the top panel behind the zoom and focus adjustments.

CONTROL PANEL

The LWU530-APS has a simple control panel located on the top of the chassis toward the rear. The STANDBY/ON button is also located on the left side. There is an INPUT button in the middle with a 4-way cursor button to the right.

The cursor buttons are used to navigate the projector’s various menus. Cursor buttons are also used in conjunction INPUT button to switch between inputs.

INPUTS AND CONNECTORS

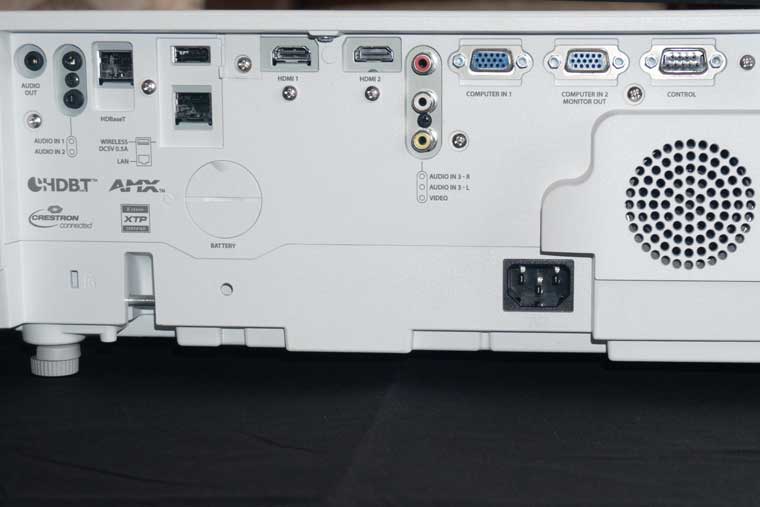
The LWU530-APS has a wide variety of inputs which are located behind two removeable panels. Behind the first panel is most of the inputs and connections.

The LWU530-APS includes two AUDIO IN and one AUDIO OUT mini jacks. There is the HDBaseT™ connector for running 4K video up to 70 meters over inexpensive CAT6 ethernet cable

Next is a standard RJ45 ethernet jack for connecting to the local area network. There is an USB input where you can connect an optional wireless adapter.

There are two HDMI inputs (with HDCP 1.4 for compatibility with 4K sources). There is also a composite video connection along with RCA audio inputs.

The projector includes a RGB Computer input and a RGB Monitor output which can be used to feed a second display. Note: the RGB input can also be converted into a component video input. Lastly, for command and control capability, there is a RS-232C serial port.

MENUS

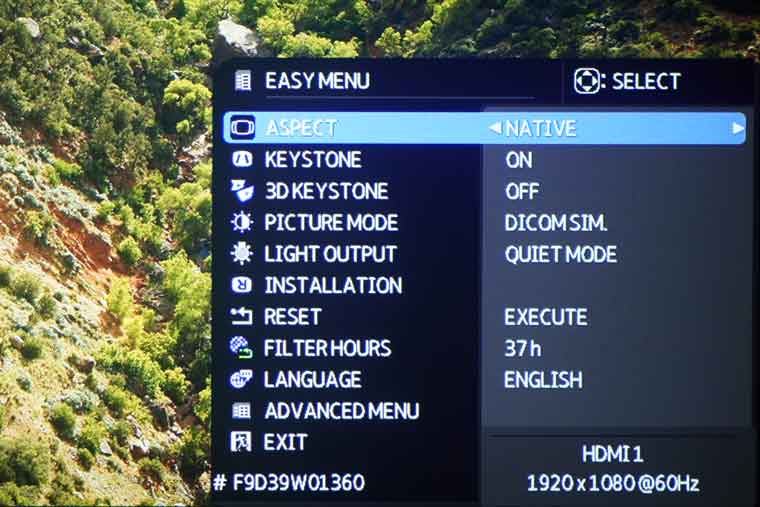
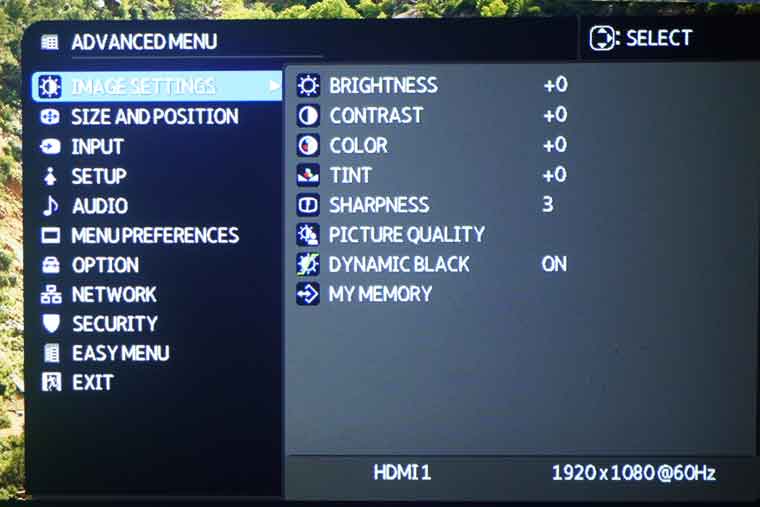
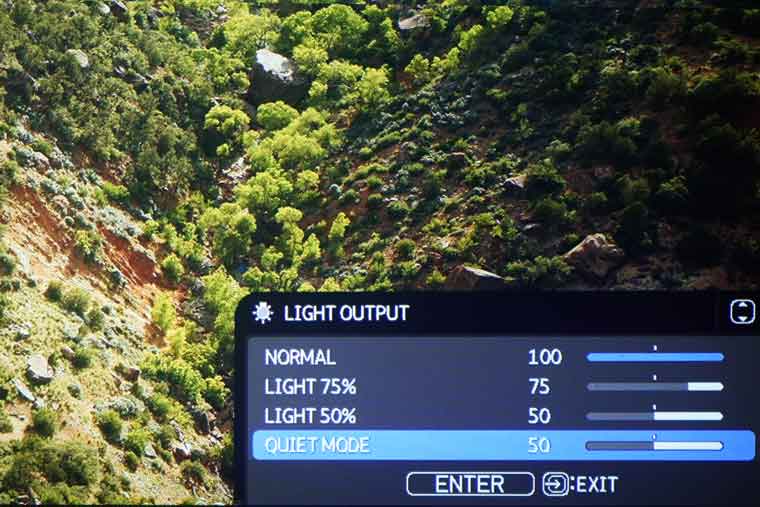
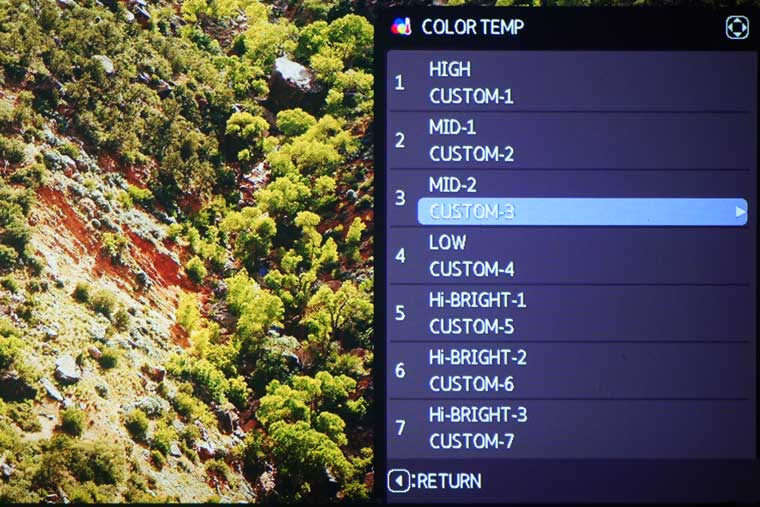
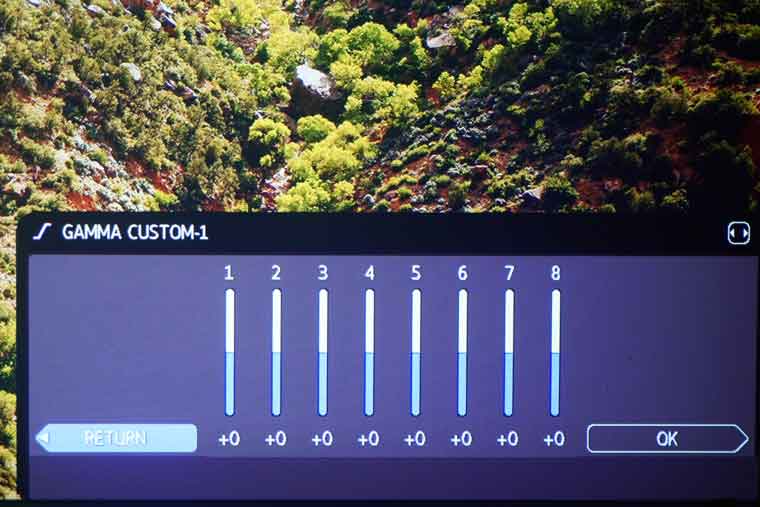
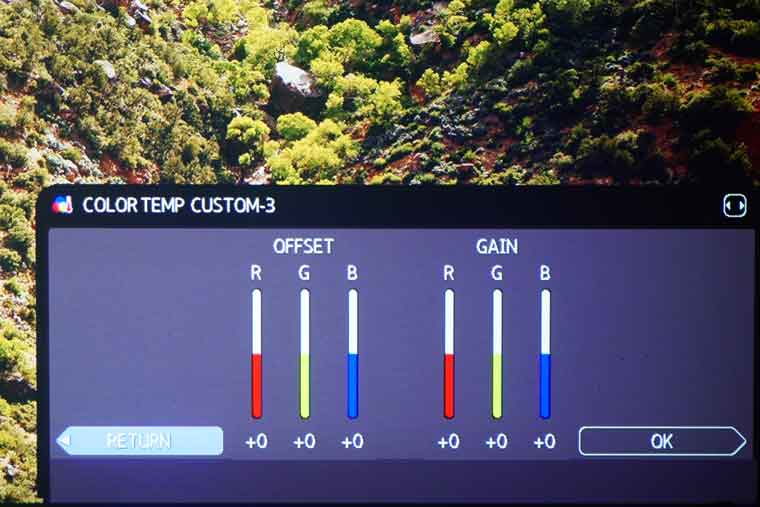
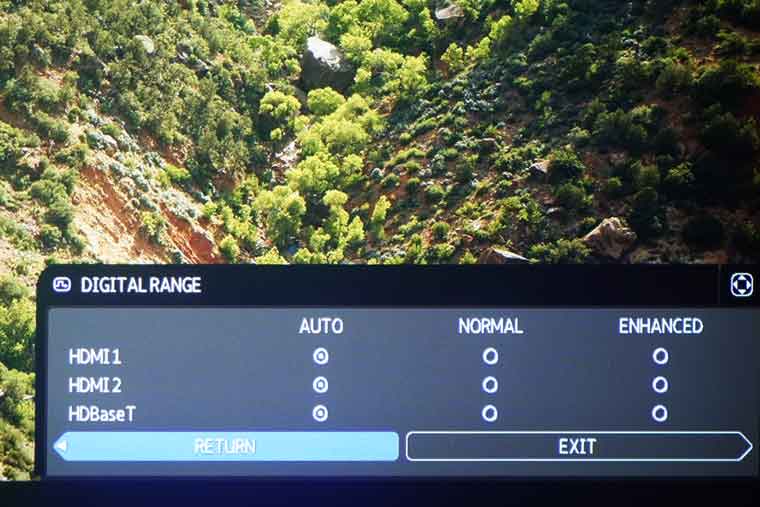
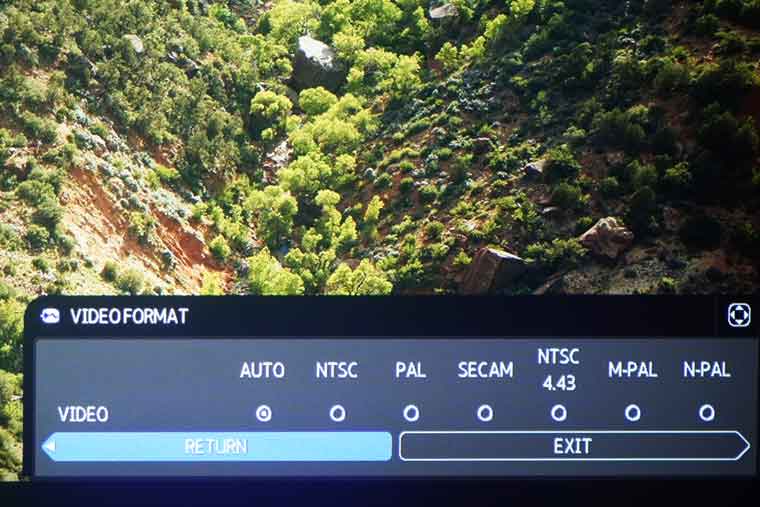
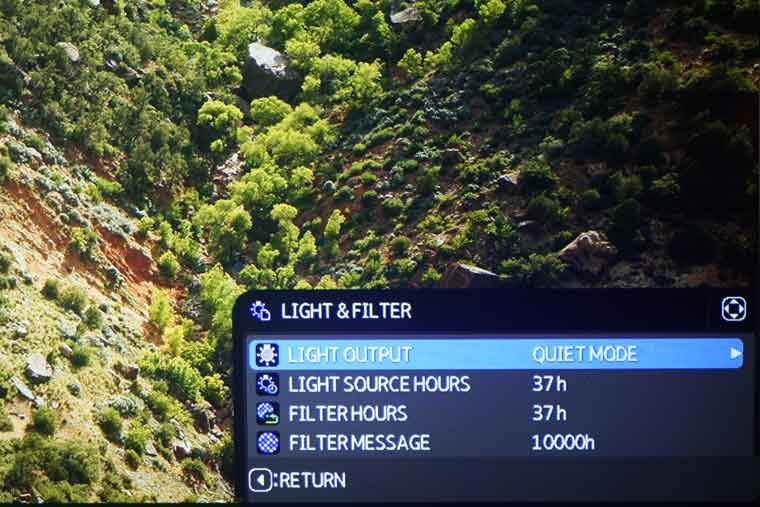
The LWU530 offers two menus. There is a Basic Menu that contains the commonly used adjustments as well as an Advanced Menu with more detailed setting. The images of the menu shown in this section represent only a small number of all the sub-menus available. I tried to show a couple more notable sections found in the most used sub-menus (image, setting, and networking, etc.).

The menu system is good – well organized and easy to navigate. The font size on the menus is a little on the small size compared to some, but very readable at a “normal” distance.

REMOTE CONTROL

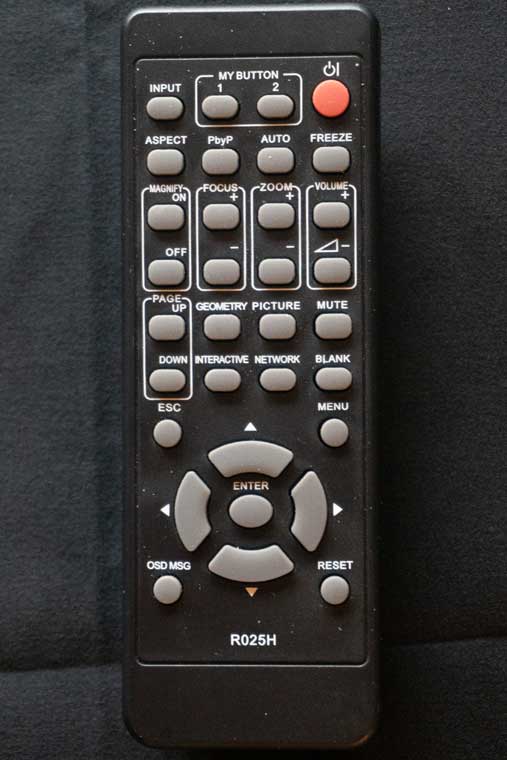
The LWU530 remote is compact but it is packed with buttons.

Between INPUT and STANDBY buttons are two MY BUTTON keys which can be assigned access to a certain input like HDMI 1 or a menu adjustment like Light Output or Picture Preset mode.

In the second row are buttons to switch between aspect ratios, turn on Picture by Picture (PbyP) mode and freeze the image on a single frame.

Included in the next section are buttons for digital zoom and volume buttons. Christie probably utilizes this remote on multiple projectors because the next section also includes a couple of buttons for power zoom/focus which are features that are not available on the LWU530.

The GEOMETRY button takes you straight to the Geometry Correction menu where the Keystone and 3D Keystone adjustments are located.

The PICTURE button provides direct access to the projector’s Picture Quality menu while the MUTE buttons temporary blank the image. The NETWORK button offers access the Network menu.

The final section are buttons used to navigate the projector’s menus. They include the MENU, RESET, and ESC buttons. There are Arrow Buttons with the ENTER button located in the middle of the arrows (up, down, left, right).

© 2024 Projector Reviews

crossmenu linkedin facebook pinterest youtube rss twitter instagram facebook-blank rss-blank linkedin-blank pinterest youtube twitter instagram