The Casio EcoLite XJ-V1 is a compact projector with a square footprint measuring 10.6 x 10.6 inches and with a height of 3.5 inches. While certainly larger than any pico or pocket projector, it puts out far more light than any of those smaller models.
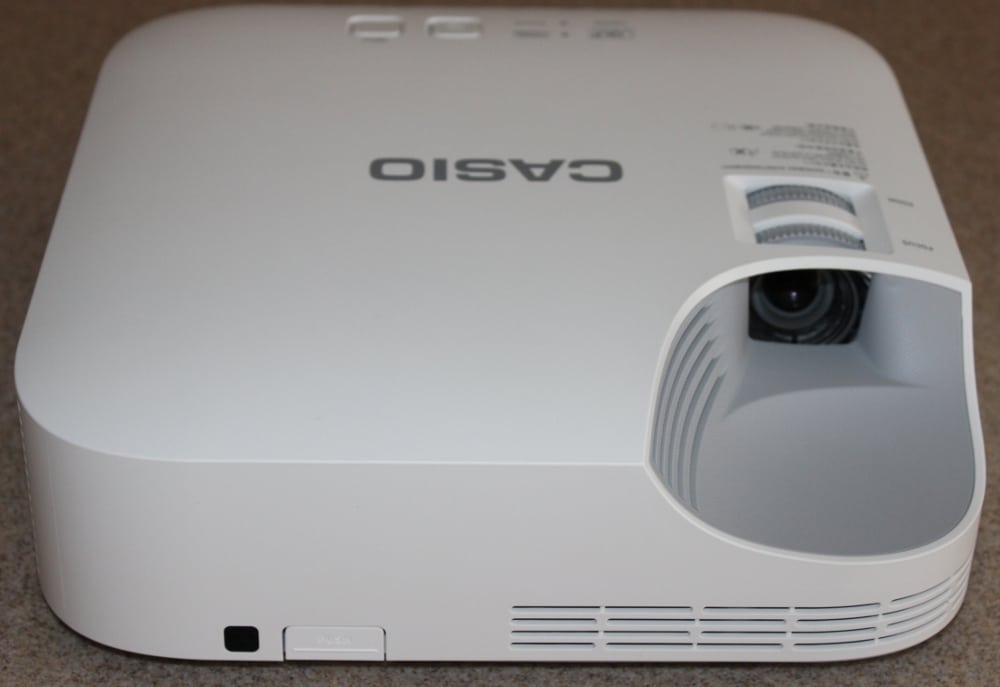
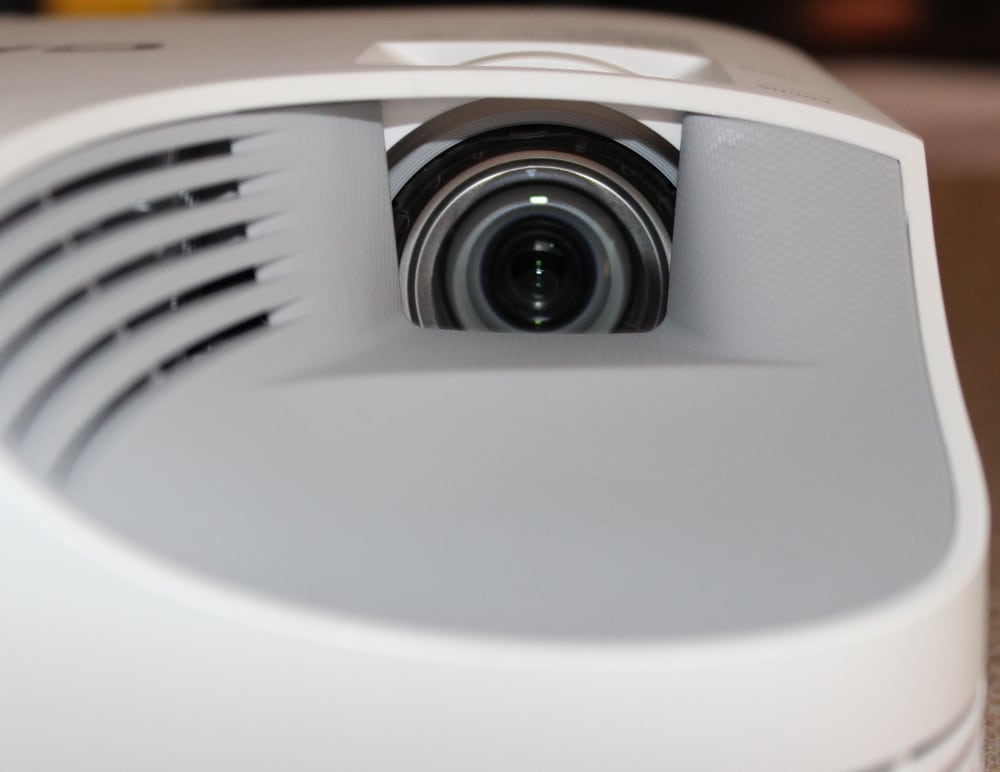
With the projector placed on a table, and when viewed from the front as shown in the 1st gallery photo above, the lens is in a sculpted recess toward the right side. Below the lens are ventilation slots. Toward the left side and near the lower edge of the front panel, is the small window for the receiving the IR signals from the projector's remote control. Just to the right of the IR receiver window is a button that is used to release an adjustable foot from the bottom of the projector (i.e., for tilting the projector upward when necessary).
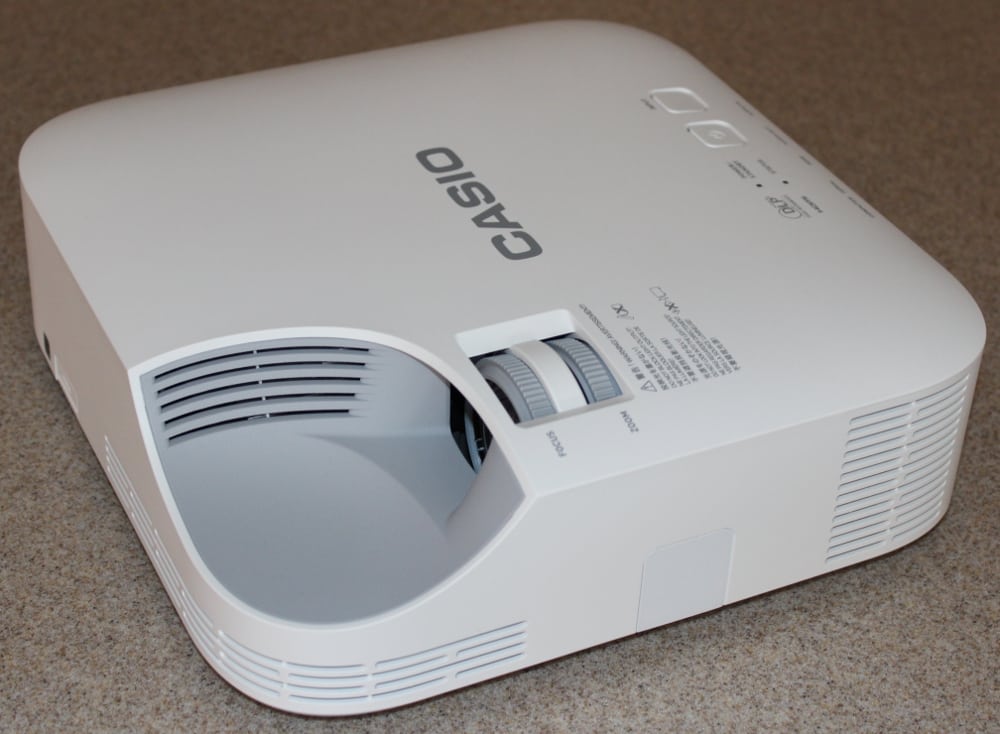
The right side of the projector has two groups of ventilation slots, as shown in the 2nd gallery photo above.
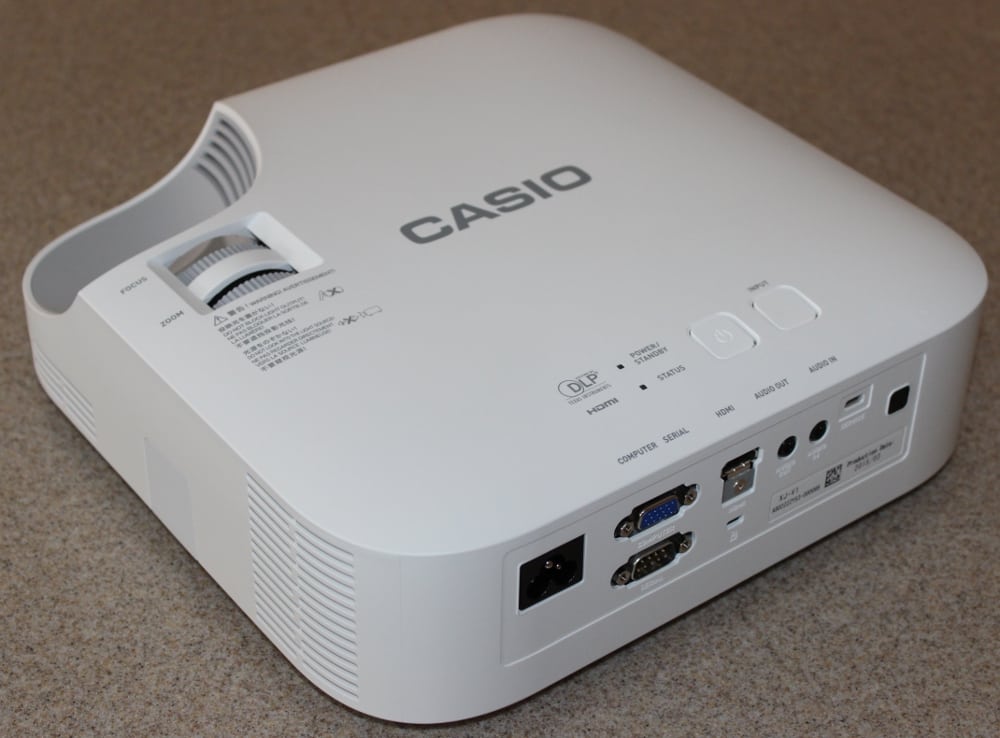
The rear panel of the projector, visible in the 3rd gallery photo above, has the connector panel that is described in a section below.
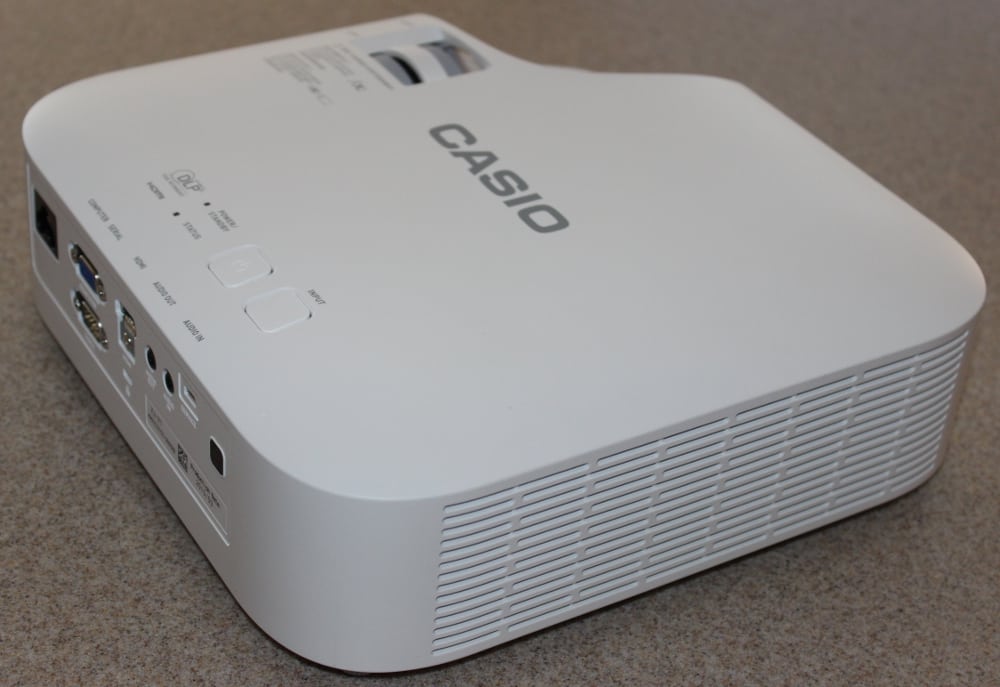
The left side of the projector, visible in the 4th gallery photo above, has a large ventilation grille.
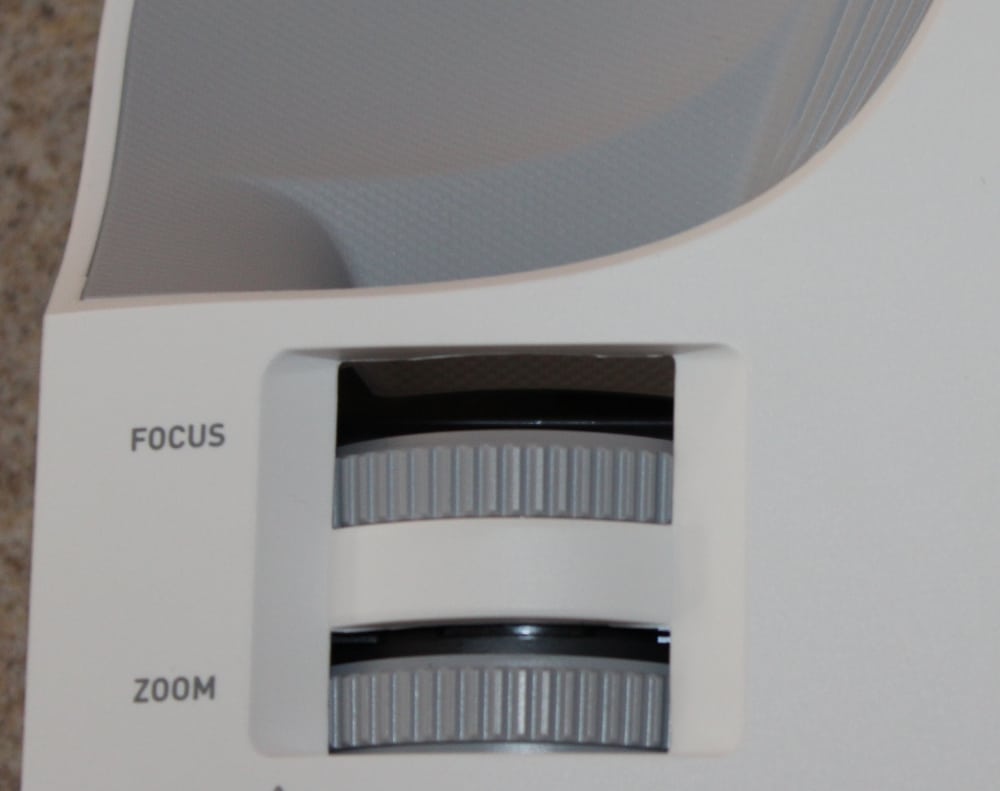
The top of the projector has the control panel and the lens zoom and focus adjustments, as described in the sections below.
Lens
As shown in the 1st gallery photo above, the projector's zoom lens is recessed in an sculpted area at the top-right corner of the projector, as viewed from the projector's front. The manual zoom and focus adjustments are accessed from the top of the projector, as shown in the 2nd gallery photo above. While this is a zoom lens, its zoom range is extremely limited as it only has a 1.1x zoom range. Even though the zoom range is very limited, even small changes to the zoom setting require a change to the focus adjustment to restore a sharp image. With its very limited zoom range, the zoom adjustment can be thought of a providing the means to fine tune the image size to fit the screen, while a previous setup step will needed to physically position the projector the distance from the screen that will produce an image size close to the screen size.
The XJ-V1's lens has a moderate throw ratio of 1.54:1 to 1.71:1 (with zoom at maximum and minimum settings respectively). With a 100 inch diagonal, 4 x 3 image (80 inches image width) this means the projector can be located between 10.1 ft. and 11.2 ft. from the screen.
The lens does have a fairly large vertical offset of 72% (of image height) meaning when the projector is placed on a table the bottom of the image will be well above the position of the projector (even without using the projector's adjustable foot to tilt the front of the projector upward). For example, a 100 inch diagonal 4 x 3 image would be 60 inches vertical and 72% of 60 inches is 43.2 inches and thus the center of the image would be 43.2 inches above the center of the projector's lens, or the bottom of the image would be 13.2 inches above the center of the projector's lens. Thus the projector needs to be placed on a table that is a foot, or so, lower than the bottom of the projection screen. For ceiling mounting this amount of offset may be work out well since the projector would typically be located well above the top of the screen.
[sam_pro id=1_83 codes="true"]
Control Panel

The EcoLite XJ-V1 has a extremely simple control panel, as shown in the above photo, that is located on the top of the projector There are only 2 buttons with the left one for Power On/Off and the right one to select the Signal Input. Two status lights are located to the left of the buttons. The bottom line is you will need to have the projector's remote control handy, since most of the projector's functions can only be accessed via the remote.
The connector panel, as shown above, is located on the rear of the projector. As shown in the 1st gallery photo above, there are labels along the rear edge of the top of the projector that describe the type of connection on the rear panel below that label. The connectors are shown in the 2nd gallery photo where there are also labels molded into the rear panel next to the individual connectors. Depending on the lighting these can be somewhat difficult to see. as they are in the 2nd gallery photo.
Going from left to right across the connector panel are the:
- AC power connector,
- Analog Computer (VGA style) connector (top) and Serial Communication (RS232) connector (bottom)
- HDMI digital video/audio connector (top) and Security Connector (bottom)
- Audio Output connector (for connecting to external powered speakers)
- Audio Input connector
- Service port/connector
- Window for IR remote control receiver
Remote Control
The EcoLite XJ-V1's remote control is fairly small and has no backlight for the buttons. At the top-left in a button for selecting the signal input and at the top-right is the power on/off button. Below those are the Menu button toward the left and the Esc button (to return to the previous menu) toward the right.
Next down are the 4-way navigation buttons with an enter button at the center.
Below that are 3 group of +/- buttons for controlling the digital keystone adjustment, the digital zoom adjustment (to magnify a portion of the image), and the audio volume (since there is no internal speaker, this just adjusts the volume for the audio output connection).
Below those 3 pairs of buttons are buttons for Blanking the displayed image, Freezing the displayed image, and placing the projector in Eco reduced power mode.
Finally there are 4 buttons positioned vertically to the right of the above buttons that are for Timer, Auto, Aspect and Function.
 Click Image to Enlarge
