Menus
IMAGE ADJUSTMENT 1 Menu
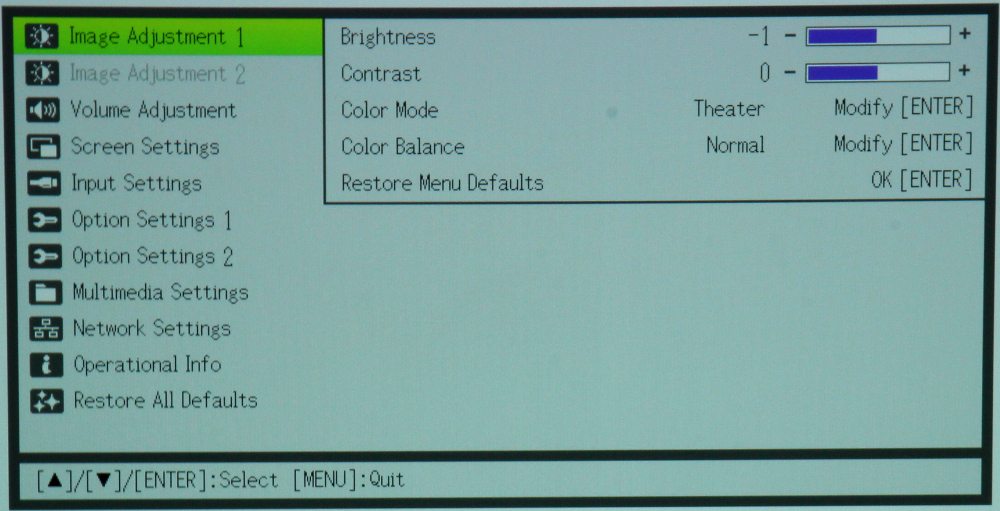
When the remote’s or projector's Menu button is first pressed the “Image Adjustment 1″ menu is displayed, as shown in the 1st gallery photo above. The available menus are displayed in the left side of the screen while the adjustments and information for the selected menu (the one highlighted in green) are displayed on the right side. From the Image Adjustment 1 menu the brightness and contrast can be adjusted as well selecting the desired Color Mode and Color Balance.
The 2nd gallery photo shows the sub-menu with the available choices for Color Mode.
The 3rd gallery photo shows the submenu with three choices for Color Balance. The default Color Balance is “Normal” and for this choice the individual red, blue and green gain settings can be adjusted by the user.
[sam_pro id=1_83 codes="true"]
IMAGE ADJUSTMENT 2 Menu
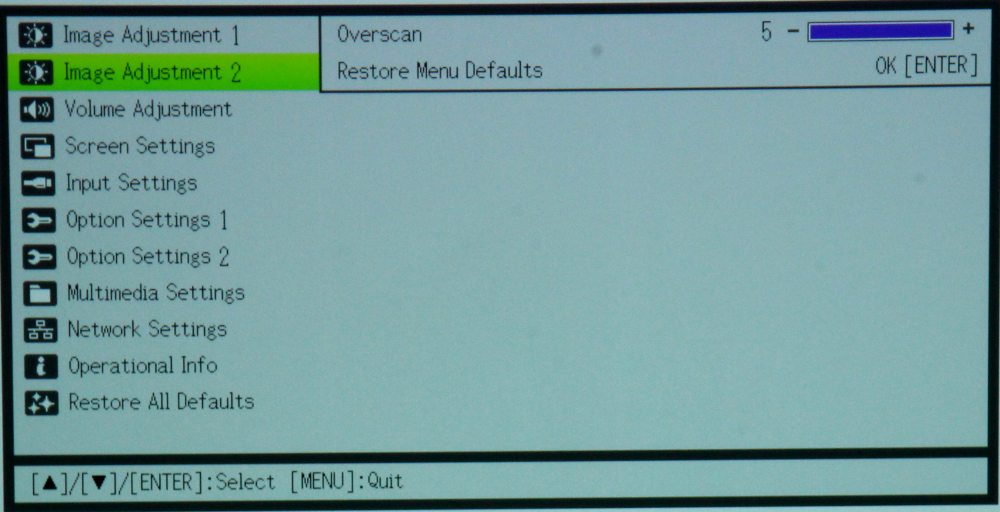
The 4th gallery photo above shows the Image Adjustment 2 menu. This menu has a single adjustment for image overscan.
VOLUME ADJUSTMENT Menu
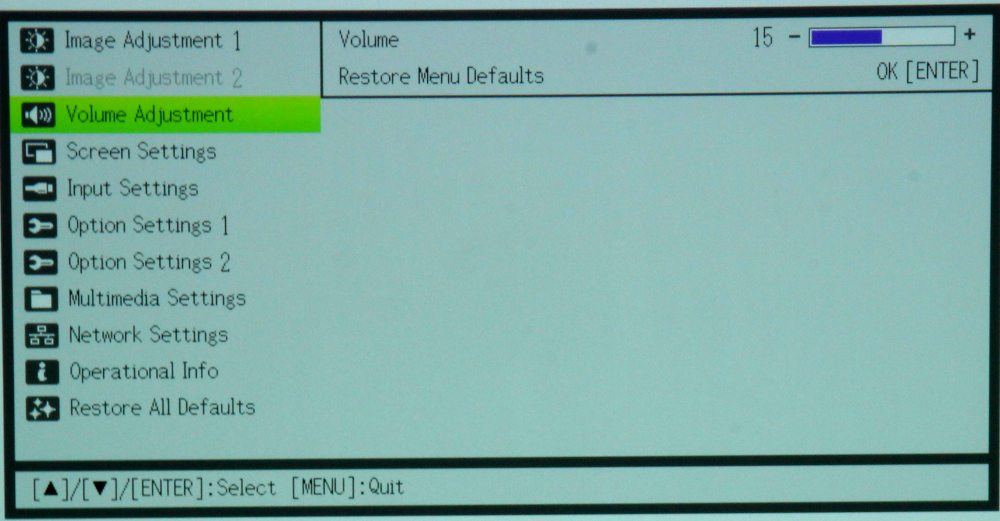
The 5th gallery photo shows the Volume Adjustment menu, which only one item. Since this projector has an internal speaker, this adjustment controls the speaker volume and also the audio volume when an external powered speaker(s) is connected to the projector’s audio output connector.
SCREEN SETTINGS Menu
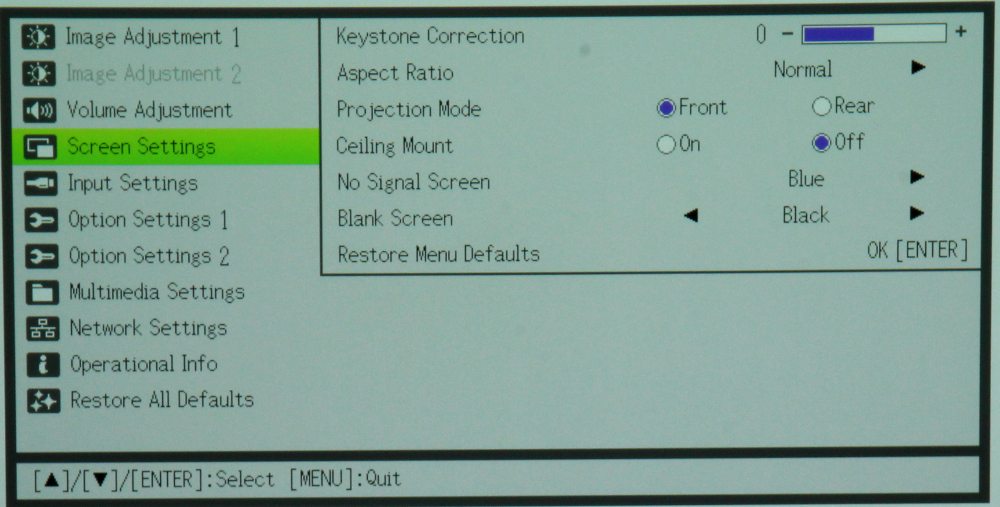
The 6th gallery photo shows the Screen Setting menu that includes several items for configuring the projector. Included are adjustments for digital Keystone correction and for selecting the Aspect ratio to be used for the displaying the image. There are also settings to configure the projector for front vs. rear projection and for ceiling vs. table mounting of the projector. The user can also select the color to be displayed when there is no input signal present and also the color for when Image Blanking is selected.
INPUT SETTINGS Menu
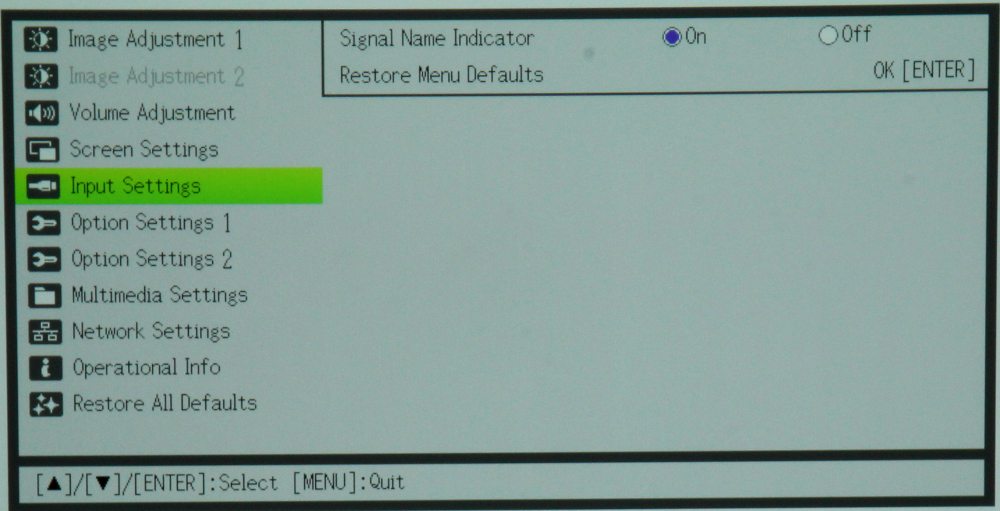
The 7th gallery photo shows the Input Settings menu. This menu has only a single setting for either showing an on-screen display of the input being used, on not.
OPTION SETTINGS 1 Menu
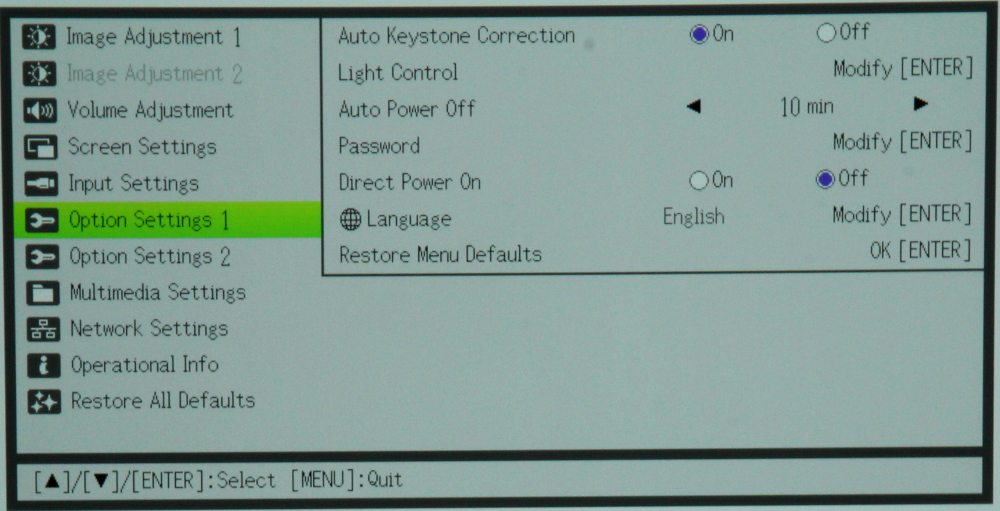
The 8th gallery photo shows the Option Settings menu. The first item on this menu is to turn auto keystone correction on or off. Rather than a simple Eco setting this projector has a light output adjustment with multiple steps from full brightness down to approx. one half brightness.
The Option Settings menu also offers user settings for:
- Automatic power off after a selected time following loss of input signal
- Adding a password to limit access to the projector
- Configuring the projector to directly turn on when power is applied (i.e., without the need to use the projector’s or the remote control’s power button)
- Configuring the projector for the desired menu language
OPTION SETTINGS 2 Menu
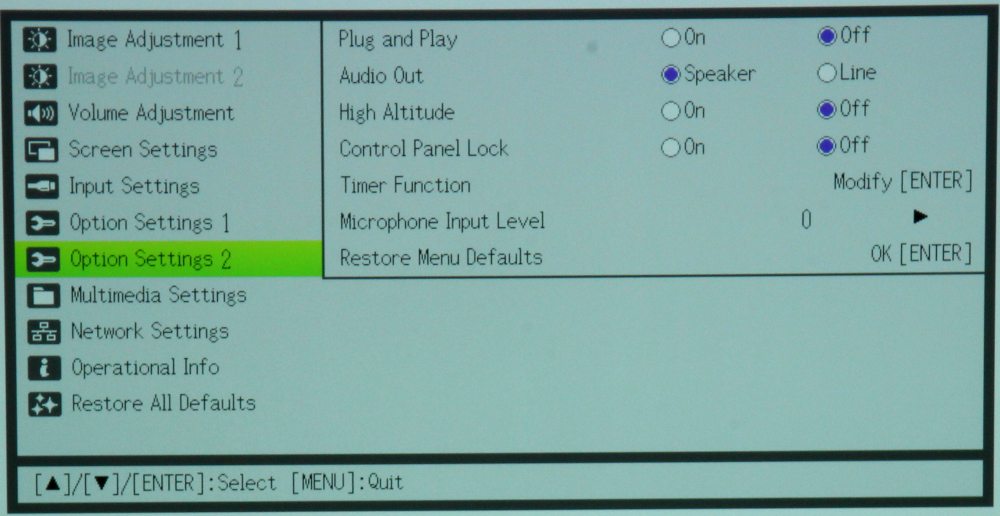
The Option Settings 2 menu, shown in the 9th gallery photo above, offers settings for plug and play on/off, audio output as either built-in speaker or line output (i.e., for when external powered speakers are connected), high altitude mode (which runs the fan at a higher speed for improved cooling), control pad lock, a setting for the projector’s timer function and a setting for the microphone input level.
MULTIMEDIA SETTINGS Menu
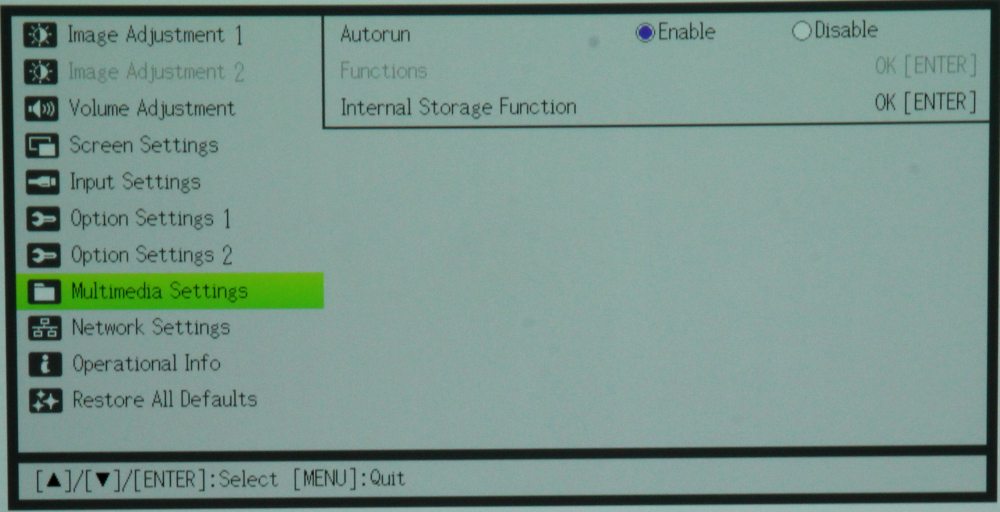
As shown in the 10th photo above, a single setting is provided to autorun multimedia presentations or not.
NETWORK SETTINGS Menu
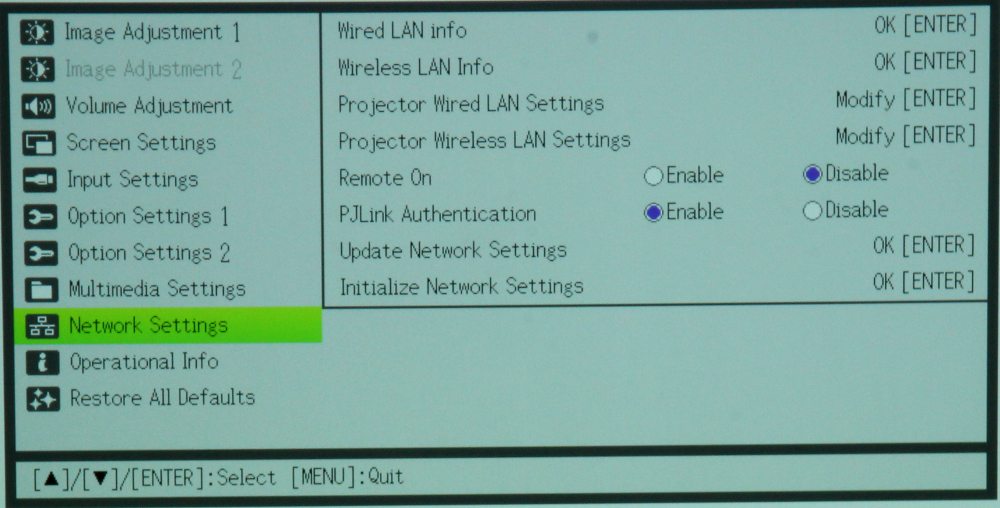
As shown in the 11th photo above, this menu offers settings for both wired and wireless network connectivity. It also offers support for PJLink, which can be enabled for when a computer is being used to manage the projector's functions across a network.
OPERATIONAL INFO Menu
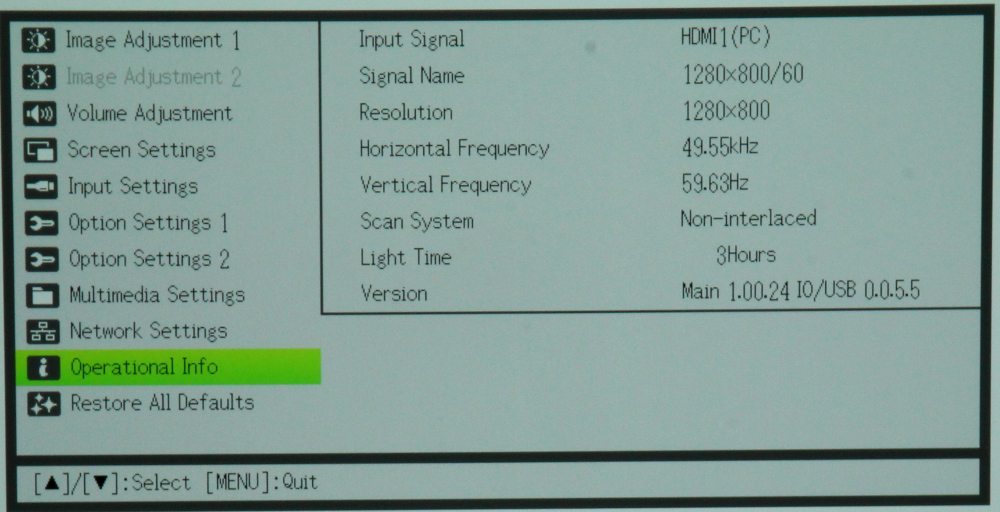
The Operational Info menu, shown in the 12th gallery photo above, provides information on the status of the projector, including information on the input signal, the number of hours of operation for the projector’s light engine and the projector’s firmware version number.

