Main menu
This menu provides access to the projector’s user adjustments.
This is a rather basic projector with a minimum of physical adjustments or controls accessible on the projector itself. A small control panel is located on the top of the projector toward the rear. It includes the power button, a power LED indicator light and an input selector button that allows the user to cycle through the projector’s signal inputs. The input selector button serves double duty by also being use to enable or disable a keylock feature when the button is held down for 3 seconds. The control panel also has a status light to indicate operating status or error condition. Also located on the top of the projector, toward the front and just above the lens, is the focus ring. The projector’s only IR sensor, for receiving signals from the remote control, in located on the front of the projector.
The LE-5W, in addition to the conventional placement sitting on a table, offers a tripod socket on the bottom of the case that might come in handy in some situations where a table is not located in the appropriate position relative to the screen. When positioned on a table the projector can be tilted upward using an adjustable front foot.
 Click Image to Enlarge
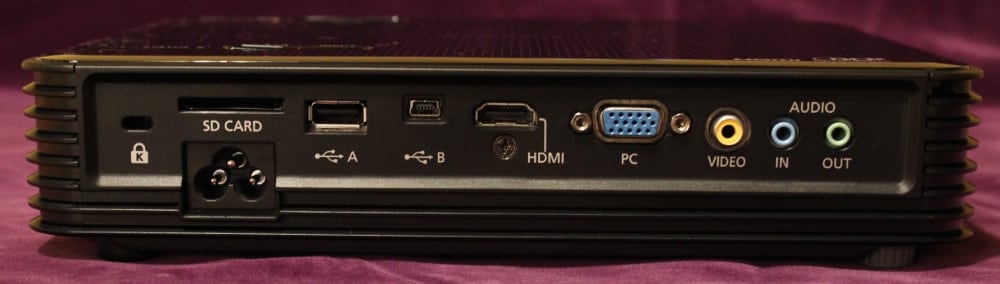
The rear panel of the LE-5W hosts the usual set of input and output connectors, include one each HDMI, PC analog (VGA-style), composite video, stereo audio, Type A USB, Type B USB, a SD card slot, and a power cord connector.
 Click Image to Enlarge
The LE-5W offers a rather straightforward set of menus and physical adjustments for setting up the projector. Since the LE-5W does not have a zoom lens, the distance from the screen to the projector determines the size of the projected image. For best image geometry when table mounted, the bottom of the projection screen should be about the same distance above the floor as the projector. The only mechanical adjustments on the projector are an adjustable front foot (for adjusting the upward tilt of the projector) and the focus wheel.
The Menu button on the remote control brings up the display.
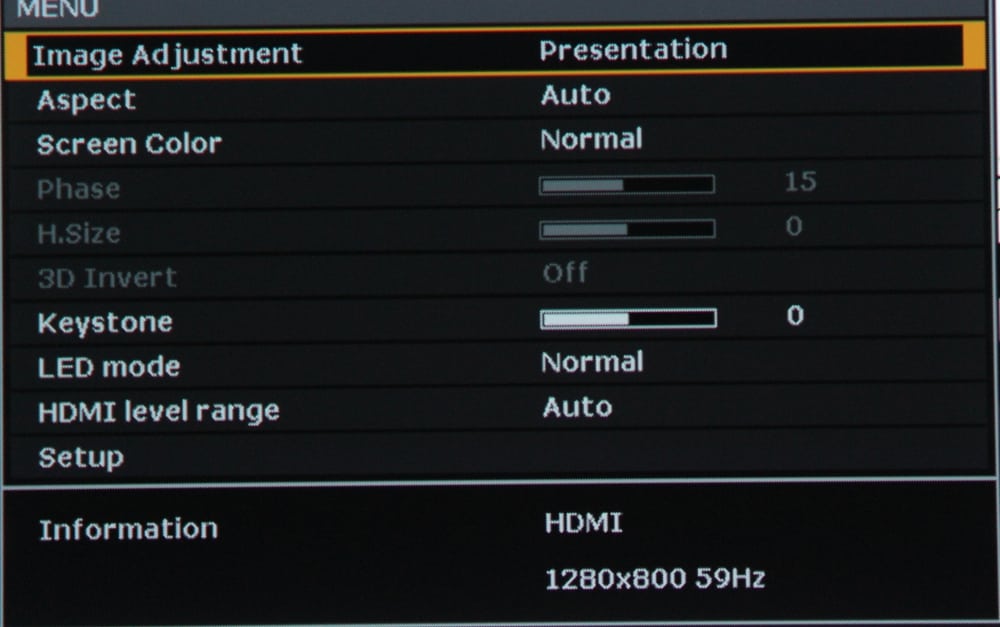
This menu provides access to the projector’s user adjustments.
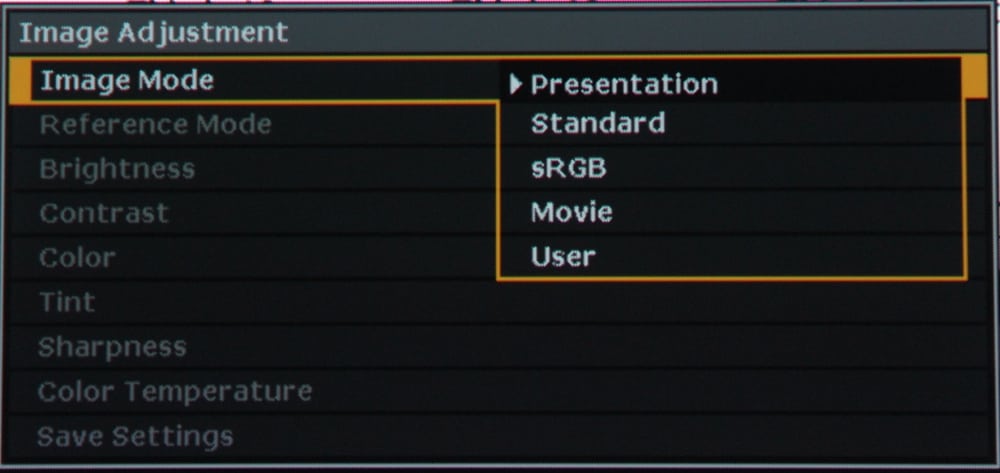
Selecting “Image Mode” allows the user to select one of the five available modes.
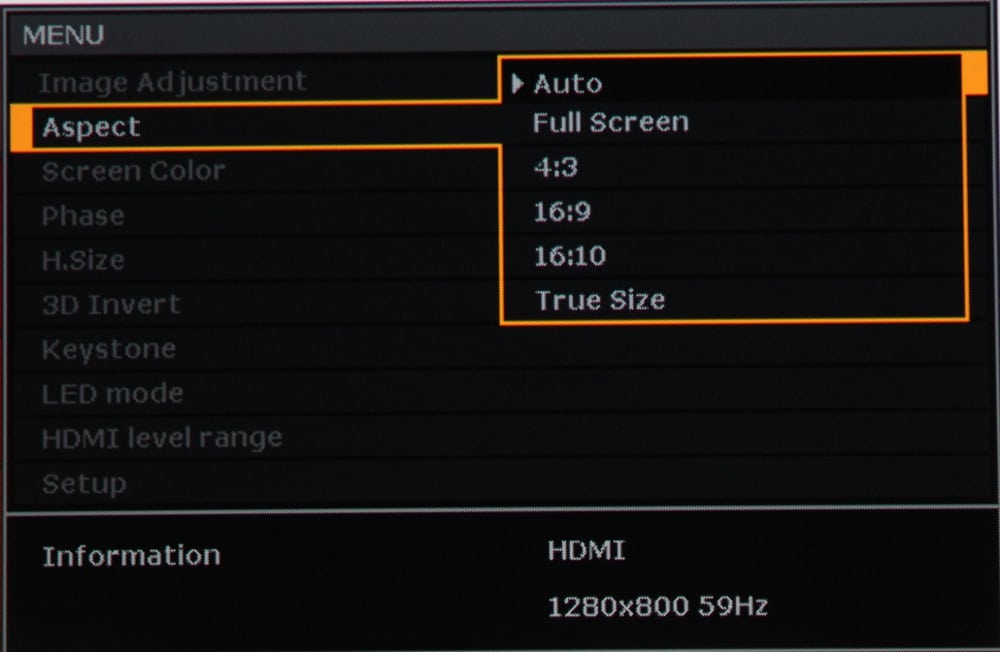
Selecting “Aspect” allows the user to select the desired aspect ratio of the projected image, while the default “auto” setting will work for most types of material to be displayed.
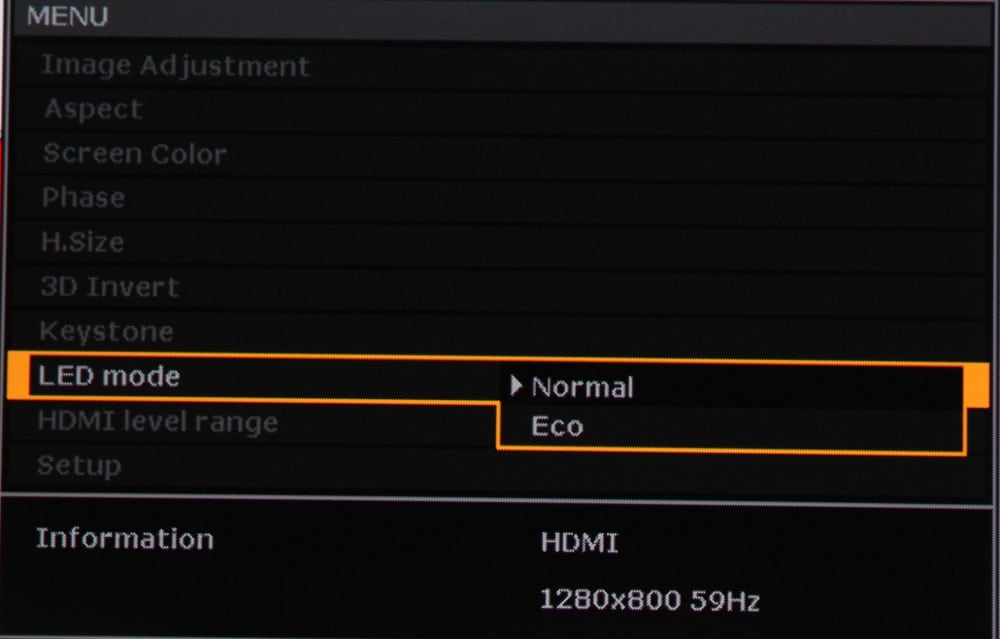
The menu item for “LED Mode” allows the user to select either the “Normal” (full brightness) mode or the energy saving “Eco” (reduced brightness) mode.

The menu item for “HDMI Level Range” allows the user to select full range (i.e., for use with a PC) or limited range (i.e., for use some video sources). In most cases the default ‘auto’ will automatically select the appropriate range.

The menu item for “Setup” displays a projector setup screen.

The Setup menu allows the user to select several items for configuring the projector. In general, these items will only need to be configured by the user when the projector is first used.
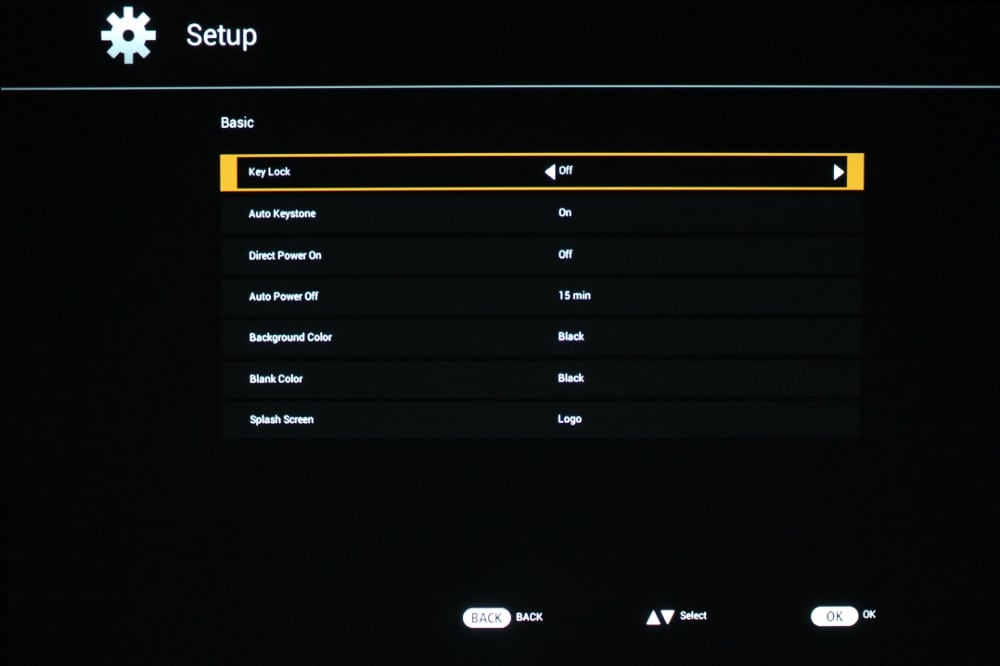
The items that can be configured for the “Basic” setup are shown in the menu below.

The “Advanced” setup menu offers additional options, as shown in the menu below, that can be configured by the user.
The menus items for “Phase” and “H-Size” are intended to allow the user to adjust the projector to best accommodate the input signal and to adjust projected image to better fit onto the projection screen. The menu for these adjustments are grayed out (not accessible) except when the analog PC input is selected.
The ‘Keystone’ adjustment allows the user to change the geometry of the projected image to create a rectangular image. This adjustment is useful when the projector has not been positioned at the optimum vertical position relative to the location of the screen. The ‘Keystone’ adjustment is available in all image modes.
The menu item for “3D Invert” is used with projecting 3D video and allows the user to reverse what the right the left images in order to be compatible with the active 3D glasses being used by the viewer(s).
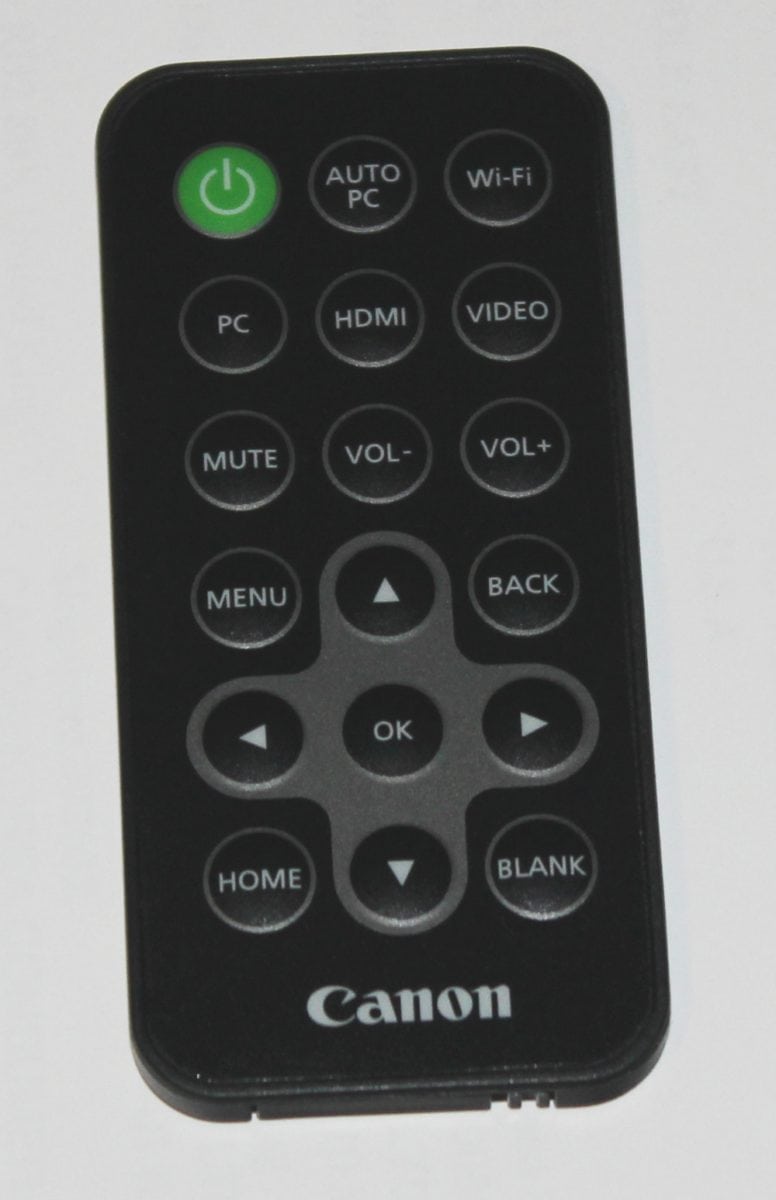
The LE-5W is supplied with a very compact remote control that is powered by a single button cell. It provides direct access, with dedicated buttons, for the projector’s inputs as well as a “menu” button and menu navigation buttons.
 Click Image to Enlarge
In my use of the LE-5W, I noted the signal from supplied remote control was not received when I was standing behind to the side of the projector. This results from the projector only having a IR remote pickup on the front of the projector. When standing in front of the projector, the remote operation seemed reliable as long as I didn’t move too far off toward the side of the projector.