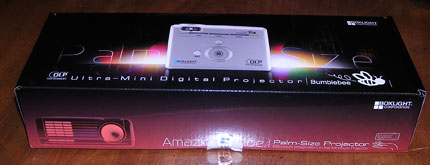
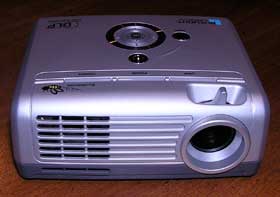
I'm on a roll, as this is my second review of an LED powered palm sized projector in about a month. First to clarify, the LED's are the light source, the projector itself is a single chip DLP projector, like so many other larer projectors. The advantage of LED lighting is low power consumption, which among other things allow a projector like the Boxlight BumbleBee to run about 2 hours off of its rechargeable, snap on, battery pack.
In my first review, the Mitsubishi PK20, I was pleasantly surprised that it's official 25 lumens is actually bright enough to be useful for some applications. With that in mind I was excited to get the Boxlight BumbleBee in for review. The BumbleBee, which is almost identical in size to the PK20 is rated by Boxlight, as having 150 lumens, making it theoretically 6 times as bright as the PK20, and for that matter brighter than the early LCD portable projectors of 1994 (Proxima DP2800 - 110 lumens/19 pounds.
Alas, when it comes to brightness, the Boxlight was a letdown. It fell far, far short of the 150 lumen claim, although was still a bit brighter than the Mitsubishi PK20. That said, like the PK20, there are those that will find the BumbleBee to be a great little projector, for specific (and usually non-traditional) applications.
Boxlight BumbleBee LED/DLP Projector: Physical Tour
Facing the front of the BumbleBee projector, the small lens (no zoom) is recessed on the right side of the projector. On the left side of the front is a grill for the fan exhaust. The BumbleBee will fill a 50 inch diagonal screen from a distance of 5 feet, 6 inches. That gives it the same setup specs as the Mitsubishi PK20. When you set it up and point it at a screen straight in front of it, some of the image will be below the lens level, but much will be above.
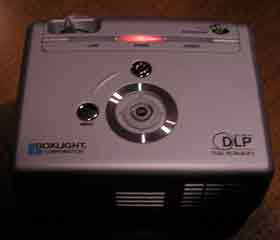
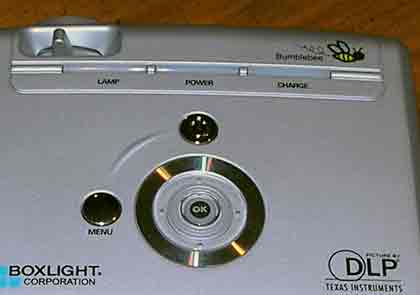
The focus tab for the BumbleBee is located on the top, directly behind the lens. the top of the projector also sports the control panel, which consists (looking at it from the rear), three lights across the front, one for lamp, one for power and one to indicate the battery is charged. Moving toward the back, in the center is the power button. and behind it, a round rocker ring for the four arrow key functions, when navigating the menus, and a center "push down" for the Enter key. To the left of the ring is the Menu button.
Review continues below this advertisement.
Moving to the right side (again looking from the rear of the BumbleBee), you will find the input panel. It consists of standard S-video and composite video inputs, an HD15 connector for VGA computer or component video (actual resolution of the BumbleBee is SVGA (800x600), and it supports resolutions (verified) up to 1280x1024 (SXGA). Below those inputs are an SD card slot, for easily viewing files such as photos from your digital camera, or, perhaps, presentations, from other sources. In addition there is an audio in, and audio out, as well as the small power receptical. The rear of the BumbleBee has more venting. (Image above shows Bumblebee with attached batery pack.)
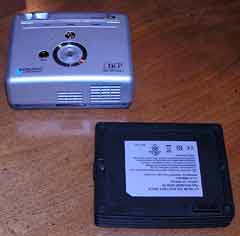
That takes us to the bottom of the BumbleBee. There are four small rubber feet (not adjustable) and a small covered door that can be opened to expose pins that will connect with the optional battery pack. To put on the battery back, open that door, fit the feet into the recesses in the battery pack, and the two side latches on the battery will snap shut, to hold it firmly to the projector. It's that simple. Appoximate time to attach the battery back - 5 seconds.
That about covers the physical attributes of the Boxlight BumbleBee. It's included remote will be looked at in the general performance section. Time to consider image quality.

