Boxlight Specs | |
---|---|
Price | |
Technology | |
Native Resolution | |
Brightness (Manufacturer Claim) | |
Contrast | |
Zoom Lens Ratio | |
Lens Shift | |
Lamp Life | |
Weight | |
Warranty |
Interactive projectors are rapidly becoming a popular item for education and business presentations. Having the ability to annotate with highlighting or comments can really jazz up your presentation, as well as getting your audience directly involved. So, if you’re planning to make a projector purchase in the near future, exploring the possibilities of an interactive projector makes sense. But what if you already have a high quality projector that you plan on keeping for years to come, or if your needs are such that that the best projector available does not include interactivity. Well, Boxlight, a company known for their high quality projection equipment (including interactive projectors), has a solution for you.
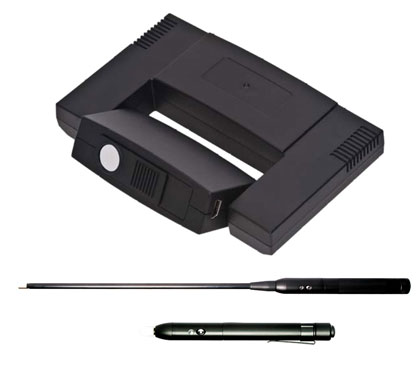
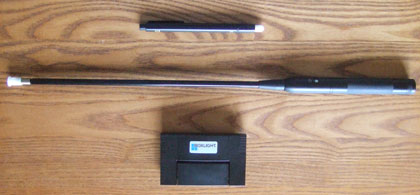
The Boxlight OutWrite 1.4 is a standalone interactive module that can provide any projector with interactivity. The OutWrite comes with everything you need to adapt to your projector, including a mounting bracket for ceiling mounted projectors. In addition, there is both an interactive pen and wand provided, all for a street price of around $600. While there are interactive projectors on the market that sell for as low as $600, they don’t all allow for full annotation of virtually anything that’s displayed on your computer like the OutWrite’s included software does. Also, having both a pen and a wand (that can be extended from 20.5” to 32”) expands the interactive potential for a variety of presentations. So, how easy is it to add an OutWrite module to your projector? Let’s take a look.
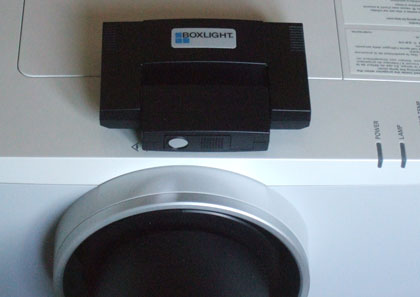
As alluded to above, the Boxlight OutWrite 1.4 comes with everything you need to add it to your projector. There is a two page Quick Start Guide that goes through the relatively simple installation steps. If your projector is ceiling mounted, there is a mounting bracket that is made to attached to your projector’s ceiling mount. If your projector resides on a table, the OutWrite module has rubber feet on the bottom of it to allow it to sit on top of the projector. In either case, you attach the included USB cable to the OutWrite module and then to your computer. You then position the OutWrite unit so that its lens is lined up vertically with the projector’s lens and open the sliding lens cover of the module. Next, you copy the software folder from the included CD to your hard drive, open the folder and execute the program from there. The software will set up a vertical control bar on your screen. You then turn on the preview window to make sure the projected image is within the viewing window. You then close the lens cover and select the approximate projection range (less than 2 meters, more than 2 meters, or more than 3 meters). You’re now ready to use either of the interactive tools (pen or wand).
Both the pen and the wand come with batteries so you’re ready to go immediately after setup. As is the usual case, the pen has a pressure sensitive tip that allows you to draw on the projection surface. The wand has a button that must be held down for the same effect. Either can also be used as a wireless mouse.