Projector Reviews Images

BenQ TK850i 4K SMART HOME ENTERTAINMENT PROJECTOR REVIEW-HARDWARE

Posted on February 12, 2021 by Philip Boyle

BenQ TK850i 4K SMART HOME ENTERTAINMENT PROJECTOR-Hardware: Lens, Lens Shift, Control Panel, Inputs and Connector, Built-In Speaker, Remote Control, Menus.

LENS

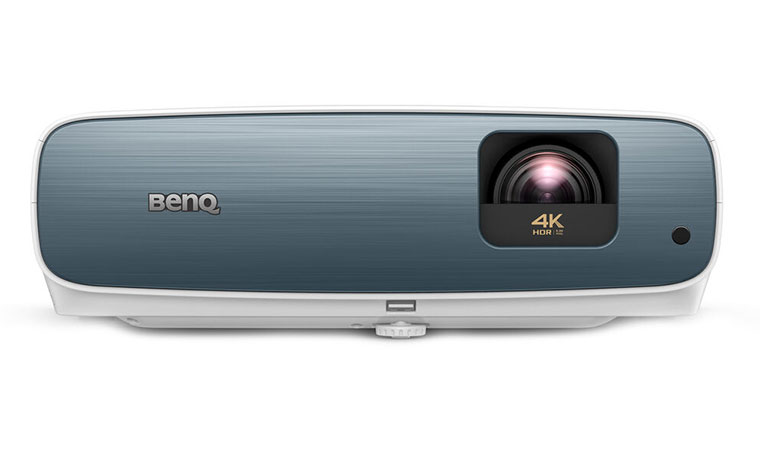
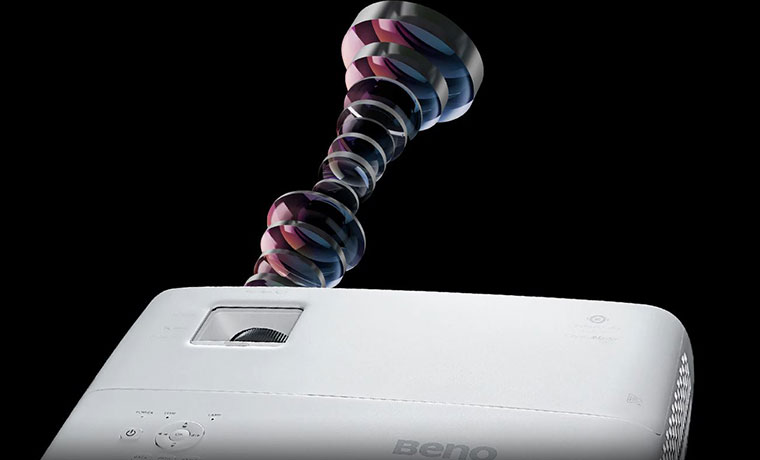
The TK850i uses what BenQ calls a 4K optical system. This system is made for 4K and uses the highest quality glass for superior realism according to BenQ. In addition, the TK850i optical system uses a proprietary low-dispersion lens coating to minimize chromatic aberration. I have to say, whatever is in the BenQ lens secret sauce works pretty good, showing no visible artifacts and none of the typical chromatic aberration that is normally associated with a projector’s optics in this price range. BenQ uses a 10-element, 8-group lens array which, according to BenQ, allows greater light penetration for long-lasting 4K intensity.

The zoom range of the TK850i is 1.3:1, pretty typical for most smaller DLP projectors for home (some have less, a few offer more). Many other projectors at this price point have 2:1 zoom lenses, but in a significantly larger chassis. For the more compact size of the TK850i, I’ll take the hit in the zoom range, even though I would like more.

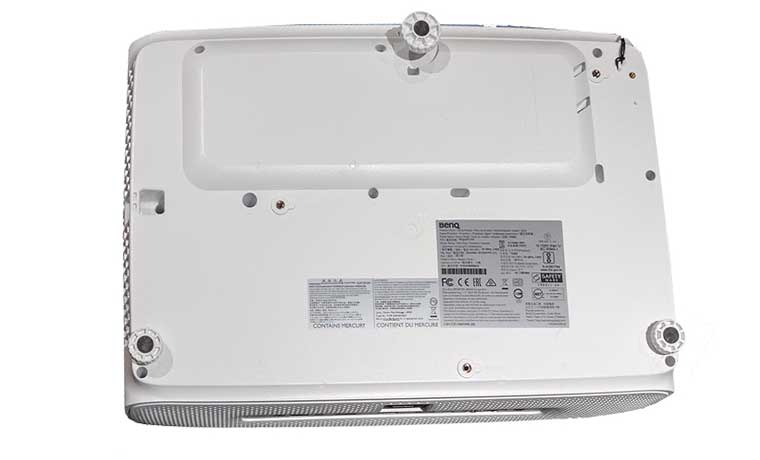
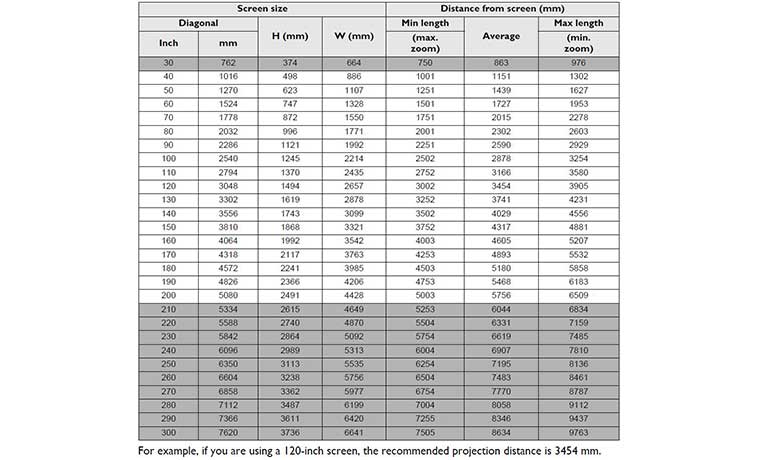
The TK850i can be mounted or placed on a table. As in previous models, like the HT3550 and others, the projector can sit two-to-three feet closer to a 100” screen than most projectors.Officially, it can be as close as 8.2” from the screen.

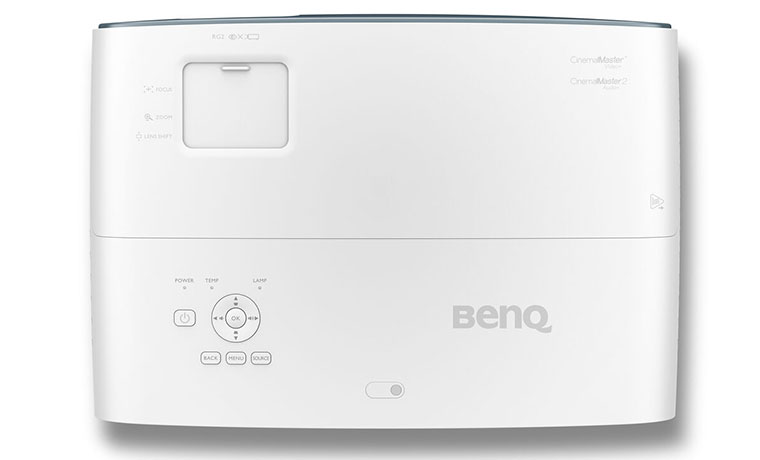
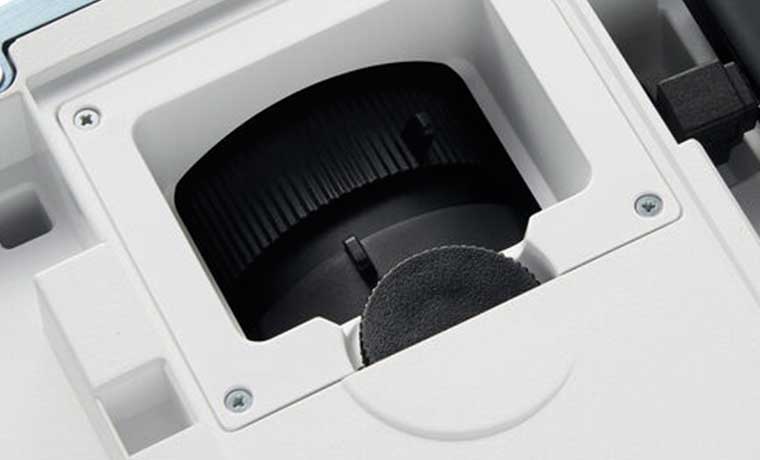
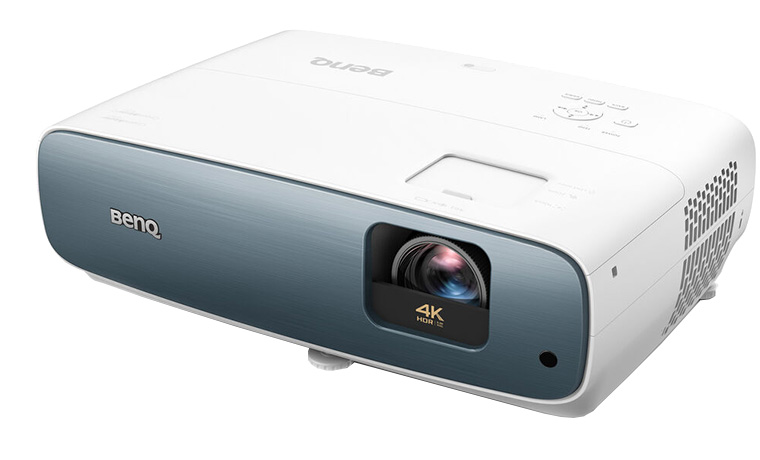
Lens controls sit just above the lens. A sliding door hides lens zoom, focus and shift controls.

Although the vertical lens shift is a modest +10% vertical. Lens shift allows you to easily keep the image properly rectangular.  Keystone correction also does that, but as we recommend in almost all our reviews, you should endeavor to avoid using keystone correction unless it is absolutely necessary as it affects image quality by reducing sharpness. As with previous models, the focus holds when zooming in and out.

If placed on a table top, the projector, as measured from the middle of the lens, when using a 100” diagonal 16:9 screen, can be placed anywhere from 5 inches below the bottom of the screen surface to flush with the bottom of that same screen. If a screen is 20% larger, for example 120” diagonal, then the shift range logically also increases by 20%, so 6 inches instead of 5.

If ceiling mounted, the numbers are similar meaning the center of the lens can be up to 5 inches above the screen surface top, or down as far as even with the screen surface top. While not a lot of shift, it’s better than no vertical lens shift. So, again, I’ll take it, but I’m left wanting more.

CONTROL PANEL

The TK850i Control Panel is located on the top near the back, straight back from the door for the lens controls. There’s the usual power button (Press once to power on, press twice to power down) located furthest to the right.  A small LED light indicating power status is just above it.  There are two more indicator lights as you move to the right from the Power light, labeled  Temperature, and Lamp.

Directly to the right of the Power button is the navigation area, consisting of the four arrow keys in a round formation. The enter button (labeled “OK”) is found in the middle. All the arrows take on other jobs when you aren’t in the menu system. The up and down arrows let you adjust keystone correction, while the left and right arrows control volume down and up, respectively.

That leaves only the three buttons underneath. The middle button is the Menu button, while the one to the left of Menu, is the Back button which takes you back up one level in the menu system when pressed. To the right of the Menu button is the Source button, to select between the various sources you have connected to the TK850i, although the projector does have an Auto-Source option, which will automatically go to the active live source it finds. Overall, a solid control panel.

INPUTS AND CONNECTORS

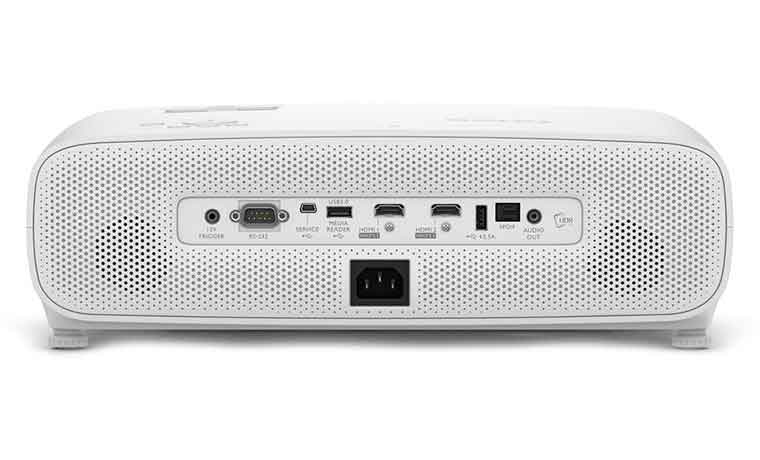
The BenQ TK850i has all the necessary inputs and connectors needed on a home theater projector, including a pair of HDMIs, both being HDMI 2.0 with HDCP 2.2 copy projection. There are three USBs, including one USB 3.0. One is the usual service port which can be used to install updated firmware. One is for PC-free presentations and more, using the built-in media player that supports a range of video and audio codecs, as well as still-image formats, including JPEG, BMP and PNG.

Interestingly, there are no typical stereo mini audio inputs, but audio can come into the projector and then output to the internal speakers or to the stereo audio output. In addition, both HDMI inputs carry audio, as well as audio coming through the media player. All of those can be sent to the speakers or audio output.

Having a 12 volt trigger for a motorized screen (or other uses), gives those of you looking for a motorized screen the ability to have the screen lower or go up automatically when the BenQ TK850i is powered up. Shut off the projector and a properly equipped screen will roll up automatically.


HDMI-1 (HDMI 2.0 & HDCP 2.2)
HDMI-2 (HDMI 2.0 & HDCP 2.2)
USB Type A (5V/2.5A power)
USB Type A (Media Reader, FW download)
USB Type mini B (FW download/ Service)
Audio Out (mini jack)
Audio Out (S/PDIF) Optical digital audio output – Toslink
RS232 In (D-sub 9pin, male)
DC 12V Trigger (3.5mm Jack)
Kensington anti-theft lock slot
IR Receiver (Front + Top)

BUILT IN SPEAKER

The BenQ TK850i features a 10-watt (5-watt x 2) chambered speaker that BenQ claims is designed to enhance sound quality for elevated enjoyment. Based on my testing, I found the sound produced to be more than acceptable. In addition, BenQ has added what they call Costumed Sound Modes, which can be accessed through the BenQ menu system and offer the following presets: Standard, Cinema, Music, Game, Sports and User. The User mode allows you to personalize the sound settings. When selecting the User mode, you may make manual adjustments with the User EQ function. From here, you can adjust the 100 Hz, 300 Hz,1k Hz, 3k Hz, and 10k Hz bands, as well as adjust the levels according to your preference.

REMOTE CONTROL

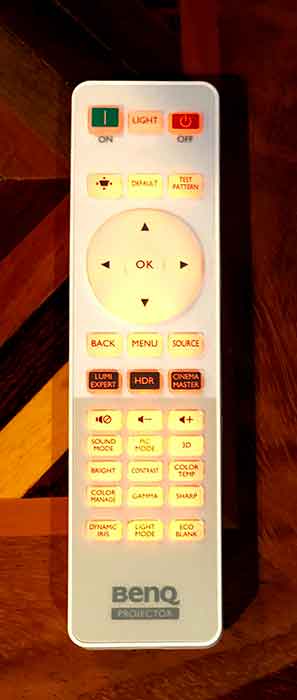
BenQ’s remote control is nicely laid out, not as large as some and has a backlight that can be turned on from the Light button or by pressing any key. The light will turn off in about 10 seconds.

There are three buttons at the top of the white remote control featuring, from left to right, a green power-on button, the backlight control button and a red power-off button. Why two separate buttons, BenQ? It still works the same way as a single button requiring two presses to power off the projector. I know it’s nit-picking, but this tends to make intuitive touch operation much less intuitive!

The next row features three buttons; the left is a one-touch keystone control. I have a problem with this feature being one-touch, as it’s too easy for you to press it and mess up your projector’s square adjustments accidentally. Next is the Default button, which resets whatever feature you are currently adjusting to its original default setting. The last button is a one-touch test pattern button. As a reviewer, I like this feature. But will you ever need this button after you do the initial setup on your projector? As also mentioned in the BenQ HT3550 review, why not offer a color pattern suitable for quick brightness and contrast adjustments as part of the test patterns function?

You can see the rest of the buttons in the image to the right.

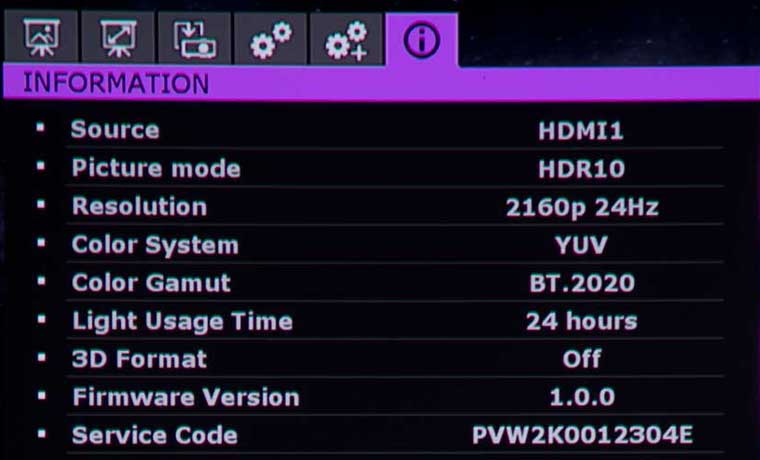
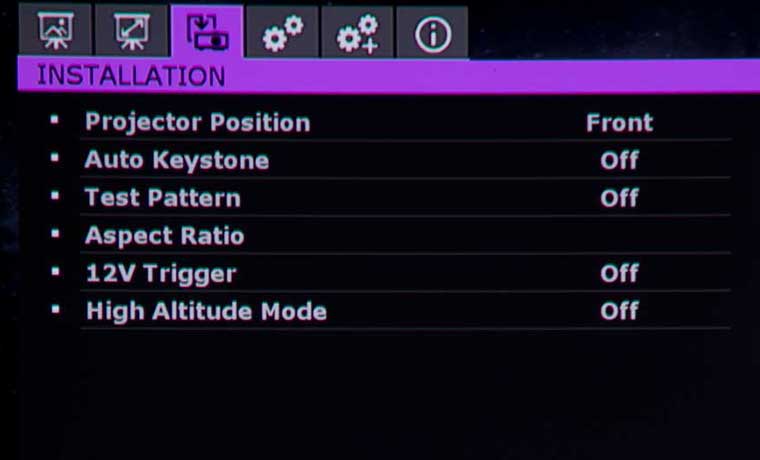
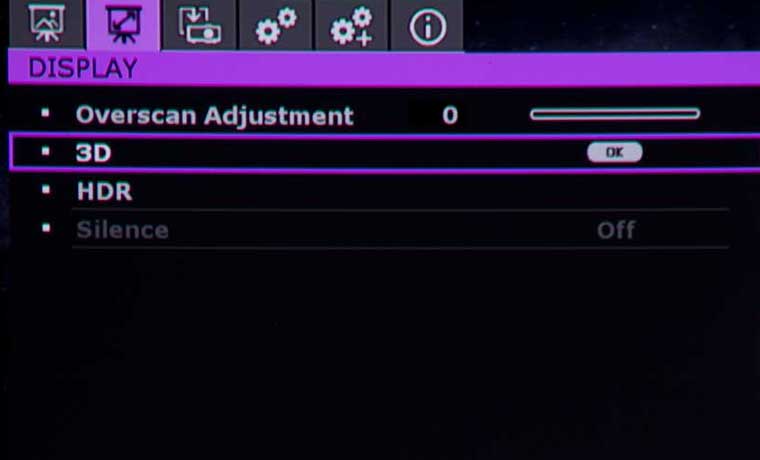
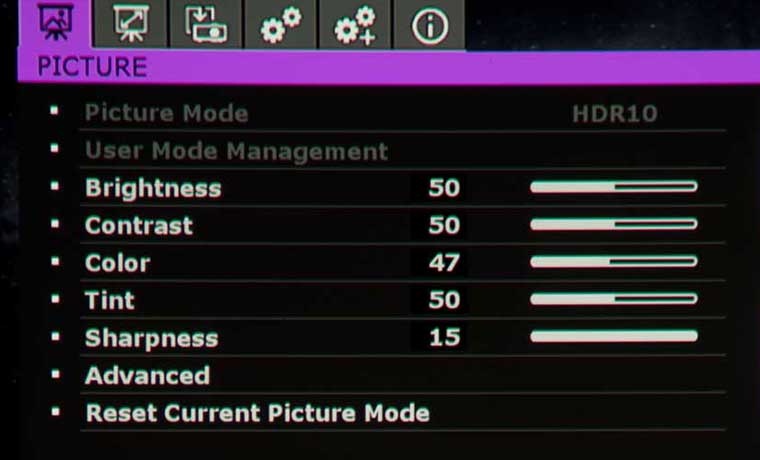
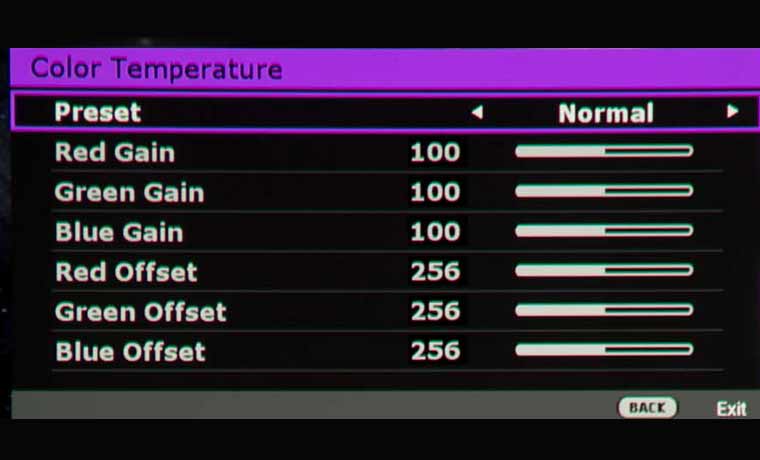
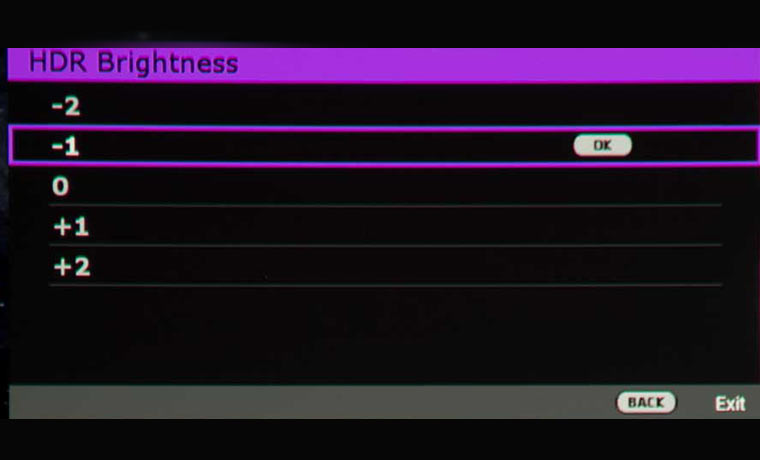
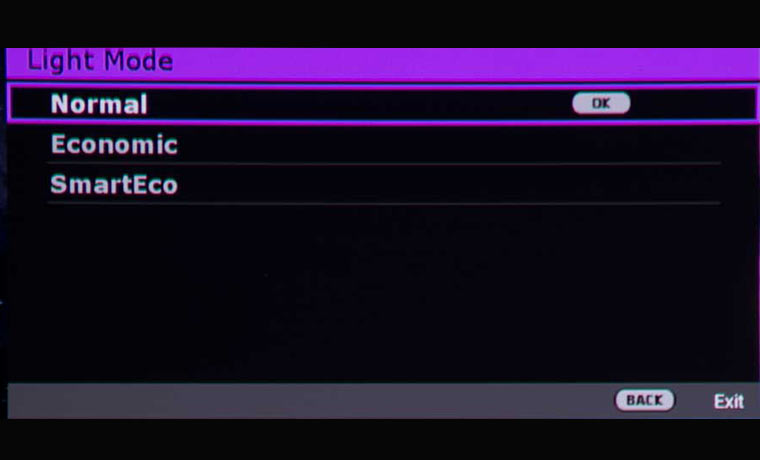
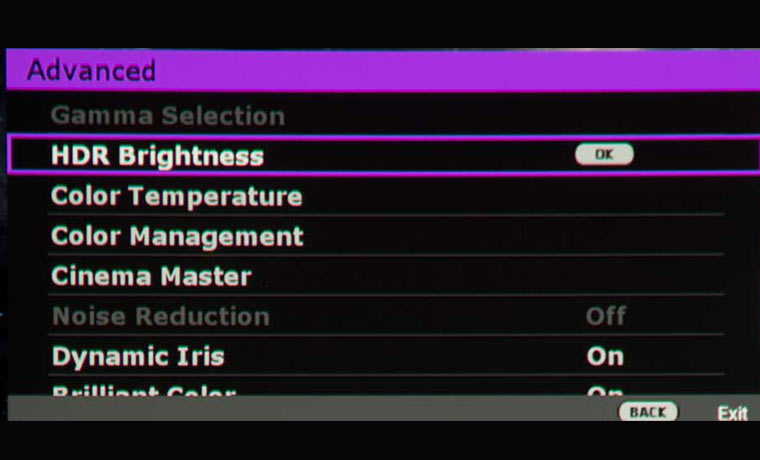
MENUS

© 2024 Projector Reviews

crossmenu linkedin facebook pinterest youtube rss twitter instagram facebook-blank rss-blank linkedin-blank pinterest youtube twitter instagram