PICTURE MENU
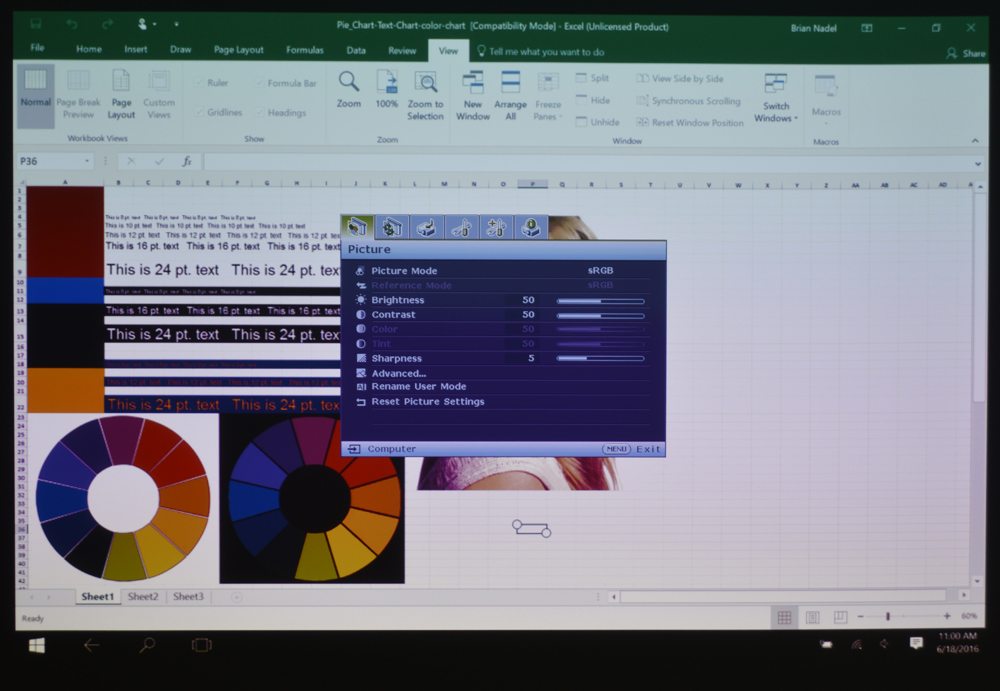
The Picture category starts with the projection modes, which include Bright, Presentation, sRGB, Cinema and two user defined settings. It can control everything from brightness and contrast to the SU931’s color settings. In addition to an adjustable Black Level setting (from 0 to 7.5IRE), the projector has video noise reduction that can be adjusted from zero to 31.

The Picture Menu page has a multitude of adjustments for tweaking the projector's image.
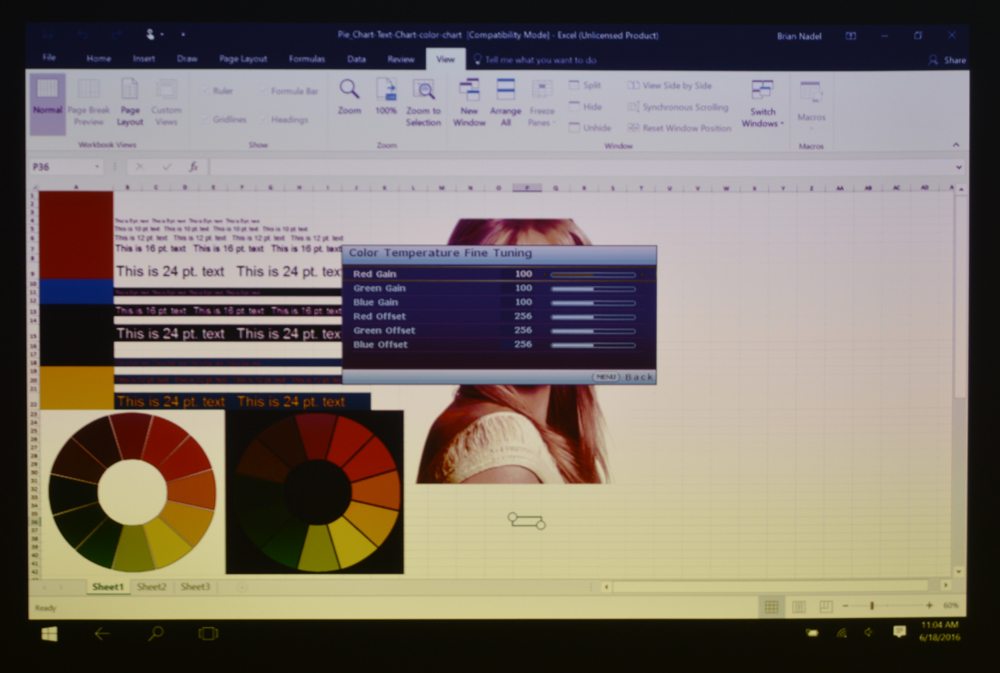
You can eye-ball the Color Temperature setting, but like so many other projectors, it lacks specific calibration to actual color temperature in Kelvins. Rather, the SU931 has settings for Cool, Normal, Warm and Lamp Native (the uncorrected highest output). Each color can be fine-tuned by selecting any of 512 gradations in the image’s Hue, Saturation and Gain.
DISPLAY MENU
This section concerns fine-tuning the projector’s settings to match the room, screen and material being projected. In addition to setting its aspect ratio, you can let the projector determine it based on the material. There’s also the SU931’s Corner Fit routine to correct for keystone distortion. You can adjust the projector’s Overscan characteristics as well.

The SU931's Display section provides options for tweaking the image.
While it probably won’t come up in the boardroom, this is where you can set up the 3-D projection details. It only works in Cinema mode. You can choose from Frame-Sequential, Frame-Packing, Top-Bottom or Side-by-Side modes and whether you need to invert the synchronization.
At the bottom is a bonus for teachers and schools. There are Teaching Templates that mimic a sheet of paper for writing, a worksheet and a coordinate grid for graphing.
[sam_pro id=1_104 codes="true"]
SOURCE MENU
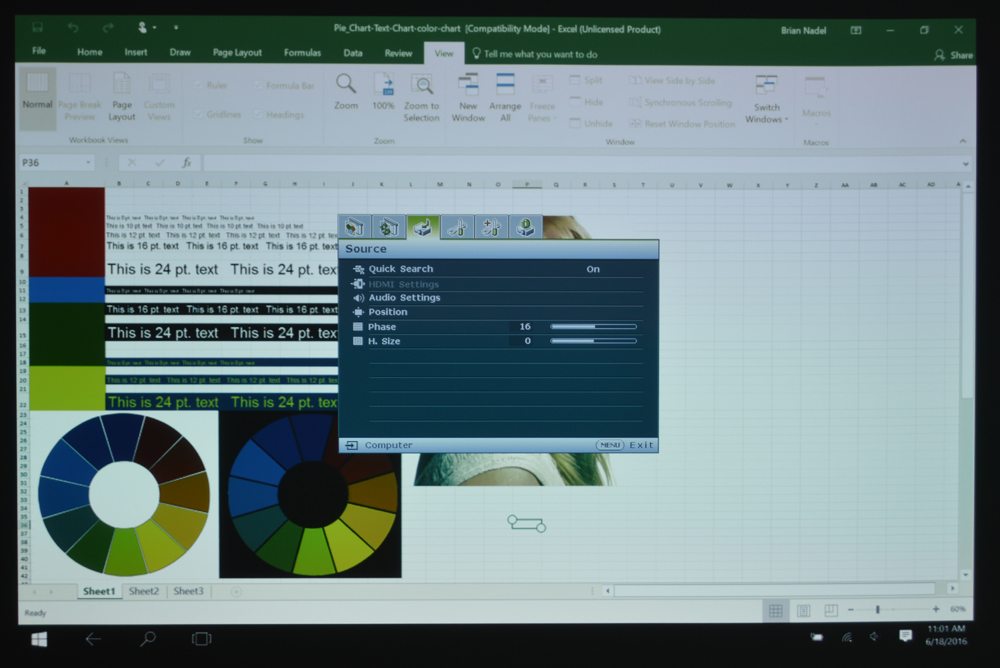
As its name implies, this is where you adjust how and to what the SU931 connects. In addition to choosing among Auto, Full and Limit for the HDMI format, you can enable its Quick Search feature, which shows which of the projector’s ports have active sources.

With a multitude of connections available, the Source Menu screen lets you choose which is projected.
There are audio settings for volume and microphone as well as muting the sound. You can also precisely optimize the image’s size and position with Position, Phase and Horizontal Size settings.
SYSTEM SETUP: BASIC AND ADVANCED
The Basic System Setup screen lets you configure the SU931 to be turned off or display a blank image after a period of having no active source; the choices are 30-minutes, 1-, 2-, 3-, 4-, or 8-hours. You can monitor the lamp’s life, set it to Eco mode or reset its timer. The Basic section has a security lock on the projector that requires a password to work and lets you set the data transfer Baud rate for upgrading its firmware to between 2,400- to 115,200 bits per second.

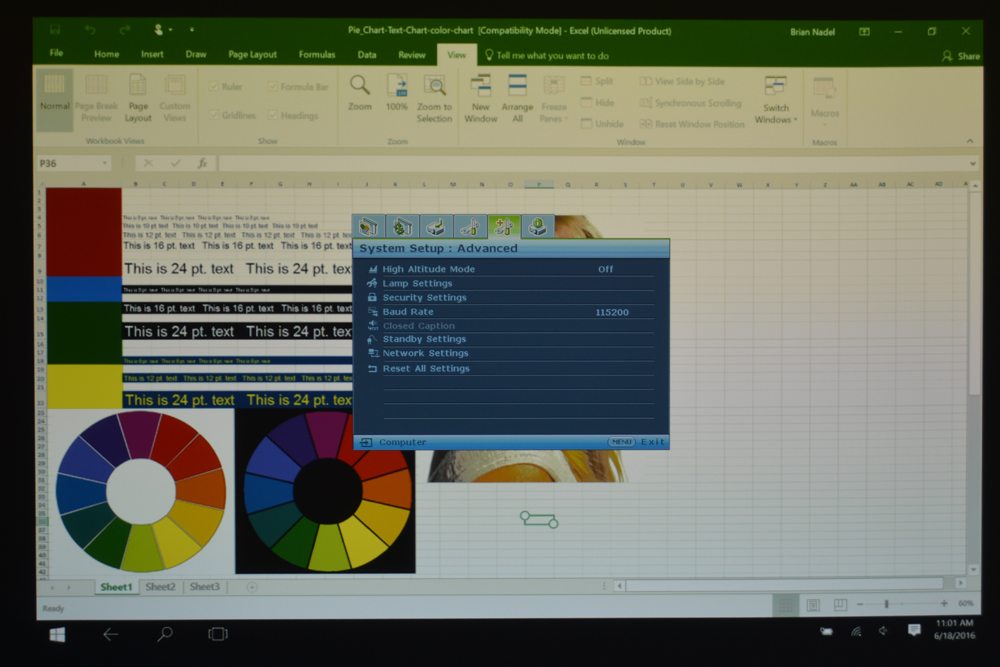
With everything from IP addressing to when the projector goes to sleep the pair of System Setup screens give you a deep dive.
Meanwhile, the Advanced section is where you dive into the Network settings, including standby mode, so it can be awakened via the network. You can play with the SU931’s type of IP addressing (static or DHCP) and whether it should be discoverable to AMX control equipment.
There’s even a way to select whether a MHL phone or tablet can charge its battery from the projector.
Although it’s well hidden, this is the place to reset all of the projector’s functions to the way they were when the SU931 left the factory.
INFORMATION MENU
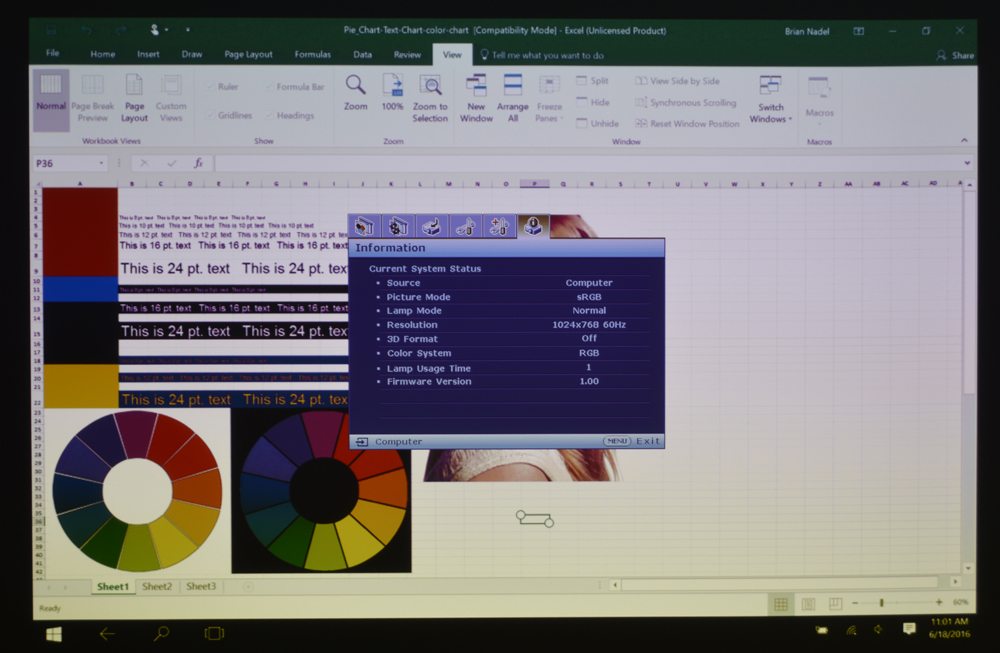
As expected, the Info section shows things like Picture and Lamp Mode as well as Resolution and Lamp Usage. It display’s the projector’s firmware version, but not if a new version is available.

The SU931's Info screen shows all the basics.

