Projector Reviews Images

BenQ LU950 Installation Laser Projector Review – Hardware 2

Posted on November 1, 2018 by Nikki Zelinger

BenQ LU950 Installation Laser Projector Review – Hardware 2: The Control Panel, The Remote Control, The Menus

Control Panel

BenQ LU950 Projector Control Panel

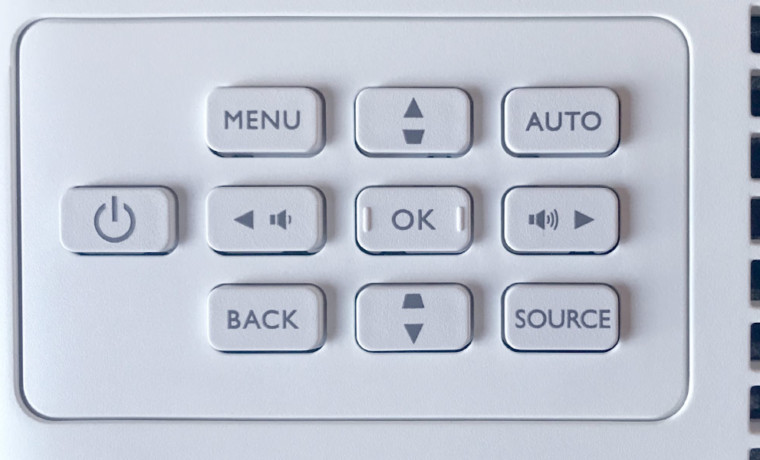
The BenQ LU950 has a simple control panel located on the right side of the projector, with the cool air intake vent. It’s got a typical layout – three rows of three buttons, some of which serve multiple functions. To the left of the second row is a single button for Power. The control panel features four buttons on each corner of the configuration: Menu in the top left, Auto in the top right, Source in the bottom right, and Back in the bottom left.

A classic four-directional-arrow setup surrounds the OK button, each of which serves a dual purpose. The Up and Down arrow buttons also serve as the Keystone Correction controls, while the left and right buttons control volume. Of course, each of these arrows will aid in navigating the menus. But, you’ll likely only use this once, if ever, when installing the projector – it is much more practical to use the remote, especially when ceiling mounting.

Remote Control

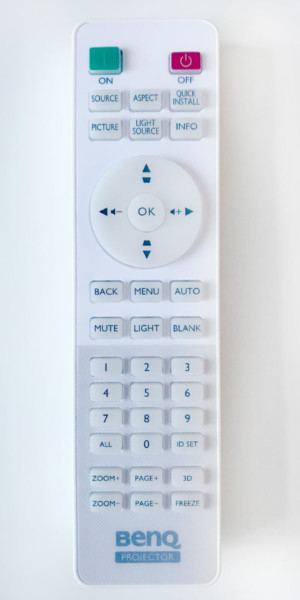
The LU950’s remote control is well laid out, and comes in a nice white to match the projector. A major plus for this remote – it’s backlit! We love this at Projector Reviews, and will often include it in the Cons section of our Summary Page if the projector does not have a backlit remote. Nice touch, BenQ. As always, I will discuss the remote control in sections.

The top section has a large green On button on the left, and a red Off button on the right. The next section consists of six buttons: Source, Aspect, Quick Install (quickly selects several functions to adjust the projected image and displays the test pattern), Picture, Light Source, and Info. Just below that are the navigation buttons surrounding the OK button, which, again, serve the dual purposes of Keystone Correction and volume control.

BenQ LU950 Remote Control

Below that are six buttons: Back, Menu, Auto, Mute, Light (for the backlight function), and Blank. The next section consists of a 1-9 plus 0 numeric pad, used for entering numbers in the network settings or when setting the remote control ID. On either side of the 0 button are the All button (left) and ID Set (right).

The final section of the BenQ LU950’s remote control contains six buttons. Zoom + and Zoom – are paired together, with Zoom + on the top and Zoom – on the bottom. Same setup for Page + and Page – with Page + on top and Page – on the bottom. The final two buttons, stacked on top of each other, are 3D and Freeze. Overall, I found the remote control easy to use and quite enjoyable with that backlight.

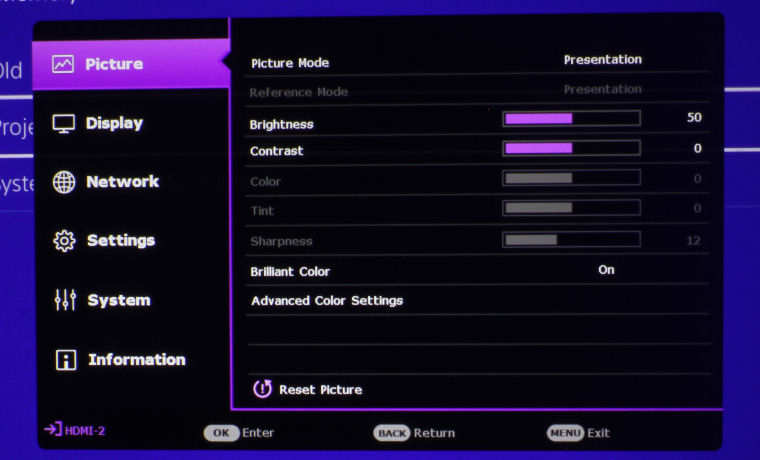
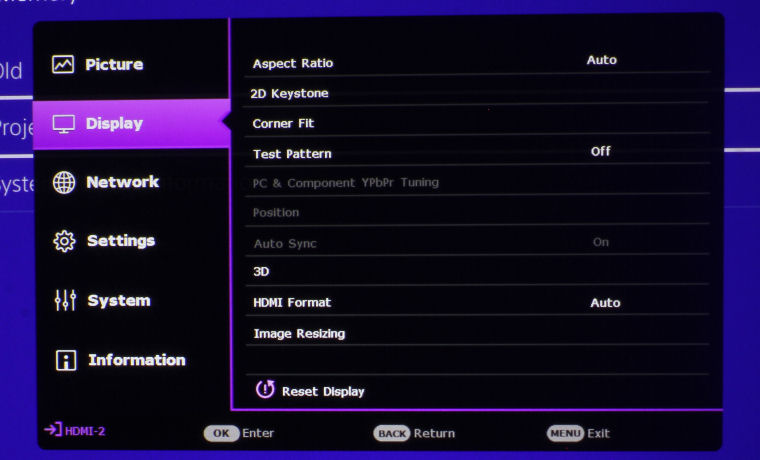
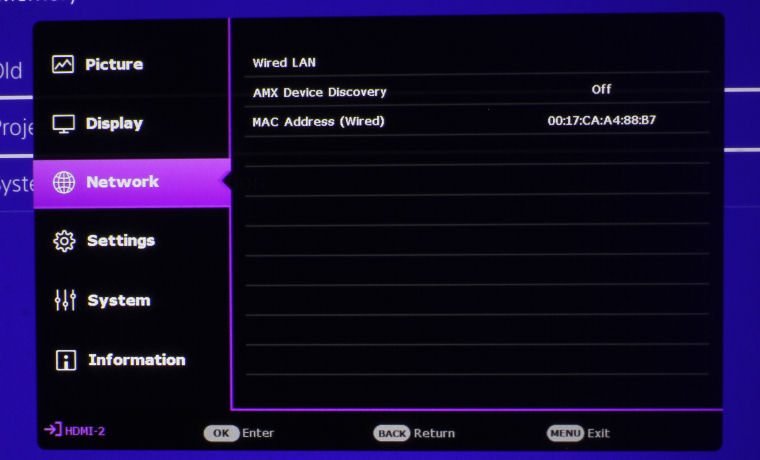
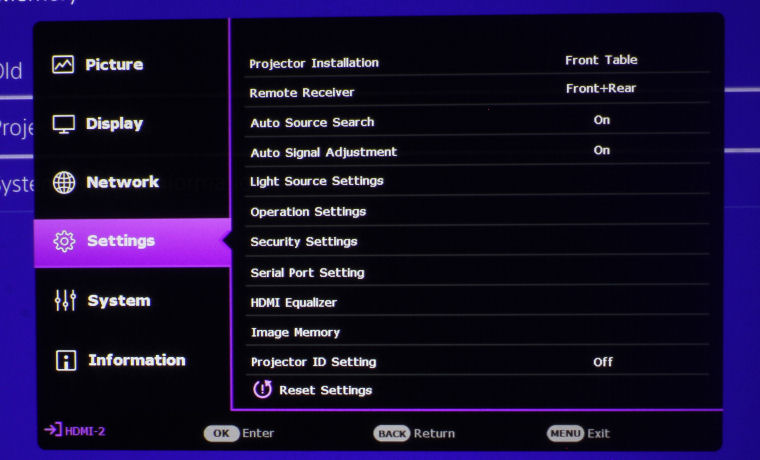
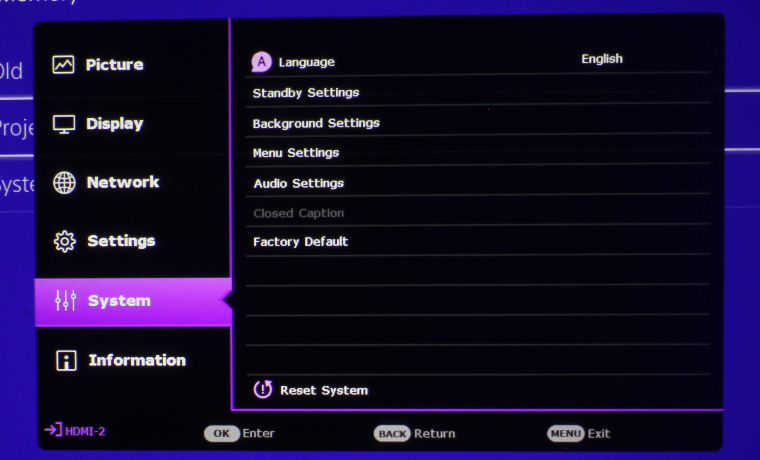
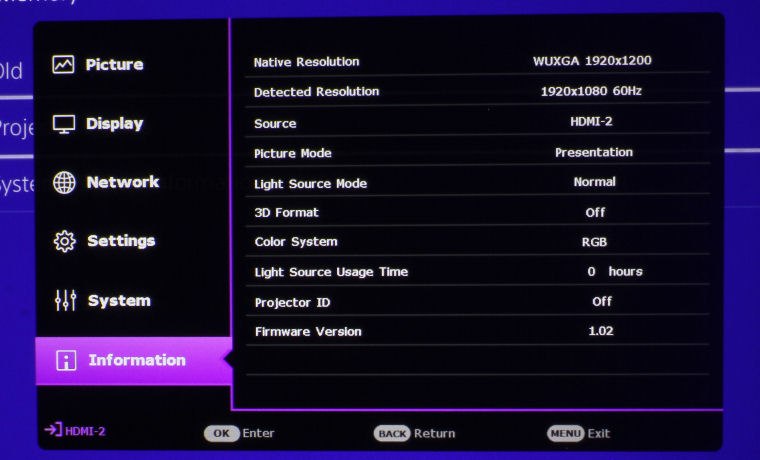
The Menus

That does it for our tour of the BenQ LU950's hardware! Next up is our discussion of the projector's picture and sound quality.

BenQ LU950 Installation Laser Projector Review – Hardware 2: The Control Panel, The Remote Control, The Menus

Control Panel

BenQ LU950 Projector Control Panel

The BenQ LU950 has a simple control panel located on the right side of the projector, with the cool air intake vent. It’s got a typical layout – three rows of three buttons, some of which serve multiple functions. To the left of the second row is a single button for Power. The control panel features four buttons on each corner of the configuration: Menu in the top left, Auto in the top right, Source in the bottom right, and Back in the bottom left.

A classic four-directional-arrow setup surrounds the OK button, each of which serves a dual purpose. The Up and Down arrow buttons also serve as the Keystone Correction controls, while the left and right buttons control volume. Of course, each of these arrows will aid in navigating the menus. But, you’ll likely only use this once, if ever, when installing the projector – it is much more practical to use the remote, especially when ceiling mounting.

Remote Control

The LU950’s remote control is well laid out, and comes in a nice white to match the projector. A major plus for this remote – it’s backlit! We love this at Projector Reviews, and will often include it in the Cons section of our Summary Page if the projector does not have a backlit remote. Nice touch, BenQ. As always, I will discuss the remote control in sections.

The top section has a large green On button on the left, and a red Off button on the right. The next section consists of six buttons: Source, Aspect, Quick Install (quickly selects several functions to adjust the projected image and displays the test pattern), Picture, Light Source, and Info. Just below that are the navigation buttons surrounding the OK button, which, again, serve the dual purposes of Keystone Correction and volume control.

BenQ LU950 Remote Control

Below that are six buttons: Back, Menu, Auto, Mute, Light (for the backlight function), and Blank. The next section consists of a 1-9 plus 0 numeric pad, used for entering numbers in the network settings or when setting the remote control ID. On either side of the 0 button are the All button (left) and ID Set (right).

The final section of the BenQ LU950’s remote control contains six buttons. Zoom + and Zoom – are paired together, with Zoom + on the top and Zoom – on the bottom. Same setup for Page + and Page – with Page + on top and Page – on the bottom. The final two buttons, stacked on top of each other, are 3D and Freeze. Overall, I found the remote control easy to use and quite enjoyable with that backlight.
The Menus

That does it for our tour of the BenQ LU950's hardware! Next up is our discussion of the projector's picture and sound quality.

© 2024 Projector Reviews

crossmenu linkedin facebook pinterest youtube rss twitter instagram facebook-blank rss-blank linkedin-blank pinterest youtube twitter instagram