Projector Reviews Images

BenQ LU950 Installation Laser Projector Review – Hardware

Posted on November 1, 2018 by Nikki Zelinger

BenQ LU950 Installation Laser Projector Review – Hardware: Overview, Inputs and Connectors, The Lens

Overview

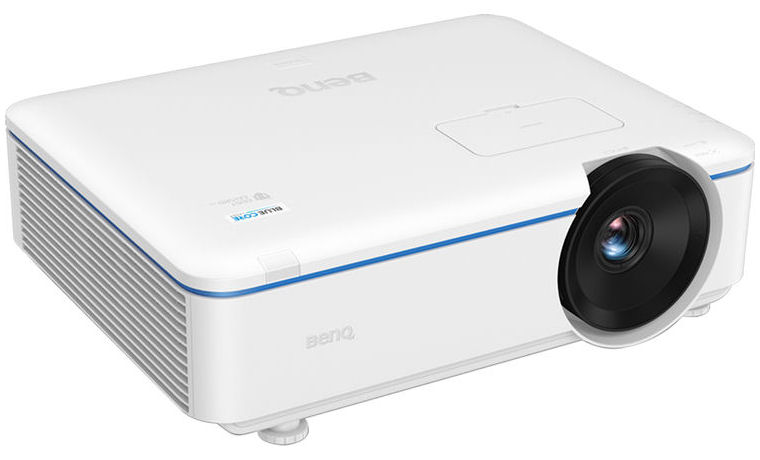
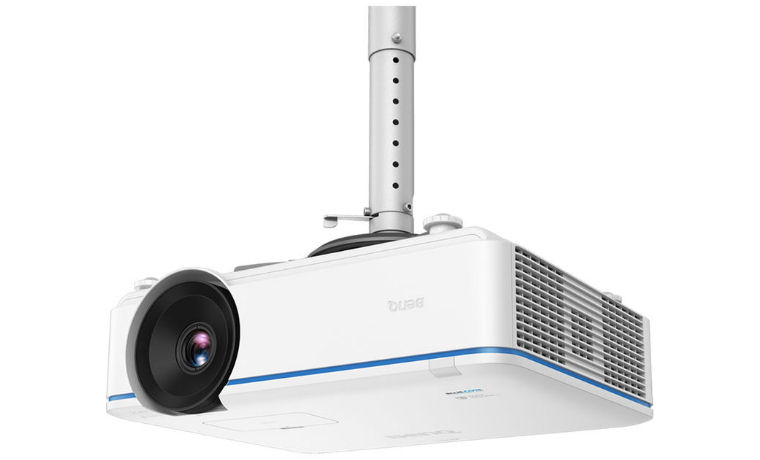
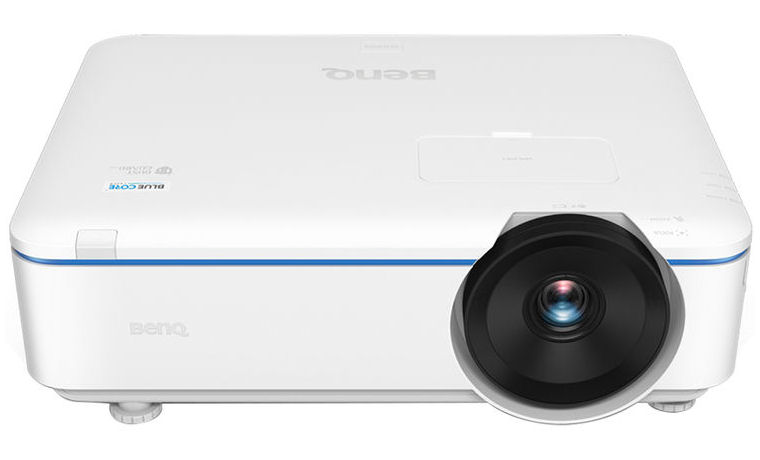
The BenQ LU950 is an installation projector for business and education applications, measuring 19.3 inches wide, 15 inches deep, and 6.3 inches tall and weighing just over 20 pounds. It can be mounted on a table top, front or rear, and ceiling mounted – also front or rear. We never ceiling mount projectors when we get them in for review, as it would be impractical with the amount of varying sizes and shapes that come through. As such, I will be describing the projector as it appears when looking at it on a table top.

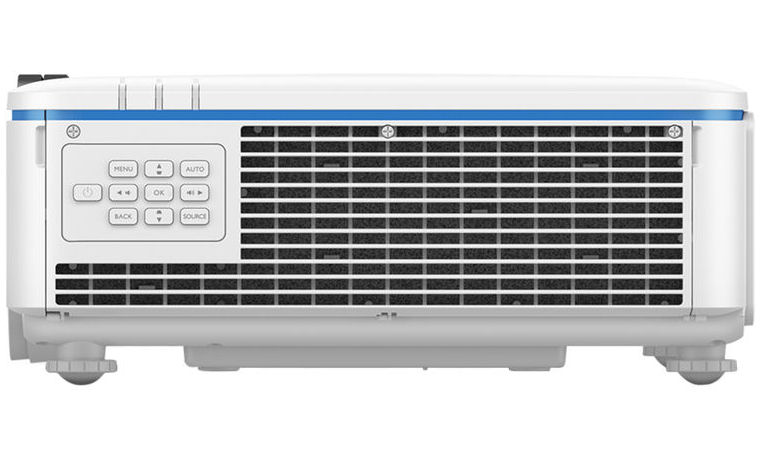
The front of the projector has the lens, of course, which is positioned on the far right and has manual zoom and focus controls. Also on the front, on the left side of the projector, is the IR sensor for the remote control. On the left of the projector is the hot air exhaust vent. On the right, we have the cool air intake vent, a simple control panel, and three indicator lights.

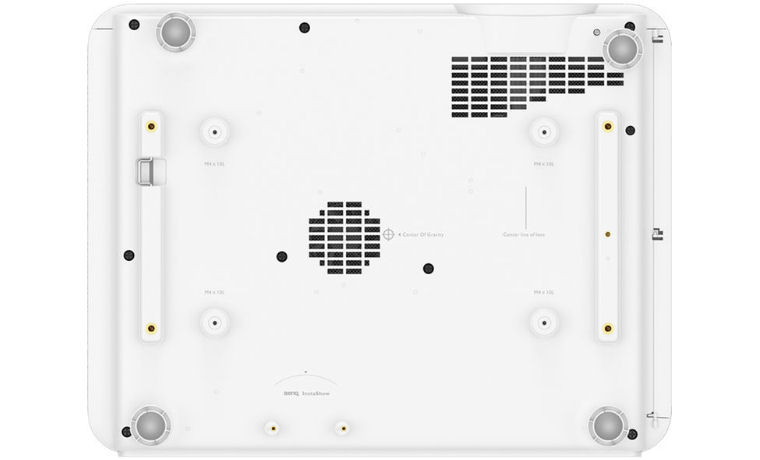
The bottom of the projector is not something I usually mention, but in the case of the BenQ LU950, it has something worth mentioning: a center of gravity marker for easier installation. The speakers are also located on the bottom. The inputs and connectors panel is on the back, and has a healthy amount, too – everything you’ll need for your business or education applications. We’ll go into more detail on what’s back there in the following section.

Inputs and Connectors

BenQ LU950 Inputs and Connectors
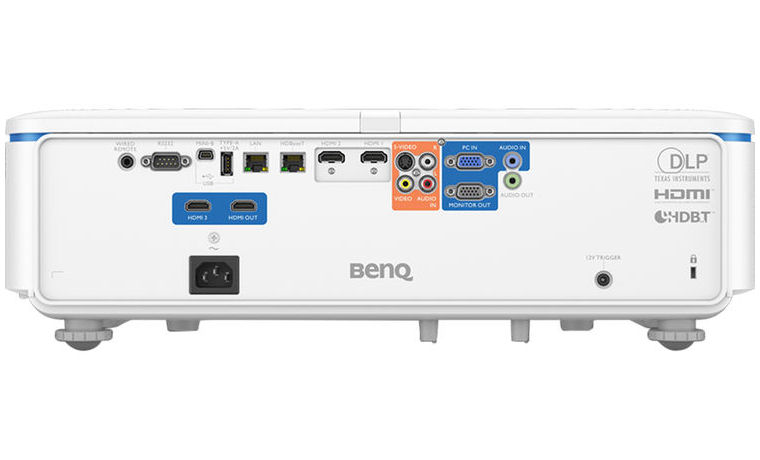
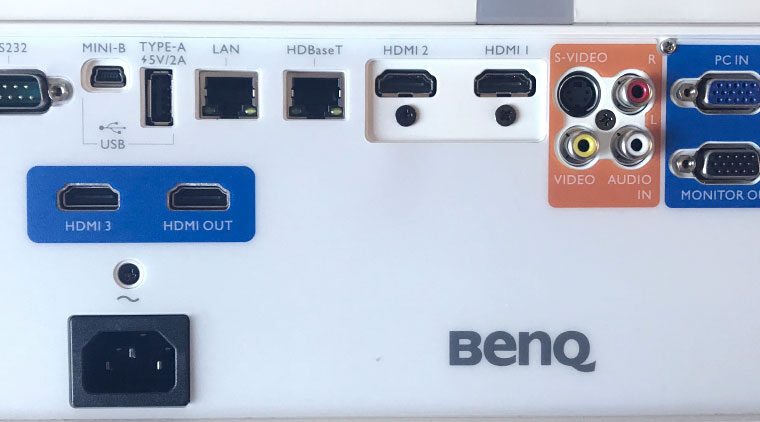
The input and connector panel of the BenQ LU950.

The LU950 has good connectivity. I’m going to discuss the inputs and connectors panel in terms of rows, of which there are two. The first row, starting at the left, a port for a wired remote control, a RS232 connector for old school command and control, two USB ports (Mini-B and Type-A), a LAN connector for local area networking, and an HDBaseT port for running AV signals over long distances.

Next to that are a pair of HDMIs, old school S-Video and Component Video ports, two VGAs (one for PC In, one for Monitor Out) and Audio In and Out ports. The second row consists of the third HDMI input, next to an HDMI Out. These are intended for use in multi-projector setups, such as what was discussed on the Special Features Page. The signal goes in on the left (HDMI 3) and out on the right.

The Lens

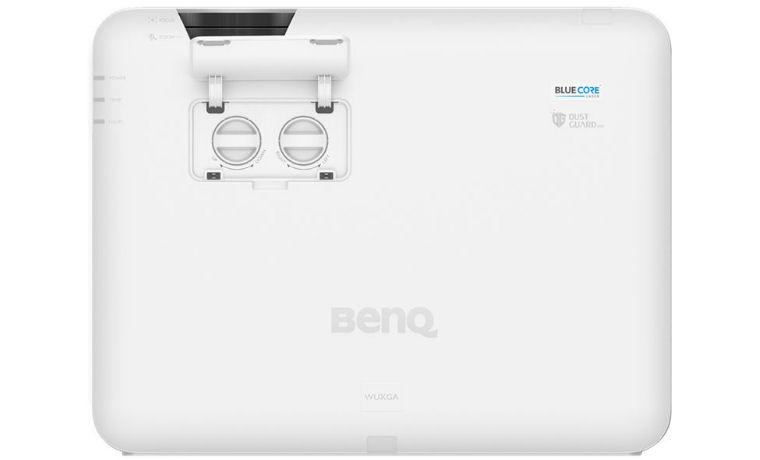
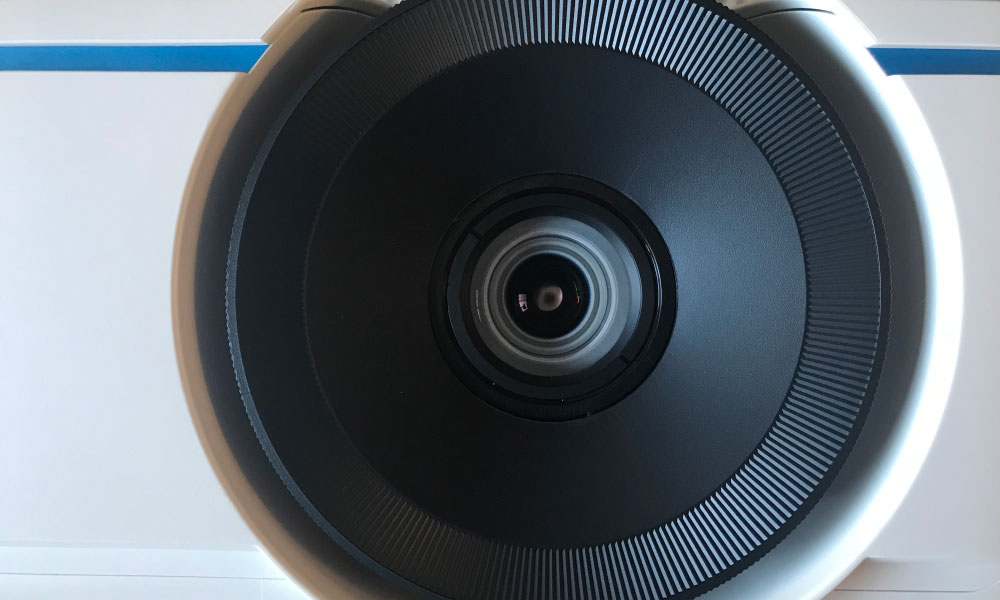
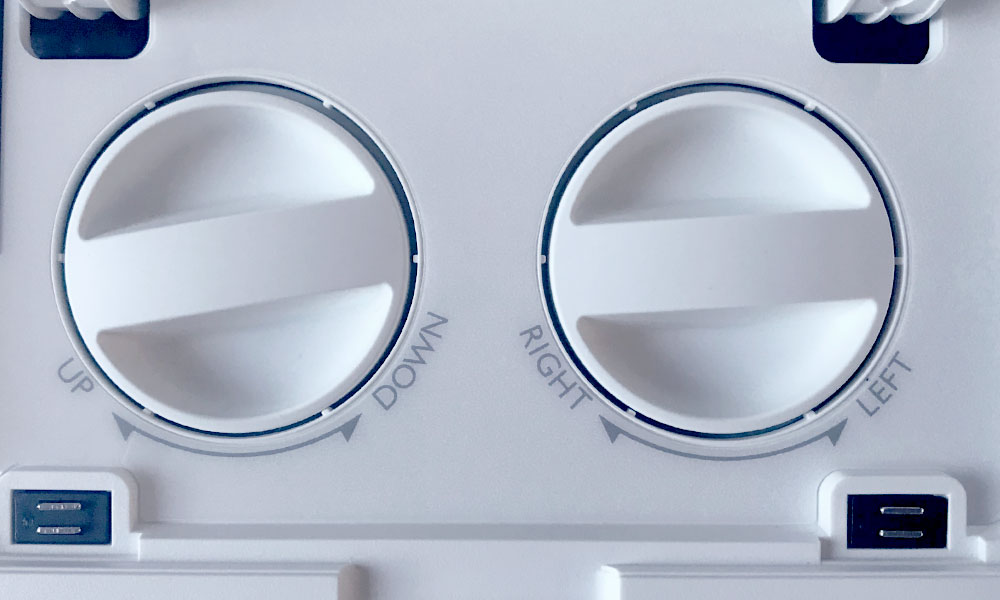
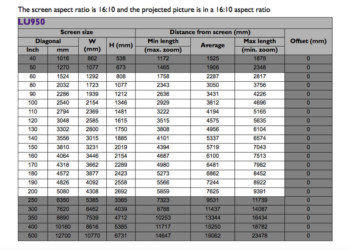
The BenQ LU950 has excellent placement flexibility, thanks to its 1.60:1 manual zoom lens and manual lens shift controls. Those lens shift controls are accessible via a small door on the top of the projector, and are knobs that can be turned to shift 60% vertically, and 23% horizontally. I have provided a lens throw chart below to use during installation so that you can see how far back to place the projector for your screen size.

BenQ LU950 Lens Throw Chart

BenQ LU950 Installation Laser Projector Review – Hardware: Overview, Inputs and Connectors, The Lens

Overview

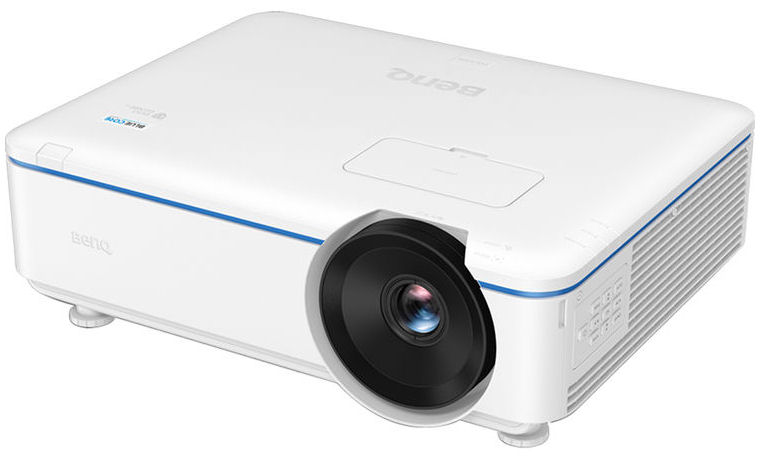
The BenQ LU950 is an installation projector for business and education applications, measuring 19.3 inches wide, 15 inches deep, and 6.3 inches tall and weighing just over 20 pounds. It can be mounted on a table top, front or rear, and ceiling mounted – also front or rear. We never ceiling mount projectors when we get them in for review, as it would be impractical with the amount of varying sizes and shapes that come through. As such, I will be describing the projector as it appears when looking at it on a table top.

The front of the projector has the lens, of course, which is positioned on the far right and has manual zoom and focus controls. Also on the front, on the left side of the projector, is the IR sensor for the remote control. On the left of the projector is the hot air exhaust vent. On the right, we have the cool air intake vent, a simple control panel, and three indicator lights.

The bottom of the projector is not something I usually mention, but in the case of the BenQ LU950, it has something worth mentioning: a center of gravity marker for easier installation. The speakers are also located on the bottom. The inputs and connectors panel is on the back, and has a healthy amount, too – everything you’ll need for your business or education applications. We’ll go into more detail on what’s back there in the following section.
Inputs and Connectors

BenQ LU950 Inputs and Connectors
The input and connector panel of the BenQ LU950.

The LU950 has good connectivity. I’m going to discuss the inputs and connectors panel in terms of rows, of which there are two. The first row, starting at the left, a port for a wired remote control, a RS232 connector for old school command and control, two USB ports (Mini-B and Type-A), a LAN connector for local area networking, and an HDBaseT port for running AV signals over long distances.

Next to that are a pair of HDMIs, old school S-Video and Component Video ports, two VGAs (one for PC In, one for Monitor Out) and Audio In and Out ports. The second row consists of the third HDMI input, next to an HDMI Out. These are intended for use in multi-projector setups, such as what was discussed on the Special Features Page. The signal goes in on the left (HDMI 3) and out on the right.

The Lens

The BenQ LU950 has excellent placement flexibility, thanks to its 1.60:1 manual zoom lens and manual lens shift controls. Those lens shift controls are accessible via a small door on the top of the projector, and are knobs that can be turned to shift 60% vertically, and 23% horizontally. I have provided a lens throw chart below to use during installation so that you can see how far back to place the projector for your screen size.

BenQ LU950 Lens Throw Chart

© 2024 Projector Reviews

crossmenu linkedin facebook pinterest youtube rss twitter instagram facebook-blank rss-blank linkedin-blank pinterest youtube twitter instagram