Projector Reviews Images

BenQ EW800ST Smart Classroom Projector Review – Hardware

Posted on April 1, 2020 by Nikki Zelinger

BenQ EW800ST Smart Classroom Projector Review – Hardware: Hardware Overview, Inputs and Connectors, The Lens

Hardware Overview

BenQ smart projector

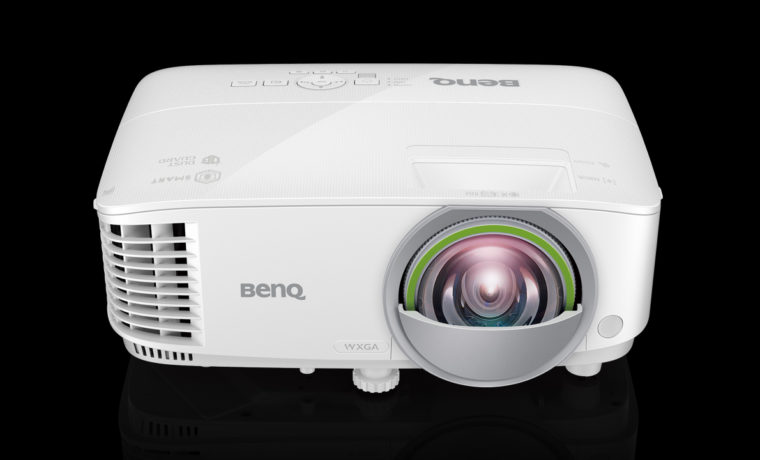
The BenQ EW800ST is a compact projector, measuring 11.65" wide, 4.72" tall, 9.84" deep, and weighing just under 6 lbs. This makes the projector extra portable, so this BenQ can be shared amongst classrooms or taken from conference room to conference room.

BenQ-EW800ST_Front-Top-Left

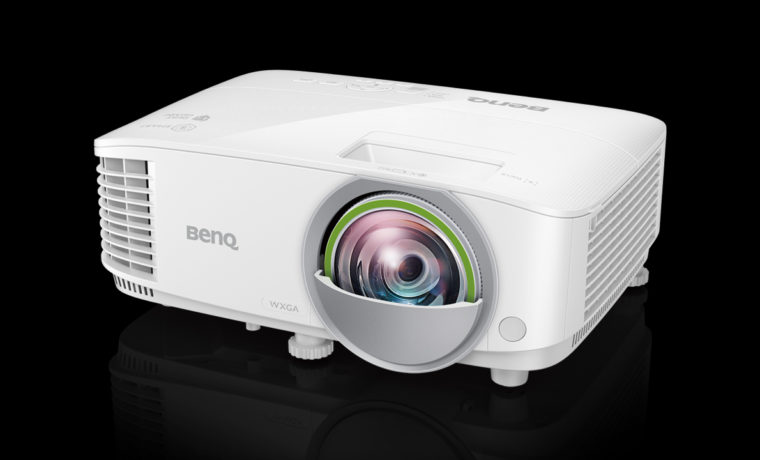
The air intake vent is located on the right side of the projector when facing the lens.

BenQ-EW800ST_Front-Top-Right

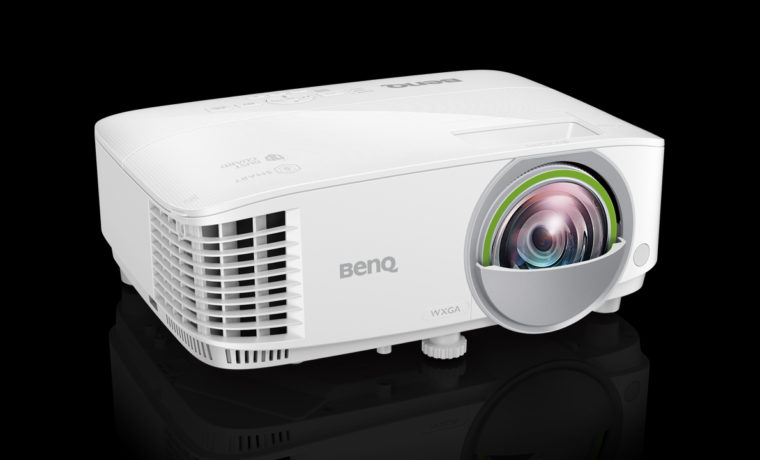
The hot air exhaust vent is located on the left side of the projector when facing the lens.

BenQ-EW800ST_Top

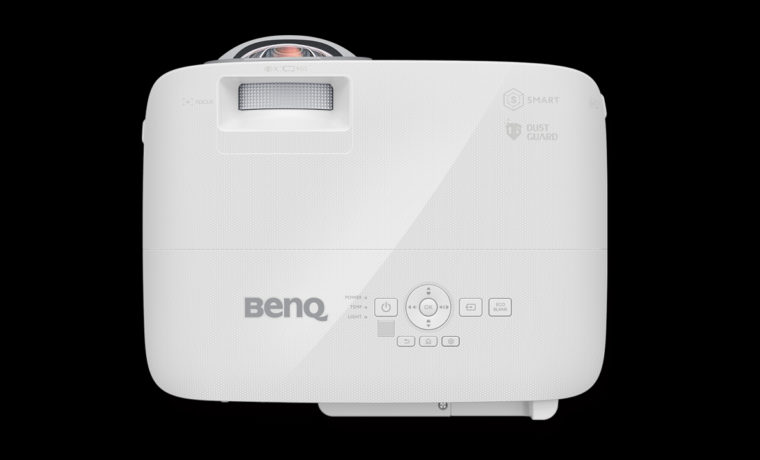
The top of the projector has the manual focus control for the lens, the control panel, and cover for the lamp chamber.

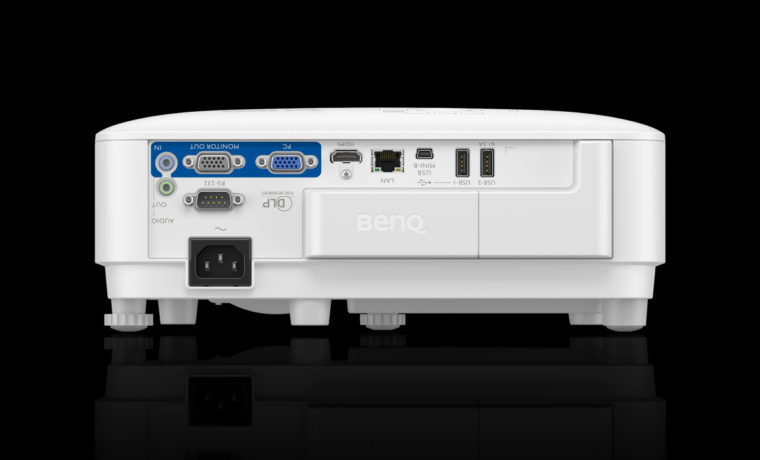
Inputs and Connectors Panel

Click Image to Enlarge

The BenQ EW800ST has a simple inputs panel, but with all the connectors one might need in a typical K-12 classroom environment. I would've liked to see more than one HDMI, as many teachers connect their computer via HDMI and an external video source, such as a DVD or BluRay player.

InputAmount
HDMI1
PC (D-sub 15pin)1
Monitor Out (D-sub 15pin, Female)1
Audio In (Mini Jack)1
Audio Out (Mini Jack1
RS232 In (D-sub 9pin, Male)1
LAN Port (RJ45 for Network)1
USB Type A-11
USB Type A-2 (5V, 1.5A)1
USB Type Mini B1
IR Receiver (Front + Top)2

Luckily, the projector has Wi-Fi connectivity, so that computer can connect over Wi-Fi. Some schools do not have reliable Wi-Fi, however, and your school's Wi-Fi signal is something you should take into consideration when buying such a projector for your district's classrooms.

The Lens

Smart business projector
BenQ EW800ST short throw projector boasting an Android smart operating system

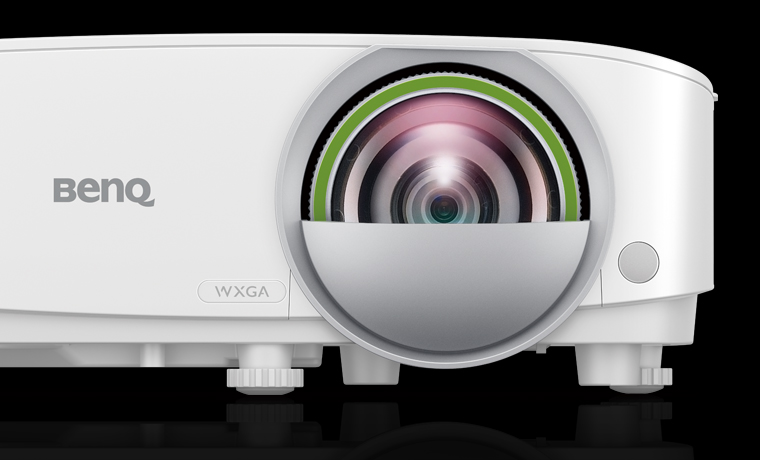
The BenQ EW800ST's lens is located on the front right of the projector, and is fixed. A fixed lens has no zoom capabilities, so placement of the projector must be precise to achieve the desired size of the projected image. I have created a chart below with the recommended placement of the projector for both a 16:10 screen, and a 4:3 screen if that is what you have currently installed in your classrooms.

Throw Distance for a 16:10 Screen

Screen Size (Diagonal)Distance From Screen (mm)Distance From Screen (in)Lowest/Highest Lens Position (mm)Lowest/Highest Lens Position (in)
70"73929.09471.85
80"84433.22542.12
90"95037.40612.40
100"105541.53672.63
110"116145.70742.91
120"126749.66813.18

Throw Distance for a 4:3 Screen

Screen Size (Diagonal)Distance From Screen (mm)Distance From Screen (in)Lowest/Highest Lens Position (mm)Lowest/Highest Lens Position (in)
60"74429.291375.39
70"86834.171606.29
80"99239.051837.20
90"111643.932068.11
100"124048.812299.01
110"136353.662519.88
120"148758.5427410.78

© 2024 Projector Reviews

crossmenu linkedin facebook pinterest youtube rss twitter instagram facebook-blank rss-blank linkedin-blank pinterest youtube twitter instagram