Appearance
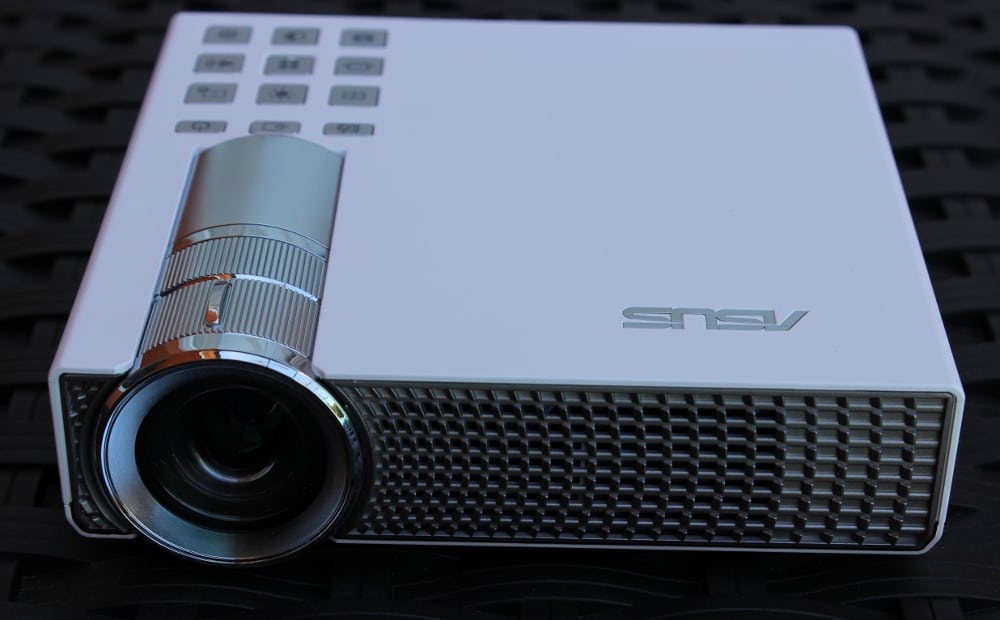
The P2B cabinet is nearly square with a 5+ inch width and depth and a height 1.36 inches. When sitting on a table, the footprint of the P2B is just a little larger than that of a normal compact disc (CD) case. The projector's case has a off-white color for the top, sides and bottom while the front and rear panels are a silver-grey color. The case seems very sturdy and the projector has a solid feels.
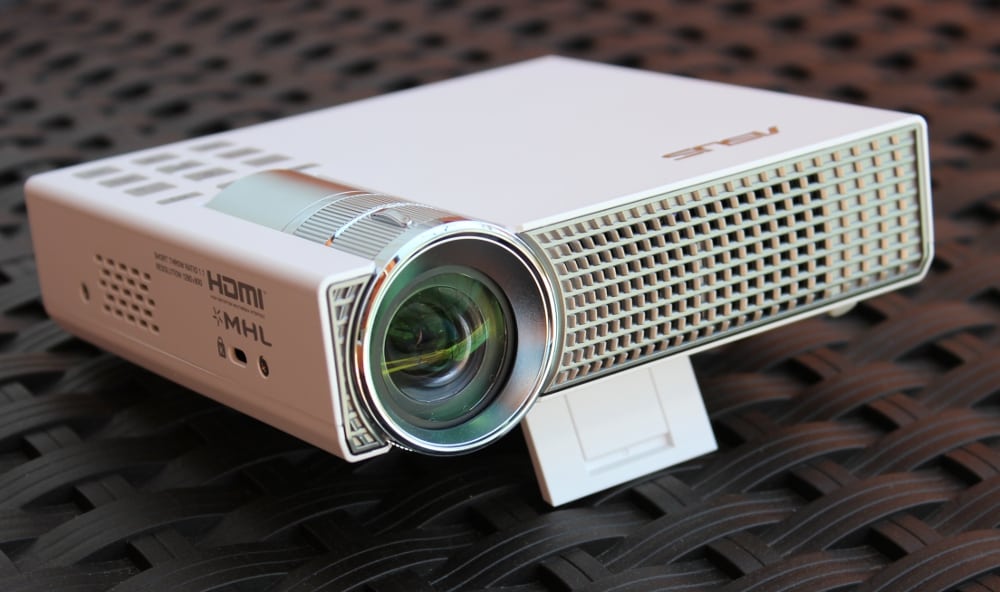
As viewed from the front, the front of the projector has the projector's lens positioned toward the left side and essentially flush with the front panel. The central portion of the front panel has air vents.
The projectors input and output connections are on the rear panel (photo below).
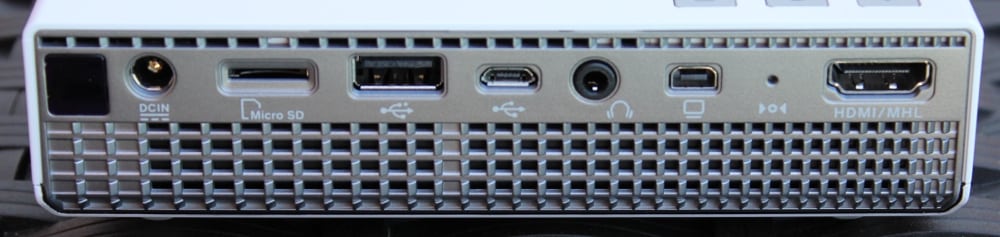
From left to right the rear panel has connections/inputs for IR remote receiver, power input, microSD card slot, USB, micro USB, audio output for headphone or external speaker, mini-VGA, hole for projector reset, and HDMI/MHL. The rear panel also has air vents below the connectors.
The left side of the projector has a air vent and a slot for attaching a Kensington security lock and the right side has just an air vent.
The bottom of the case has four small rubber feet located near the corners plus a flip out stand for when the projector needs to be tilted upward (as shown in one of the photos at the top of this page). Tilt angles of 9 degrees or 12 degrees are offered by the flip-out stand. Also included on the bottom is a threaded hole for attaching the projector to a tripod. This can be handy when a table is not available, at the needed location, and where a small folding tripod could be used instead.
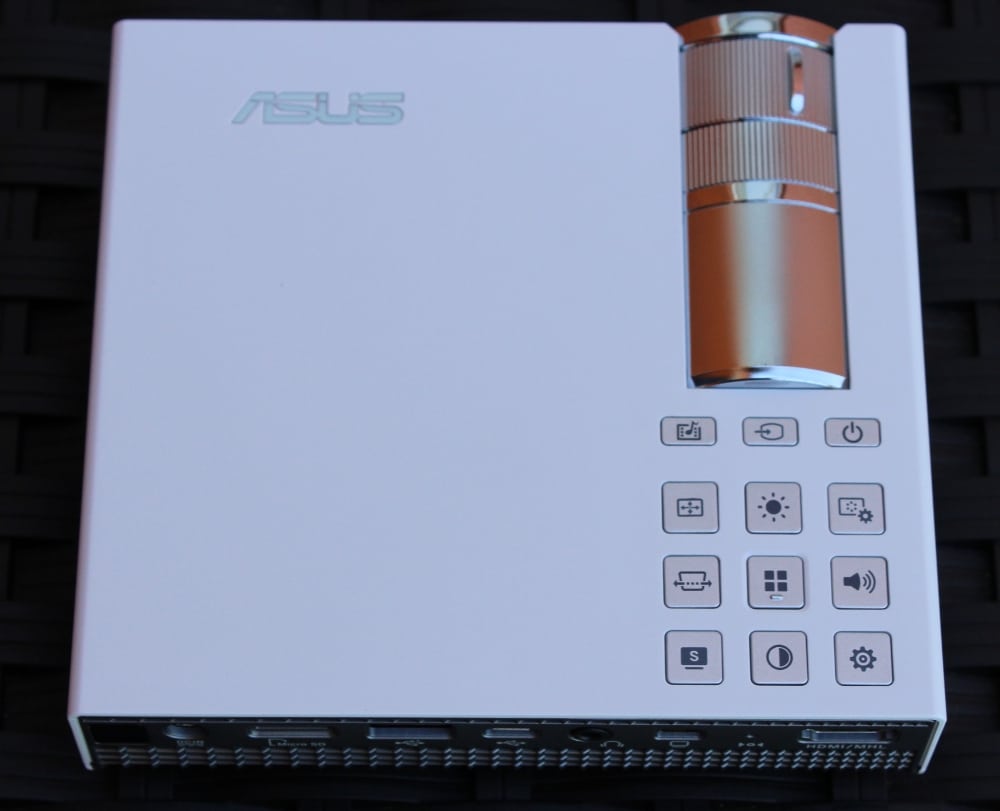
Finally the top of the case includes the manual lens focus adjustment and just behind that the keypad for controlling the projector (see photo below).
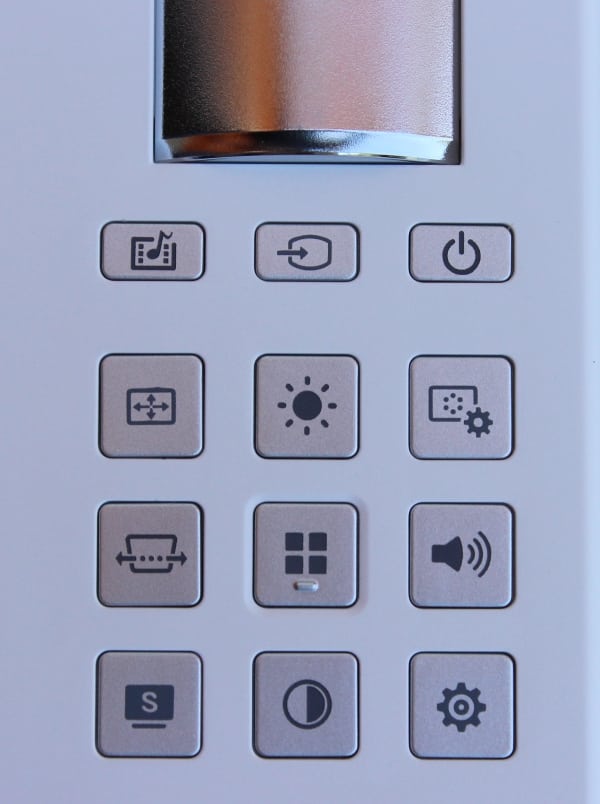
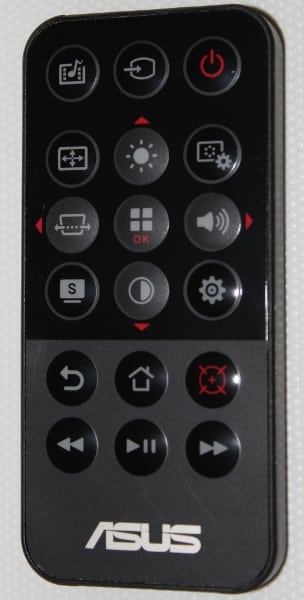
The buttons on this keypad are also duplicated on the supplied remote control. I found few a of the icons and/or the terminology in the on-screen menus to not be very obvious as to their function. Going from left to right, the top row of buttons are for:
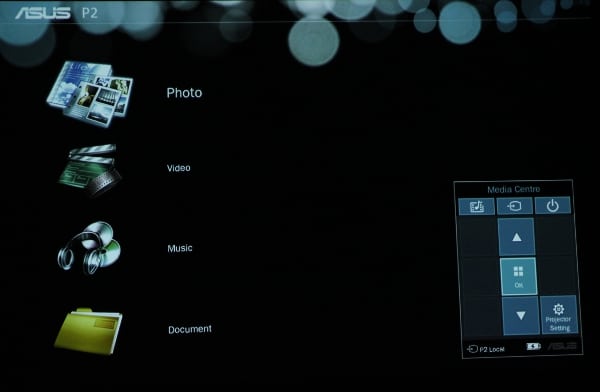
"Media Center" menu - Input Selection - Power on/off.
The lower 9 buttons serve double duty for both calling up specific on-screen menus, as indicated by their icons, and then also serving as menu navigation keys. Let us first look at the dedicated functions, which the icons on the these buttons refer.
From left to right across each row of keys starting with the 2nd row in the photo above:
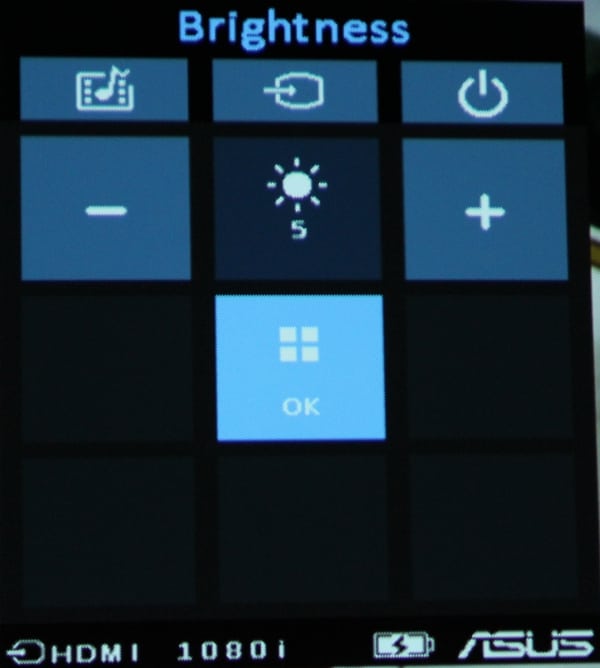
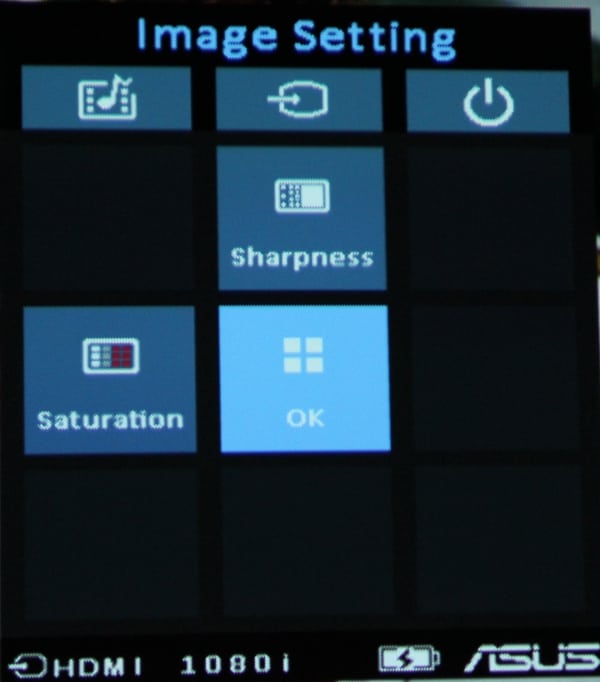
Image Position Menu (only used with a VGA input) - Brightness Adjustment - Image Settings Menu
Vertical Keystone Correction - Main Menu - Volume Adjustment
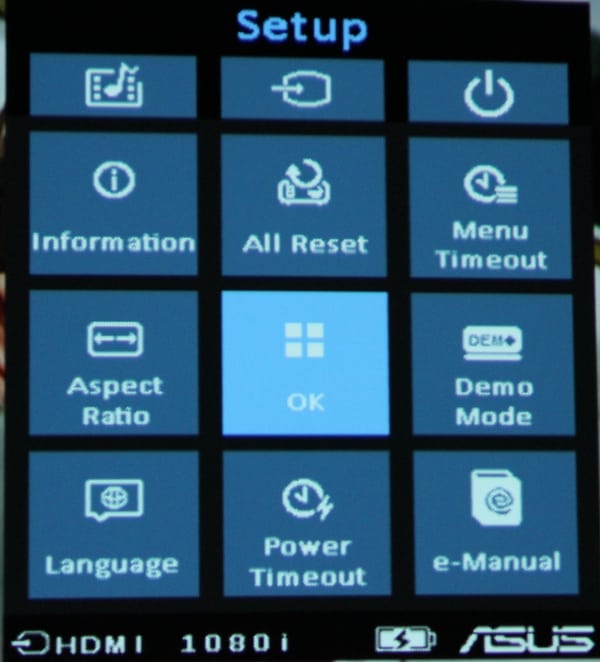
Splendid Menu (color mode) - Contrast Adjustment - Setup Menu
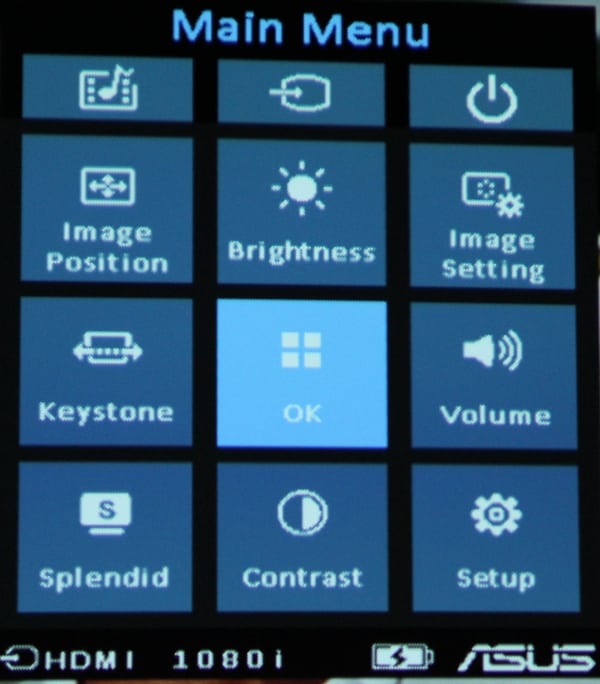
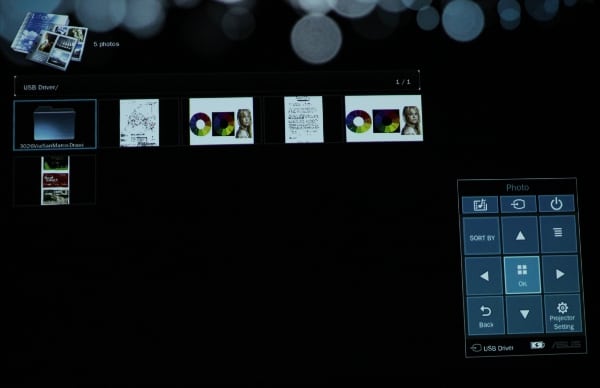
As I mentioned above, the lower 9 buttons are also used for menu "navigation" (sort of). Asus has a rather unusual menu navigation scheme (or lack thereof) instead of the typical 4-way (up, down, right, left, select) scheme for selecting items from the on-screen menus. The on-screen menus are displayed with (up to) a 1 X 3 top row of items plus a 3 x 3 grid of items that corresponds to the equivalent set of buttons on the projector's (or the remote control) keypad. If a given menu only needs a fewer number of items, then those are the only ones shown on the on-screen menu. The items shown on the on-screen menu are the only ones that can be selected via the keypad and the location on the on-screen menu corresponds directly to the location of the button for that function on the keypad. I found this arrangement a little odd, if not confusing, when I first fired up the projector, but after a few minutes of using the projector's remote control to navigate thru the menus, I felt comfortable with this control arrangement.