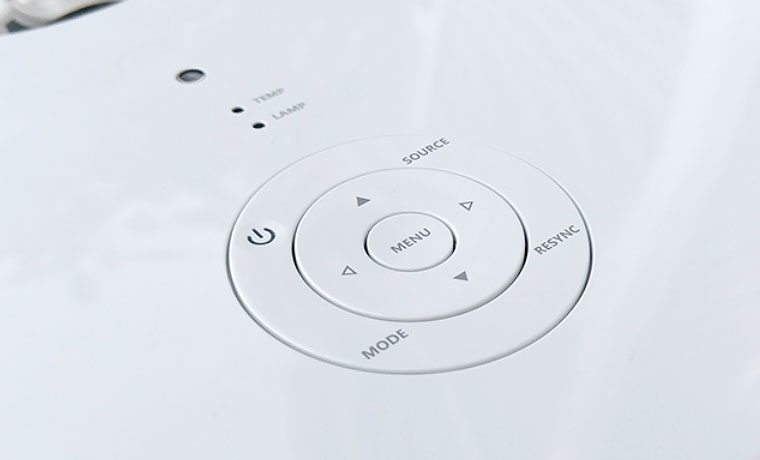
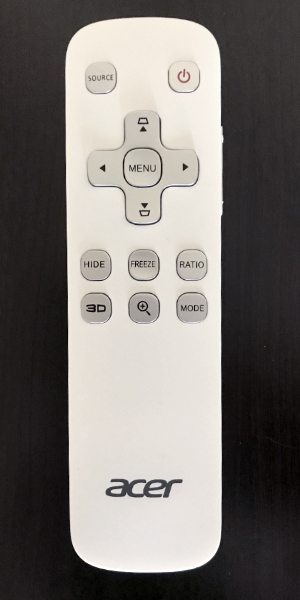
The remote control is a simple white rectangle that is lightweight and has buttons that are easy to press, unlike those credit-card type remotes included with many competing pocket projectors. Thirteen matte finished silver buttons make up this remote, with two of those buttons serving a dual function. Starting at the top left is the Source button, with the Power button directly opposite. Below that are the four directional arrow keys surrounding the Menu button, with the up and down arrow keys serving the dual function of Keystone Correction (another nice feature). Below that, we have a group of six buttons. Those are: Hide, Freeze, Ratio, 3D, Zoom In, and Mode. The remote has pretty much everything you need for easy control of the projector.
But wait! Where does the battery go? This took Art and I a minute to figure out, as there does not appear to be a battery compartment on the back of the remote. That’s because the compartment runs the entire length of the back panel, with the release for the panel being a tiny, nearly invisible button at the base of the remote. Once you find that, installing the coin-sized battery is easy. Oh, and that battery is included! One more thing to mention before moving on to our discussion of Picture Quality: there are two buttons located on the right side of the remote to control volume, much like what you would see on an iPhone or a similar smart phone.


