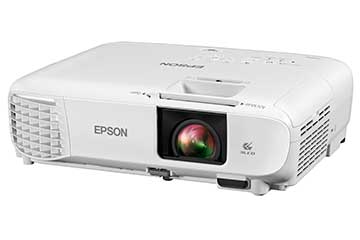
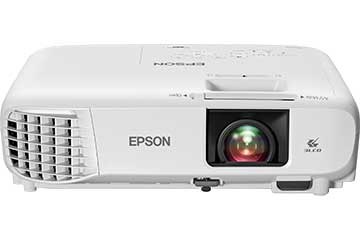
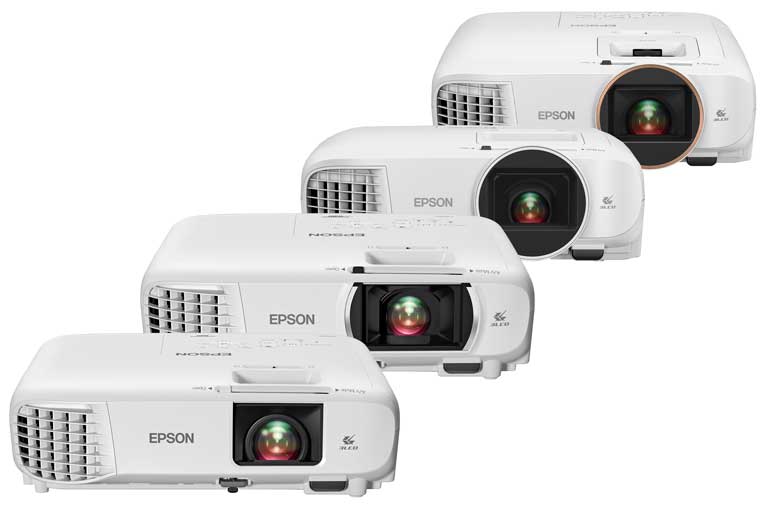
The rest seems to be mostly facelift. The grills (exhausts, intakes) are basically in the same places but again with some redesign. Ultimately the Acer H6510 projector looks a good deal like last year's Acer,both very box like, and has essentially the same functionality.
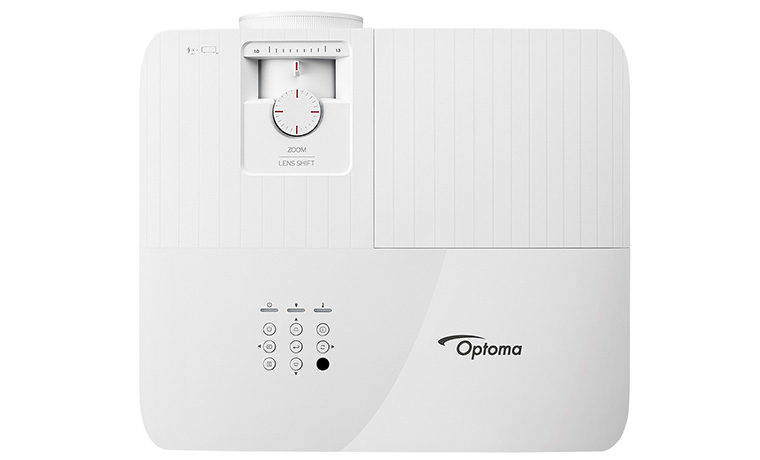
The 1.3:1 manual zoom lens is on your right when facing the projector. Focus and Zoom are accomplished by two rings recessed on the top, just behind the lens. The control panel is found further back on the top of the H6510 BD projector.
The H6510 projector (like last year's) has 3 feet, for table usage. That gives you a 3 point stance. the front center leg (more of a bar) is adjustable by a recessed button on the front of the projector. One of the two back feet are also adjustable. Life would be easier for many folks, however, if Acer went to the trouble of making both rear feet adjustable.
I had to slide a CD "jewel case" under the fixed rear leg to get the positioning I needed in my room because I set the projector almost even with the screen bottom, so with all the built in lens offset, the image was too high. This otherwise minor thing - not having one leg adjustable, is going to be a real inconvenience for many owners. Acer, do your self a favor next series of projectors: Give us 3 adjustable feet, it can't cost but a few cents more, and you will make a lot of owners very happy, by simplifying a quick setup.
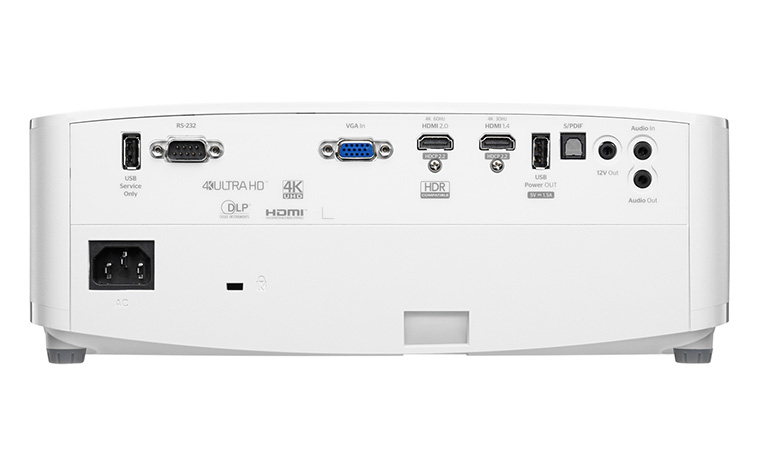
All the inputs and connectors are located on the back of the projector, and are discussed below.
H6510 Control Panel
The H6510's control panel is fairly basic except for the "e" button. It appears mostly square, with four outer bars in silver, and inside, the four arrow keys in square configuration. In the dead center is the Menu button which opens the menu system, or once in it, takes you back up a level.
Looking from the rear of the projector, the lower left button on the control panel is the power. Once for on, twice for off. Across from it -(back right) is the "e" button which per Acer "empowers" you. Basically you can program which function (of those allowed) that button will execute. Not a big deal, but they gave it a name, rather than "a programmable button". Continuing counter-clockwise, in the front right, is the Source button, and the front left has a Resync button primarily for working with an analog computer signal.
There are two indicator lights labeled Lamp, and Temp. The manual describes what different functions different lights, and flashing patterns indicate. A third light is on the power button (yes the lower left).
H6510 Projector - Input/Output
The H6510 projector has a typical selection of inputs and other connectors. In this case, it starts off on the left, with a serial RS232, then USB for computer control.
Next comes the pair of HDMI 1.4 inputs. Next comes the classic S-video (DIN connector) and Composite (RCA jack) video.
Stacked on top of each other are the Computer Input (top) and the Monitor output below. Almost to the right are three more RCA jacks, this time color coded for component video. Lastly are a stereo audio input and a stereo audio output.
Additionally the rear of the H6510 has the power receptacle and a Kensington security lock slot.


