BrightLink 696Ui Overview
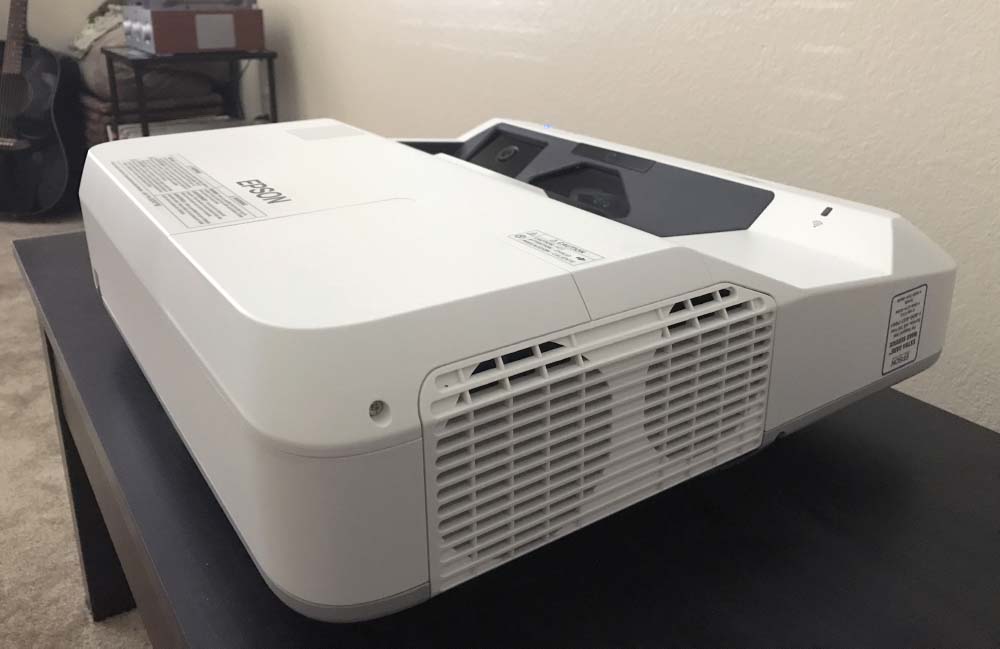
The BrightLink 696Ui has a design typical of Epson’s ultra short throw projectors, with its lens located on the top surface, when the projector is sitting on a table top. This projector is meant to be wall mounted, facing downward and projecting the light toward the projection surface at a sharp angle. As mentioned before, the largest image it can produce for interactivity is 100” diagonally, though it can also project a smaller image down to 60” diagonal.
For this review, I have the 696Ui sitting on a coffee table, projecting upward toward the screen. On the left side when facing the lens, there is a compartment with an easy-release door that covers the air filters. Inside that compartment, to the left of the filters, is the focus control. This small white lever slides vertically to control the focus. Once you mount this projector, however, you’re unlikely to ever need to touch the focus lever again unless you change its position.
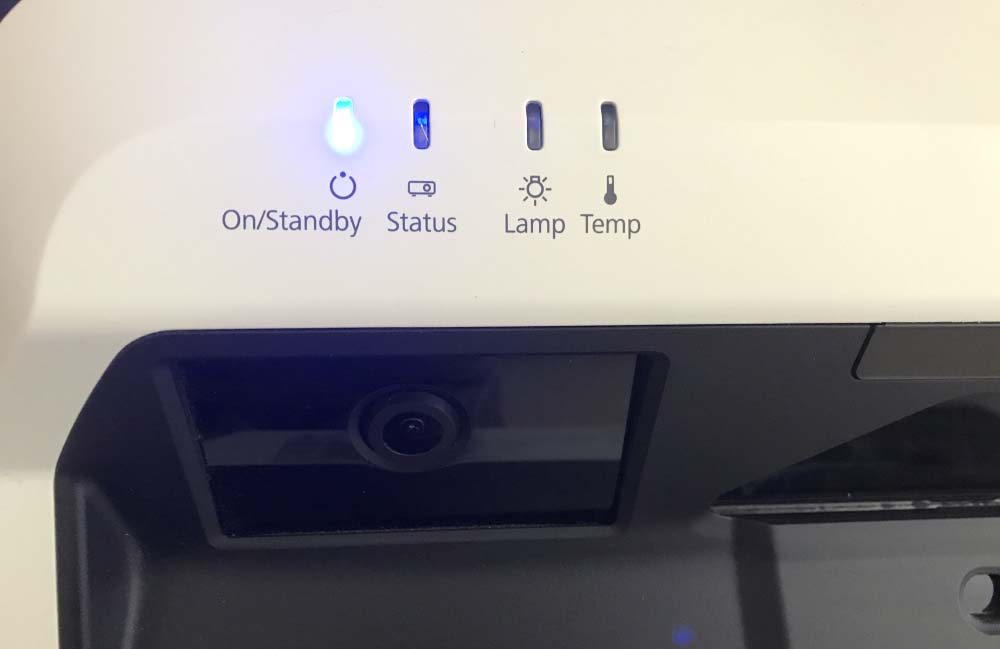
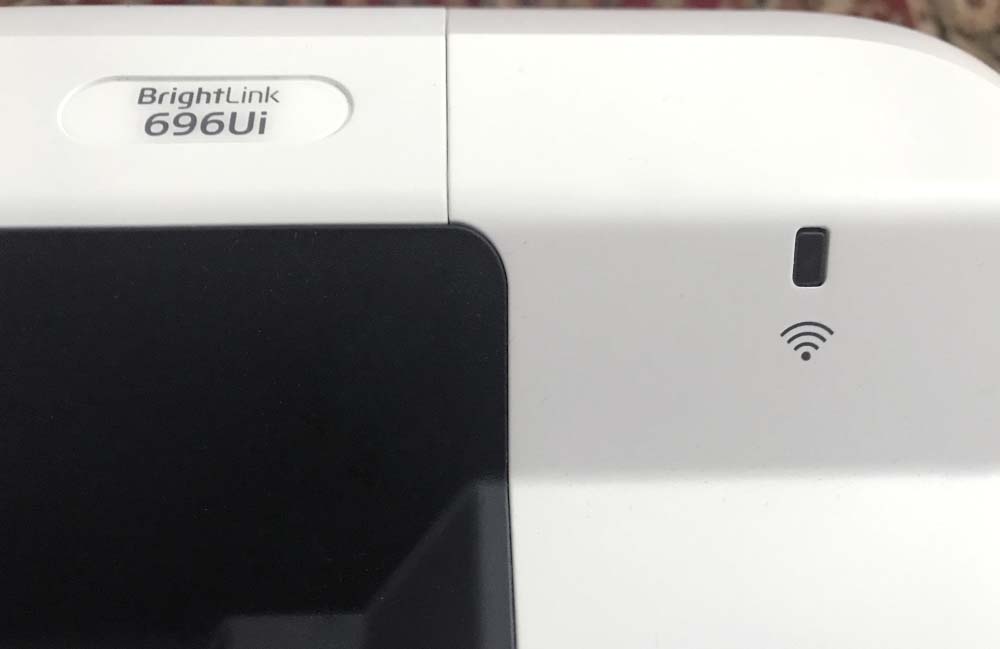
The top part of the projector, near the lens, are the indicator lights for On/Standby, Status, Lamp, and Temp. On the opposite side, there is the indicator light for the Wireless Lan. Those all light up in the same pretty blue used for the Power button on the control panel and remote.
The control panel is on the left side of the 696Ui as well and is pretty typical. I appreciate the font style they used on the buttons. It’s a nice Sans Serif in a gray tone and is very pleasing to the eye. Not something many will notice, nor care about, but as a graphic designer – I do love a good font. Some of the buttons double with other functions, which I’ll get into on the next page.
On the opposite side live the inputs and connectors. There is an abundance of ports for all manner of business and education applications, and it is unlikely that you will have need of them all. The panel has a removable cable cover. If you’ve got a tiny hand, like mine, you can plug things in without taking that off, but it’s difficult. The cable cover can be removed by taking out the screws. It’s got a nice layout so that most of the really necessary inputs are accessible outside of the cable cover, but we’ll get more into that later.
There are holes for mounting the BrightLink 696Ui to the wall mount on the bottom of the projector. Epson does provide other types of mounting equipment, and you can find the options on Epson’s web page for the 696Ui, under “Accessories.” For this projector, however, I’d stick to a wall mount. The RF emitters for the remote control are located on the front and back of the projector.
Inputs and Connectors Panel
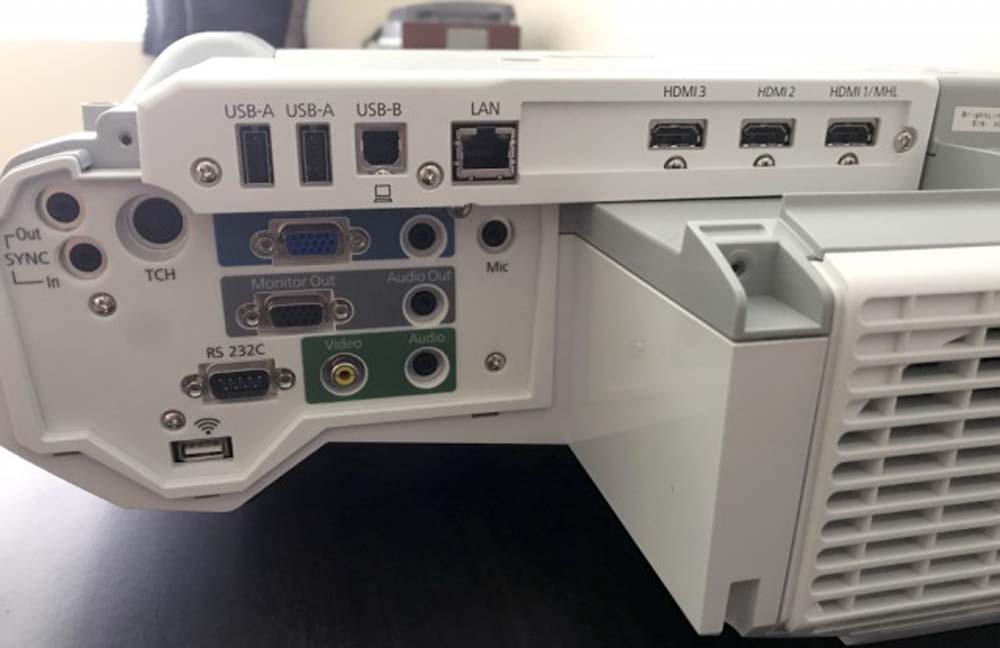
When the BrightLink 696Ui is on a table, all of the text for the inputs and connectors are upside down. This is no surprise considering the projector is meant to be mounted facing downward. For this reason, I will discuss the elements of the panel as they look when mounted correctly, starting at the top with the ports that are accessible outside of the cable cover.

The Epson Brightlink 696Ui has plenty of inputs and connectors for all your business and education applications.
On the left, there are two USB-A inputs and a USB-B port. To their right, we have an RJ-45 port for wired LAN, and three HDMI inputs – HDMI 3, HDMI 2, and HDMI 1/MHL. That’s awesome, because a lot of projectors only have two. That extra HDMI may come in handy.
Below, there are two Sync ports – one for In and one for Out. Next to that is a TCH port for connecting the Touch Unit to the projector. To its right is a VGA Computer connector, and an Audio In for use with the Computer port. Then, a Mic input. Directly beneath those connectors are a Monitor Out and an Audio In for use with that Monitor port.
Under that, there is the obligatory RS-232C for old school command and control. To its right, there is a Video port and an Audio Out to use in conjunction with the Video input. At the very bottom left, you’ll find the USB port meant for use with Epson’s wireless module. Again, do not use a third party wireless module, as this will negate that two-year warranty discussed earlier should you experience any issues.
A quick note about third-party products: I’m an iPhone user, and as any iPhone user knows, the charging cables they give you don’t last forever. In the past, I’ve bought third party chargers when in a pinch – say, traveling and unable to go to the Apple Store or BestBuy. Having already bought a charger that “works,” I would continue using that third-party charger and then find my phone draining its battery faster and faster, leaving me with a phone that randomly turns off.
Turns out that’s because the Apple-made USB cable gives full power to the phone until about 80%, then decreases so as not to fry the battery. Those third-party cables blast your phone with full power all the way up until 100%, then all through the night as you slumber. The point? Stick to the brand-made modules and products when working with a projector or other device with a heavy price tag, as you don’t really have a way of knowing the level of craftsmanship that goes into making those third-party products.
BrightLink 696Ui Interactive Hardware

The Epson Brightlink 696Ui comes with two interactive pens in a pen case. The pen case has magnets on the back for easy attachment to a whiteboard or other magnetic surface.
The BrightLink 696Ui comes with two interactive pens, a pen case, and a Touch Unit. The pens are thick like markers and require a bit of pressure against the screen surface to use. You’ll hear and feel a small click when using the pens, and the tips actually gyrate a bit to give a more natural feeling. The Touch Unit, pictured below, can either be attached via built-in magnets or screwing it to the wall. It is meant to be mounted one inch above the top of the projected image (i.e. whiteboard/screen).

The Touch Unit emits infrared light downward across the screen surface. When the light is interrupted by a pen or finger, that sends a signal to the projector, via the infrared camera, that some action is taking place.
The Epson Touch Unit is one member of a two-part team that makes the 696Ui’s interactivity possible. To the left of the center-mounted lens, there is an infrared camera. The Touch Unit projects an invisible, infrared rectangle over the screen surface using dual lasers, and when interrupted by a finger or pen, the camera picks up the disrupted signal and the projector translates it into an interactive action. The Touch Unit is connected to the projector using the supplied cable, and can be mounted using the included wall mount or the magnets on the back of the Touch Unit.

Three magnets allow the Touch Unit to be secured to a whiteboard or other magnetic surface.
After mounting the 696Ui and Touch Unit, you’ll need to calibrate the interactive system in order to use it. Without performing these steps, the system will have no way of accurately determining the finger/pen touch position on the projected image. Epson has an easy-to-follow set of video instructions on how to calibrate the projector available on their website, and the User’s Guide goes into that as well, though I found the video to be much more helpful as you can watch the entire process unfold before trying it out yourself. This is likely to be a one-time setup unless changing the position of the projector due to a change in screen size or some similar action.
The Lens

The typical ultra short throw lens is located in the center of the projector toward the back (pictured on the right). An Infrared Sensor for the interactive functions sits to its left.
The lens looks like most other ultra short throw lenses – recessed, toward the back of the projector, and covered by glass. There is no optical zoom – again, typical of ultra short throw lenses – but this Epson does offer digital zoom in two meanings of the phrase. There is an option to change the lens from “wide” to “telephoto” via a scrub bar in the Settings Menu, under Zoom. This is different than E-Zoom, a function found easily on the remote. E-Zoom simply magnifies your image, punching in to allow for greater emphasis on a particular part of the picture. A useful feature.